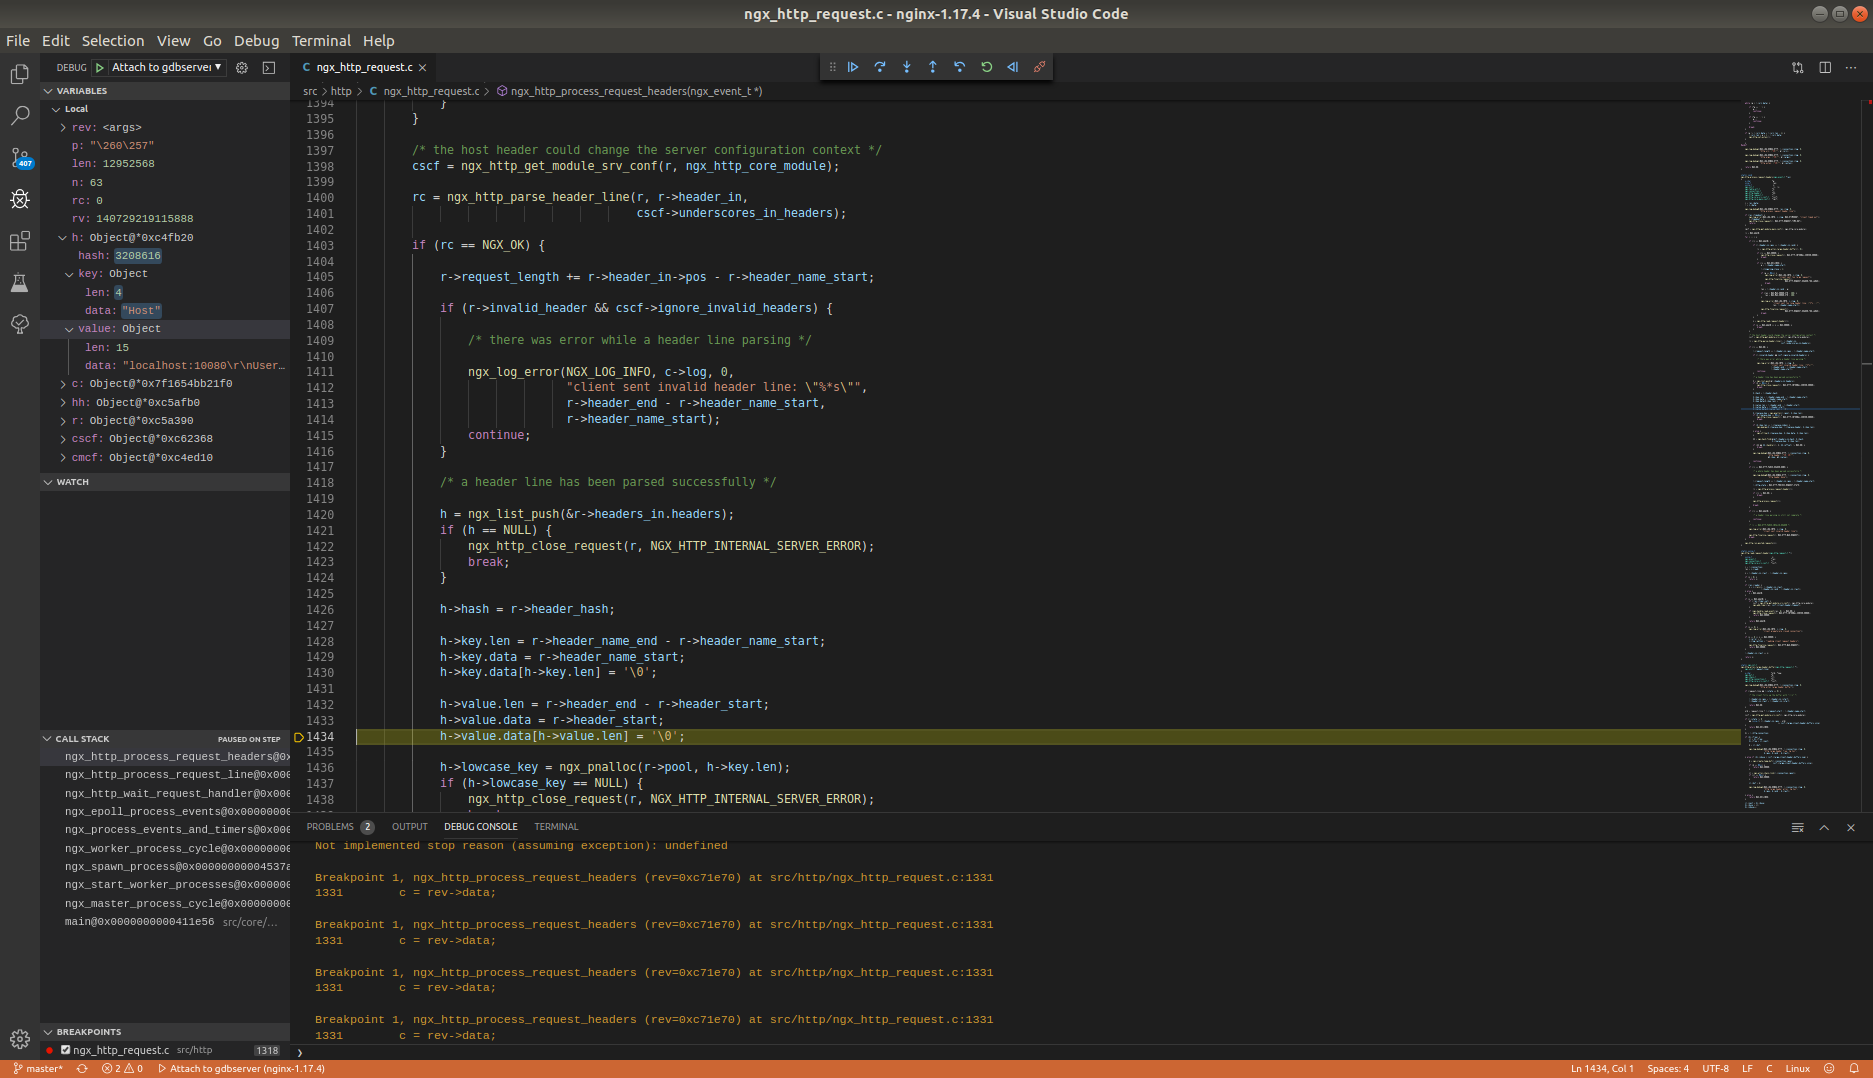
概要
Docker上でNginxをビルド&起動して、起動したNginxのworker processにgdbserverをアタッチ。
そして、ホストのVSCodeからNative Debugを使ってgdbserverに接続して、デバックできる環境を作ります。
対象環境
- Ubuntu 19.10
- VSCode 1.39.2(Native Debugをインストール済み)
手順
作業ディレクトリの作成
$ mkdir nginx-debug
$ cd nginx-debug
ビルドに必要なソースコードをダウンロードする
$ wget https://ftp.pcre.org/pub/pcre/pcre-8.43.tar.gz
$ wget http://zlib.net/zlib-1.2.11.tar.gz
$ wget http://www.openssl.org/source/openssl-1.1.1c.tar.gz
$ wget https://nginx.org/download/nginx-1.17.4.tar.gz
Dockerfileを作成する
FROM centos:centos7
EXPOSE 80 18081

RUN yum update -y
RUN yum install -y gcc gcc-c++ make perl gdb-gdbserver

COPY *.tar.gz /usr/local/src/

RUN cd /usr/local/src && tar -zxf pcre-8.43.tar.gz && cd pcre-8.43 && ./configure && make && make install
RUN cd /usr/local/src && tar -zxf zlib-1.2.11.tar.gz && cd zlib-1.2.11 && ./configure && make && make install
RUN cd /usr/local/src && tar -zxf openssl-1.1.1c.tar.gz && cd openssl-1.1.1c && ./config && make && make install && echo '/usr/local/lib64' > /etc/ld.so.conf.d/lib64.conf && ldconfig

RUN cd /usr/local/src && tar -zxf nginx-1.17.4.tar.gz && cd nginx-1.17.4 && ./configure --with-debug --with-cc-opt='-O0 -g' --with-pcre=../pcre-8.43 --with-zlib=../zlib-1.2.11 --with-http_ssl_module --with-stream && make && make install

CMD /usr/local/nginx/sbin/nginx && gdbserver :18081 --attach "$(ps -e -o pid,cmd | grep '[w]orker process' | awk '{print $1}')"
イメージをビルドする
$ docker build -t hazy/nginx-debug:1.0 .
コンテナを起動する
$ docker run -d -p 18081:18081 -p 10080:80 --cap-add=SYS_PTRACE hazy/nginx-debug:1.0
Nginxのソースコードを展開してVSCodeで開く
$ tar -zxf nginx-1.17.4.tar.gz
$ code nginx-1.17.4
デバック構成を書く
{
    "configurations": [
        {
            "type": "gdb",
            "request": "attach",
            "name": "Attach to gdbserver",
            "target": "localhost:18081",
            "remote": true,
            "cwd": "${workspaceRoot}",
            "valuesFormatting": "parseText"
        },
    ]
}
以上。
デバッグ画面
処理を調べたい場所にブレークポイントを置いて curl localhost:10080 とかすると、デバッグできる。
