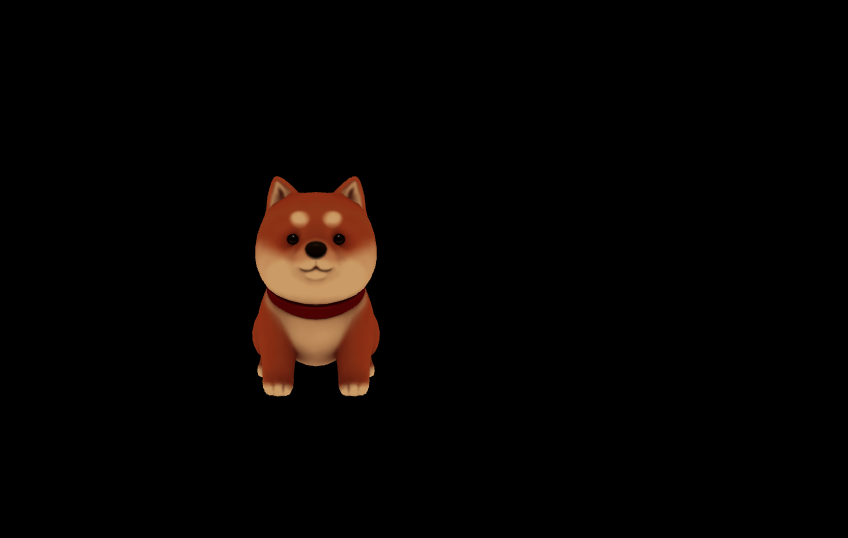
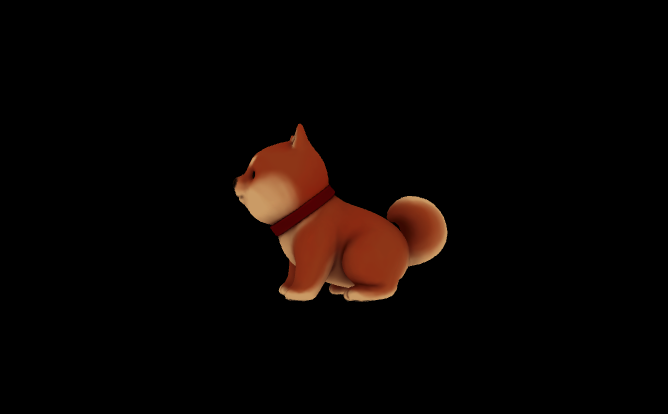
記事の内容
業務でアップロードしたglbファイルを3D表示させたいという要件があり、three.jsを使用しmodal上で表示させることになりました。そのため、実装するにあたり学習したことをコードを含めまとめようと思います。
Three.js
three.jsは、WebGLを使って3Dグラフィックスを描画するためのJavaScriptライブラリです。Web上でのゲームや仮想現実、建築のシミュレーション、デザインツールなど、様々な分野で利用されているみたいです。
HTMLのcanvas要素と組み合わせることで表示できます。
公式サイト: https://threejs.org/
実装するにあたって必要な要素
シーン(Scene)
three.jsにおけるすべての要素は、シーン(Scene)内に配置されます。シーンは、カメラ、ライト、3Dモデル等の描画するすべてのオブジェクトを保持します。
カメラ(Camera)
three.jsでは、生成したカメラで写したものを表示させます。このカメラの位置(視点)をかえることで3Dモデルを様々な角度からみているような表示をさせることができます。
レンダラ(Renderer)
canvas要素にレンダリング(描画)させるためのものです。
ライト(Light)
3Dモデルを照らすためのものです。照明は、3Dオブジェクトの外観を変化させたり、影を生成したりするために使用されるみたいです。
実装
1. three.jsのインストール
npmの場合
npm i three.js
2.modalの実装
これはそれぞれの環境にあったmodalを実装します。
<ThreeModelViewerModal
    open={openThreeModelViewerModal}
    onClose={() => { setOpenThreeModelViewerModal(false)}}
    threeModelUrl={threeModelUrl}
/>
今回の実装ではAPIより取得した、GLBファイル(3dモデルのファイル)を表示させたいのでmodalに渡します。
3.modalで3D表示の実装
以下がコードです。
import React, { useRef, useState } from "react";
import * as THREE from "three";
import { GLTFLoader } from "three/examples/jsm/loaders/GLTFLoader";
import { OrbitControls } from "three/examples/jsm/controls/OrbitControls";
省略---


export type ModalProps = {
  open: boolean;
  onClose: () => void;
  threeModelUrl: string;
};

export default function ThreeModelViewerModal(props: ModalProps) {
  const { onClose, open, threeModelUrl } = props;
  const canvasRef = useRef<HTMLCanvasElement>(null);
  const [displayThreeModel, setDisplayThreeModel] = useState(false);

  // サイズを指定
  const sizes = {
    width: window.innerWidth,
    height: window.innerHeight,
  };

  const handleDisplayButtonClick = () => {
    const canvas = canvasRef.current;
    setDisplayThreeModel(!displayThreeModel);
    if (canvas) {
      // レンダラーを作成
      const renderer = new THREE.WebGLRenderer({
        canvas: canvas,
        antialias: true,
      });
      renderer.setSize(sizes.width, sizes.height);
      renderer.setPixelRatio(window.devicePixelRatio);

      // シーンを作成
      const scene = new THREE.Scene();

      // カメラを作成
      const camera: THREE.PerspectiveCamera = new THREE.PerspectiveCamera(
        75,                          // カメラの垂直方向の視野
        sizes.width / sizes.height,  // カメラのアスペクト比
        1,
        1000
      );
      camera.position.set(0, 0, 3);

      // カメラコントローラーを作成
      const controls = new OrbitControls(camera, renderer.domElement);
      controls.enableDamping = true;

      // ライト
      const light = new THREE.DirectionalLight(0xffffff, 1.0);
      light.position.set(0, 0, 5);
      scene.add(light);

      const gltfLoader = new GLTFLoader();

      // glbファイル読み込み
      gltfLoader.load(threeModelUrl, (gltf) => {
        const model = gltf.scene;
        scene.add(model);
      });

      // レンダリングループ処理
      const tick = () => {
        controls.update();
        renderer.render(scene, camera);
        requestAnimationFrame(tick);
      };
      tick();
    }
  };


  const handleClose = () => {
    onClose();
    setDisplayThreeModel(!displayThreeModel);
  };

  const classes = useStyles();

  return (
    <Modal
      open={open}
      onClose={handleClose}
      className={classes.modal}
      closeAfterTransition
      BackdropComponent={Backdrop}
      BackdropProps={{
        timeout: 500,
      }}
    >
      <div>
        <div className=css設定 onClick={handleClose}>
          <Close />
        </div>
        <button className=css設定 onClick={handleDisplayButtonClick}>
          {displayThreeModel ? "3D表示を隠す" : "3D表示する"}
        </button>
        <div>
          <canvas id="canvas" ref={canvasRef} style={{ display: displayThreeModel ? "block" : "none" }}></canvas>
        </div>
      </div>
    </Modal>
  );
}
大まかな流れは以下のとおりです。
1.Modalコンポーネントを作成し、propsから渡されたGLBファイルのURLを取得する。
2.3Dもでるを表示するために、canvas要素を用意する
3.これは自分だけかもしれないが、modalを開くだけではcanvas要素を取得できず表示できなかったためボタンクリック→3D表示とワンクッション入れるようにする
4.「3D表示する」ボタンが押されたら、canvas要素上に3Dモデルを描画するための処理(handleDisplayButtonClick)が行われる
5.レンダラーを作成し、描画領域にcanvas要素を指定
6.シーン・カメラ・カメラコントロール(カメラをマウスで操作するためのもの)・ライトの作成
7.GLTFLoaderを使用して、GLBファイルを読み込み、シーンに追加する
8.レンダリングループ処理を開始する。
終わりに
three.jsをはじめて使用して、表現の幅が大きく広がったなと感じています。
ライトの当てかたや背景は基本の設定しかできていないため、色々と試してみようと思います。
参考
https://blog.kimizuka.org/entry/2021/02/18/003300
https://www.youtube.com/watch?v=oAJNYQLexIQ
https://threejs.org/docs/#manual/en/introduction/Creating-a-scene
https://www.codegrid.net/articles/2021-threejs-1/
https://www.youtube.com/watch?v=Q2AmBEXhG8U

