概要
この記事はVue.jsでSpotify APIを叩いてみようという記事です。
Spotifyで再生中の曲情報を取得し、ブラウザの画面に表示するのがゴールです。
Vue.jsの環境構築
JavaScriptフレームワークのVue.jsを使います。
まずVue.jsの環境を準備します。
手元で環境構築するのが面倒だと思う人は、ちょっと触ってみる程度ならCodeSandbox等オンラインエディタを利用してもいいかもしれません。
前提環境
Node.jsがインストールされている前提です。まだインストールしていない場合は、インストールしてください。
- Node.js 12.16.1
- npm 6.9.0
インストールと起動
Vue CLIをインストールします。
npm install -g @vue/cli
プロジェクトを始めるディレクトリに移動した後、Vueプロジェクトを生成します。
vue create my-project
いろいろ聞かれます。
? Please pick a preset: default (babel, eslint)
? Pick the package manager to use when installing dependencies: NPM
開発サーバを起動してみます。
$ npm install
$ npm run serve
デフォルトでは8080番ポートで起動します。
https://localhost:8080
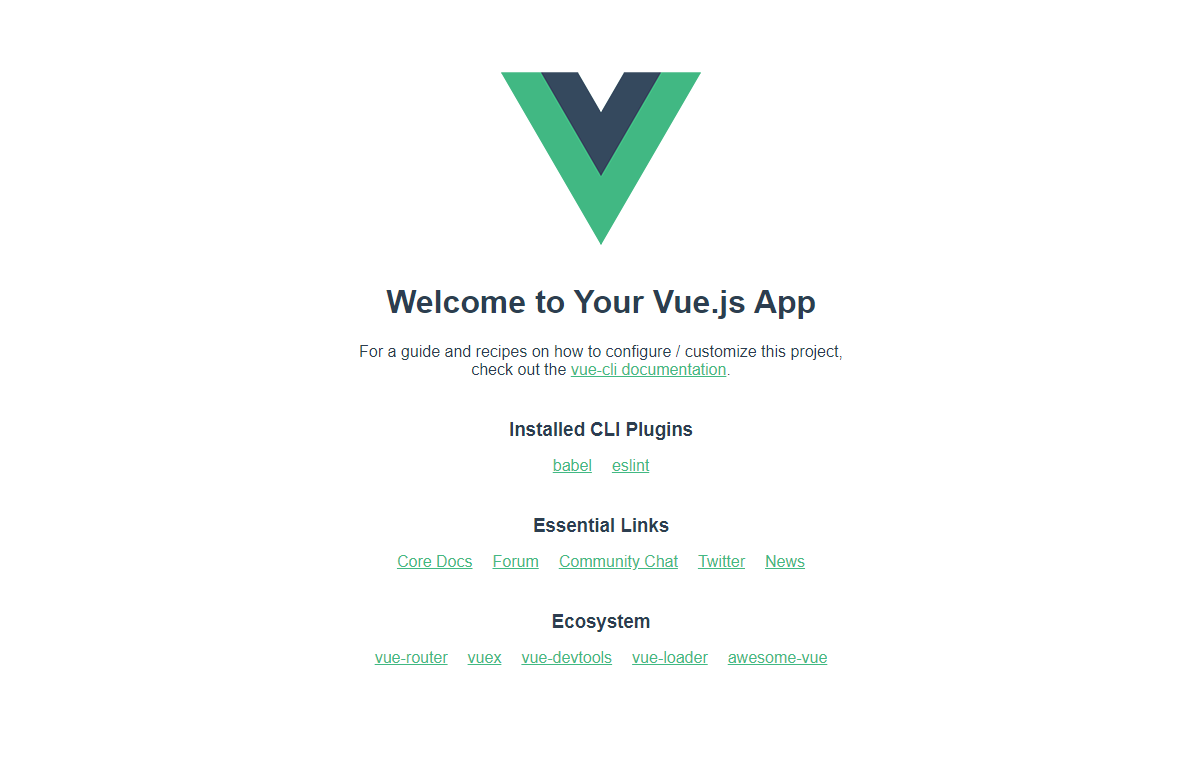
アクセスして、Vue.jsの初期ページが表示されたら準備完了です。
Spotify APIの準備
Spotify Web APIを使う準備をします。
やること
- APIキーの取得
- 叩いてみる(Postmanとかで)
APIキーの取得
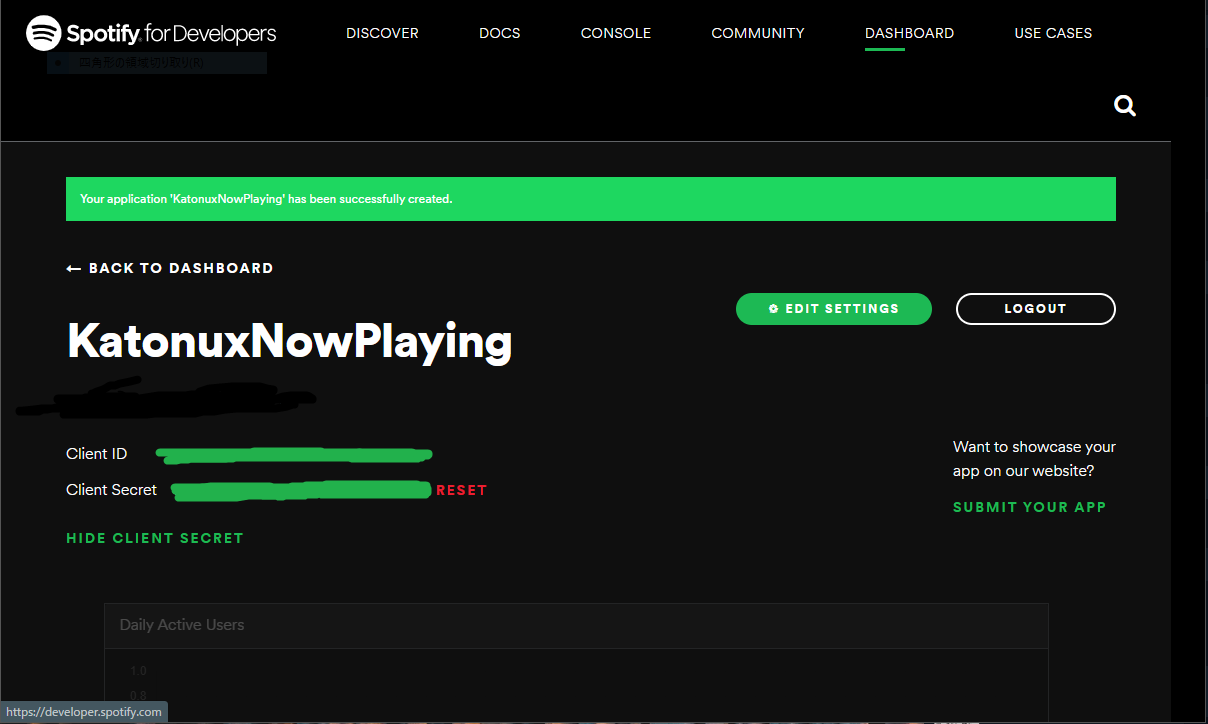
Spotify APIを使うアプリケーションを作るには、Client IDを取得する必要があります。
「CREATE CLIENT ID」から作りましょう。
作り終えるとClient IDとClient Secretが確認できます。APIを叩くときの認証に必要です。
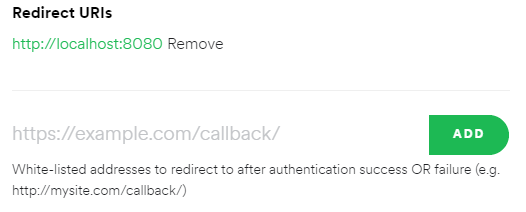
また、認証後にリダイレクトするURIを事前に許可しておく必要があります。
ここで設定したURI以外にはリダイレクトできません。
「EDIT SETTING」から設定します。今回は、http://localhost:8080を許可しておきます。
APIにアクセス
アクセストークンの取得
Spotify APIを叩く前に、認証APIを使ってアクセストークンを取得する必要があります。
詳しいことは公式のドキュメントに載っています。ここでは今回使うものだけ説明します。
GETメソッドで、エンドポイントは
https://accounts.spotify.com/authorize
です。
クエリパラメータは次の3つ
- response_type=token
- client_id=(生成したClient ID)
- redirect_uri=http://localhost:8080
繋げると次のようになります。
https://accounts.spotify.com/authorize?response_type=code&client_id=hogehogehogehogehoge&redirect_uri=http://localhost:8080
これをブラウザからアクセスすると、Spotifyの認証画面が出ます。
Spotifyアカウントでログインして連携許可すると、リダイレクトURIであるlocalhost:8080に遷移します。
このとき、アクセストークンがURIに含まれています。
http://localhost:8080/#access_token=(アクセストークン)&token_type=Bearer&expires_in=3600
再生中の曲情報取得
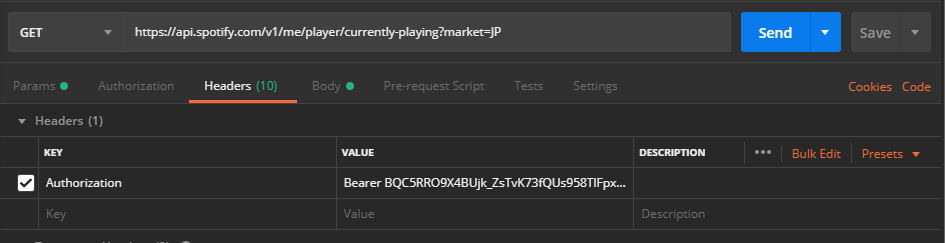
再生中の曲情報を取得するAPI「Get the User's Currently Playing Track」を叩いてみます。
エンドポイントはhttps://api.spotify.com/v1/me/player/currently-playingです。
リクエストのヘッダに、さっき取得したアクセストークンをつけます。
Postmanだとこんな感じ。
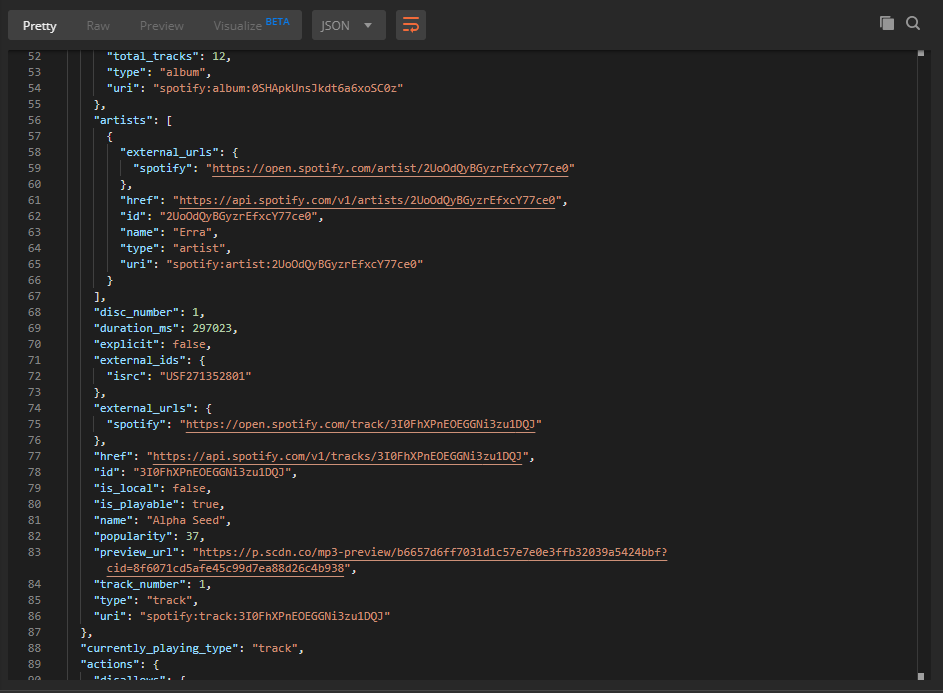
リクエストを送ると、再生中の曲情報のJSONデータが返ってくるのが確認できます。
Vue.js, Axiosで実装
今回使うライブラリ
- Vue Router
Vue RouterはVue.jsのエコシステムのひとつで、パスをコンポーネントにルーティングしてくれるモノです。今回は認証後のリダイレクトをさばくために使います。
- Axios
AxiosはHTTPクライアントです。最近のJavaScriptでよく使われます。非同期処理・Promiseを使ってAPIとやりとりできます。
npmでインストールします。
$ npm install vue-router
$ npm install axios
Vue Routerを使うためのファイルを作成します。
$ mkdir src/router
$ touch src/router/index.js
とりあえず必要なものだけ。ルーティングの記述はもう少し後でします。
import Vue from 'vue'
import VueRouter from 'vue-router'

Vue.use(VueRouter)

const routes = []

const router = new VueRouter({
  mode: 'history',
  base: process.env.BASE_URL,
  routes
})

export default router
main.js に次のように記述します。
import Vue from 'vue'
import App from './App.vue'
import router from './router'

Vue.config.productionTip = false

new Vue({
  router,
  render: h => h(App),
}).$mount('#app')
なうぷれページ用のディレクトリとファイルを作成します。
mkdir src/views
touch src/views/NowPlaying.vue
とりあえずこれだけ
<template>
  <div class="nowplaying">
    <h1>NowPlaying</h1>
  </div>
</template>

<script>
export default {

}
</script>
Vue Routerを使うための記述をします。
App.vue はこれだけにします。
<template>
  <div id="app">
    <router-view />
  </div>
</template>
Vue Router
Vue Routerのファイルにルーティングするためのコードを記述します。
import Vue from 'vue'
import VueRouter from 'vue-router'
import NowPlaying from '@/views/NowPlaying.vue'

Vue.use(VueRouter)

const routes = [
  {
    path: '/',
    name: 'NowPlaying',
    component: NowPlaying
  }
]

const router = new VueRouter({
  mode: 'history',
  base: process.env.BASE_URL,
  routes
})

export default router
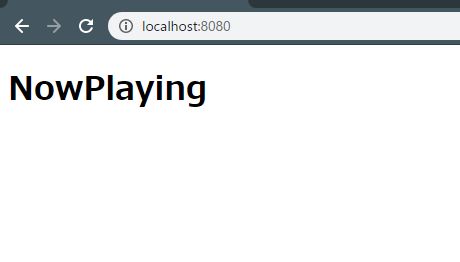
ここまでの状態で npm run serve すると、作成したページが表示されることが確認できます。
認証部分での問題点と解決策
認証部分を作ります。
「認証」ボタンはクリックしたら認証URLに飛ぶボタンです。
リダイレクトしてきたURLからパラメータを取得しますが、ここで問題が起きます。
リダイレクト後のURLが
http://localhost:8080/#access_token=hogehoge...&token_type=Bearer&...
なため、Vue Routerの$route.queryでパラメータを取得できません。
$route.hashでならパラメータが取れますが、オブジェクトではなく全部繋がった文字列となってしまい都合が悪いです。
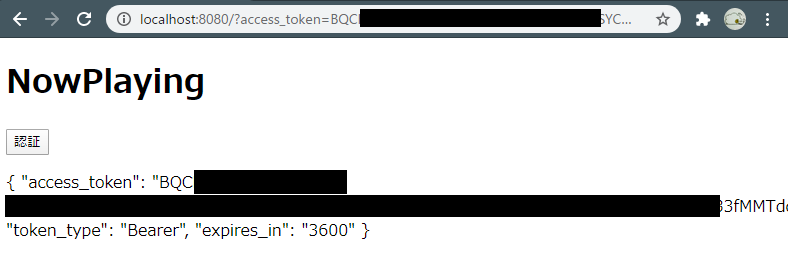
http://localhost:8080/?access_token=hogehoge...&token_type=Bearer&...
なら都合が良いので、ここでは$route.hashが空でない場合に「#」を「?」に置換して同ページにリダイレクトさせることで解決します。
Vue Router
import Vue from 'vue'
import VueRouter from 'vue-router'
import NowPlaying from '@/views/NowPlaying.vue'

Vue.use(VueRouter)

const routes = [
  {
    path: '/',
    name: 'NowPlaying',
    component: NowPlaying,
    props: (route) => {
      return { routeParams: route.query }
    }
  }
]

const router = new VueRouter({
  mode: 'history',
  routes
})

export default router
NowPlaying.vue
<template>
  <div class="nowplaying">
    <h1>NowPlaying</h1>
    <button @click="spotifyLogin">認証</button>
    <p>{{ routeParams }}</p>
  </div>
</template>

<script>
export default {
  data: function() {
    return {
      nowPlaying: null
    }
  },
  props: {
    routeParams: Object
  },
  created: function() {
    if (this.$route.hash) {
      this.$router.push(this.$route.fullPath.replace('#', '?'))
    }
  },
  methods: {
    spotifyLogin: function() {
      let endpoint = 'https://accounts.spotify.com/authorize'
      let response_type = 'token'
      let client_id = 'ここにSpotify Developersで取ったクライアントIDを入れます'
      let redirect_uri = 'http://localhost:8080'
      let scope = 'user-read-currently-playing'
      location.href = endpoint +
        '?response_type=' + response_type +
        '&client_id=' + client_id +
        '&redirect_uri=' + redirect_uri +
        '&scope=' + scope
    }
  }
}
</script>
認証ボタンを押して、アクセストークンが取れることを確認します。
なうぷれ取得と表示
あとは、再生中曲情報取得APIを叩いて、レスポンスデータを表示すればゴールです。
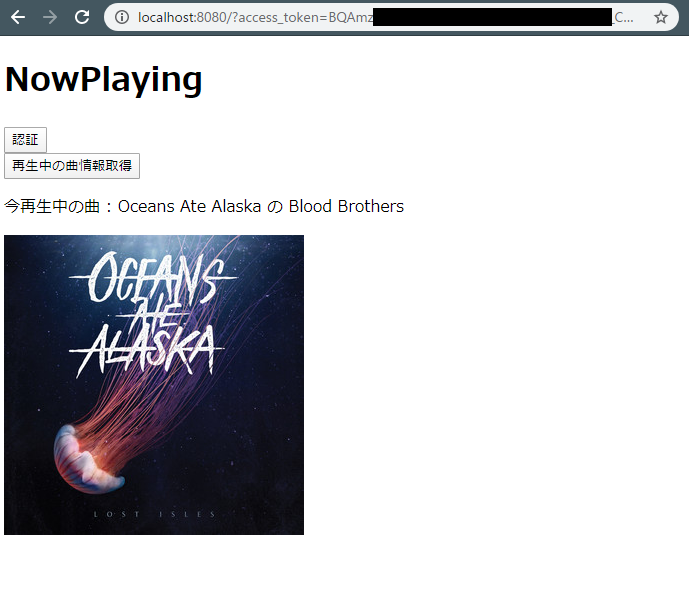
「再生中の曲情報取得」ボタンのクリックでAxiosがGETし、レスポンスをVueのデータに突っ込んでいます。
NowPlaying.vue
<template>
  <div class="nowplaying">
    <h1>NowPlaying</h1>
    <button @click="spotifyLogin">認証</button>
    <br>
    <button @click="getNowPlaying">再生中の曲情報取得</button>
    <div v-if="nowPlaying != null">
      <p>今再生中の曲 : {{ nowPlaying.item.artists[0].name }} の {{ nowPlaying.item.name }}</p>
      <img :src="nowPlaying.item.album.images[1].url">
    </div>
  </div>
</template>

<script>
import axios from 'axios'
export default {
  data: function() {
    return {
      nowPlaying: null
    }
  },
  props: {
    routeParams: Object
  },
  created: function() {
    if (this.$route.hash) {
      this.$router.push(this.$route.fullPath.replace('#', '?'))
    }
  },
  methods: {
    spotifyLogin: function() {
      let endpoint = 'https://accounts.spotify.com/authorize'
      let response_type = 'token'
      let client_id = 'ほげほげ'
      let redirect_uri = 'http://localhost:8080'
      let scope = 'user-read-currently-playing'
      location.href = endpoint +
        '?response_type=' + response_type +
        '&client_id=' + client_id +
        '&redirect_uri=' + redirect_uri +
        '&scope=' + scope
    },
    getNowPlaying: function() {
      let endpoint = 'https://api.spotify.com/v1/me/player/currently-playing?market=JP'
      let data = {
        headers: {
          'Authorization': this.routeParams.token_type + ' ' + this.routeParams.access_token
        },
        data: {}
      }
      axios
      .get(endpoint, data)
      .then(res => {
        this.nowPlaying = res.data
      })
      .catch(err => {
        console.error(err)
      })
    }
  }
}
</script>
ブラウザで確認。
できましたね!
おわりに
Vue.jsで、SpotifyのAPIを叩いてデータを表示できました。今回はなうぷれ取得だけでしたが、これをベースに、もっとSpotifyとなんやかんやするWebアプリが作れそうですね。
以上で終わります。