目次
1.はじめに
2.アプリの概要
3.開発の流れ
4.スクレイピングによる画像収集
5.画像の下処理
6.画像の水増し
7.モデルの学習
8.アプリの作成
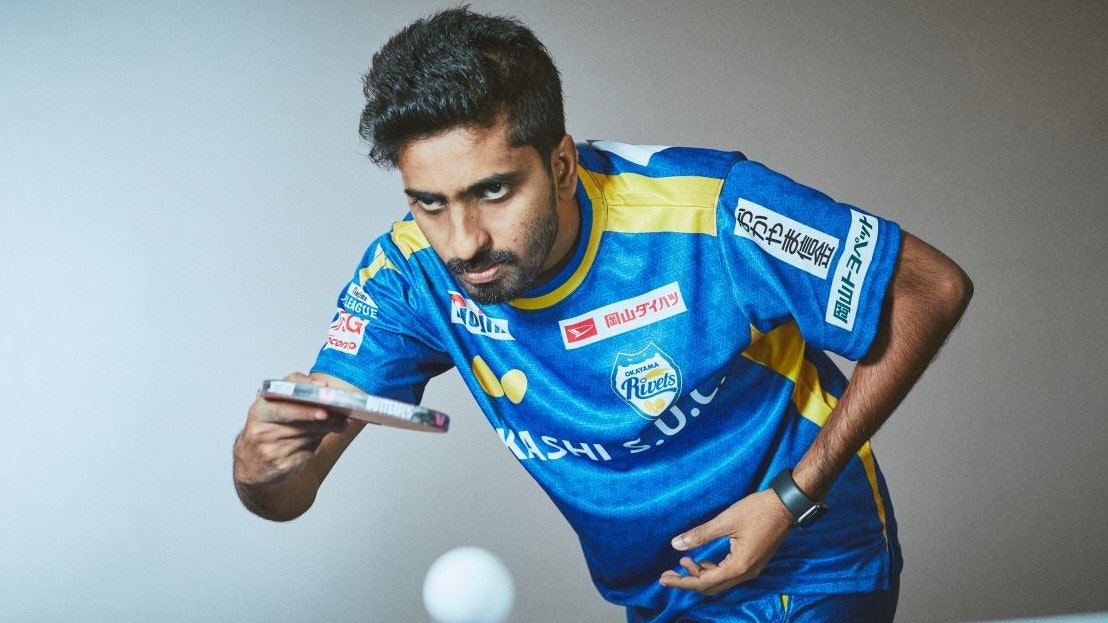
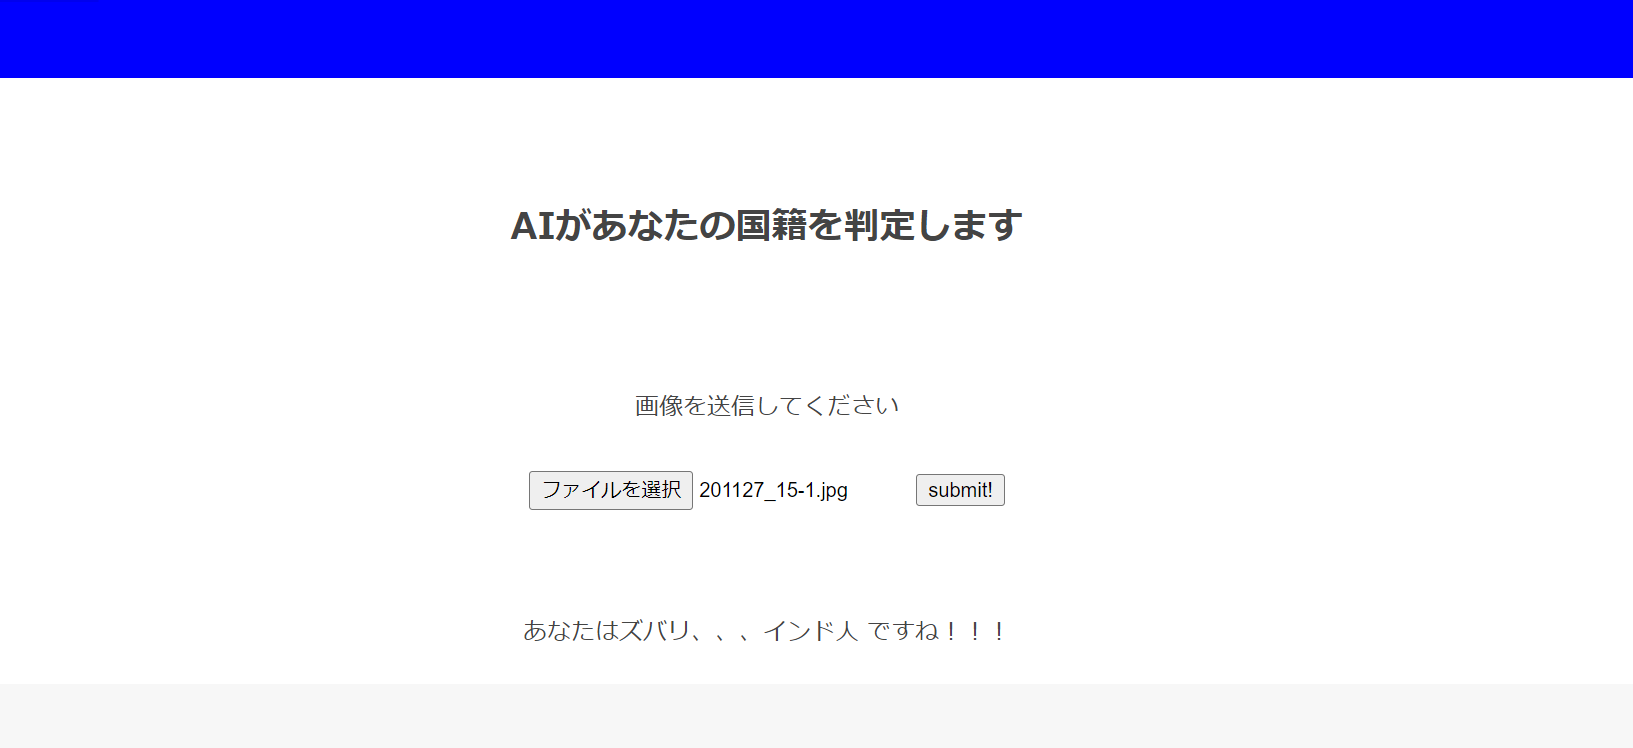
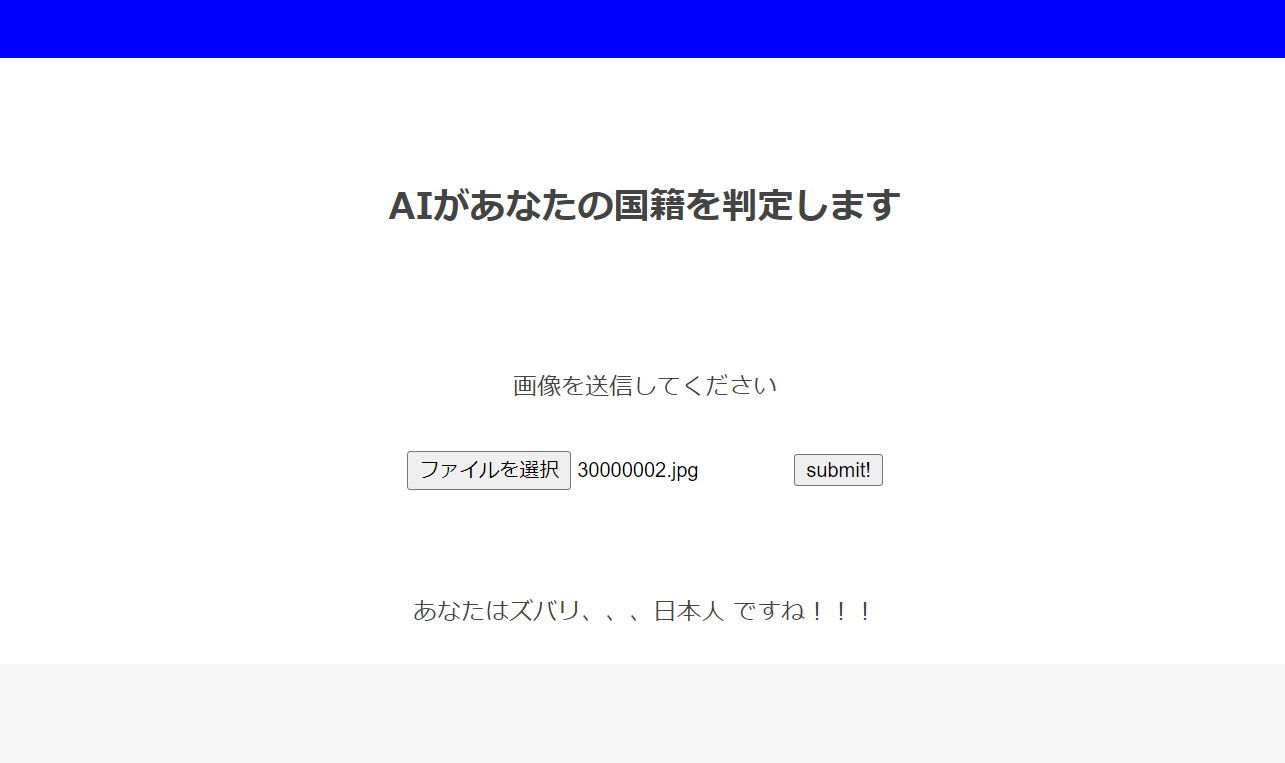
9.判定してみた
10.改善点
1. はじめに
この記事ではプログラミング未経験の私がAidemy「AIアプリ開発講座」を受講し、最終成果物として作成した「国籍判定アプリ」の制作手順について説明します
2. アプリの概要
顔写真をアップロードするとその人の国籍を判定します(日本、アメリカ、イタリア、インドのみです笑)
3. 開発の流れ
データ収集 → データ加工 → モデルの学習 → アプリの作成
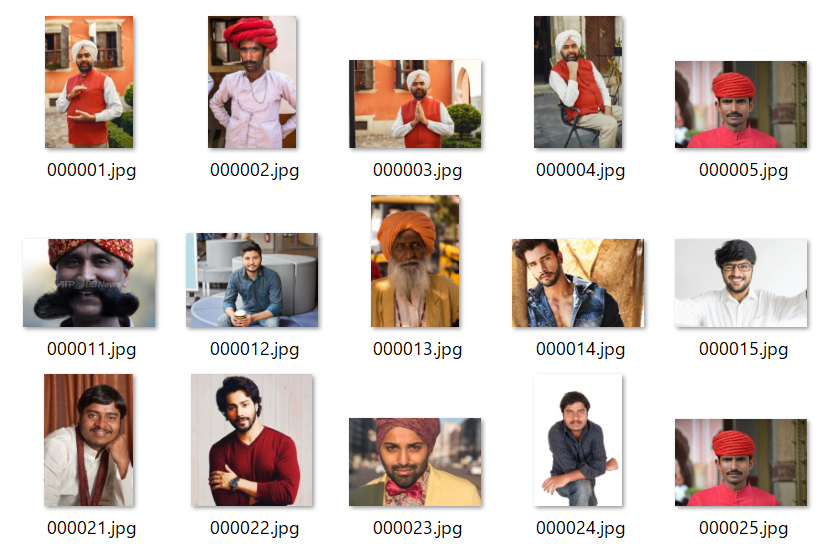
4. スクレイピングによる画像収集
icrawlerを使用して画像を収集した。
from icrawler.builtin import BingImageCrawler

SearchName = ["日本人 男性","アメリカ人 男性","イタリア人 男性","インド人 男性"]

for name in SearchName:
	#1---任意のクローラを指定
	crawler = BingImageCrawler(storage={"root_dir": name})
	#2---検索内容の指定
	crawler.crawl(keyword=name, max_num=100)
5. 画像の下処理
写真の中から顔部分を認識し、切り抜く。OpenCVのCascade分類器を用いた
import cv2
import glob #ファイル読み込みで使用
import os #フォルダ作成で使用


cascade_path= os.path.join(
    cv2.data.haarcascades, "haarcascade_frontalface_alt.xml"
)
face_cascade = cv2.CascadeClassifier(cascade_path)

for fold_path in glob.glob('./Original/*'):
    imgs = glob.glob(fold_path + '/*.jpg')
    # 顔切り取り後の、画像保存先のフォルダ名
    save_path = fold_path.replace('Original','FaceEdited')

    # 保存先のフォルダがなかったら、フォルダ作成
    if not os.path.exists(save_path):
        os.mkdir(save_path)

    # 顔だけ切り取り→保存
    # 画像ごとに処理
    for i, img_path in enumerate(imgs,1):

        img = cv2.imread(img_path)


        img_gray = cv2.cvtColor(img, cv2.COLOR_BGR2GRAY)

        print('{}:read_done'.format(i))
        #カスケード分類器の特徴量を取得する
        cascade = cv2.CascadeClassifier(cascade_path)

        facerect = cascade.detectMultiScale(img_gray, scaleFactor=1.1, minNeighbors=2, minSize=(30, 30))

        #print(facerect)
        color = (255, 255, 255) #白
        print("{}_facerect:".format(i),facerect)
        # 検出した場合
        if len(facerect) > 0 :


            #検出した顔を囲む矩形の作成
            for rect in facerect:
                y=rect[0]
                x=rect[1]
                h=rect[2]
                print('rect:',rect)
                print('plot:',tuple(rect[0:2]),tuple(rect[0:2]+rect[2:4]))
                trim = img[y:y+h,x:x+h]
                print(trim.shape[0],trim.shape[1])
                print(trim.shape[1]!=0 )
                print(trim.shape[0]!= 0 and trim.shape[1]!= 0)
                if trim.shape[0]!= 0 and trim.shape[1]!= 0 :


                    #認識結果の保存
                    file_name = "/{}.jpg".format(i)
                    print(file_name)
                    cv2.imwrite(save_path+file_name, trim)
                else:
                    print(trim.shape[0],trim.shape[1])


        else:

            print("{}:skip".format(i))
あまりうまくいかない、、、
6. 画像の水増し
「左右反転」、「閾値」、「ぼかし」、「モザイク処理」、「縮小」処理を実行し、データ数を水増し。
import os
import glob
import numpy as np
import matplotlib.pyplot as plt
import cv2

# 左右反転の水増しのみ使用
def scratch_image(img, flip=True, thr=True, filt=True, resize=False, erode=False):
    # 水増しの手法を配列にまとめる
    methods = [flip, thr, filt, resize, erode]

    # flip は画像の左右反転
    # thr  は閾値処理
    # filt はぼかし
    # resizeはモザイク
    # erode は縮小
    #     をするorしないを指定している
    #
    # imgの型はOpenCVのcv2.read()によって読み込まれた画像データの型
    #
    # 水増しした画像データを配列にまとめて返す

    # 画像のサイズを習得、ぼかしに使うフィルターの作成
    img_size = img.shape
    filter1 = np.ones((3, 3))

    # オリジナルの画像データを配列に格納
    images = [img]

    # 手法に用いる関数
    scratch = np.array([
        #画像の左右反転のlambda関数を書いてください
        lambda x: cv2.flip(x, 1),
        #閾値処理のlambda関数を書いてください
        lambda x: cv2.threshold(x, 150, 255, cv2.THRESH_TOZERO)[1],
        #ぼかしのlambda関数を書いてください
        lambda x: cv2.GaussianBlur(x, (5, 5), 0),
        #モザイク処理のlambda関数を書いてください
        lambda x: cv2.resize(cv2.resize(x,(img_size[1]//5, img_size[0]//5)), (img_size[1], img_size[0])),
        #縮小するlambda関数を書いてください
        lambda x: cv2.erode(x, filter1)
    ])

    # 関数と画像を引数に、加工した画像を元と合わせて水増しする関数
    doubling_images = lambda f, imag: (imag + [f(i) for i in imag])

    # doubling_imagesを用いてmethodsがTrueの関数で水増ししてください

    for func in scratch[methods]:
        images = doubling_images(func,  images)

    return images


for fold_path in glob.glob('./FaceEdited/*'):
    imgs = glob.glob(fold_path + '/*.jpg')
    print(imgs)
    # 顔切り取り後の、画像保存先のフォルダ名
    save_path = fold_path.replace('FaceEdited','Aug')

    # 保存先のフォルダがなかったら、フォルダ作成
    if not os.path.exists(save_path):
        print(save_path)
        os.mkdir(save_path)

    # 画像ごとに処理
    for i, img_path in enumerate(imgs,1):

        # 画像ファイル名を取得
        base_name = os.path.basename(img_path)
        print(base_name)
        # 画像ファイル名nameと拡張子extを取得
        name,ext = os.path.splitext(base_name)
        print(name + ext)

        # 画像ファイルを読み込む
        img = cv2.imread(img_path, 1)
        scratch_images = scratch_image(img)


        for j, im in enumerate(scratch_images):
             #認識結果の保存
            file_name = "/{:0=2}_{:0=2}.jpg".format(i,j)
            print(file_name)
            cv2.imwrite(save_path+file_name, im)
7. モデルの学習
データの準備が整ったのでモデルを学習する。画像を64×64にリサイズしてインプットした。モデルはvgg16の転移学習を用いた。
import os
import glob
import cv2
import numpy as np
import matplotlib.pyplot as plt
from keras.utils.np_utils import to_categorical
from keras.layers import Dense, Dropout, Flatten, Input
from keras.applications.vgg16 import VGG16
from keras.models import Model, Sequential
from keras import optimizers


# 各国配列格納
natio_list = ["ind_male", "ita_male", "jap_male", "usa_male"]
print(natio_list)
print(len(natio_list))


# 各国の画像ファイルパスを配列で取得する関数
def get_path_natio(natio):
  path_natio = glob.glob('./Aug/' + natio + '/*')
  return path_natio

#リサイズ時のサイス指定
img_size = 64


# 各国の画像データndarray配列を取得する関数
def get_img_natio(natio):
  path_natio = get_path_natio(natio)

  img_natio = []
  for i in range(len(path_natio)):
    # 画像の読み取り、64にリサイズ
    img = cv2.imread(path_natio[i])
    img = cv2.resize(img, (img_size, img_size))
    # img_sakuraiに画像データのndarray配列を追加していく
    img_natio.append(img)
  return img_natio


# 各国の画像データを合わせる
X = []
y = []
for i in range(len(natio_list)):
    print(natio_list[i] + ":" + str(len(get_img_natio(natio_list[i]))))
    X += get_img_natio(natio_list[i])
    y += [i]*len(get_img_natio(natio_list[i]))
X = np.array(X)
y = np.array(y)

print(X.shape)

# ランダムに並び替え
rand_index = np.random.permutation(np.arange(len(X)))

# 上記のランダムな順番に並び替え
X = X[rand_index]
y = y[rand_index]

# データの分割(トレインデータが8割)
X_train = X[:int(len(X)*0.8)]
y_train = y[:int(len(y)*0.8)]
X_test = X[int(len(X)*0.8):]
y_test = y[int(len(y)*0.8):]

# one-hotベクトルに変換
y_train = to_categorical(y_train)
y_test = to_categorical(y_test)

# モデル
input_tensor = Input(shape=(64, 64, 3))
vgg16 = VGG16(include_top=False, weights='imagenet', input_tensor=input_tensor)

top_model = Sequential()
top_model.add(Flatten(input_shape=vgg16.output_shape[1:]))
top_model.add(Dense(256, activation='relu'))
top_model.add(Dropout(0.5))
top_model.add(Dense(len(natio_list), activation='softmax'))

model = Model(inputs=vgg16.input, outputs=top_model(vgg16.output))

# vgg16の重みの固定
for layer in model.layers[:15]:
    layer.trainable = False

# モデルの読み込み
model.compile(loss='categorical_crossentropy',
              optimizer=optimizers.SGD(lr=1e-4, momentum=0.9),
              metrics=['accuracy'])

model.summary()
history = model.fit(X_train, y_train, batch_size=64, epochs=50,  validation_data=(X_test, y_test))

# モデルの保存
model.save('model.h5')


# 精度の評価(適切なモデル名に変えて、コメントアウトを外してください)
scores = model.evaluate(X_test, y_test, verbose=1)
print('Test loss:', scores[0])
print('Test accuracy:', scores[1])

# acc, val_accのプロット
plt.plot(history.history['acc'], label='acc', ls='-')
plt.plot(history.history['val_acc'], label='val_acc', ls='-')
plt.ylabel('accuracy')
plt.xlabel('epoch')
plt.legend(loc='best')
plt.show()
Test loss: 0.24770452082157135
Test accuracy: 0.9108280539512634
8. アプリの作成
最後に保存した学習モデルを用いて、flaskでウェブアプリケーションとして形にしていきます。

9. 判定してみた
10.改善点
顔部分を切り抜く工程で精度が低かった。カスケード分類器の精度を上げていきたい。


