はじめに
この記事は JSL (日本システム技研) Advent Calendar 2022 - Qiita 21日目の記事です。
(1)に引き続きECRにNginx + gunicorn環境のDjangoをデプロイするのを目標としていきます。
今回もこちらの記事を参考にしながら進めてます。
DjangoとNginxのコンテナを作成してECRに登録するまでを目標とします。
コンテナの作成
環境構築
参考記事では、Cloud9を使用していますが、私はローカルのMacにて環境構築することにしました。
Djangoの構成ファイルファイルについての説明は割愛します。
Docker-Composeは以下のバージョンを使用します
$ docker-compose -v
docker-compose version 1.29.2, build 5becea4c
Djangoのコンテナイメージ
Djangoのコンテナイメージを作成します
$ mkdir django nginx
$ cd django
$ touch Dockerfile requirements.txt uwsgi.ini setting.py

├── django
    ├── Dockerfile
    ├── requirements.txt
    ├── settings.py
    └── uwsgi.ini
Dockerfileを以下のように作成します。
FROM python:3.9-buster as builder
ENV PYTHONUNBUFFERED=1
RUN mkdir app
WORKDIR /app
RUN mkdir -p tmp/sockets
COPY requirements.txt /app/
RUN pip install -r requirements.txt

RUN django-admin startproject mysite .
COPY ./uwsgi.ini .
COPY ./settings.py mysite/

FROM python:3.9-slim-buster as production
ENV PYTHONUNBUFFERED=1
RUN mkdir app
WORKDIR /app
RUN mkdir -p tmp/sockets

RUN apt update \
  && apt install -y libpq5 libxml2 \
  && apt-get clean \
  && rm -rf /var/lib/apt/lists/*

COPY --from=builder /usr/local/lib/python3.9/site-packages /usr/local/lib/python3.9/site-packages
COPY --from=builder /usr/local/bin/uwsgi /usr/local/bin/uwsgi
COPY --from=builder /app /app

CMD uwsgi --ini uwsgi.ini
setting.pyを以下のように作成します。基本的にDjangoで自動生成してくれたsetting.pyを使用できますが、以下は環境によって変更が必要です。
- ROOT_URLCONF(プロジェクト名に合わせる。今回はmysite)
- WSGI_APPLICATION(プロジェクト名に合わせる。今回はmysite)
- DATABASES
- STATIC_ROOT
"""
Django settings for mysite project.

Generated by 'django-admin startproject' using Django 3.2.2.

For more information on this file, see
https://docs.djangoproject.com/en/3.2/topics/settings/

For the full list of settings and their values, see
https://docs.djangoproject.com/en/3.2/ref/settings/
"""

from pathlib import Path
import os
# Build paths inside the project like this: BASE_DIR / 'subdir'.
BASE_DIR = Path(__file__).resolve().parent.parent


# Quick-start development settings - unsuitable for production
# See https://docs.djangoproject.com/en/3.2/howto/deployment/checklist/

# SECURITY WARNING: keep the secret key used in production secret!
SECRET_KEY = 'django-insecure-1uot&16wp3w**7^3g%6pvrfl_ufj!7k9lp!m@*f(jrdtm7*yn='

# SECURITY WARNING: don't run with debug turned on in production!
DEBUG = True

ALLOWED_HOSTS = ['*']


# Application definition

INSTALLED_APPS = [
    'django.contrib.admin',
    'django.contrib.auth',
    'django.contrib.contenttypes',
    'django.contrib.sessions',
    'django.contrib.messages',
    'django.contrib.staticfiles',
]

MIDDLEWARE = [
    'django.middleware.security.SecurityMiddleware',
    'django.contrib.sessions.middleware.SessionMiddleware',
    'django.middleware.common.CommonMiddleware',
    'django.middleware.csrf.CsrfViewMiddleware',
    'django.contrib.auth.middleware.AuthenticationMiddleware',
    'django.contrib.messages.middleware.MessageMiddleware',
    'django.middleware.clickjacking.XFrameOptionsMiddleware',
]

ROOT_URLCONF = 'mysite.urls'

TEMPLATES = [
    {
        'BACKEND': 'django.template.backends.django.DjangoTemplates',
        'DIRS': [],
        'APP_DIRS': True,
        'OPTIONS': {
            'context_processors': [
                'django.template.context_processors.debug',
                'django.template.context_processors.request',
                'django.contrib.auth.context_processors.auth',
                'django.contrib.messages.context_processors.messages',
            ],
        },
    },
]

WSGI_APPLICATION = 'mysite.wsgi.application'


# Database
# https://docs.djangoproject.com/en/3.2/ref/settings/#databases

DATABASES = {
    'default': {
        'ENGINE': 'django.db.backends.postgresql_psycopg2',
        'NAME': os.environ['POSTGRES_NAME'],
        'USER': os.environ['POSTGRES_USER'],
        'PASSWORD': os.environ['POSTGRES_PASSWORD'],
        'HOST': os.environ['POSTGRES_HOST'],
        'PORT': os.environ['POSTGRES_PORT'],
    }
}


# Password validation
# https://docs.djangoproject.com/en/3.2/ref/settings/#auth-password-validators

AUTH_PASSWORD_VALIDATORS = [
    {
        'NAME': 'django.contrib.auth.password_validation.UserAttributeSimilarityValidator',
    },
    {
        'NAME': 'django.contrib.auth.password_validation.MinimumLengthValidator',
    },
    {
        'NAME': 'django.contrib.auth.password_validation.CommonPasswordValidator',
    },
    {
        'NAME': 'django.contrib.auth.password_validation.NumericPasswordValidator',
    },
]


# Internationalization
# https://docs.djangoproject.com/en/3.2/topics/i18n/

LANGUAGE_CODE = 'en-us'

TIME_ZONE = 'UTC'

USE_I18N = True

USE_L10N = True

USE_TZ = True


# Static files (CSS, JavaScript, Images)
# https://docs.djangoproject.com/en/3.2/howto/static-files/

STATIC_URL = '/static/'
STATIC_ROOT = os.path.join(BASE_DIR, "static/")

# Default primary key field type
# https://docs.djangoproject.com/en/3.2/ref/settings/#default-auto-field

DEFAULT_AUTO_FIELD = 'django.db.models.BigAutoField'
requirements.txtを以下のように作成します。
Django>=3.0,<4.0
psycopg2-binary>=2.8
uwsgi
uwsgi.iniを以下のように作成します。
[uwsgi]
chdir = .
wsgi-file =./mysite/wsgi.py
module = mysite.wsgi:application
socket = /app/tmp/sockets/app.sock
chmod-socket = 666
Nginxのコンテナイメージ
次にNginxのコンテナイメージを作成します。
staticフォルダは後にDjangoの静的ファイルを格納するために作成します。
$ cd nginx
$ mkdir static
$ touch Dockerfile nginx.conf

├── django
├── nginx
   ├── Dockerfile
   ├── nginx.conf
   └── static
Dockerfileを以下のように作成します。
FROM nginx:1.15.8
RUN rm -f /etc/nginx/conf.d/*
ADD nginx.conf /etc/nginx/conf.d/nginx.conf
COPY static/ /app/static/

CMD /usr/sbin/nginx -g 'daemon off;' -c /etc/nginx/nginx.conf
nginx.confを以下のように作成します。
upstream django {
    server unix:/app/tmp/sockets/app.sock;
}
server {
    listen       80 default_server;
    listen       [::]:80 default_server;
    server_name  _;

    location / {
        include uwsgi_params;
        uwsgi_pass django;
    }

    location /static/ {
        alias /app/static/;
    }
}
コンテナイメージのビルド
ポスグレのボリューム用のフォルダを作成
$ mkdir -p volumes/data/db/

├── django
├── nginx
└── volumes
    └── data
        └── db
docker-compose.ymlファイルの作成
docker-compose.ymlを以下のように作成します。
$ touch docker-compose.yml

├── django
├── docker-compose.yml
├── nginx
└── volumes
version: "3"

services:
  db:
    image: postgres
    platform: linux/amd64
    volumes:
      - ./volumes/data/db:/var/lib/postgresql/data
    environment:
      - POSTGRES_DB=postgres
      - POSTGRES_USER=postgres
      - POSTGRES_PASSWORD=postgres
    container_name: db_postgres
  app:
    build:
      context: ./django/
    platform: linux/amd64
    volumes:
      - tmp-data:/app/tmp
    environment:
      - POSTGRES_NAME=postgres
      - POSTGRES_HOST=db_postgres
      - POSTGRES_USER=postgres
      - POSTGRES_PASSWORD=postgres
      - POSTGRES_PORT=5432
    depends_on:
      - db
  nginx:
    build:
      context: ./nginx/
    platform: linux/amd64
    volumes:
      - tmp-data:/app/tmp
    ports:
      - "80:80"
    depends_on:
      - app
volumes:
  tmp-data:
ビルド&起動
$ docker-compose up --build
Attaching to db_postgres, ecs_app_1, ecs_nginx_1
app_1    | [uWSGI] getting INI configuration from uwsgi.ini
app_1    | *** Starting uWSGI 2.0.21 (64bit) on [Wed Dec 21 11:01:23 2022] ***
app_1    | compiled with version: 8.3.0 on 21 December 2022 11:00:32
app_1    | os: Linux-5.10.76-linuxkit #1 SMP PREEMPT Mon Nov 8 11:22:26 UTC 2021
app_1    | nodename: 735de9007bf0
app_1    | machine: aarch64
app_1    | clock source: unix
app_1    | pcre jit disabled
app_1    | detected number of CPU cores: 2
静的ファイルの配置とマイグレーション
次にDjangono静的ファイルの配置とマイグレーションをします。
起動したターミナルの別タブでターミナルを起動して以下を実行します。
$ docker-compose exec app python manage.py collectstatic

128 static files copied to '/app/static'.

# staticフォルダが作成されていることを確認
$  docker-compose exec app ls -l
total 24
-rwxr-xr-x 1 root root  662 Dec 21 11:00 manage.py
drwxr-xr-x 1 root root 4096 Dec 21 11:01 mysite
-rw-r--r-- 1 root root   44 Dec 21 05:04 requirements.txt
drwxr-xr-x 3 root root 4096 Dec 21 11:08 static
drwxr-xr-x 3 root root 4096 Dec 21 11:01 tmp
-rw-r--r-- 1 root root  133 Dec 21 05:04 uwsgi.ini
作成されたstaticファイルを、ローカルのnginxディレクトリにコピーします。
コンテナIDを動的(docker-compose ps -q appにて)に取得しているため、そのまま実行できます。
$ docker cp `docker-compose ps -q app`:/app/static nginx/
$ ls nginx/static/admin/
css	fonts img js
次にマイグレーションをします
$ docker-compose exec app python manage.py migrate
Operations to perform:
  Apply all migrations: admin, auth, contenttypes, sessions
Running migrations:
  Applying contenttypes.0001_initial... OK
  Applying auth.0001_initial... OK
  Applying admin.0001_initial... OK
  Applying admin.0002_logentry_remove_auto_add... OK
  Applying admin.0003_logentry_add_action_flag_choices... OK
  Applying contenttypes.0002_remove_content_type_name... OK
  Applying auth.0002_alter_permission_name_max_length... OK
  Applying auth.0003_alter_user_email_max_length... OK
  Applying auth.0004_alter_user_username_opts... OK
  Applying auth.0005_alter_user_last_login_null... OK
  Applying auth.0006_require_contenttypes_0002... OK
  Applying auth.0007_alter_validators_add_error_messages... OK
  Applying auth.0008_alter_user_username_max_length... OK
  Applying auth.0009_alter_user_last_name_max_length... OK
  Applying auth.0010_alter_group_name_max_length... OK
  Applying auth.0011_update_proxy_permissions... OK
  Applying auth.0012_alter_user_first_name_max_length... OK
  Applying sessions.0001_initial... OK
再ビルド
静的ファイルとマイグレーションしたDBが完成したので再度ビルドをしてイメージを作ります。
docker-composeで動かしているコンテナを「Ctrl+c」で停止します。
$ docker-compose up --build
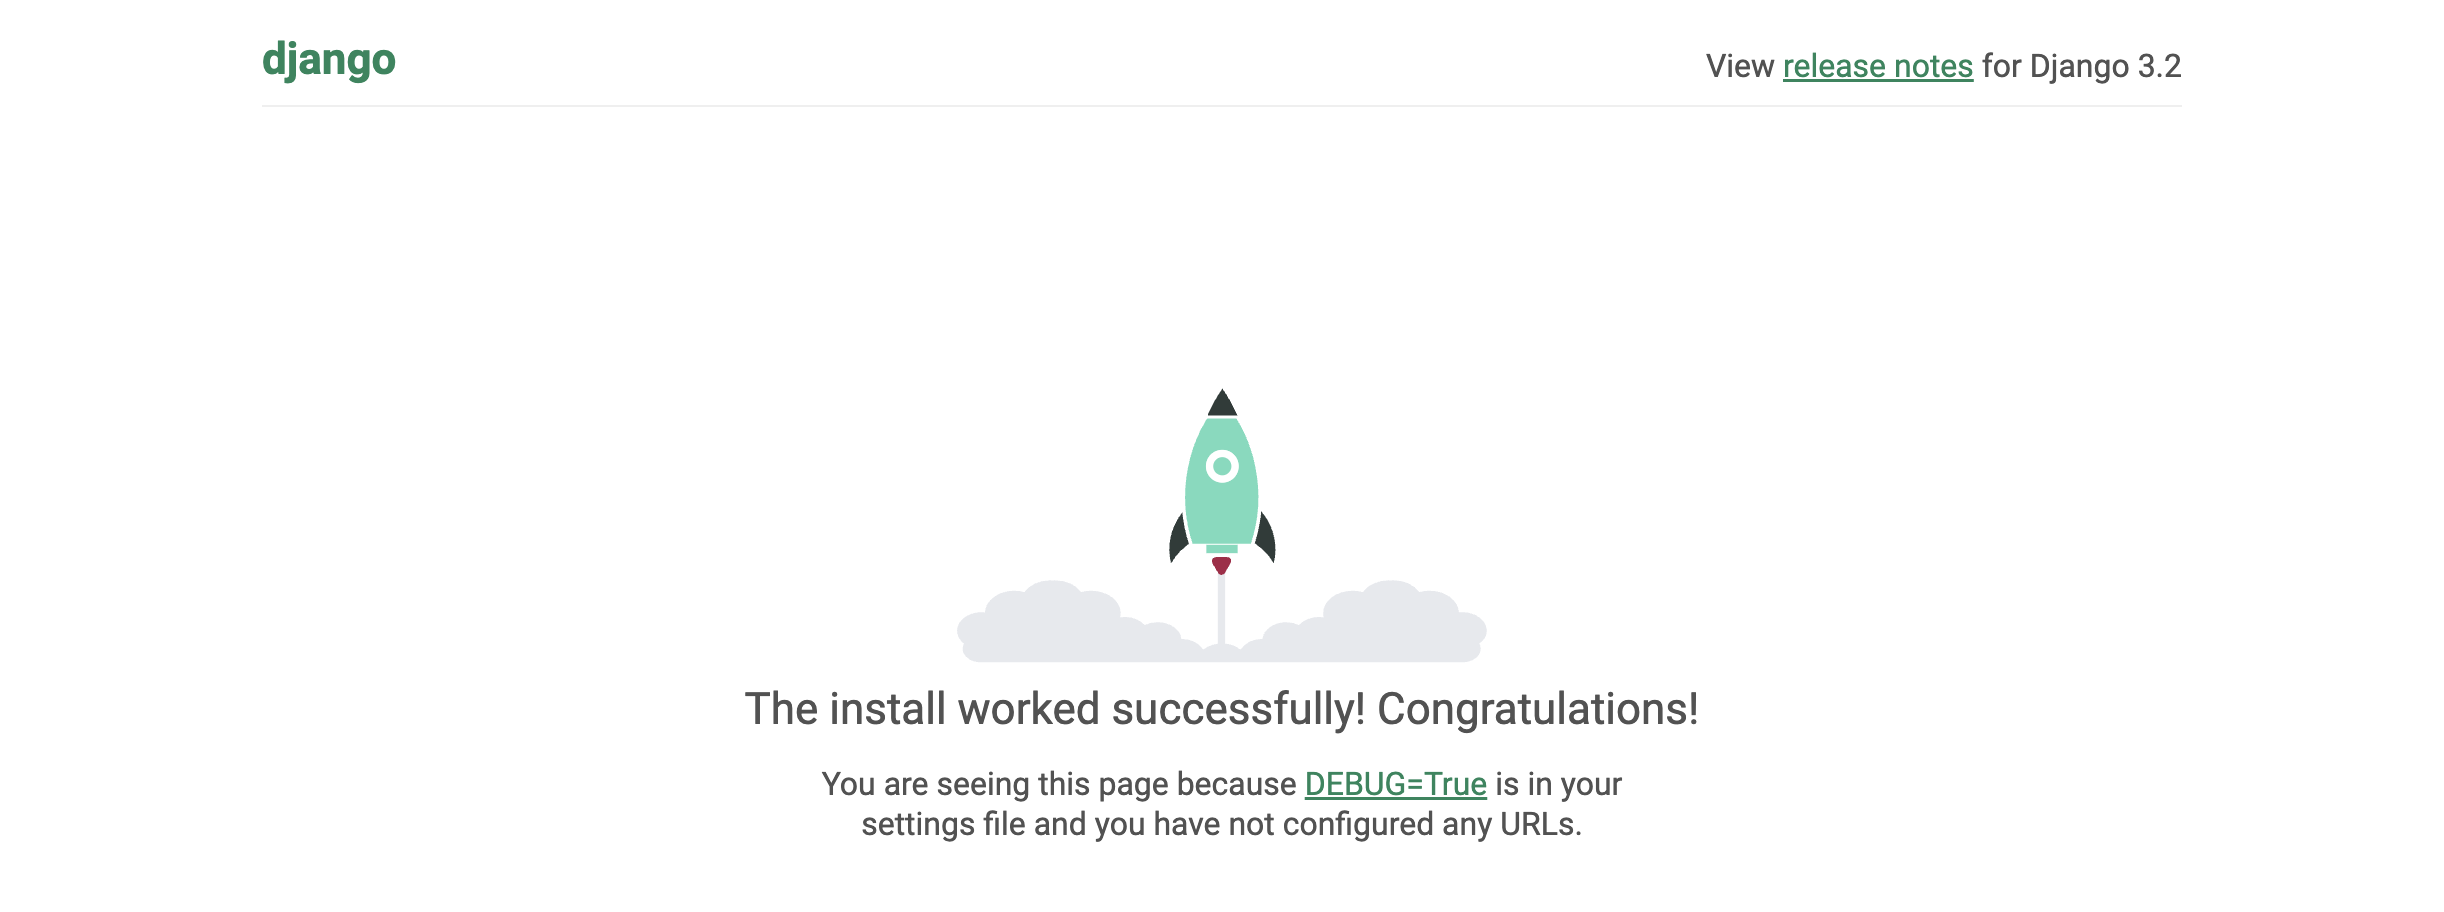
ブラウザでlocalhostと入力するとDjangoのスタートページが表示されます。
完了したら動かしているコンテナを「Ctrl+c」で停止します。
ECRにコンテナ登録
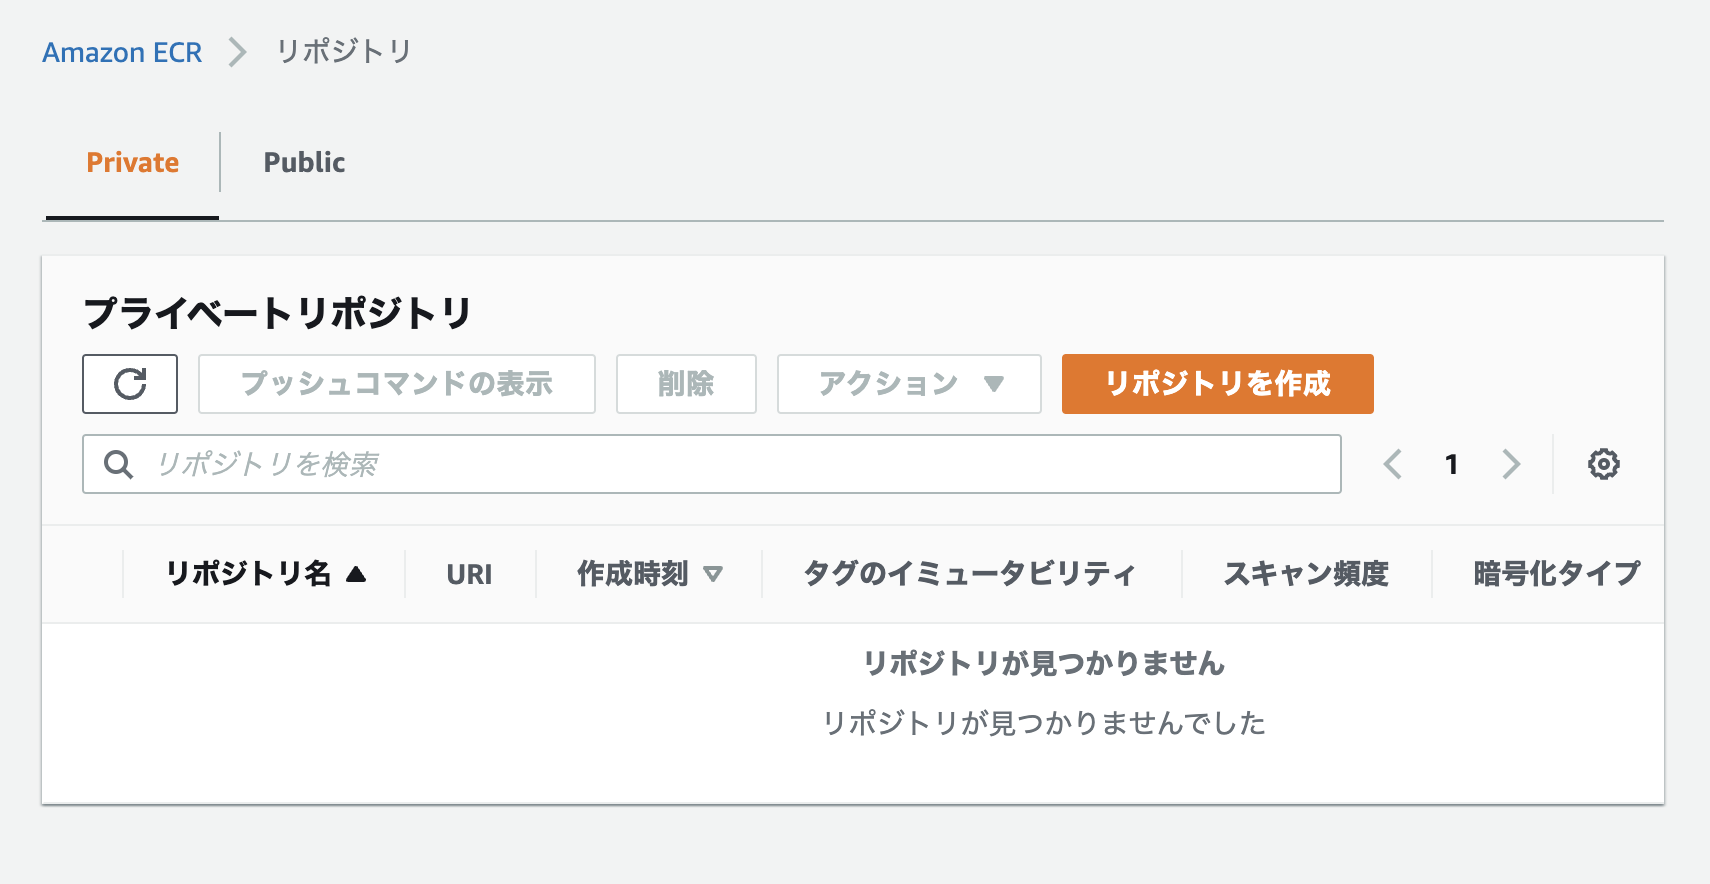
ECRにDjangoとNginxのリポジトリを作成します。Privateタブを選択して、「リポジトリを作成」をクリックします。
Django用リポジトリ
| 項目 | 設定値 |
|---|---|
| 可視性設定 | プライベート |
| リポジトリ名 | test-ecs-django |
| プッシュ時にスキャン | 有効 |
| その他の項目 | デフォルト |
Nginx用リポジトリ
| 項目 | 設定値 |
|---|---|
| 可視性設定 | プライベート |
| リポジトリ名 | test-ecs-nginx |
| プッシュ時にスキャン | 有効 |
| その他の項目 | デフォルト |
「プッシュ時にスキャン」を有効にしておけば、イメージの脆弱性を教えてくれます。
設定したら「リポジトリを作成」をクリックします。
aws cliのインストール
今回は、AWS CLI v2を使用します。
$ aws --version
aws-cli/2.9.8 Python/3.9.11 Darwin/21.6.0 exe/x86_64 prompt/off
未インストールの場合は、ここからダウンロードします。
イメージのプッシュ
# ログイン
$ aws ecr get-login-password | docker login --username AWS --password-stdin <AWSアカウントID>.dkr.ecr.ap-northeast-1.amazonaws.com

Login Succeeded1.amazonaws.com
# イメージの確認
% docker image ls
ecs_nginx         latest           f48d0c964ee6   21 hours ago    104MB
ecs_app           latest           eff60f1cb176   21 hours ago    201MB
# リポジトリをタグをECR向けにして作成
$ docker tag `docker image ls ecs_app -q` <AWSアカウントID>.dkr.ecr.ap-northeast-1.amazonaws.com/test-ecs-django:latest
$ docker tag `docker image ls ecs_nginx -q` <AWSアカウントID>.dkr.ecr.ap-northeast-1.amazonaws.com/test-ecs-nginx:latest
# 同じイメージIDのECR向けリポジトリがあることを確認
 docker image ls
REPOSITORY                                                          TAG              IMAGE ID       CREATED         SIZE
xxxxxxxxxxxx.dkr.ecr.ap-northeast-1.amazonaws.com/test-ecs-nginx    0.1              f48d0c964ee6   21 hours ago    104MB
ecs_nginx                                                           latest           f48d0c964ee6   21 hours ago    104MB
xxxxxxxxxxxx.dkr.ecr.ap-northeast-1.amazonaws.com/test-ecs-django   0.1              eff60f1cb176   21 hours ago    201MB
ecs_app                                                             latest           eff60f1cb176   21 hours ago    201MB
# プッシュ
$ docker push xxxxxxxxxxxx.dkr.ecr.ap-northeast-1.amazonaws.com/test-ecs-django:latest
$ docker push xxxxxxxxxxxx.dkr.ecr.ap-northeast-1.amazonaws.com/test-ecs-nginx:latest
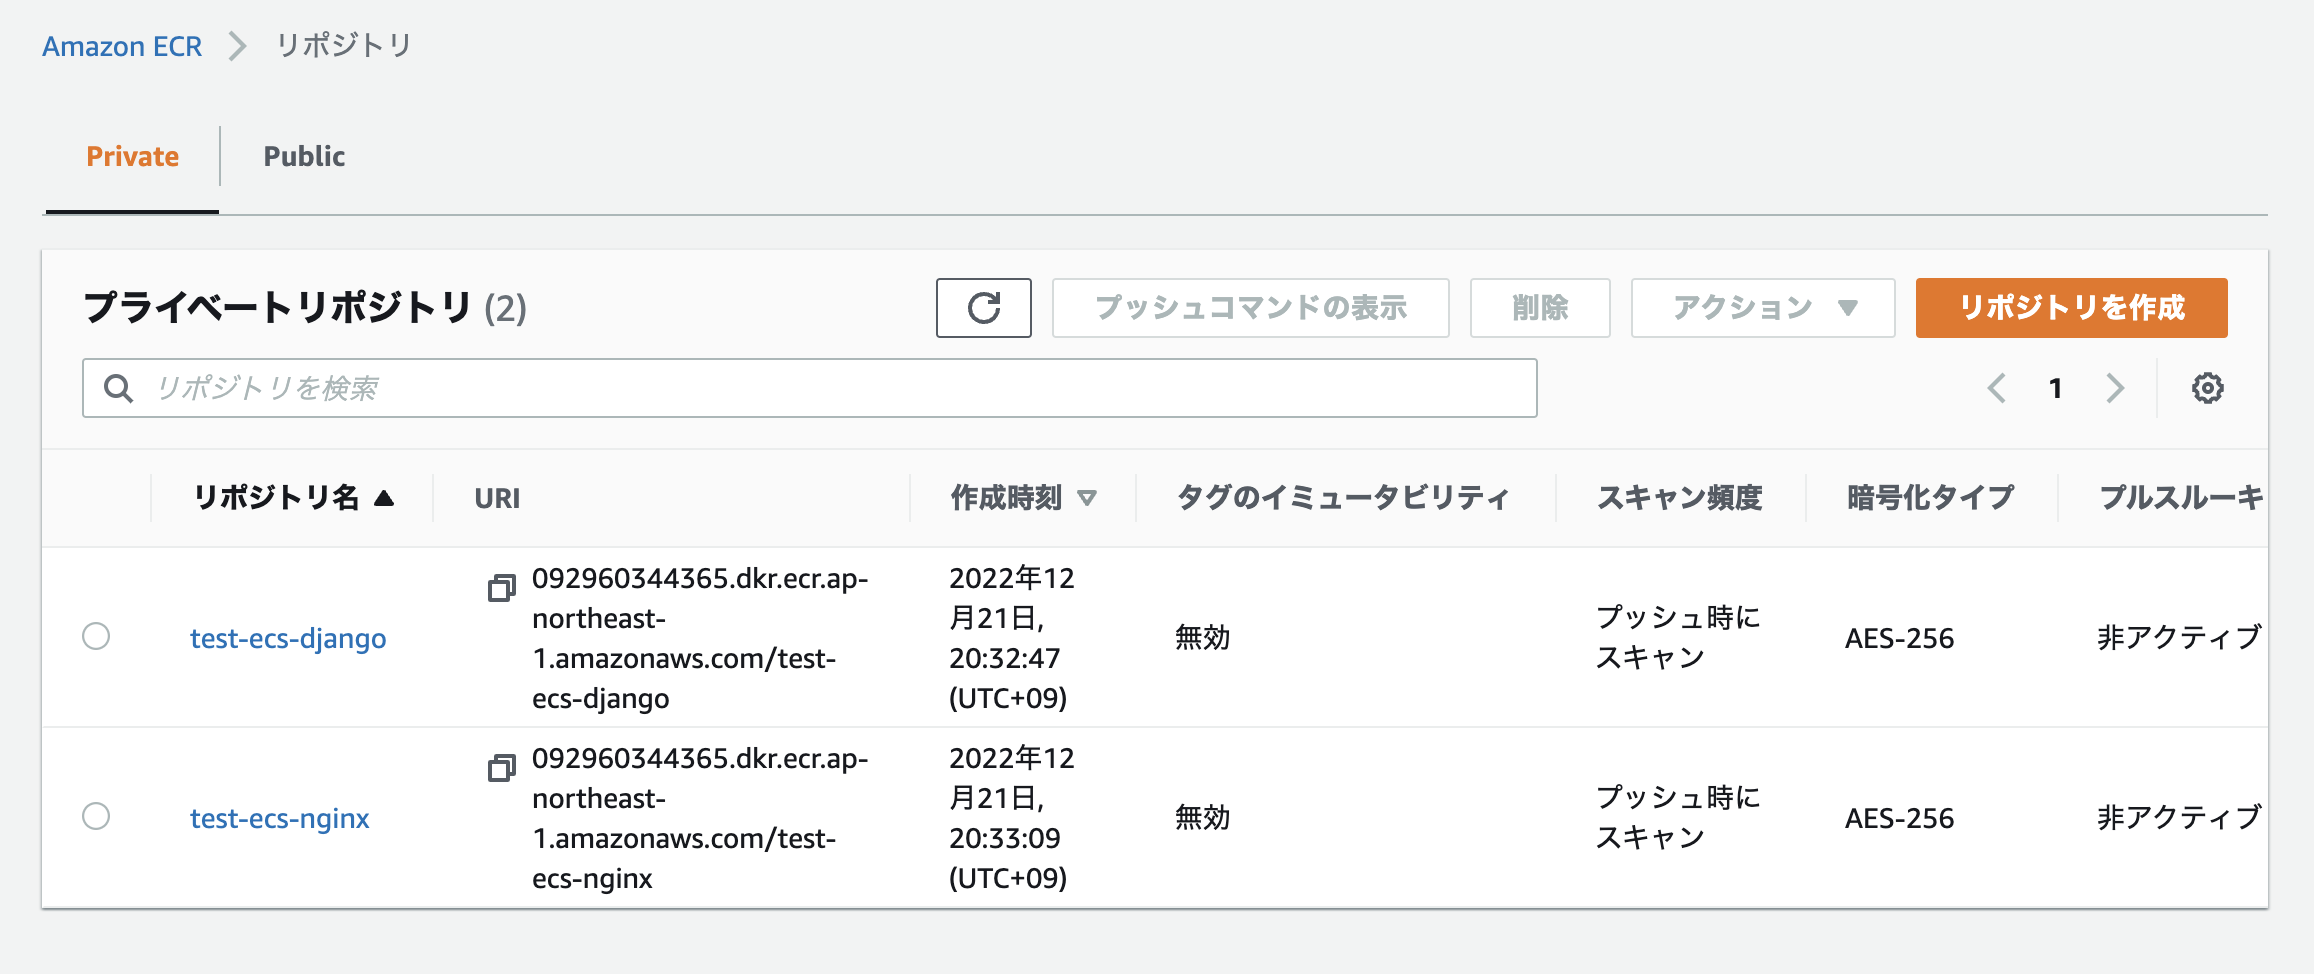
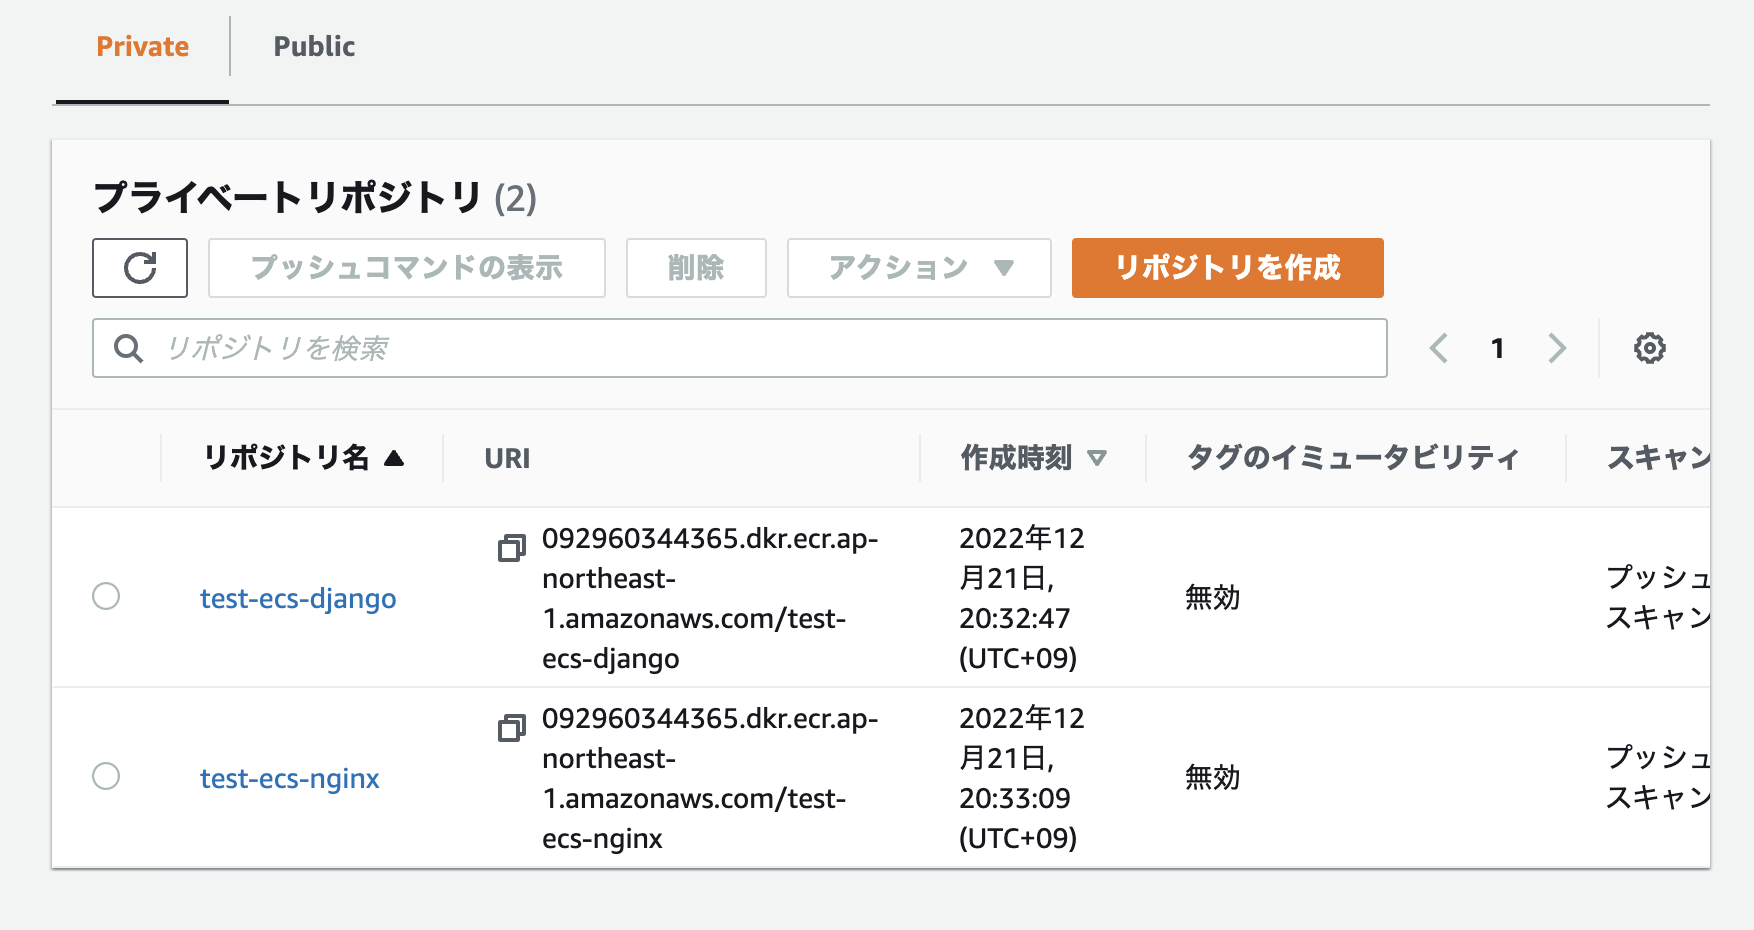
以下のようにリポジトリがプッシュされれば成功です。
プッシュ時にRetrying ~ EOFとエラーになってしまう場合
ログイン時にprofileで正しいポリシーが設定されているIAMユーザーを以下のように指定すると解消します。今回はAmazonEC2ContainerRegistryFullAccessを設定しました。
$ aws ecr get-login-password --profile test-ecs | docker login --username AWS --password-stdin 092960344365.dkr.ecr.ap-northeast-1.amazonaws.com
(2)のまとめ
- (2)はDjangoとNginxのコンテナをローカルで構築しECRにプッシュするところまでを行いました。プッシュがうまくいかずハマってしまいAWS CLI力の無さが露呈されてしまいました

- (3)に続きます。


