目次
1.はじめに
2.BLE の概要
3.Web Bluetooth API
4.scan~ 接続/切断
5.Notificaton
6.Write
7.Read
8.複数の characteristic を使う
9.デバッグ
10.あとがき
1.はじめに
…主に自分が見直すための記録です…OS の機能(カメラ、Bluetooth、…)を使おうと思ったら JAVA とかでネイティブアプリを作るものだと思っていました。
まさか JS で Web から OS の機能を操作できるとは…!
仕様に制限がありますが、Web アプリでできることが格段に増えて夢が広がります。
近年では PWA も着実に流行ってきているので JS を学ぶ身として楽しみです!
今回は仕事で使う機会があった**Web Bluetooth API(Chrome)**について、学んだことを簡単にまとめておきます。
2.BLE の概要
BLEについて調べ始めるといきなり知らない単語が出てきました。 GATT通信とか Characteristicとか… 知らなくてもプログラムは組めますが、やっぱり知っていたほうがいいです。 これらの理解には以下のサイトが分かりやすかったです。いきなり他力本願ですがw [サルでもわかるBLE入門](https://www.musen-connect.co.jp/blog/course/trial-production/ble-beginner-1/"サルでもわかるBLE入門") ※リンク切れてますね…すみません単語まとめ
| 単語 | 簡単な解説 |
|---|---|
| ペリフェラル | 子機。接続するまで周期的にアドバタイズしている。 |
| セントラル | 親機。複数のペリフェラルと接続可能。 |
| アドバタイズ | 接続待ちの間ペリフェラルが発するブロードキャスト通信 |
| GATT 通信 | ペアリング後の一対一の通信 |
| Service | Characteristic を機能単位で一括りにしたラベルのようなもの |
| Characteristic | 機能 Notification/Read/Write がある |
| UUID | Service/Characteristic にアクセスするための固有 ID |
3.Web Bluetooth API
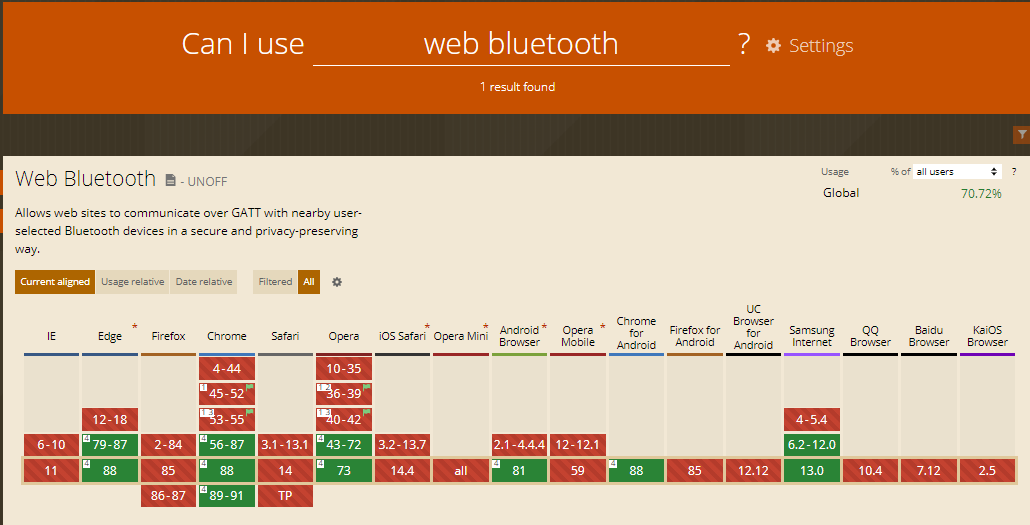
- Web Bluetooth API 対応状況 … Can I use
Chrome で使うのが無難かと。 - 公式リファレンス … Web Bluetooth
- 翻訳 ver は こちら
- 公式サンプル集 … Web Bluetooth Samples
- ライブラリ
- Web Bluetooth にはプログラミングを簡単にするためのライブラリがあります。
このライブラリを使わなくても解説が非常に参考になるので一読、お勧めします。(今回は使いません)
BlueJelly
- Web Bluetooth にはプログラミングを簡単にするためのライブラリがあります。
- その他制限
- セキュリティのため、スキャン開始時にユーザーアクションが必須となります。
そのため、「アクセス時自動接続」等はできません。 - デバイスの機能にアクセスするため、httpsもしくはlocalhostでしか動きません。
- セキュリティのため、スキャン開始時にユーザーアクションが必須となります。
Bluetooth 使用の流れは
スキャン ⇒ GATT サーバ接続 ⇒ Service 取得 ⇒ Characteristic 取得 ⇒ それぞれの動作 となります。
4.scan~ 接続/切断
スキャンにはユーザーアクションが必須となります。 今回は簡単にボタンを用意しました。<body>
<button id="scanBtn">接続</button>
<button id="disConnect">切断</button>
<button id="writeBtn">送信</button>
</body>
接続ボタンでスキャンを開始、切断ボタンで接続を切ります。
続いて JS ファイルの内容です。
Web Bluetooth は Promise か Async Await 方式で記述します。
//ボタン登録 ---------------------------------------------------------
const scan = document.getElementById('scanBtn');
const disconnect = document.getElementById('disConnect');

scan.addEventListener('click', () => {
    startScan();
});

disconnect.addEventListener('click', () => {
    onDisconnected();
})
//----------------------------------------------------------------------

//UUID登録 使うサービスとcharacteristicのUUIDを登録する
const serviceUUID = '00000000-0000-0000-0000-000000000000';
//デバイスからのデータCharacteristic
const CharacteristicUUID_Notification = '000000000-0000-0000-0000-000000000000';
const CharacteristicUUID_ReadRead = '00000000-0000-0000-0000-000000000000';
const CharacteristicUUID_Write = '00000000-0000-0000-0000-000000000000';

// BLE接続用
let keyDevice;
let keyServer;
let keyService;
let keyNotificationCharacteristic;
let keyReadCharacteristic;
let keyWriteCharacteristic;


/**
 * web bluetooth api
 * bluetooth接続機器をスキャンする
 */
const startScan = () => {
    navigator.bluetooth.requestDevice({
        filters: [{
            //name: 'デバイス名',
            //namePrefix:'デバイスのプレフィックス',
            services: [serviceUUID],
        }]
    })
        .then(device => {
            startModal('接続中…');
            //接続
            console.log("device.id    : " + device.id);
            console.log("device.name  : " + device.name);
            console.log("device.uuids : " + device.uuids);
            keyDevice = device;
            keyDevice.addEventListener('gattserverdisconnected', onDisconnected);
            return device.gatt.connect();
        })
        //サービスを取得
        .then(server => {
            keyServer = server;
            console.log('Getting service...');
            return server.getPrimaryService(serviceUUID);
        })
        //Characteristicを取得
        .then(service => {
            keyService = service;
            console.log('Getting Notification Characteristic...');
            //複数のCharacteristicを使う場合はここから更に登録する
            return service.getCharacteristic(//使用するCharaceristicUUID);
        })
        //Characteristicの動作
        .then(characteristic => {
            // characteristicに対してRead/Write/Notificationsの処理を記述
        })
        .catch(error => {
            console.log(error);
        })
};

const onDisconnected = () => {
    console.log('> Bluetooth Device disconnected')
};
- UUID について
- Service と Characterisitc にそれぞれ設定されている、16 進数の文字列とハイフンからなる 128bit の文字列です。
また、UUID には 2 種類あります。 - 定義済み UUID Bluetooth SIG が定義して割り当てている UUID … 定義済み UUID 一覧
- オリジナル UUID 開発者が決めた UUID
- 注意 仕様書の UUID が大文字英字で書かれていてもソースには小文字、ハイフン込みで書きます。
- Service と Characterisitc にそれぞれ設定されている、16 進数の文字列とハイフンからなる 128bit の文字列です。
5.Notificaton
//Characteristicを取得
        .then(service => {
            keyService = service;
            console.log('Getting Notification Characteristic...');
            return service.getCharacteristic(CharacteristicUUID_Notification);
        })
        //Characteristicの動作
        .then(characteristic => {
            keyNotificationCharacteristic = characteristic;
            return keyNotificationCharacteristic.startNotifications().then(_ => {
                console.log('> Notifications started');
                keyNotificationCharacteristic.addEventListener('characteristicvaluechanged',
                    handleNotifications);
            });
        })...

//notification
const handleNotifications = (event) => {
    let value = event.target.value;
    let notifyArray = [];

    for (let i = 0; i < value.byteLength; i++) {
        notifyArray.push('0x' + ('00' + value.getUint8(i).toString(16)).slice(-2));
    };
    console.log('> ' + a.join(' '));
};
.then(service で
getCharacteristic() メソッドで Notification を引数にします。
その後、
.then(characteristic で handleNotifications を呼んでいます。
BLE では、セントラルとペリフェラルとのやりとりは ArrayBuffer 形式で行われます。
handleNotifications では、ペリフェラルからの通知を 16 進数に変換しています。
6.Write
bluetooth.js にWriteを追加します。let msg = 555;
document.getElementById('writeBtn').addEventListener('click', () => {
writeStart();
});
const writeStart = (msg) => {
keyService.getCharacteristic(CharacteristicUUID_Write)
.then(characteristic => {
keyWriteCharacteristic = characteristic;
keyWriteCharacteristic.writeValue(new Uint8Array([msg]));
})
};
ペリフェラルによるのかもしれないが、一度に Write できる量に限りがあるようで、20Byte ずつ Write することで解決しました。
7.Read
keyService.getCharacteristic(CharacteristicUUID_Read)
    .then(characteristic => {
        keyReadCharacteristic = characteristic;
        keyReadCharacteristic.readValue()
            .then(response => {
                const msg = new TextDecoder('utf-8').decode(response)
                console.log(msg)
            })
    })
8.複数の characteristic を使う
Promiseの逐次処理で書くことで、例えば スキャン ⇒ Notification ⇒ Write が一連の流れで処理できます。また、Promise.all で複数のCharacteristicを登録することもできます。
    .then(service => {
        chosenHeartRateService = service;
        return Promise.all([
            service.getCharacteristic(CharacteristicUUID_1)
                .then(//CharacteristicUUID_1の処理**/),
            service.getCharacteristic(CharacteristicUUID_2)
                .then(/**CharacteristicUUID_2の処理**/),
        ])
    })
9.デバッグ
@tomoya0x00 さんの [BLEのデバッグツールまとめ](https://qiita.com/tomoya0x00/items/28c3b92abbc3b0983178) を参考にしました。 nRF Connect for Mobile と、 BLE Peripheral Simulator を使いました。(Android)10.あとがき
今回、仕事でWebからBluetooth通信を用いる機能の実装を行いました。 ただ、セキュリティの関係で暗号化しなければならない、数秒以内にWriteで返信しなければならない等 結構大変でした…。もっと初心者にやさしくして…wまた、同時にQRコードリーダーも実装(読み込んでtrueの時、BluetoothでWriteする)ということも行ったのですが、
Webでこんなにいろんなことができることに驚きました。
まだまだ頑張って勉強します!