自分の環境でのセットアップメモ。
【環境】
・fullでもLiteでもないRasbpian(Buster)でセットアップ
・Raspberry Pi 4 Model B 4GB
・PLEX USB接続ドングル型地上デジタルTVチューナー PX-S1UD V2.0
・SCM ICカードリーダー/ライター B-CAS・住基カード対応 SCR3310/v2.0
予約録画ソフトはお好みで。
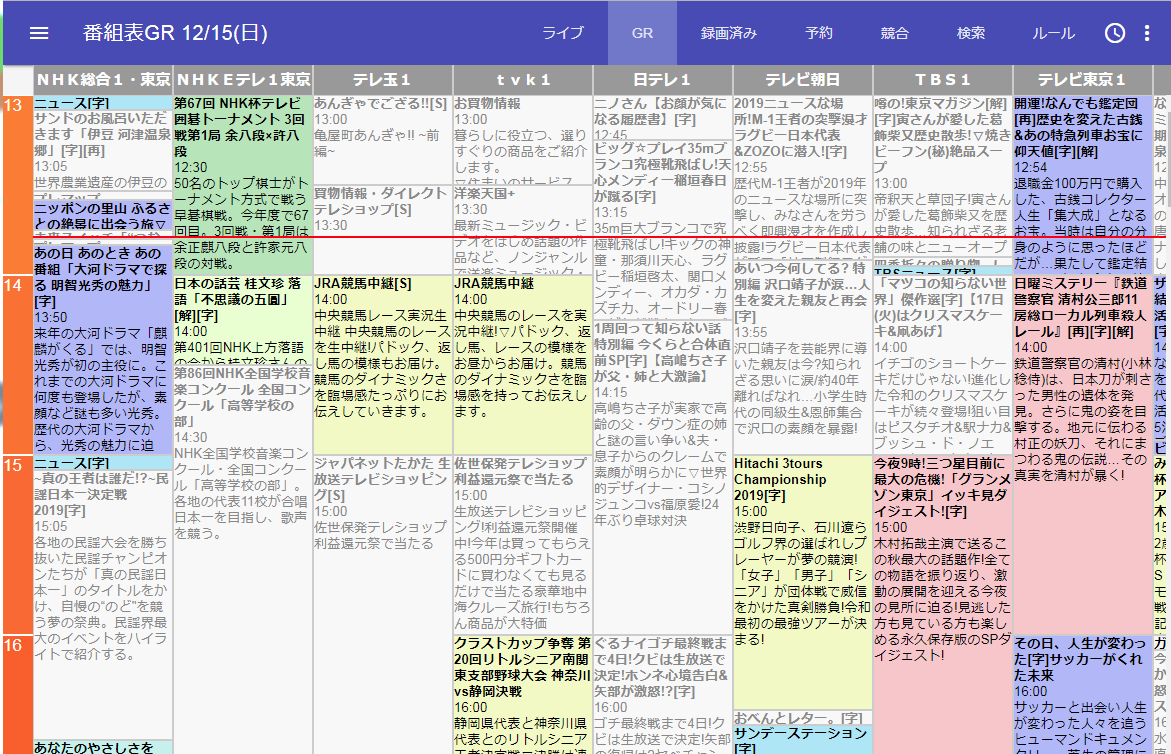
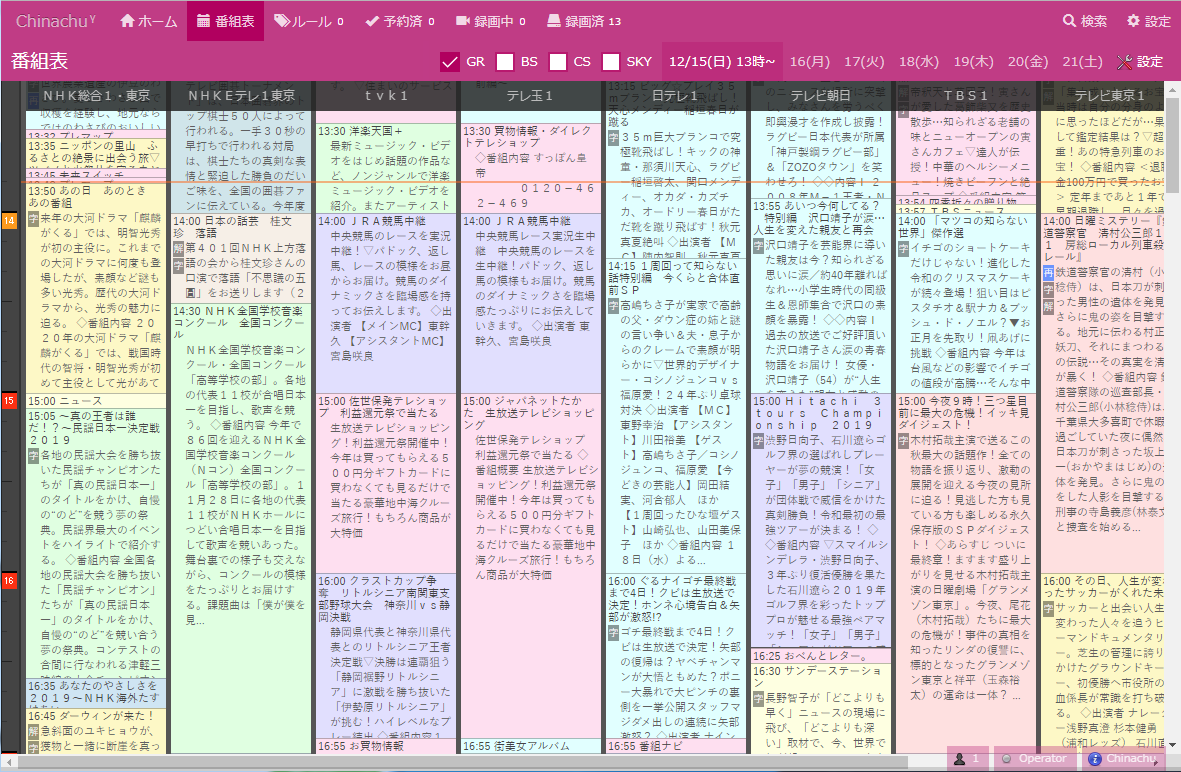
番組表の操作はChinachuのほうが好みですが、ストリーミング視聴するならEPGStationのほうが良いです。というかChinachuではライブ視聴をするには自分の知識が足りなさすぎてで実現出来ない。。。
チューナーのファームインストール
$ wget http://plex-net.co.jp/plex/px-s1ud/PX-S1UD_driver_Ver.1.0.1.zip
$ unzip PX-S1UD_driver_Ver.1.0.1.zip
$ sudo cp PX-S1UD_driver_Ver.1.0.1/x64/amd64/isdbt_rio.inp /lib/firmware/
$ lsusb
認識していると以下のように表示される
Bus 001 Device 00x: ID xxxx:xxxx VidzMedia Pte Ltd
カードリーダードライバーのインストール
$ sudo apt-get install build-essential git
$ sudo apt-get install pcscd libpcsclite-dev libccid pcsc-tools
$ lsusb
認識していると以下のように表示される
Bus 001 Device 00x: ID xxxx:xxxx SCM Microsystems, Inc. SCR331-LC1 / SCR3310 SmartCard Reader
B-Casカードを差し込んで以下コマンドを実行
$ pcsc_scan
→Japanese Chijou Digital B-CAS Card (pay TV)が表示したら、
Ctrl+Cで終了
B-Casのデコード用ライブラリのインストール
$ sudo apt-get install cmake g++
$ wget https://github.com/stz2012/libarib25/archive/master.zip
$ unzip master.zip
$ cd libarib25-master
$ cmake .
$ make
$ sudo make install
$ cd ../
録画用コマンドのインストール
$ sudo apt-get install autoconf automake libtool autoconf-doc libtool-doc
$ wget http://www13.plala.or.jp/sat/recdvb/recdvb-1.3.1.tgz
$ tar xvzf recdvb-1.3.1.tgz
$ cd recdvb-1.3.1
$ ./autogen.sh
$ ./configure --enable-b25
$ make
$ sudo make install
・再起動
$ sudo reboot
・録画コマンド
これで録画されるはず。再生させて動画、音声が記録されていることを確認
$ recdvb --b25 --strip [チャンネル] 10 test.m2ts
Mirakurunのインストール
$ curl -sL https://deb.nodesource.com/setup_10.x | sudo -E bash -
$ sudo apt-get install nodejs
$ sudo npm install pm2 -g
$ sudo pm2 startup
$ sudo npm install mirakurun -g --unsafe-perm --production
mirakurun-serverがOnlineになればOK
・コンフィルファイルを編集
$ sudo nano /usr/local/etc/mirakurun/tuners.yml
- name: PX-S1UD-1
  types:
    - GR
  command: recdvb --b25 --strip --dev 0 <channel> - -
  isDisabled: false
・チャンネル情報取得
$ curl -X PUT "http://localhost:40772/api/config/channels/scan"
Mirakrunを再起動します。
$ sudo mirakurun restart
予約録画ソフト(EPGStation)のインストール
$ sudo apt install -y sqlite3
$ sudo apt install -y ffmpeg
$ git clone https://github.com/l3tnun/EPGStation.git
$ cd EPGStation
$ sudo npm install --unsafe-perm=true --allow-root
$ sudo npm run build
自分はエラーになるためこの手順を追加
↓↓ここから↓↓
$ sudo npm install diskusage
$ sudo npm install node-gyp
node_modulesを削除
$ sudo rm -rf /home/pi/EPGStation/node_modules
もっかいinstall実行
$ sudo npm install --unsafe-perm=true --allow-root
$ sudo npm run build
$ sudo chmod 777 /home/pi/EPGStation/data
↑↑ここまで↑↑
・コンフィグファイル変更
$ sudo cp config/config.sample.json config/config.json
$ sudo cp config/operatorLogConfig.sample.json config/operatorLogConfig.json
$ sudo cp config/serviceLogConfig.sample.json config/serviceLogConfig.json
$ sudo nano config/config.json
"ffmpeg": "/usr/bin/ffmpeg",
"ffprobe": "/usr/bin/ffprobe",
・手動で実行(/home/pi/EPGStationディレクトリに移動)
$ npm start
ブラウザでhttp://[IPアドレス]:8888/ にアクセス
画面表示されたらOK

手動で停止
$ npm stop
予約録画ソフト(chinachu)のインストール
$ git clone git://github.com/kanreisa/Chinachu.git ~/chinachu
$ cd ~/chinachu/
$ ./chinachu installer
$ cp config.sample.json config.json
uidを変更
"uid":"pi"
$ echo [] > rules.json
$ ./chinachu service wui execute
$ ./chinachu update
$ ./chinachu service wui execute
ブラウザでhttp://[IPアドレス]:20772/にアクセス
$ ./chinachu service operator execute
これを起動すると予約録画できるようになる

参考にさせていただいたサイト
https://note.mu/ad3sq/n/ne1ef9ec1a258
https://qiita.com/shotasano/items/3809b8f3e0b62d51d3c3
https://study.engineergirl.work/?p=118