はじめに
Splash画面とは、アプリ起動時に最初に表示される画面です。アプリを起動するのに少なからず時間がかかります。その間に差し込む画面です。

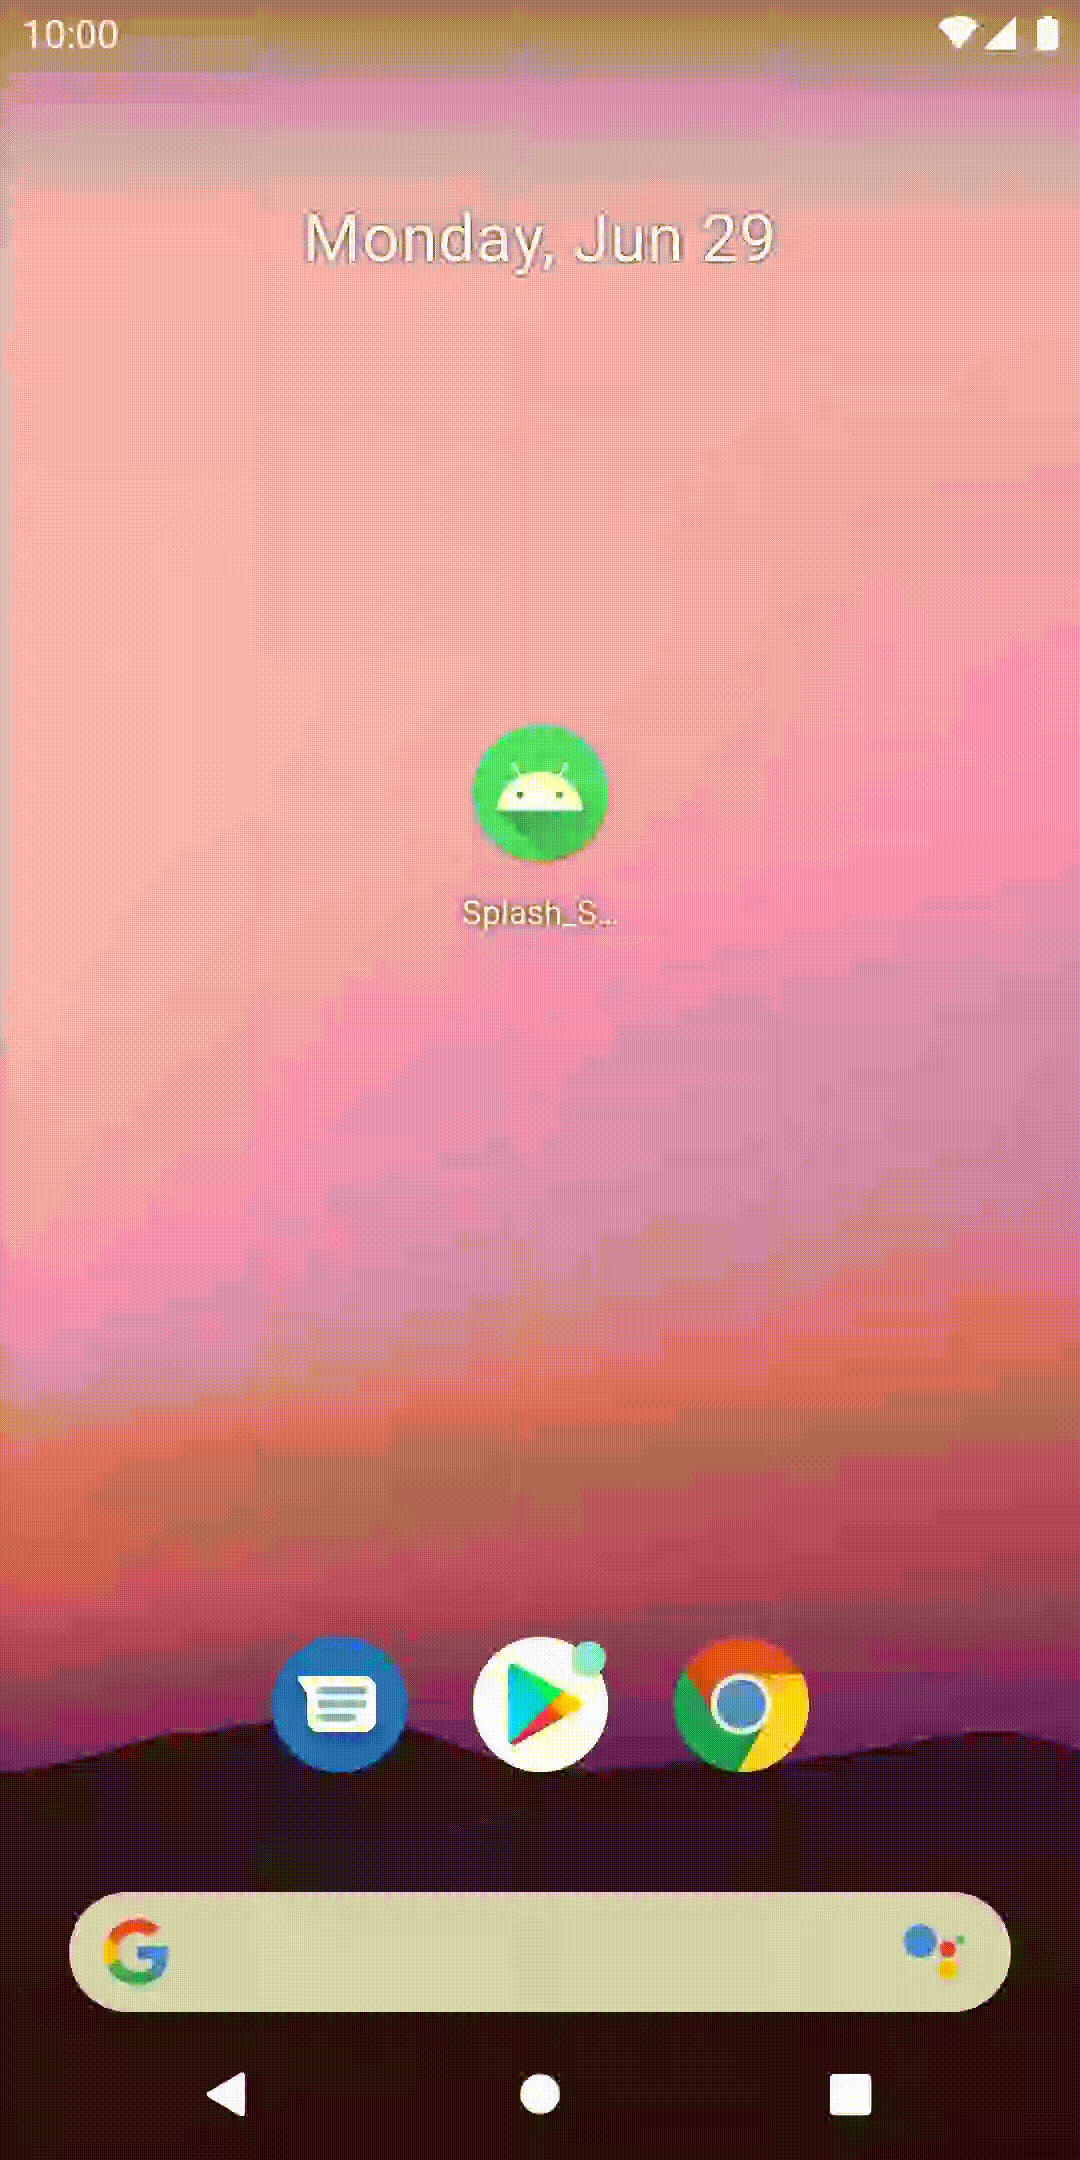
Splash画面は、↑のGIFで写っているドロイド君の画面です。
この画面を作成する方法は大きく分けて2つあります。
1つ目は、Activityのテーマを変更する方法
2つ目は、Splash画面ようにActivityを作成する方法です。
今回はそれぞれの長所短所と実装方法についてまとめていきます。
1つ目の方法
1つ目は、Activityのテーマを変更する方法です。アプリは起動すると、デフォルトではwindowBackgroundの画面が表示されるらしいです。このプレースホルダーをSplash画面に拡張します。
実装
windowBackgroudcolorに、これから作成するSplash画面を設定します。
...
    <style name="AppTheme.Splash" parent="Theme.AppCompat.DayNight.NoActionBar">
        <item name="android:windowBackground">@drawable/splash_drawable</item>
    </style>
...
今回用意したSplash画面は、中心にドロイド君が配置された画面になります。それを実装すると、
<?xml version="1.0" encoding="utf-8"?>
<layer-list
    xmlns:android="http://schemas.android.com/apk/res/android">

    <item android:drawable="@color/colorWhite" />
    <item
        android:drawable="@drawable/ic_baseline_android_24"
        android:gravity="center"
        />

</layer-list>
このようになります。真ん中に配置するドロイド君は、
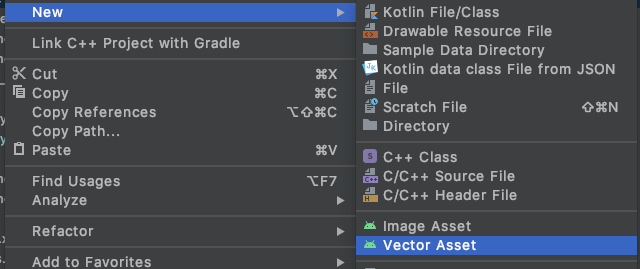
New -> VectorAssetから作成してください。
起動時のテーマをAppThemeからApptheme.Splashに変更します。
<activity android:name=".MainActivity"
            android:theme="@style/AppTheme.Splash">
アプリが起動する準備ができたら、MainActivityのsetContentView()で渡されたレイアウトが適応されます。その前にThemeを元のAppThemeに変更しましょう。
class MainActivity : AppCompatActivity() {
    override fun onCreate(savedInstanceState: Bundle?) {
        super.onCreate(savedInstanceState)
        setTheme(R.style.AppTheme)
        setContentView(R.layout.activity_main)
    }
}
以上の実装でドロイド君が中心に配置してあるSplash画面を作成することができました。
長所
この実装方法では、アプリが起動する準備ができ次第、Splash画面から遷移するのでユーザーの時間を無駄にすることがありません。さらに、アプリがすでにメモリにある場合はあまり表示されることもないです。
短所
短所?ではないかもしれませんが、この実装だとアニメーションのような画面を表示することができません。
2つ目の方法
2つ目は、Splash画面ようにActivityを作成する方法です。この方法だと、1つ目の方法でできなかったアニメーションや複雑な画面を実装することができます。
実装
この方法では、様々なやり方があると思いますが今回はCoroutineを使って実装します。
まず、Gradleに依存関係を記述します。
dependencies {
    //Coroutine
    implementation 'org.jetbrains.kotlinx:kotlinx-coroutines-core:1.3.7'
}
新たにSplashActivityというActivityを作成します。
class SplashActivity : AppCompatActivity() {

    override fun onCreate(savedInstanceState: Bundle?) {
        super.onCreate(savedInstanceState)
        setContentView(R.layout.activity_splash)

        CoroutineScope(Dispatchers.Main).launch {
            delay(2000)
            val intent = Intent(this@SplashActivity, MainActivity::class.java)
            startActivity(intent)
            finish()
        }
    }
}
このActivityでは2秒のdelayの後、MainActivityに遷移するという実装をしてあります。Splash画面用にActivityを作成することにより、レイアウトにアニメーションを追加したり、様々なことができます。今回はプログレスバーを表示させるSplash画面を作成しました。
<?xml version="1.0" encoding="utf-8"?>
<androidx.constraintlayout.widget.ConstraintLayout
    xmlns:android="http://schemas.android.com/apk/res/android"
    xmlns:app="http://schemas.android.com/apk/res-auto"
    android:layout_width="match_parent"
    android:layout_height="match_parent"
    >

    <androidx.appcompat.widget.AppCompatTextView
        android:id="@+id/splash"
        android:layout_width="wrap_content"
        android:layout_height="wrap_content"
        android:text="Slash"
        android:textSize="40dp"
        app:layout_constraintBottom_toTopOf="@id/progressbar"
        app:layout_constraintEnd_toEndOf="parent"
        app:layout_constraintStart_toStartOf="parent"
        app:layout_constraintTop_toTopOf="parent"
        />

    <ProgressBar
        android:id="@+id/progressbar"
        android:layout_width="wrap_content"
        android:layout_height="wrap_content"
        app:layout_constraintTop_toBottomOf="@id/splash"
        app:layout_constraintStart_toStartOf="parent"
        app:layout_constraintEnd_toEndOf="parent"
        app:layout_constraintBottom_toBottomOf="parent"
        />

</androidx.constraintlayout.widget.ConstraintLayout>
AndroidManifestに、起動時のActivityをSplashActivityに指定してあげれば完了です。
        <activity android:name=".SplashActivity">
            <intent-filter>
                <action android:name="android.intent.action.MAIN" />

                <category android:name="android.intent.category.LAUNCHER" />
            </intent-filter>
        </activity>
        <activity android:name=".MainActivity" />