求ム!Cloud Nativeアプリケーション開発のTips!【PR】日本マイクロソフト Advent Calendar 2020 の16日目の記事です。
はじめに
本稿では、今流行のJamstack構成のブログサイトをAzure App Service上に構築してみます。
概要
今回のソースコード: https://github.com/kano4/jamstack_app
今回作るサイトの構成
下記サービスを使用してJamstack構成のブログサイトを構築していきます。
- Headless CMS : microCMS
- CI : GitHub Actions
- Source repository : GitHub
- Site generator : Gatsby.js
- Hosting : Azure App Service (Static Web Apps)
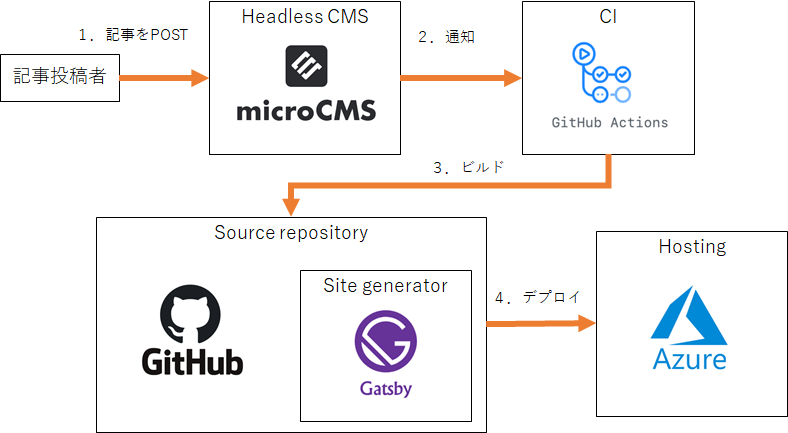
全体の流れ
1.記事をPOST
最初に、記事投稿者がHeadless CMSに記事をPOSTします。
2.通知
Headless CMSに記事がPOSTされたタイミングで、CIへ通知が行われます。
3.ビルド
CIは通知を受けると、ビルドを行います。
4.デプロイ
ビルドされたサイトをHostingにデプロイします。
事前準備
- Azureアカウント
- GitHubアカウント
- microCMSアカウント
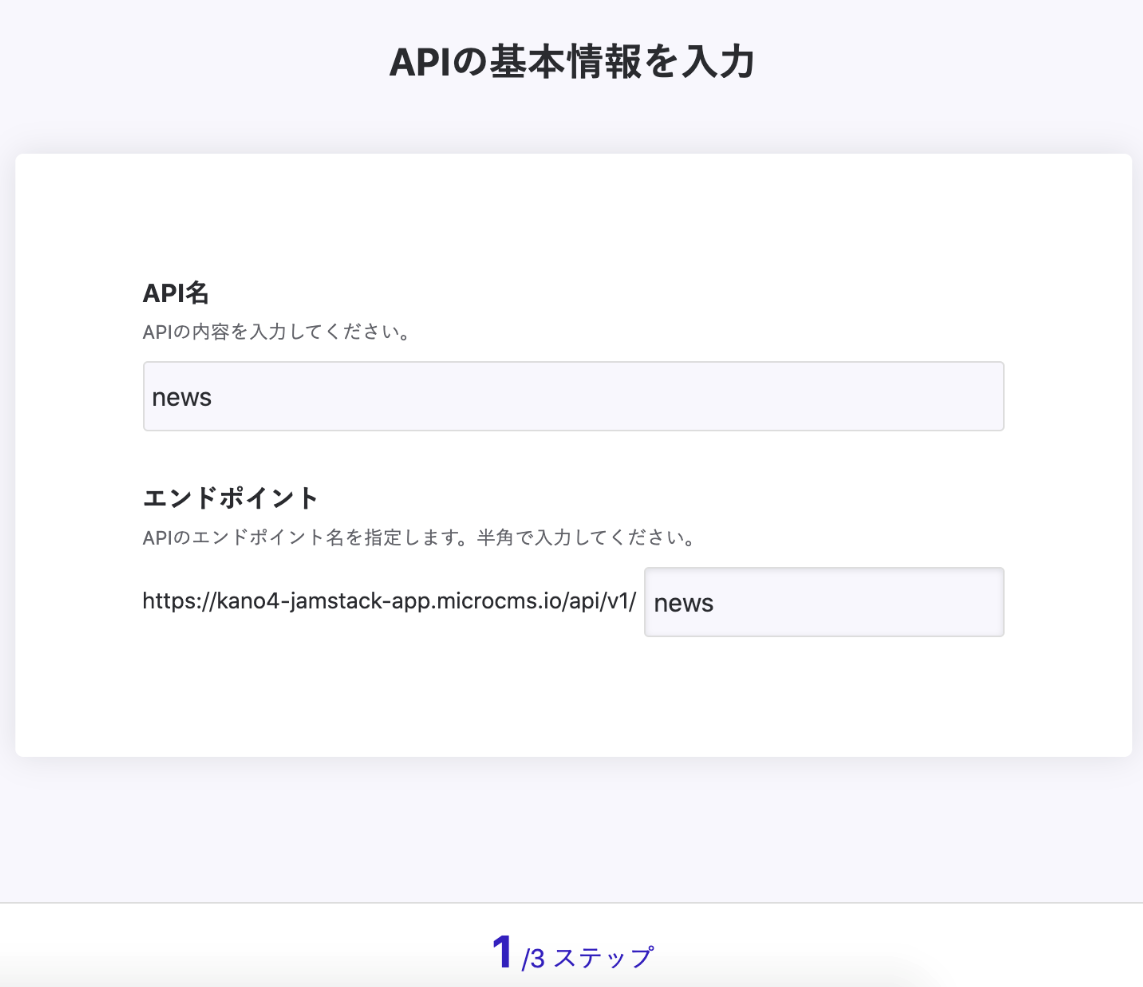
microCMSの準備
1.「news」APIを作成します。
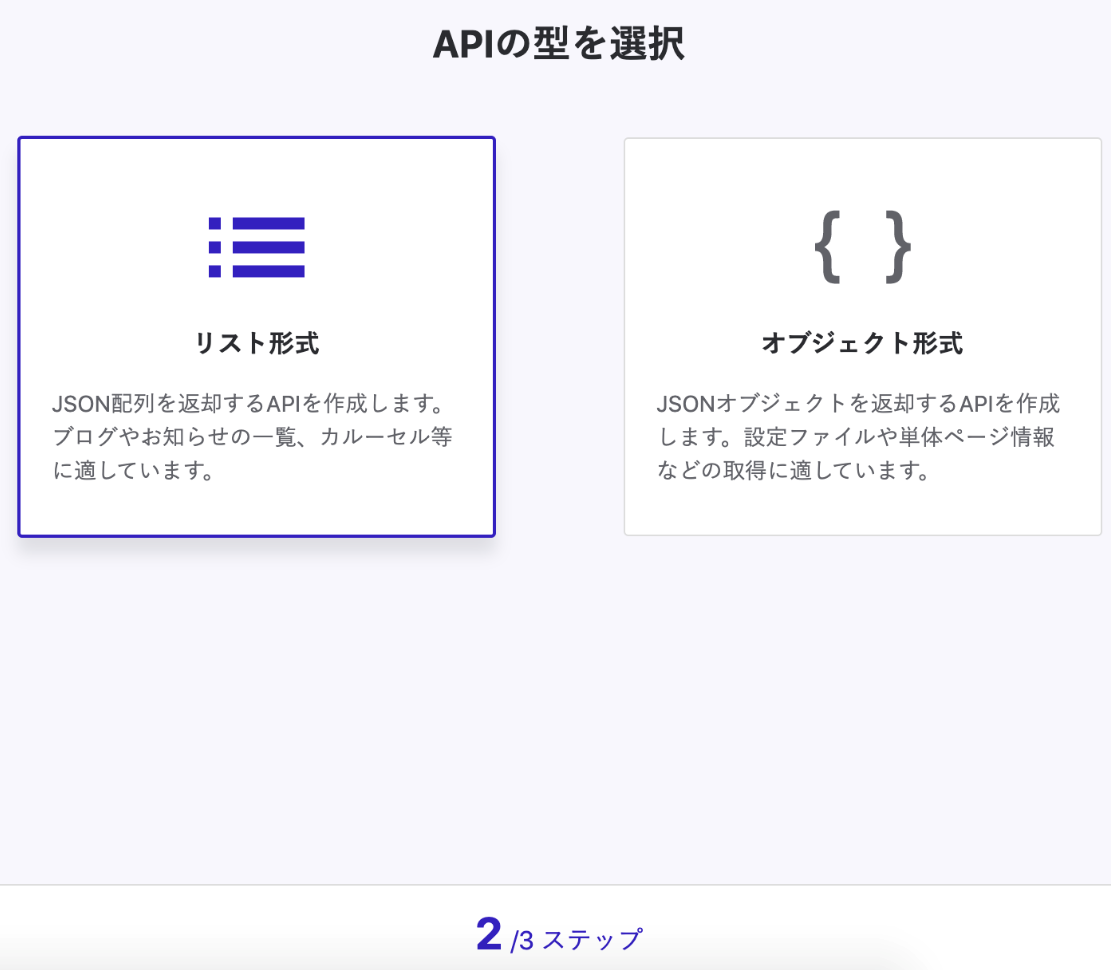
2.APIの型を選択します。今回は「リスト形式」を選択します。
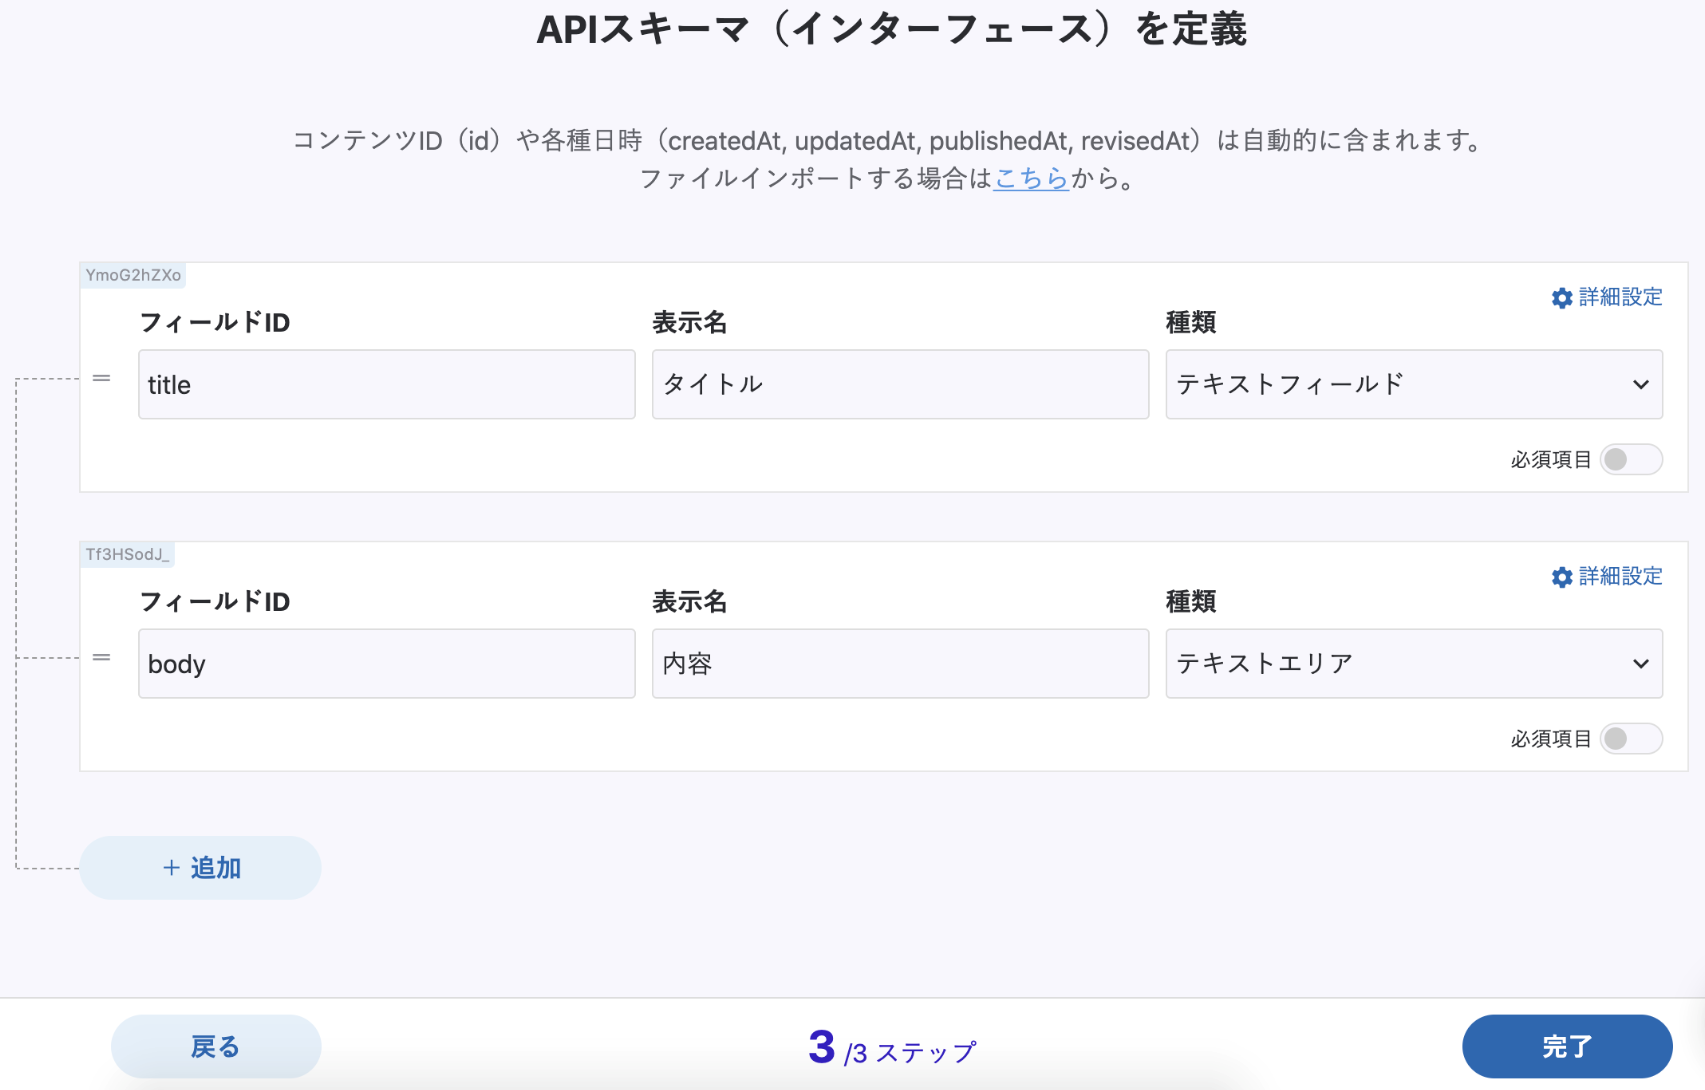
3.APIスキーマを設定します。今回はtitleとbodyを追加しました。
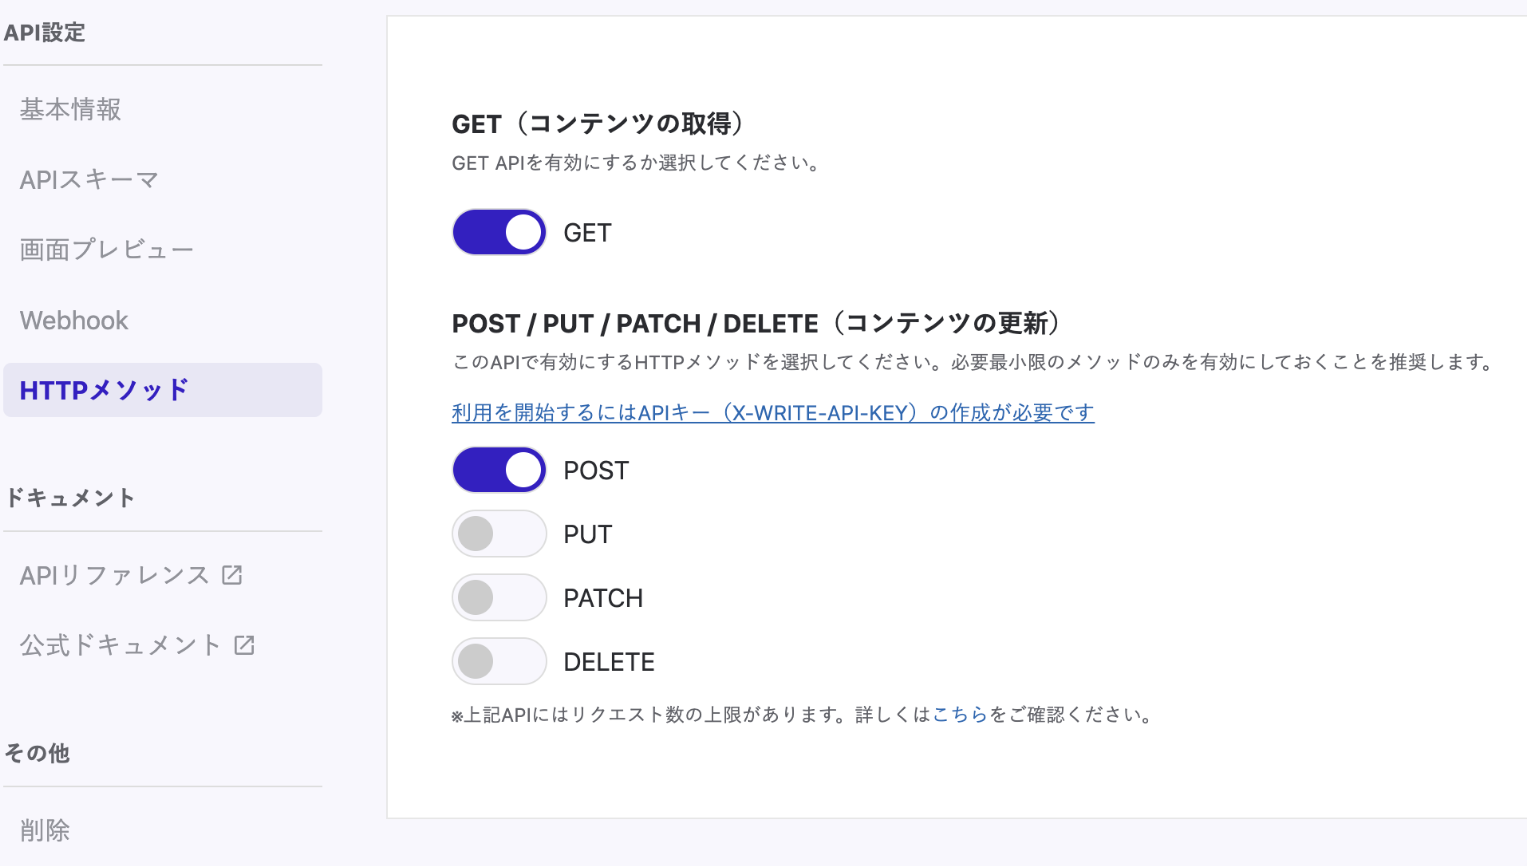
4.HTTPメソッドを設定します。今回はPOSTを有効にします。
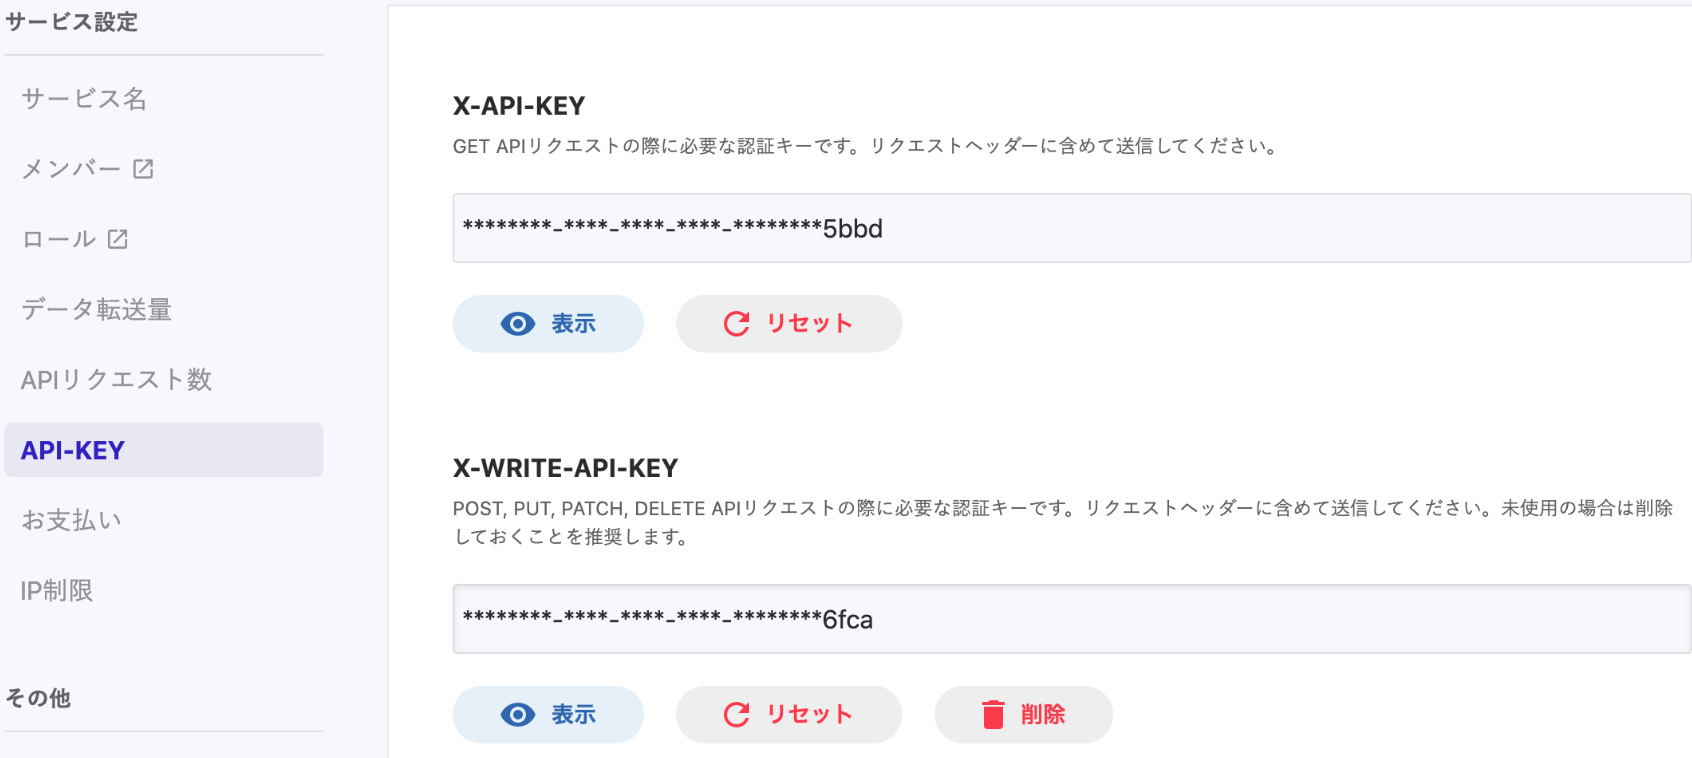
5.API-KEYを確認します。ここで表示されるX-API-KEYとX-WRITE-API-KEYは後ほど使用するのでメモしておきます。
6.ターミナルからcurlコマンドで記事をPOSTしてみる。
% curl -X POST "https://<サービス名>.microcms.io/api/v1/news" -H "Content-Type: application/json" -H "X-WRITE-API-KEY: <API KEY>" -d "{\"title\":\"タイトルその1\",\"body\":\"内容その1\"}"
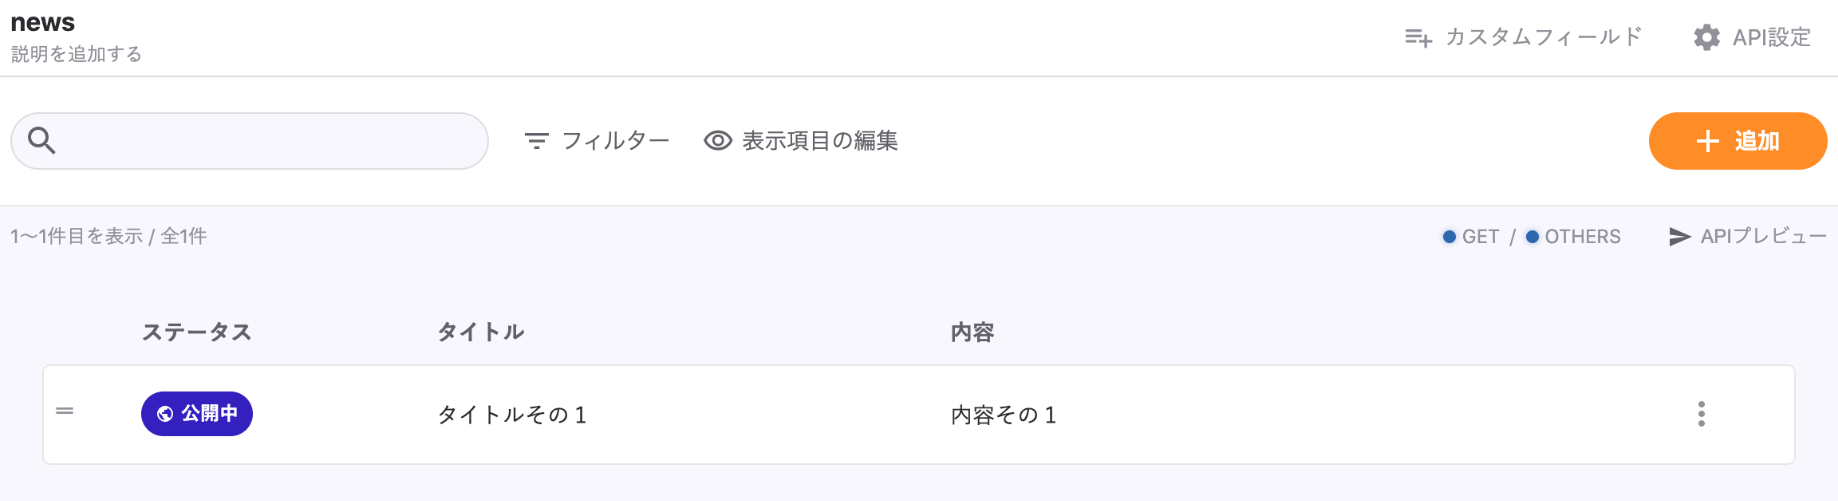
7.管理画面で登録したデータを確認します。6でPOSTしたデータが表示されればOKです。
Gatsby.jsの準備
1.まずはnpmでcliをインストールし、gatsby newコマンドで新規アプリを作成します。
% npm install -g gatsby-cli
% gatsby new my-example
2.作成したアプリに移動して、gatsby developコマンドで起動します。
% cd my-example
% gatsby develop
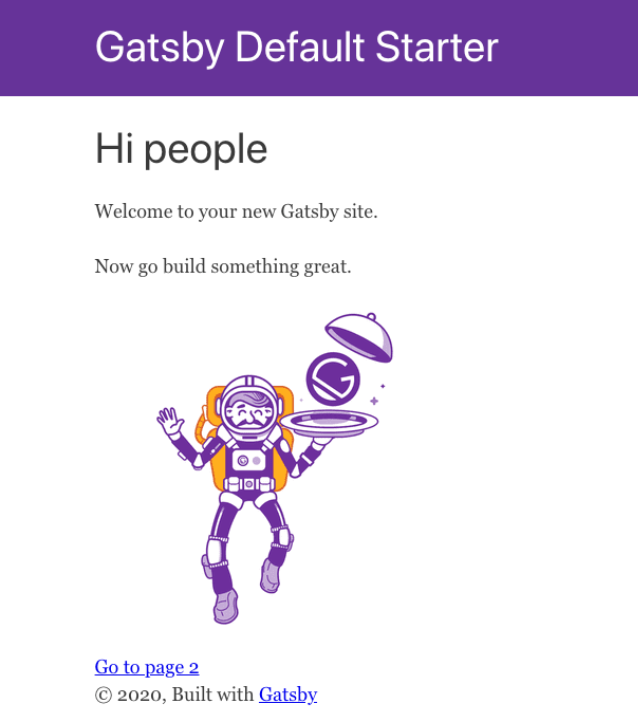
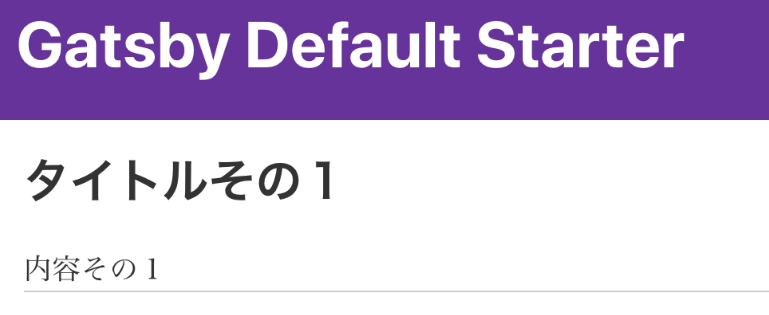
3.起動後localhost:8000でデフォルトページが表示されることを確認します。
4.microCMSと連携させるためのpluginと、API KEYなどの環境変数を簡単に扱うためのdotenvモジュールをインストールします。
% npm install --save gatsby-source-microcms
% npm install --save dotenv
5.gatsby-configに下記設定を設定を行います。
//dotenvで環境変数セット
require("dotenv").config({
 path: `.env.${process.env.NODE_ENV}`,
});

module.exports = {
  siteMetadata: {
    title: `Gatsby Default Starter`,
    description: `Kick off your next, great Gatsby project with this default starter. This barebones starter ships with the main Gatsby configuration files you might need.`,
    author: `@gatsbyjs`,
  },
  plugins: [
    `gatsby-plugin-react-helmet`,
    {
      resolve: `gatsby-source-filesystem`,
      options: {
        name: `images`,
        path: `${__dirname}/src/images`,
      },
    },
    `gatsby-transformer-sharp`,
    `gatsby-plugin-sharp`,
    {
      resolve: `gatsby-plugin-manifest`,
      options: {
        name: `gatsby-starter-default`,
        short_name: `starter`,
        start_url: `/`,
        background_color: `#663399`,
        theme_color: `#663399`,
        display: `minimal-ui`,
        icon: `src/images/gatsby-icon.png`, // This path is relative to the root of the site.
      },
    },
    //ここの設定を追加する
    {
      resolve: "gatsby-source-microcms",
      options: {
        apiKey: process.env.X_API_KEY,
        serviceId: process.env.SERVICE_ID,
        apis: [{
          endpoint: 'news',
        }],
      },
    },
  ],
}
6..env.developmentファイルを新規作成してIDやKEYを記述します。
SERVICE_ID=<microCMSで設定したサービスID>
X_API_KEY=<microCMSのX_API_KEY>
7.microCMSから取得した記事を表示できるように、news.jsを新規作成します。
import React from "react"
import { graphql } from "gatsby"

import Layout from "../components/layout"
import SEO from "../components/seo"

const NewsPage = ({ data }) => (
 <Layout>
   <SEO title="ニュース" />

   {data.allMicrocmsNews.edges.map(edge => {
     const news = edge.node

       return (
        <React.Fragment key={news.id}>
         <div>
             <h2>{news.title}</h2>
         </div>
         <div>
            {news.body}
         </div>
        <hr />
       </React.Fragment>
       )
   })}
 </Layout>
)

export const query = graphql`
 {
    allMicrocmsNews(
     sort: { fields: [id], order: DESC }
   ) {
     edges {
       node {
         id
         title
         body
       }
     }
   }
 }
`

export default NewsPage
8.再度developコマンドを実行して、今度はlocalhost:8000/newsにブラウザでアクセスします。さきほどmicroCMSに登録したデータが表示されていることが確認できます。
GitHubの準備
1.GitHubにリポジトリを作成します
2.作成したリポジトリに、Gatsbyで作成したアプリをpushします
Azure App Serviceの準備
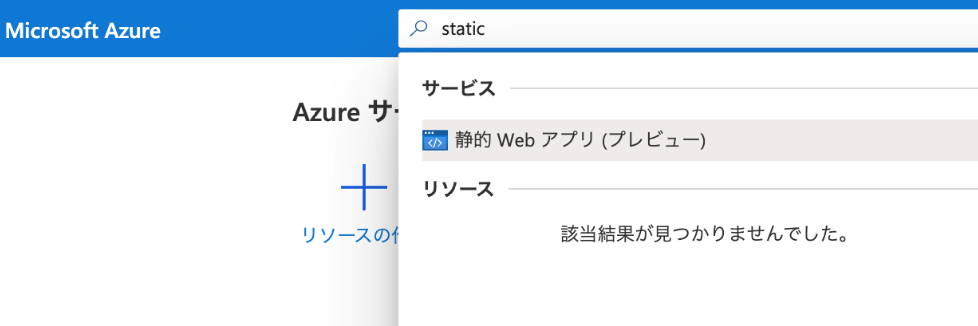
1.Static Web App(静的 Web アプリ)を選択します。
2.Static Web App(静的 Web アプリ)で必要な情報を入力します。ここで、リポジトリには先ほどGitHubに作成したリポジトリを選択します。また、ビルドのプリセットにはGatsbyを選択します。

3.GitHubのリポジトリを確認すると、.github/workflows/azure-static-web-apps-***.ymlが自動で追加され、さらにGitHub Actionsが実行されていることが分かります。

GitHubの設定
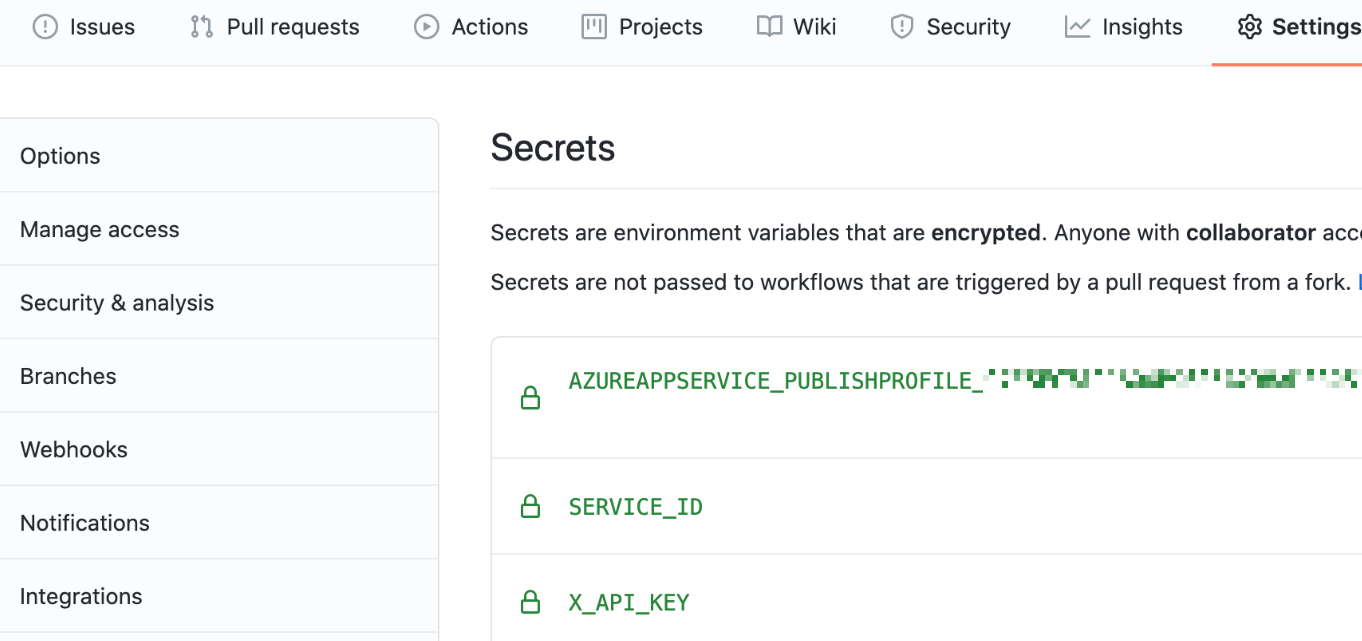
1.Secretsに、SERVICE_IDとX_API_KEYを入力します。
microCMSとGitHub Actionsの設定
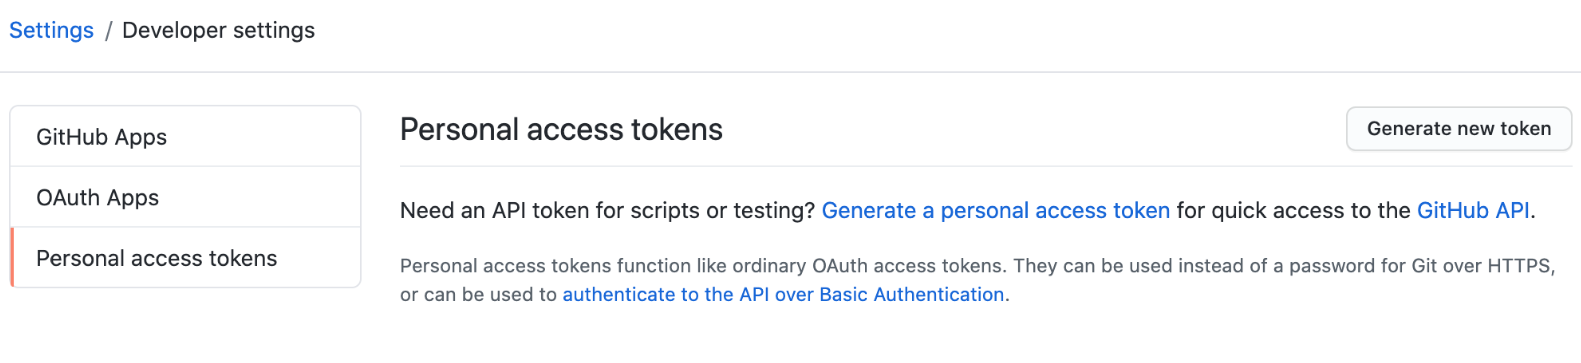
1.Githubでアクセストークンを発行する。
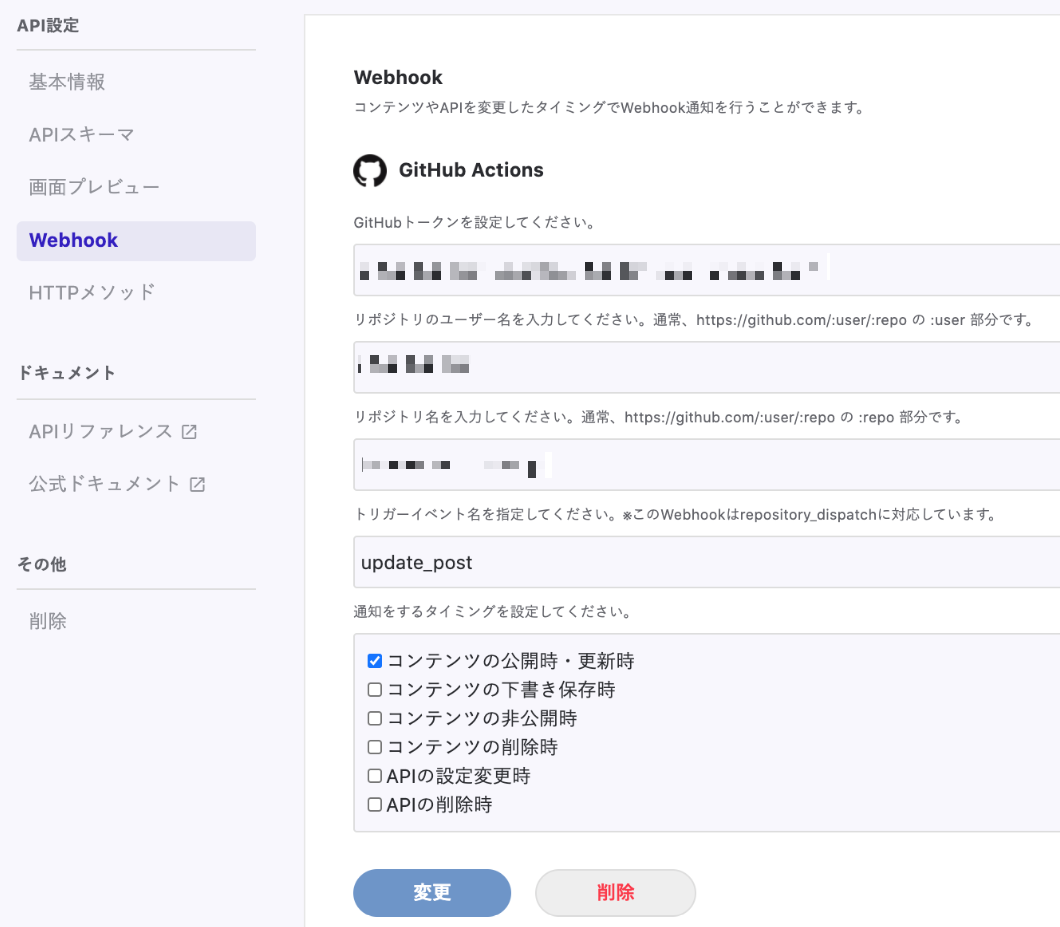
2.microCMSのWebhook機能を使い、POST /news のタイミングでGithub Actionsを実行するように設定します。
3..github/workflows/azure-static-web-apps-***.ymlを編集します。
例:ソースコード
試してみる
上記で準備は終わりです。
最後に、ターミナルからcurlコマンドで新たに記事をPOSTしてみます。
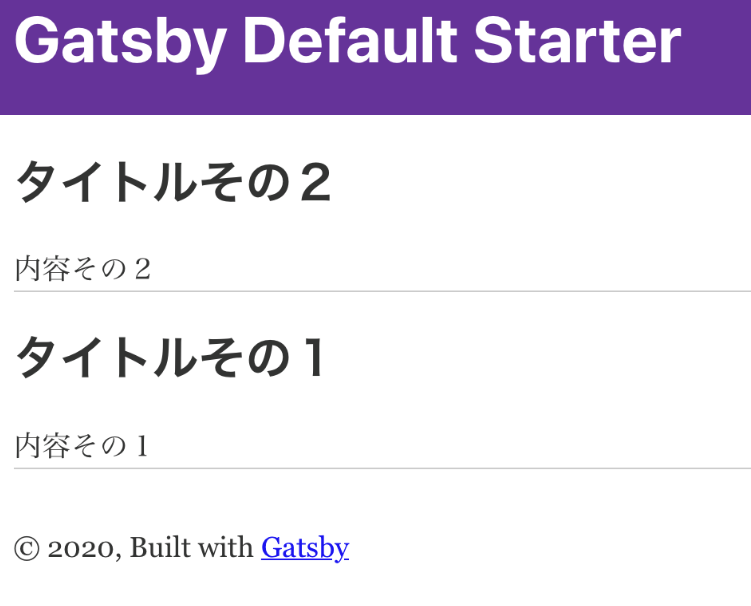
% curl -X POST "https://<サービス名>.microcms.io/api/v1/news" -H "Content-Type: application/json" -H "X-WRITE-API-KEY: <API KEY>" -d "{\"title\":\"タイトルその2\",\"body\":\"内容その2\"}"
記事をPOSTすると、GitHub Actionsが実行されます。

そして、Azure上の Web Appsにアクセスすると、下記のページが表示されることを確認することができます。
まとめ
今回は現在流行りのJamstack構成のブログサイトを App Service 上に作成してみました。少しでもこの記事が多くの人の参考になれば幸いです。また、自分で実際に色々試してみて、技術の進化を強く感じることができました。