環境の準備
①ターミナルでreactアプリケーションを作成する。
$ npx create-react-app <プロジェクト名>
% cd <プロジェクト名>
% npm start
②logo.svg, index.css, App.test.js, reportWebVitals.js
setupTest.js を削除する。
③必要なパッケージをインストールする。
$ npm install @mui/material @emotion/react @emotion/styled
$ npm install @mui/icons-material
$ npm install firebase
$ npm install --save react-firebase-hooks
コンポーネント・ファイル構成
src
├── components
       ├── Line.js
       ├── SendMessage.js
       └── SignIn.js
       └── SignOut.js
├── App.js
├── App.css
├── firebase.js
├── index.js
Firebaseの設定
① プロジェクトの作成する。


② アナリティクスを無効にし、『プロジェクトを作成』する。

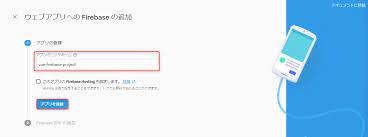
③ webボタンを押し、アプリのニックネームを入力し、『アプリを登録』する。

④ apiKeyなどをfirebase.jsに編集する。

//v9の場合、compat/appの中にfirebaseが入っている
import firebase from "firebase/compat/app";
import "firebase/compat/auth";
import "firebase/compat/firestore";

const firebaseApp = firebase.initializeApp({
  apiKey: "",
  authDomain: "",
  projectId: "",
  storageBucket: "",
  messagingSenderId: "",
  appId: "",
});

//firestoreからテキスト情報をとってくる
const db = firebaseApp.firestore();
//firebaseのauthから認証情報をとってくる
const auth = firebase.auth();
//db, authの変数をどこでも使えるようにする
export { db, auth };
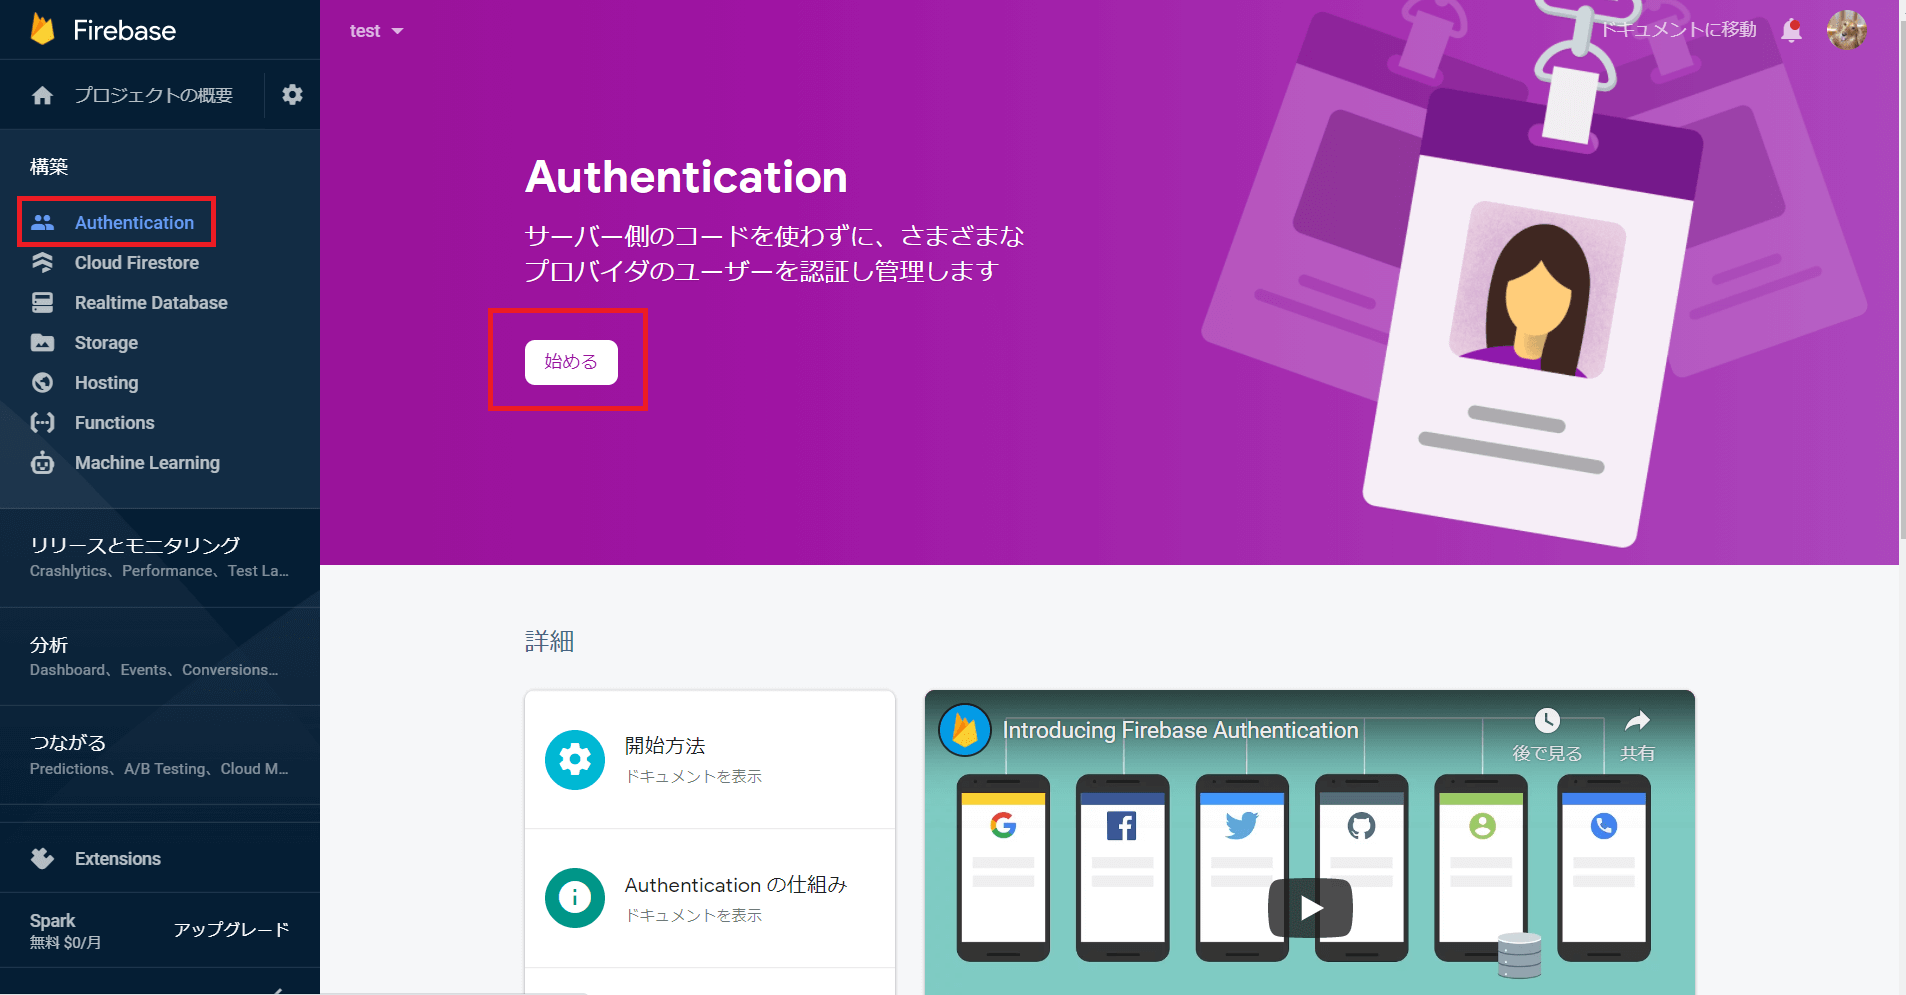
⑤ Authenticationを『始める』する。
⑥ Sign-in methodでログインプロバイダ『Google』を選択する。

⑦ 『有効する』『保存』を選択する。


⑧ 『データベースを作成する』から『テストモードで開始する』『次へ』をする。

⑨ Cloud Firestoreのロケーションを設定し、『有効にする』にする。
※ 『asia-northeast3』を選択する。

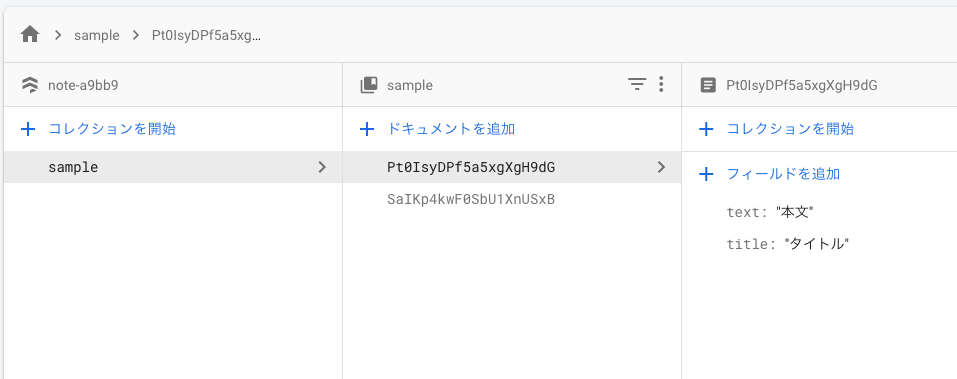
⑩『コレクションを開始』を押して、コレクションにIDを付与し、『次へ』をする。

⑪ ドキュメントIDの『自動ID』を押して、ドキュメントIDを作成する。
⑫ フィールド、タイプ、値を入力する。
※ 今回は、フィールド『text』= タイプ『string』値『Hello』にする。

⑬ フィールドを追加する。
※今回は、フィールド『createdAt』= タイプ『timestamp』で『追加』する。
※日付と時刻は作成日と作成時刻を入力する。
⑭ CloudFirestoreの『ルール』を押し、
『 request.time < timestamp.date(2022, 3, 17);』を消し、
『allow read, write: if true』書き換え、『公開』する

Line.jsを編集する。
import React, { useEffect, useState } from "react";
import SignOut from "./SignOut";
import SendMessage from "./SendMessage";
//dbをfirebaseから受け取る
import { auth, db } from "../firebase";

function Line() {
  //firebaseで作成したmessageの変数を格納する
  const [messages, setMessages] = useState([]);
  //第二引数に[]を入れると初回のマウント時=レンダリングした時1回のみ
  useEffect(() => {
    //データベースにアクセスしてメッセージを受け取る
    db.collection("messages")
      //最新の作成順に並び替える
      .orderBy("createdAt")
      //最大限に表示したい数
      .limit(50)
      //いろんなデータを取得する
      .onSnapshot((snapshot) => {
        //いろんなデータをsetsetMessagesを使って取得する
        //docsの中にいろんな情報が入っていて、mapで取り出す。
        setMessages(snapshot.docs.map((doc) => doc.data()));
      });
  }, []);
  return (
    <div>
      <SignOut />
      <div className="messages">
        {/* messagesの中から、map関数で呼び出す */}
        {messages.map(({ id, text, photoURL, userid }) => (
          <div>
            {/* map関数を使う場合、どの関数を取り出すか定める必要があるので divタグに必ずidを付ける */}
            <div
              key={id}
              //   ログインしているユーザーでクラスを変えることができる
              className={`message ${
                userid === auth.currentUser.userid ? "sent" : "received"
              }`}
            >
              {/* 自分のアイコン */}
              <img src={photoURL} alt="" />
              {/* textを取得 */}
              <p>{text}</p>
            </div>
          </div>
        ))}
      </div>
      <SendMessage />
    </div>
  );
}
export default Line;
SendMessage.jsを編集する
import React, { useState } from "react";
import { db, auth } from "../firebase";
import firebase from "firebase/compat/app";
import { Input } from "@mui/material";
import SendIcon from "@mui/icons-material/Send";

const SendMessage = () => {
  //form内に入力したメッセージを別の変数として格納する
  const [message, setMessage] = useState("");
  function sendMessage(e) {
    //文字を入力して、エンターキーを再ロードされない
    e.preventDefault();
    //authから現在ログインユーザーcurrentuserから取ってくる
    const { photoURL, userid } = auth.currentUser;
    //dbのコレクションの中の messages をaddする
    db.collection("messages").add({
      text: message,
      photoURL,
      userid,
      createdAt: firebase.firestore.FieldValue.serverTimestamp(),
    });
    //enterキーを押した後、"メッセージを入力"が表示されない
    setMessage("");
  }
  return (
    <div>
      <form onSubmit={sendMessage}>
        <div className="sendMessage">
          <Input
            style={{
              width: "78%",
              fontSize: "15px",
              fontWeight: "550",
              marginLeft: "5px",
              marginBottom: "-3px",
            }}
            placeholder="メッセージを入力してください"
            type="text"
            onChange={(e) => setMessage(e.target.value)}
            value={message}
          />
          <SendIcon style={{ color: "#7AC2FF", marginLeft: "20px" }} />
        </div>
      </form>
    </div>
  );
};

export default SendMessage;
SignIn.jsを編集する
import React from "react";
import { Button } from "@mui/material";
import firebase from "firebase/compat/app";
import { auth } from "../firebase";

const SignIn = () => {
  //Googleでログインする
  function signInWithGoogle() {
    //providerの変数を用意する
    //firebase.auth.GoogleAuthProviderは、Google認証のproviderが使える
    const provider = new firebase.auth.GoogleAuthProvider();
    //firebase.jsの中にauth認証の中にsignInWithPopupが入っていて、用意したproviderを入れる
    auth.signInWithPopup(provider);
  }
  return (
    <div>
      <Button onClick={signInWithGoogle}>Googleでログインする</Button>
    </div>
  );
};

export default SignIn;
SignOut.jsを編集する
import { Button } from "@mui/material";
import React from "react";
import { auth } from "../firebase";
import CallIcon from "@mui/icons-material/Call";

const SignOut = () => {
  return (
    <div className="header">
      <Button
        onClick={() => auth.signOut}
        style={{ color: "white", fontSize: "15px" }}
      >
        SignOut
      </Button>
      {/* 現在ログインしているユーザー名 */}
      <h3>{auth.currentUser.displayName}</h3>
      <CallIcon />
    </div>
  );
};

export default SignOut;
App.cssを編集する
body {
  background-color: #93aad4;
  margin: 0;
  padding: 0;
}

.header {
  background-color: #222a41;
  color: white;
  height: 35px;
  width: 100%;
  position: fixed;
  top: 0;
  left: 0;
  display: flex;
  align-items: center;
  justify-content: space-around;
}
App.jsを編集する
import "./App.css";
import SignIn from "./components/SignIn";
import Line from "./components/Line";
import { useAuthState } from "react-firebase-hooks/auth";
import { auth } from "./firebase.js";

function App() {
  //user情報を変数に入れる
  const [user] = useAuthState(auth);
  //userがいるかどうか ⇨ いる場合はサインインする
  return <div>{user ? <Line /> : <SignIn />}</div>;
}

export default App;
index.jsを編集する
import React from "react";
import ReactDOM from "react-dom";
import App from "./App";

ReactDOM.render(
  <React.StrictMode>
    <App />
  </React.StrictMode>,
  document.getElementById("root")
);
参考サイト
[ReactでLINEクローンの作り方 - React×Firebaseチュートリアル]
(https://www.youtube.com/watch?v=Js9BsBsczE8)