はじめに
今回はTableViewを使います。※端折って書いちゃいます。
「Xib」を使ってカスタムなセルを作成することもできますが、まずは簡単なストーリーボードの「Table View cell」でてっとり早く実装したいと思います。
環境
Xocde10.2
swift5
実装
コード
まずはコードを書きます。
test.swift
import UIKit

class TestPage: UIViewController, UITableViewDelegate, UITableViewDataSource {

    @IBOutlet weak var tableView: UITableView!
    //cellに表示するデータ
    let testList = ["Test1", "Test2", "Test3"]
    override func viewDidLoad() {
        super.viewDidLoad()

    }
    //セルの数を指定
    func tableView(_ tableView: UITableView, numberOfRowsInSection section: Int) -> Int {
        return testList.count
    }

    //セルに値を設定
    func tableView(_ tableView: UITableView, cellForRowAt indexPath: IndexPath) -> UITableViewCell {
        // セルを取得する
        let cell: UITableViewCell = tableView.dequeueReusableCell(withIdentifier: "cell", for: indexPath)
        // セルに表示する値を設定する
        cell.textLabel!.text = testList[indexPath.row]
        return cell
    }
}
ストーリーボードをいじる
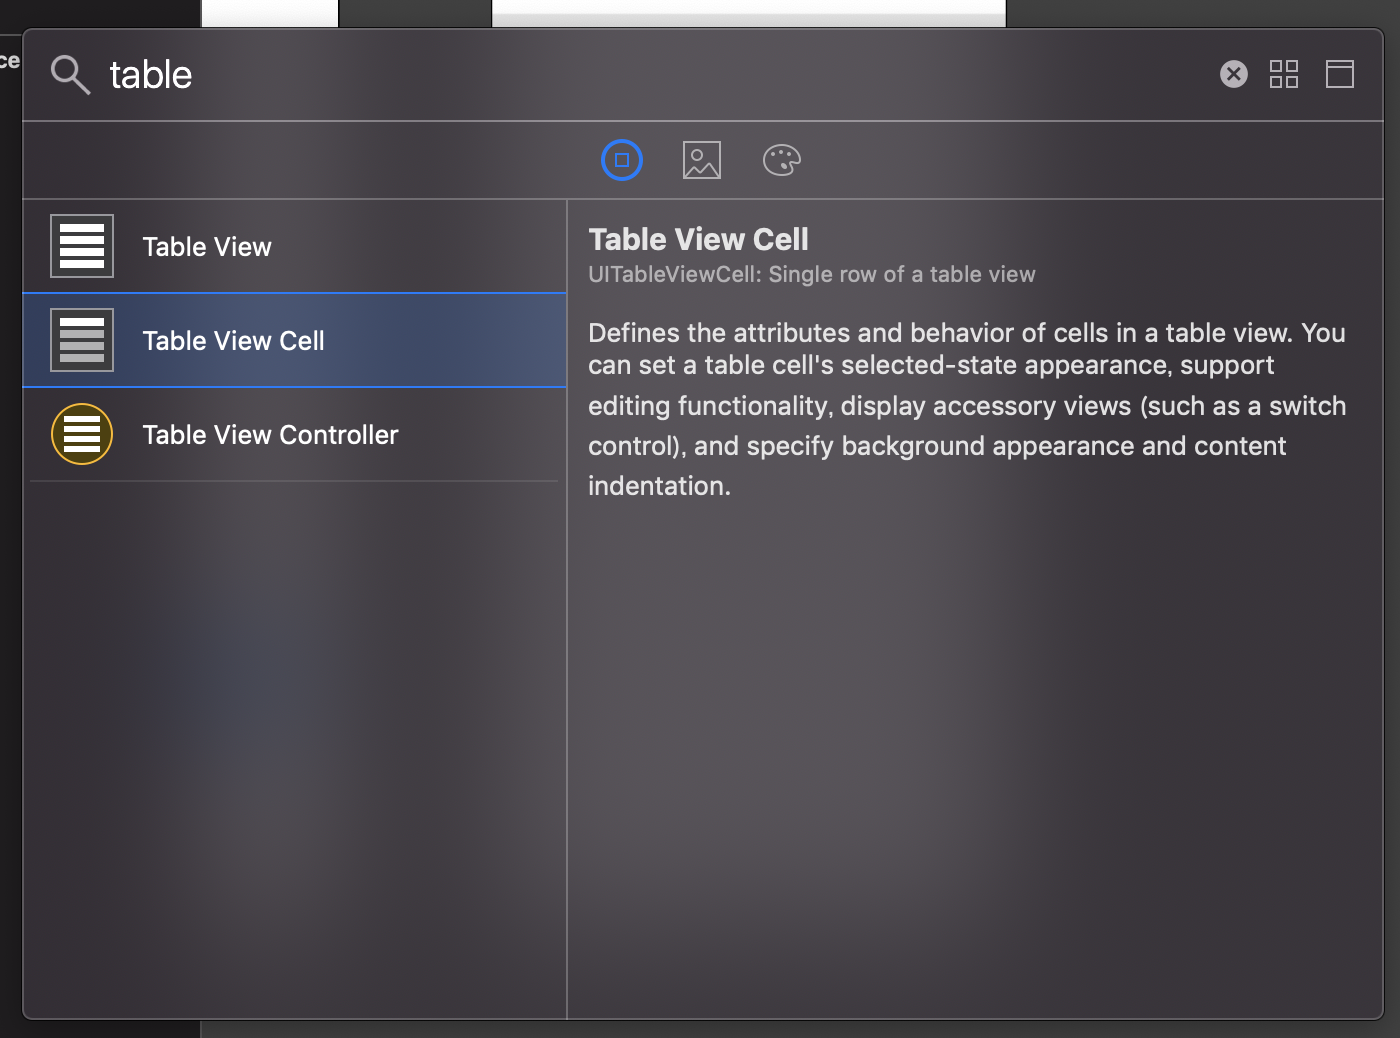
「ライブラリ」から「Table View」,「Table View cell」を自分の配置したい画面に挿入します。
下記のようになります。

「show the Attributes inspector」から「Identifier」に「cell」を入力します。

終わりに
今回はTable Viewの簡単な使い方をお話しました。
よく見る一般的なTableViewはこれで大丈夫ですが、UI/UXを気にしたレイアウトなどではやはり「Xib」を使ったカスタムセルがお勧めです。まずは基本からこういったもので簡単に実装できるということを知りステップアップでカスタムセルを自作するのもいいと思います。