この記事で行うこと
- 何らかのテキスト形式のコンテンツを時系列に追いかけ、前回と比較して更新されているか調べます。
- 更新されていたら、GitLab APIを使用してコンテンツを GitLabに git commit & push します。
- Pythonで実装します。
- 更新を追いかけるコンテンツとして、本記事では EtherCalc を使用します。
参考ページ(感謝します)
GitLab Docs > API Docs > API resources
環境
Ubuntu 20.04
$ python3 --version
Python 3.8.2
GitLabの導入とプロジェクト作成
GitLab導入
それでは作業を開始します。
gitサーバーとして、オンプレのGitLabを使用します。今回は手っ取り早くDockerでローカルに導入します。
端末で適当なディレクトリに移動後、以下を実行します。
git clone https://github.com/sameersbn/docker-gitlab

cd docker-gitlab

docker-compose up -d
コンテナ立ち上げ後にしばらく待って「docker-compose ps」を実行すると、以下のように表示されました。
           Name                         Command                  State                               Ports
----------------------------------------------------------------------------------------------------------------------------------
docker-gitlab_gitlab_1       /sbin/entrypoint.sh app:start    Up (healthy)   0.0.0.0:10022->22/tcp, 443/tcp, 0.0.0.0:10080->80/tcp
docker-gitlab_postgresql_1   /sbin/entrypoint.sh              Up             5432/tcp
docker-gitlab_redis_1        docker-entrypoint.sh --log ...   Up             6379/tcp
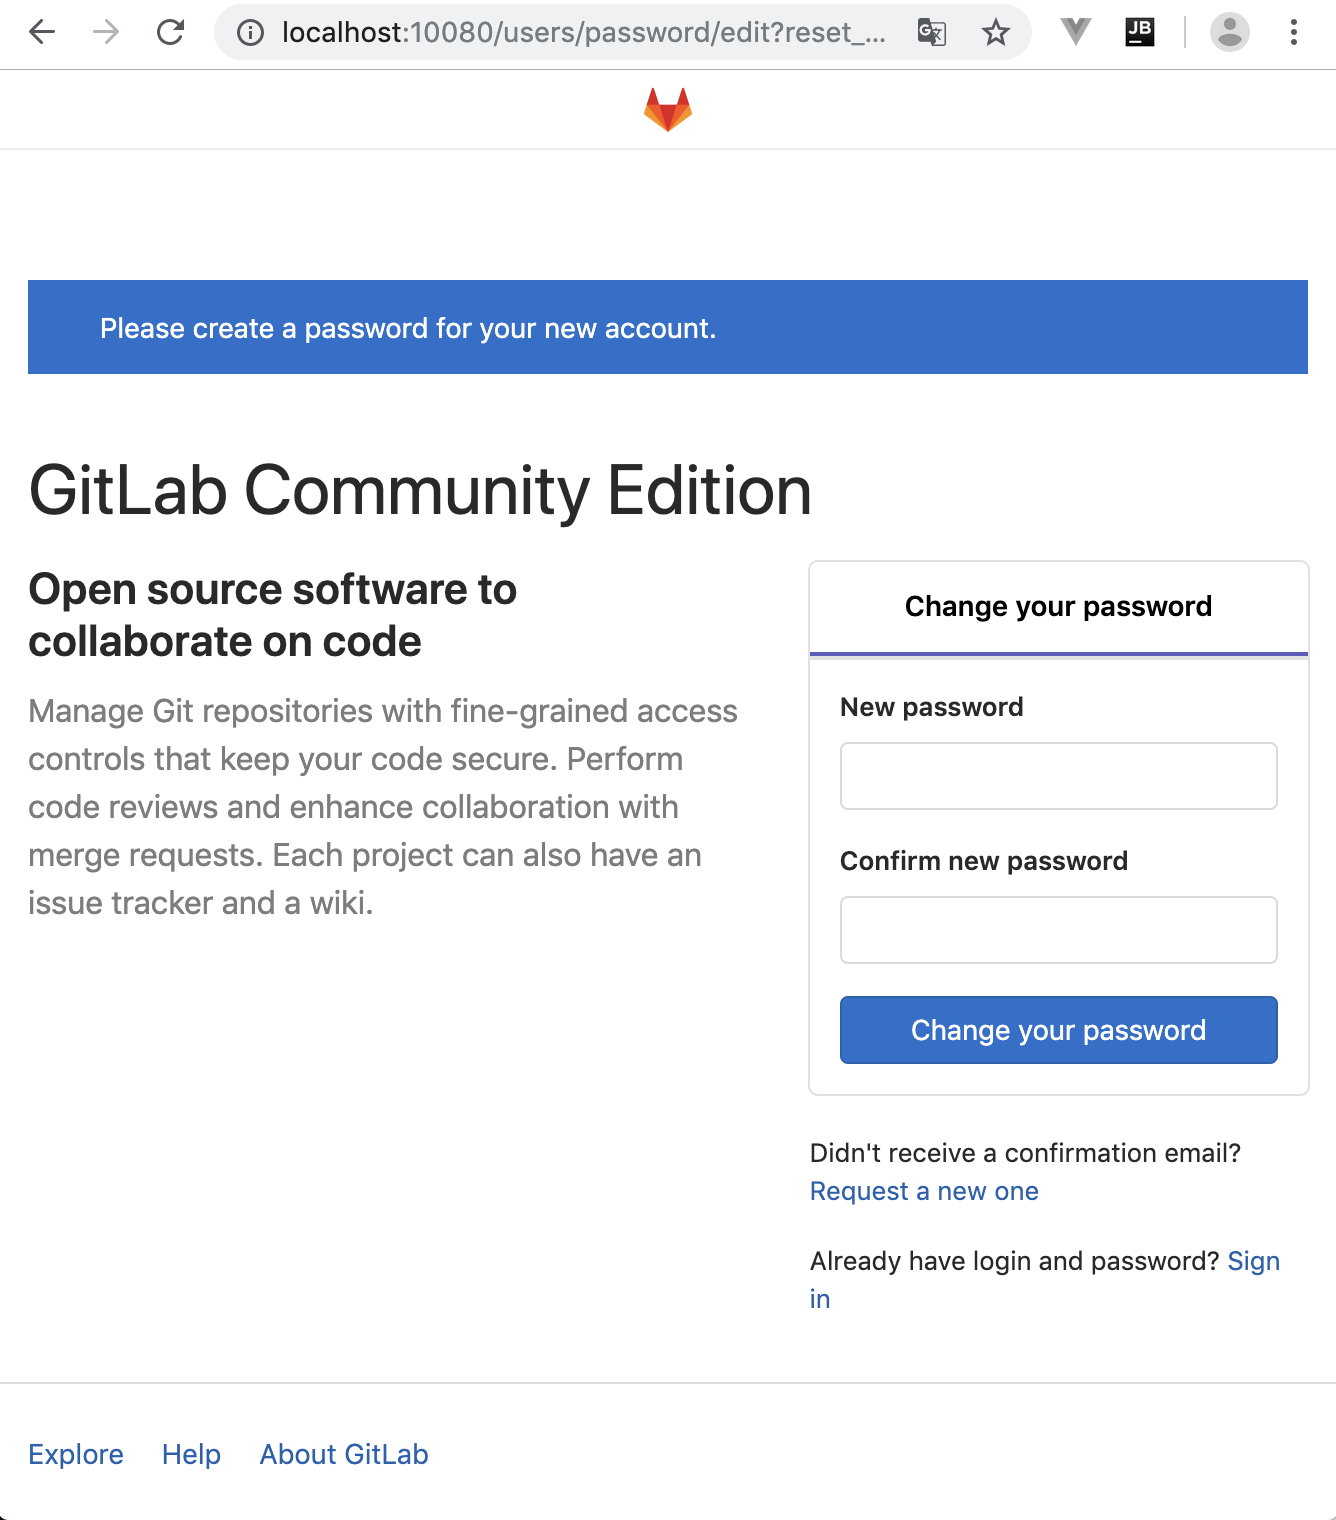
GitLabコンテナのhttpポートが10080ですので、ブラウザで http://localhost:10080/ にアクセスします。
下の画面が出たら、rootのパスワードを変更します。
下の画面に行き、開発ユーザーを作成します(ユーザー名は何でも良いです)。

GitLabプロジェクトの作成
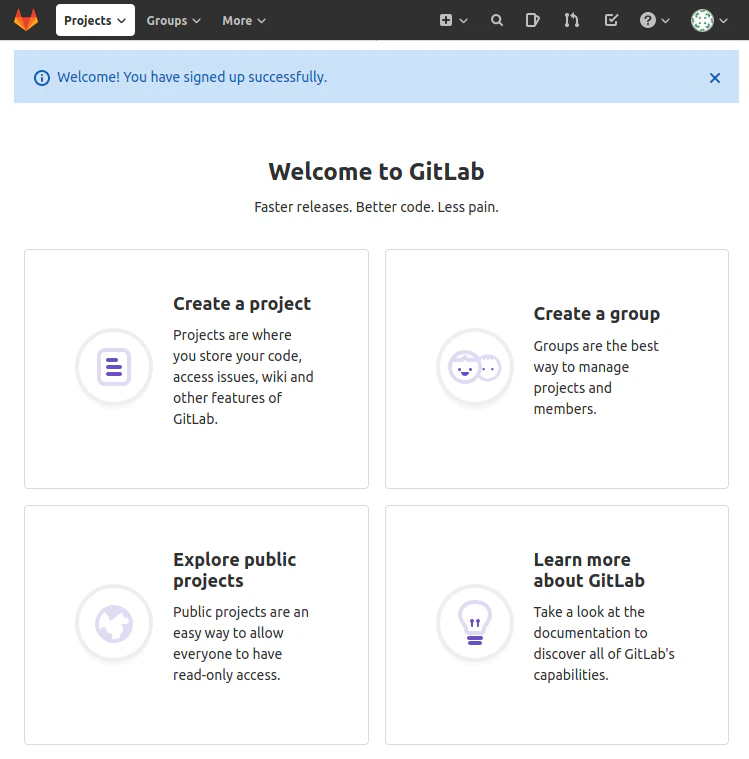
開発ユーザーでログインできたら、下の画面からCreate a projectを選択します。
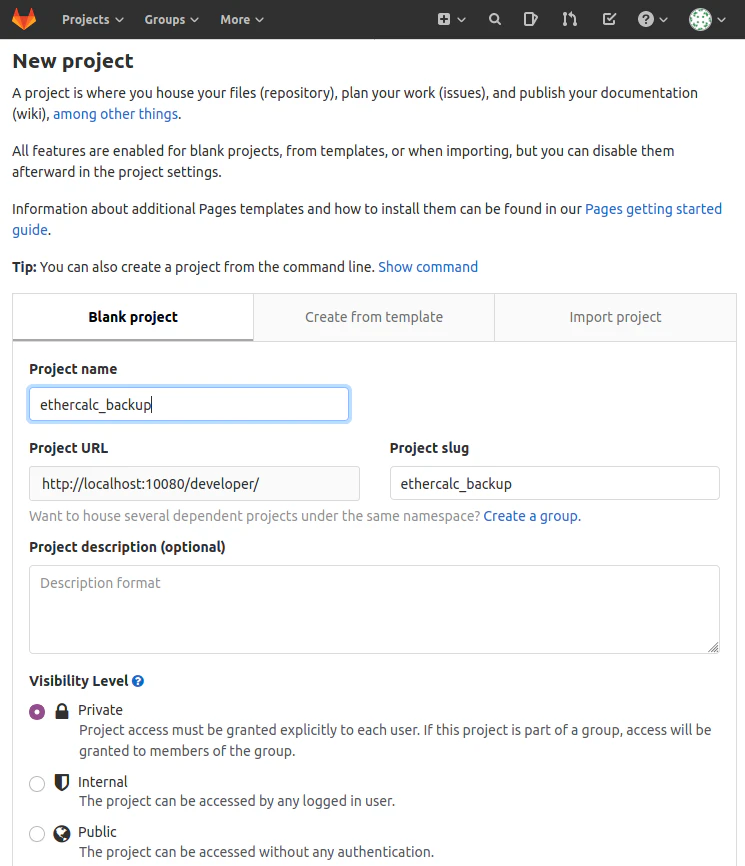
以下のように、プロジェクト名を「ethercalc_backup」としましたが、名前は何でも良いです。
Create projectボタンを押してプロジェクトを作成します。
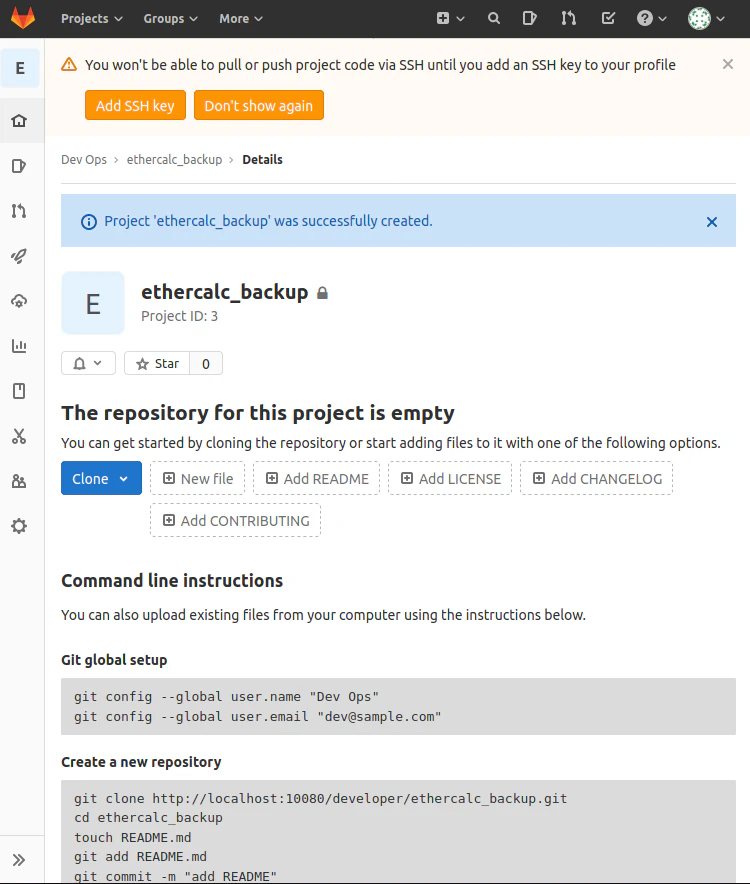
以下のように、プロジェクトが作成されました。
プロジェクト名の下に Project ID が表示されています(本記事では3)。
このIDは後に、Pythonコードから使用します。
GitLab API用のアクセストークン取得
後にPythonコードから GitLab API を使用します。
その時アクセストークンが必要になりますので取得しておきます。
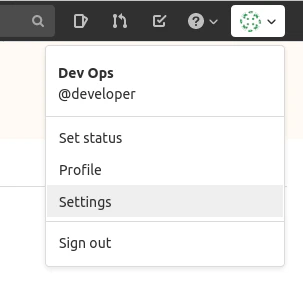
以下のように、ブラウザの右上からプルダウンメニューを出し、「Settings」を選択します。
以下の画面で、左側のメニューから「Access Tokens」を選択します。

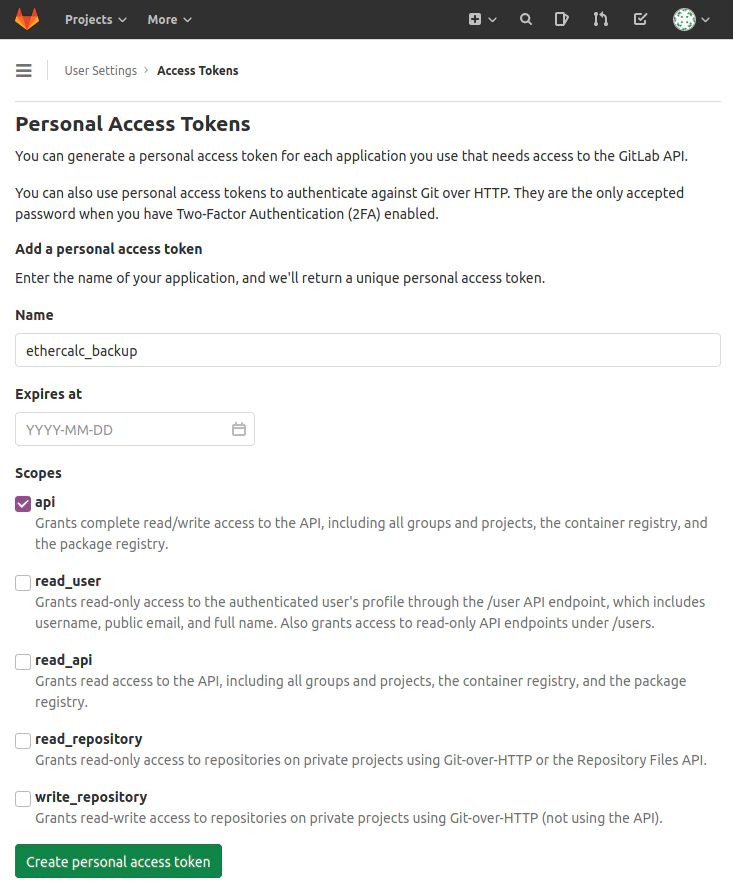
以下の画面で、Nameに任意の名前を入力し、Scopesはapiにチェックを入れ、ボタン「Create Personal access token」を押します。
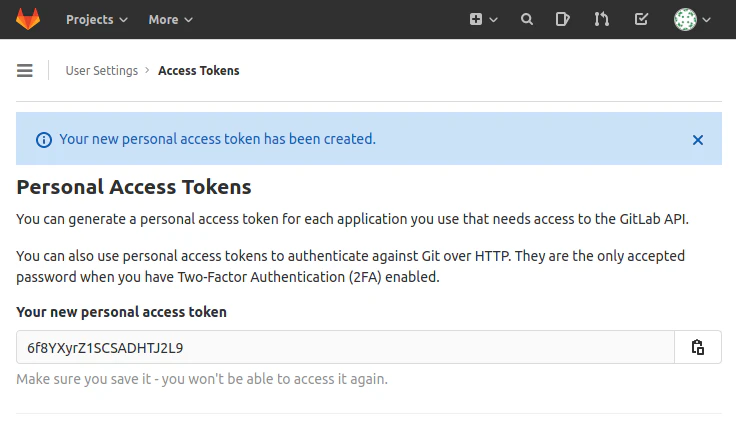
以下のようにアクセストークンが作成されました。クリップボードにコピーして、保存しておきます。本記事では以後、アクセストークンとして「6f8YXyrZ1SCSADHTJ2L9」を使用します。
EtherCalcの導入
テキスト形式のコンテンツ提供元として、本記事ではEtherCalcを使うことにします。GitLabと同様に、Dockerでローカルに導入します。
端末でGitLabとは別の適当なディレクトリに移動後、https://github.com/audreyt/ethercalc/blob/master/docker-compose.yml と同じ内容で docker-compose.yml を作成し、コンテナを立ち上げます。
wget https://raw.githubusercontent.com/audreyt/ethercalc/master/docker-compose.yml

docker-compose up -d
コンテナ立ち上げ後にしばらく待って「docker-compose ps」を実行すると、以下のように表示されました。
            Name                          Command               State          Ports
--------------------------------------------------------------------------------------------
docker-ethercalc_ethercalc_1   sh -c REDIS_HOST=$REDIS_PO ...   Up      0.0.0.0:80->8000/tcp
docker-ethercalc_redis_1       docker-entrypoint.sh redis ...   Up      6379/tcp
EtherCalcコンテナのhttpポートが80ですので、ブラウザで http://localhost/ にアクセスしてみます。

テスト用にEtherCalcシートを2つ作っておきます。
テキストエディタを立ち上げ、foo.sc と bar.sc を新規作成して保存します。
editor foo.sc
socialcalc:version:1.0
MIME-Version: 1.0
Content-Type: multipart/mixed; boundary=SocialCalcSpreadsheetControlSave
--SocialCalcSpreadsheetControlSave
Content-type: text/plain; charset=UTF-8

# SocialCalc Spreadsheet Control Save
version:1.0
part:sheet
part:edit
part:audit
--SocialCalcSpreadsheetControlSave
Content-type: text/plain; charset=UTF-8

version:1.5
cell:A1:t:foo1
cell:A2:t:foo2
sheet:c:1:r:2:tvf:1
valueformat:1:text-wiki
--SocialCalcSpreadsheetControlSave
Content-type: text/plain; charset=UTF-8

version:1.0
rowpane:0:1:1
colpane:0:1:1
ecell:A1
--SocialCalcSpreadsheetControlSave
Content-type: text/plain; charset=UTF-8

--SocialCalcSpreadsheetControlSave--
editor bar.sc
socialcalc:version:1.0
MIME-Version: 1.0
Content-Type: multipart/mixed; boundary=SocialCalcSpreadsheetControlSave
--SocialCalcSpreadsheetControlSave
Content-type: text/plain; charset=UTF-8

# SocialCalc Spreadsheet Control Save
version:1.0
part:sheet
part:edit
part:audit
--SocialCalcSpreadsheetControlSave
Content-type: text/plain; charset=UTF-8

version:1.5
cell:A1:t:bar1
cell:A2:t:bar2
sheet:c:1:r:2:tvf:1
valueformat:1:text-wiki
--SocialCalcSpreadsheetControlSave
Content-type: text/plain; charset=UTF-8

version:1.0
rowpane:0:1:1
colpane:0:1:1
ecell:A1
--SocialCalcSpreadsheetControlSave
Content-type: text/plain; charset=UTF-8

--SocialCalcSpreadsheetControlSave--
上述の foo.sc と bar.sc は SocialCalc形式のテキストファイルで、EtherCalcにインポートできます。
SocialCalc形式でエキスポート/インポートすると、シートのフォーマット(見た目)もリカバリできるというメリットがあります。
CSV形式のファイルもインポートできますが、シートのフォーマットはリカバリできません。
以下を実行し、インポートします。
curl -X PUT -H 'Content-Type: text/x-socialcalc' --data-binary @foo.sc http://localhost/_/foo

curl -X PUT -H 'Content-Type: text/x-socialcalc' --data-binary @bar.sc http://localhost/_/bar
ブラウザで http://localhost/foo と http://localhost/bar にアクセスします。
シートのセルに以下のデータが入っていれば、インポート成功です。


これらの URL から SocialCalc形式および CSV形式でファイルをダウンロードし、GitLabで管理することにします。
Pythonコード
コードが雑&行儀が悪いのはお許しを。
論理的な処理手順は以下の通りです。
foo、barのコンテンツそれぞれについて、
- EtherCalcとGitLabからファイルをダウンロード(SocialCalc形式とcsv形式の両方)
- GitLabにファイルがなかったら、gitリポジトリに新規追加
- GitLabにファイルがあったら、EtherCalcとGitLabの両ファイルを比較し、差異があったら gitリポジトリを更新。
- GitLab APIを使用して、git commit & push
- その後、GitLab APIを使用して、git diffして結果をログに出力
- gitリポジトリの下に ethercalc というディレクトリを作成し、その下にバックアップします。
以下にPythonコードを記します。
コードで logger という変数を使っていますが、logging周りのコードは割愛しましたのでご了承ください。
import time
import datetime
import urllib.request
import urllib.parse
import json
import pprint
import re
import base64

# gitで管理するethercalcコンテンツのURL
ethercalc_uris = [ "http://localhost/foo", "http://localhost/bar" ]

# GitLab関連
gitlab_base_uri = "http://localhost:10080/"

# gitリポジトリ内でのバックアップ先
gitlab_backup_directory = "ethercalc"

gitlab_private_token = "6f8YXyrZ1SCSADHTJ2L9"
gitlab_project_id = 3

# 今
str_now = datetime.datetime.today().strftime("%Y%m%d_%H%M%S")

# 改行
LF = '\n'


def get_gitlab_file(private_token, file_path):
    """
    GitLabリポジトリから1ファイルを取得する

    Parameters
    ----------
    private_token : str
        GitLab API用アクセストークン

    file_path : str
        gitリポジトリのトップからのファイルパス

    Returns
    -------
    anonymous : json
        GitLabからのレスポンス
    """

    # https://docs.gitlab.com/ee/api/repository_files.html
    gitlab_uri = f"{gitlab_base_uri}api/v4/projects/{gitlab_project_id}/repository/files/{urllib.parse.quote(file_path, safe='')}?ref=master"
    logger.info(f"gitlab_uri={gitlab_uri}")
    headers = {
        "PRIVATE-TOKEN": private_token
    }
    request = urllib.request.Request(gitlab_uri, headers=headers)
    try:
        with urllib.request.urlopen(request) as res:
            res_files = json.loads(res.read())
    except urllib.error.HTTPError as ee:
        if ee.code == 404:
            return {}
        else:
            raise
    except:
        raise
    else:
        # logger.debug(f"gitlab res_commit={LF}{pprint.pformat(res_files)}")
        return res_files


def compare_ethercalc_and_gitlab(actions, ethercalc_uri, git_filename):
    """
    EtherCalcとGitLabリポジトリからファイルを取得して比較し、差異があればactions変数にactionを追加する

    Parameters
    ----------
    actions : list
        後に GitLabの commits APIに渡す actions変数

    ethercalc_uri : str
        EtherCalcのURI

    git_filename : str
        gitリポジトリでのファイル名

    Returns
    -------
    なし
    """

    logger.info(f"ethercalc URL={ethercalc_uri}")

    # EtherCalcからダウンロード
    request = urllib.request.Request(ethercalc_uri)
    with urllib.request.urlopen(request) as res:
        content_ethercalc = res.read().decode("utf-8")
    # logger.debug(f"content_ethercalc={LF}{content_ethercalc}")

    # GitLabからダウンロード
    action_str = ""
    file_path = f"{gitlab_backup_directory}/{git_filename}"
    res_gitlab_file = get_gitlab_file(gitlab_private_token, file_path)
    try:
        content_gitlab = base64.b64decode(res_gitlab_file["content"]).decode("utf-8")
    except KeyError:
        # GitLabにファイルがない時は、後に新規作成してgit commit&push
        action_str = "create"
    except:
        raise
    else:
        # logger.debug(f"content_gitlab={LF}{content_gitlab}")

        # EtherCalcとGitLabからダウンロードしたファイルを比較
        if content_ethercalc == content_gitlab:
            logger.info("content_ethercalc == content_gitlab")
        else:
            logger.info("content_ethercalc != content_gitlab")
            # ファイル内容に差異がある時、後にgit commit&push
            action_str = "update"

    # actionがcreateまたはupdateの時、actions変数に登録
    if 0 < len(action_str):
        action = {
            "action": action_str,
            "file_path": file_path,
            "content": content_ethercalc
        }
        actions.append(action)


def main():
    # ethercalc_urisの各URLを処理
    actions = list()
    count_commit = 0
    re_compile = re.compile(r".*/(.*?)$")
    for index, ethercalc_uri in enumerate(ethercalc_uris):
        basename, = re_compile.match(ethercalc_uri).groups()    # 文字列 "foo"、"bar" を取り出す
        socialcalc_uri = ethercalc_uri[::-1].replace(basename[::-1], basename[::-1] + "/_", 1)[::-1]
        csv_uri = ethercalc_uri + ".csv"
        logger.info(f"[{index}] {basename}")

        # SocialCalc形式でEtherCalcとGitLabからダウンロードして、ファイル内容比較
        time.sleep(0.5)     # DoS攻撃にならないように適当にsleep
        compare_ethercalc_and_gitlab(actions, socialcalc_uri, f"{basename}.sc")

        # csv形式でEtherCalcとGitLabからダウンロードして、ファイル内容比較
        time.sleep(0.5)     # DoS攻撃にならないように適当にsleep
        compare_ethercalc_and_gitlab(actions, csv_uri, f"{basename}.csv")

        if len(actions) == 0:
            # EtherCalcとGitLabのファイル内容に差異がなければ git commitしない
            continue

        # git commit & push
        # https://docs.gitlab.com/ee/api/commits.html
        gitlab_uri = f"{gitlab_base_uri}api/v4/projects/{gitlab_project_id}/repository/commits"
        commit_message = datetime.datetime.today().strftime(f"backup {str_now} {basename}")
        logger.info(f'git commit -m "{commit_message}"')
        headers = {
            "method": "POST",
            "PRIVATE-TOKEN": gitlab_private_token,
            "Content-Type": "application/json"
        }
        payload = {
            "branch": "master",
            "commit_message": commit_message,
            "actions": actions
        }
        logger.debug(f"payload={LF}{pprint.pformat(payload)}")

        request = urllib.request.Request(gitlab_uri, json.dumps(payload).encode("utf-8"), headers=headers)
        with urllib.request.urlopen(request) as res:
            res_commit = json.loads(res.read())
        logger.debug(f"gitlab res_commit={LF}{pprint.pformat(res_commit)}")

        # git diff してログに出力
        # https://docs.gitlab.com/ee/api/commits.html
        gitlab_uri = f"{gitlab_base_uri}api/v4/projects/{gitlab_project_id}/repository/commits/{res_commit['id']}/diff"
        logger.info(f"git diff ( {res_commit['id']} )")
        headers = {
            "PRIVATE-TOKEN": gitlab_private_token,
        }
        request = urllib.request.Request(gitlab_uri, headers=headers)
        with urllib.request.urlopen(request) as res:
            res_diff = json.loads(res.read())
        logger.info(f"gitlab res_diff={LF}{pprint.pformat(res_diff)}")

        count_commit += 1
        actions = list()

    logger.info(f"{count_commit} 件 git commit しました")


if __name__ == '__main__':
    try:
        main()
    except Exception as ee:
        logger.exception(ee)
1回目の試行
1回目は、GitLabのリポジトリが空の状態で実行します。
端末で以下を実行します。
python3 ethercalc_backup.py
実行メッセージの最後に以下のように表示されました。
2 件 git commit しました
GitLabの画面でプロジェクトを確認します。
以下のように 2 Commits になっていて、ethercalcディレクトリが新規作成されています。

ethercalcの下に入ってみると、以下のように fooとbarの 2種類の commit があり、1つの commit につき SocialCalc形式と csv形式の2つのファイルが新規作成されていました。
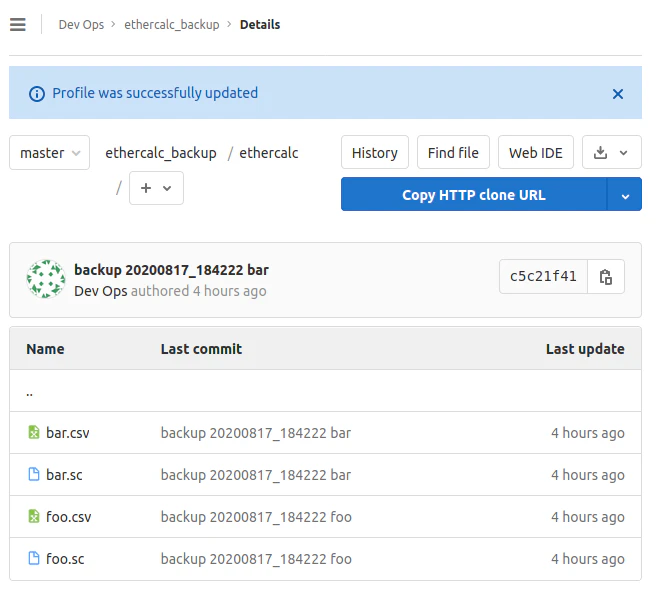
ファイル名をクリックすると、中身を確認することができます。
2回目の試行
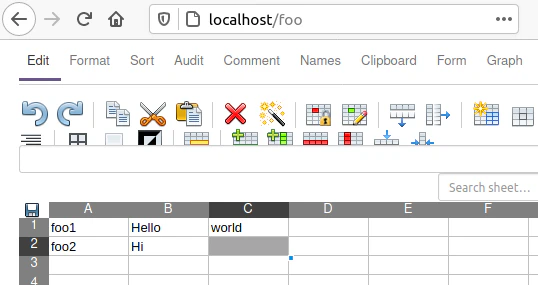
2回目は、EtherCalcで fooの内容のみ変更して Pythonコードを動かしてみます。
以下のように、Hello等と適当に書き加えました。
端末で以下を実行します。
python3 ethercalc_backup.py
実行メッセージの最後に以下のように表示されました。
1 件 git commit しました
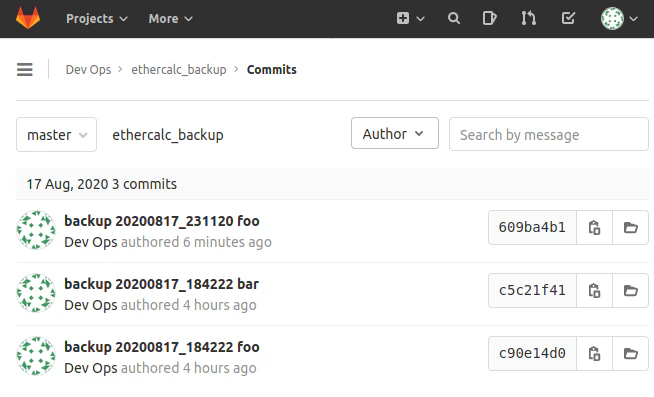
GitLabの画面でプロジェクトを確認します。
以下のように 3 Commits になっています。

3 Commitsをクリックすると、以下のように最近の fooの commitが追加されている一方で、barは何も追加されていません。
追加された fooの commit をクリックすると、以下のように前回の commit との差分が表示されました。

3回目の試行
3回目は、EtherCalcを変更せずに Pythonコードを動かしてみます。
python3 ethercalc_backup.py
実行メッセージの最後に以下のように表示されました。
0 件 git commit しました
以上です。