Email Verificationの機能
- メールアドレスとパスワード(+α)を入力してもらう
- 入力されたメールアドレスに仮登録のメールを送信
- 仮登録に書かれたURLにアクセスすると本登録が完了
最近よくあるユーザ登録時の流れ。
実装
ユーザー登録できるようセットアップ
make:auth
terminal
php artisan make:auth
migrate
terminal
php artisan migrate
Email Verification機能を使えるようにする
MustVerifyEmailの追加
app/User.php
<?php

namespace App;

use Illuminate\Notifications\Notifiable;
use Illuminate\Contracts\Auth\MustVerifyEmail;
use Illuminate\Foundation\Auth\User as Authenticatable;

+class User extends Authenticatable implements MustVerifyEmail
{
    use Notifiable;

    /**
     * The attributes that are mass assignable.
     *
     * @var array
     */
    protected $fillable = [
        'name', 'email', 'password',
    ];

    /**
     * The attributes that should be hidden for arrays.
     *
     * @var array
     */
    protected $hidden = [
        'password', 'remember_token',
    ];
}
Routeの変更
-
Auth::routes();部分の変更 -
verifiedを使って「本登録したユーザーだけが表示できるページ」を登録
routes/web.php
<?php

Route::get('/', function () {
    return view('welcome');
});

+Auth::routes(['verify' => true]);

Route::get('/home', 'HomeController@index')->name('home');

+Route::middleware('verified')->group(function() {
+    // 本登録ユーザーだけ表示できるページ
+    Route::get('verified',  function(){
+        return '本登録が完了してます!';
+    });
+});
Registerから会員登録をしてみます。
WEB
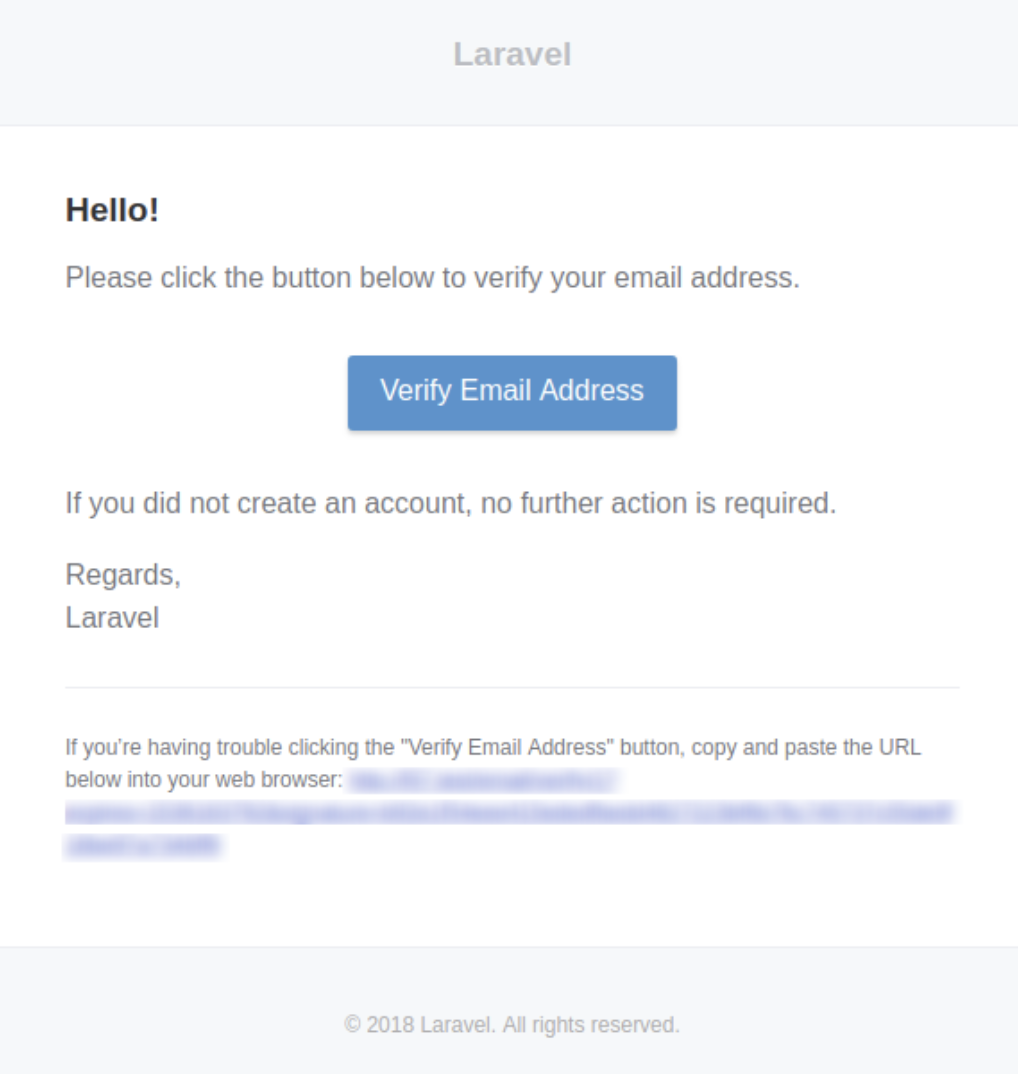
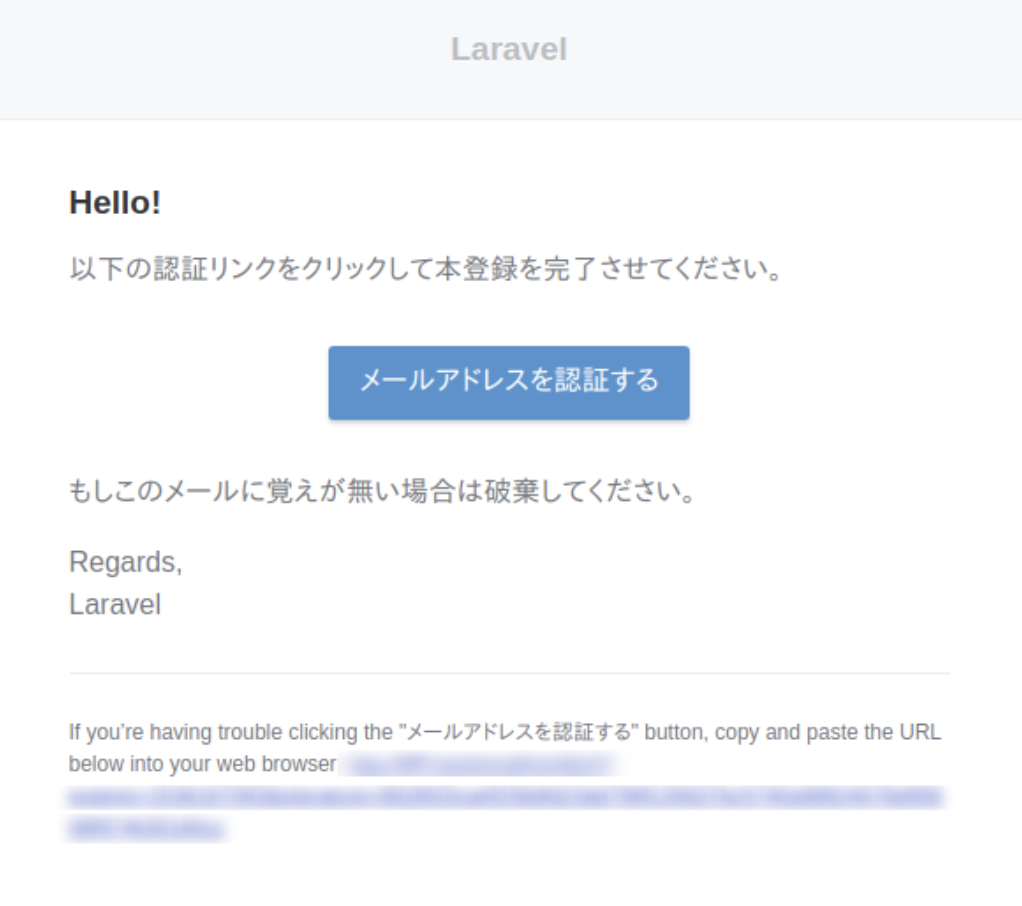
メール
修正
メールアドレス未確認なのに、ログイン後の画面が出てしまうので、
「メール送信しました」的な画面が出るようにしたいと思います。
->middleware('verified')を設定。
メール確認ができてない状態で、homeにアクセスされた場合はemail/verifyにリダイレクトさせます。
ルーティングの修正
routes/web.php
+Route::get('/home', 'HomeController@index')->middleware('verified');
もう一度アカウント登録を試すと、以下の画面になると思います。

とりあえず、これで設定は完了です。
メール文や画面文を日本語に修正したい
詳しい内容は【Laravel5.6】インストール直後にやること3点を参考にするといいかと思います。
本登録を促すページ
resources/views/auth/verify.blade.php
@extends('layouts.app')

@section('content')
<div class="container">
    <div class="row justify-content-center">
        <div class="col-md-8">
            <div class="card">
                <div class="card-header">本登録</div>

                <div class="card-body">
                    @if (session('resent'))
                        <div class="alert alert-success" role="alert">
                            新しい本登録メッセージが送信されました。
                        </div>
                    @endif

                    メールアドレスの認証をお願いします。<br>
                    もしメールを受け取ってないなら、<a href="{{ route('verification.resend') }}">ここをクリックしてください</a>。
                </div>
            </div>
        </div>
    </div>
</div>
@endsection
本登録メール
Notificationを作る
terminal
php artisan make:notification VerifyEmailJapanese
app/Notifications/VerifyEmailJapanese.php
<?php

namespace App\Notifications;

use Illuminate\Support\Carbon;
use Illuminate\Support\Facades\URL;
use Illuminate\Support\Facades\Lang;
use Illuminate\Notifications\Notification;
use Illuminate\Notifications\Messages\MailMessage;

class VerifyEmailJapanese extends Notification
{
    /**
     * The callback that should be used to build the mail message.
     *
     * @var \Closure|null
     */
    public static $toMailCallback;

    /**
     * Get the notification's channels.
     *
     * @param  mixed  $notifiable
     * @return array|string
     */
    public function via($notifiable)
    {
        return ['mail'];
    }

    /**
     * Build the mail representation of the notification.
     *
     * @param  mixed  $notifiable
     * @return \Illuminate\Notifications\Messages\MailMessage
     */
    public function toMail($notifiable)
    {
        if (static::$toMailCallback) {
            return call_user_func(static::$toMailCallback, $notifiable);
        }

        return (new MailMessage)
            ->subject(Lang::getFromJson('本登録メール'))
            ->line(Lang::getFromJson('以下の認証リンクをクリックして本登録を完了させてください。'))
            ->action(
                Lang::getFromJson('メールアドレスを認証する'),
                $this->verificationUrl($notifiable)
            )
            ->line(Lang::getFromJson('もしこのメールに覚えが無い場合は破棄してください。'));
    }

    /**
     * Get the verification URL for the given notifiable.
     *
     * @param  mixed  $notifiable
     * @return string
     */
    protected function verificationUrl($notifiable)
    {
        return URL::temporarySignedRoute(
            'verification.verify', Carbon::now()->addMinutes(60), ['id' => $notifiable->getKey()]
        );
    }

    /**
     * Set a callback that should be used when building the notification mail message.
     *
     * @param  \Closure  $callback
     * @return void
     */
    public static function toMailUsing($callback)
    {
        static::$toMailCallback = $callback;
    }
}
VerifyEmailJapaneseが本登録メールで送信されるように、app/User.phpに記述
app/User.php
// Override
public function sendEmailVerificationNotification()
{
    $this->notify(new \App\Notifications\VerifyEmailJapanese);
}
本文にまだ英語の部分が残っていますが、この設定は【Laravel5.6】インストール直後にやること3点にも記載があります。
とりあえず以上です。


