この記事はVue Advent Calendar 2019の2日目の記事です。
とあるお店の予約システムを作った時の話で、管理画面側で予約状況をカレンダー風に表示したいという話があり、Vue.jsで作りました。
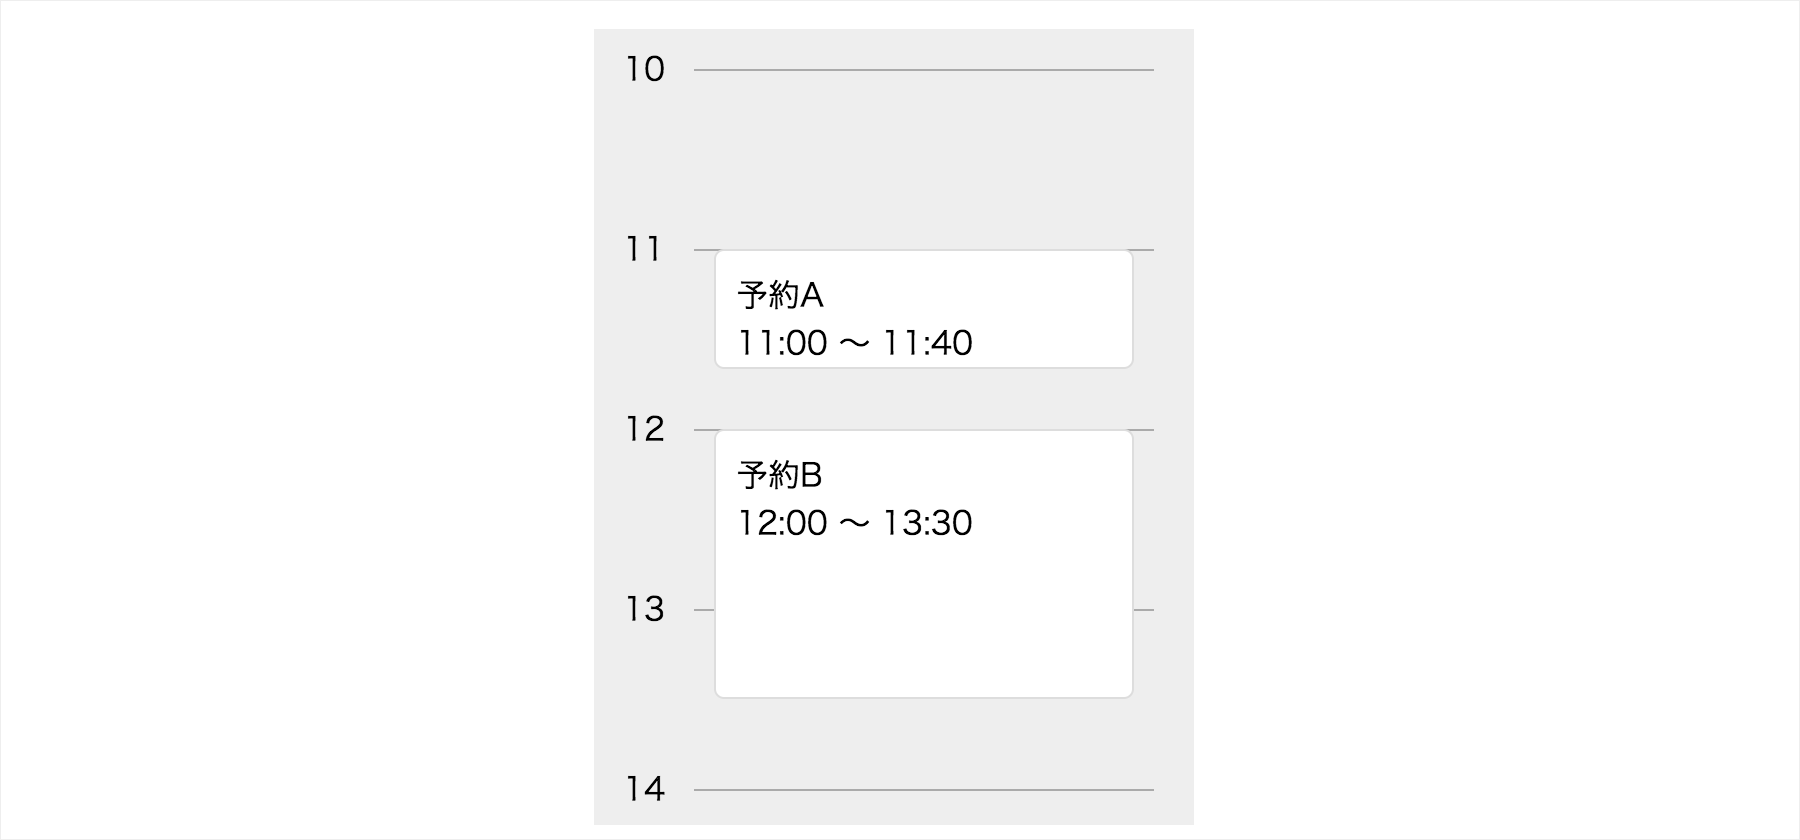
実際よりはだいぶ簡単にしてますが、完成イメージはこんな感じです。
予約状況は、こんな感じのjsonで渡されるのでこれを上手くカレンダー風に表示できるようにします。
[
  {
    "id": 1,
    "name": "予約A",
    "startTime": "11:00",
    "endTime": "11:40"
  },
  {
    "id": 2,
    "name": "予約B",
    "startTime": "12:00",
    "endTime": "13:30"
  },
  {
    "id": 3,
    "name": "予約C",
    "startTime": "15:10",
    "endTime": "17:40"
  }
]
ベースを作る
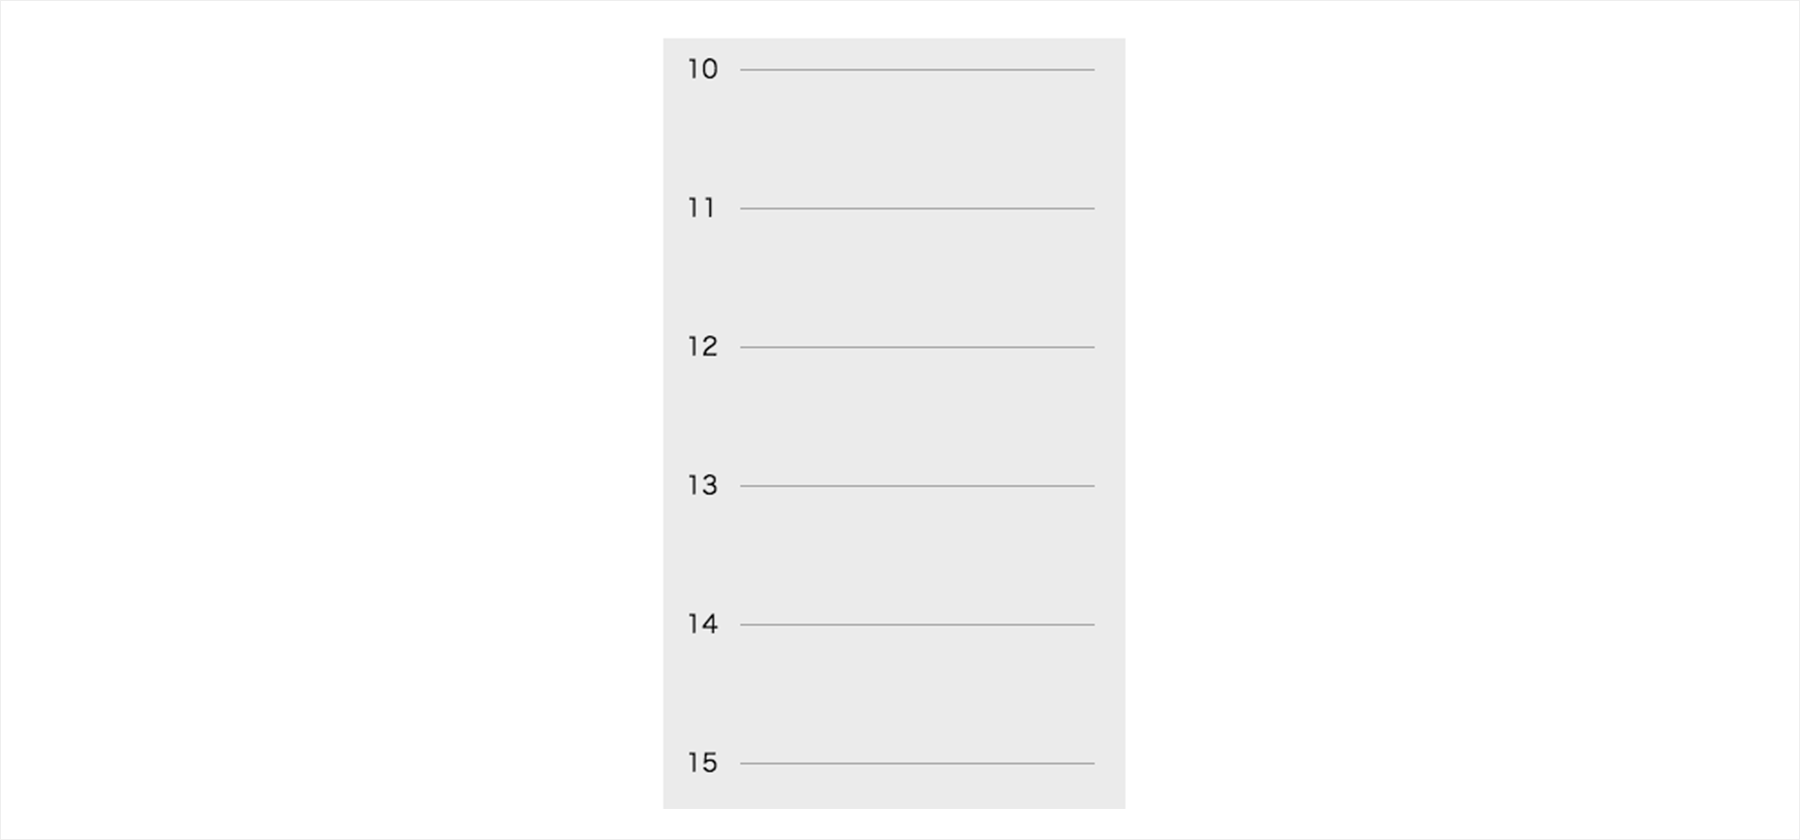
とりあえず、時間と線だけが表示されているベースを作っていきます。
実際の案件では店によって時間が違うという仕様でしたが、このデモでは10時から19時までという設定で作っていきます。
<div id="app">
  <div class="main">
    <div class="cal">
      <div class="cal_row-label">
        <p class="cal_label" v-for="n in 10">{{ n + 9 }}</p>
      </div>
      <div class="cal_row-timeline">
        <div class="cal_block" v-for="n in 10"></div>
      </div>
    </div>
  </div>
</div>
* {
  box-sizing: border-box;
}

.main {
  position: relative;
  max-width: 300px;
  padding-right: 20px;
  background-color: #eee;
}

.cal {
  display: flex;
  padding-top: 20px;

  &_row-label {
    flex: 0 0 50px;
  }

  &_row-timeline {
    width: 100%;
  }

  &_label {
    height: 90px;
    transform: translateY(-12px);
    margin: 0;
    text-align: center;
  }

  &_block {
    width: 100%;
    height: 90px;
    border-top: 1px solid #aaa;
  }
}
new Vue({
  el: '#app'
})
あとで計算で使いますが、このUIでは1時間の高さが90pxになっています。
予約データを表示
v-for で予約データを表示してみます。
<div class="reserve">
  <div
    v-for="reservation in reservations"
    class="reserve_item"
    :key="reservation.id">
      {{ reservation.name }}<br>
      {{ reservation.startTime }} 〜 {{ reservation.endTime }}
  </div>
</div>
.reserve {
  position: absolute;
  top: 0;
  left: 60px;
  width: calc(100% - 90px);

  &_item {
    border: 1px solid #ddd;
    background-color: #fff;
    border-radius: 5px;
    padding: 10px;
  }
}
実際はAPIで取得してたのですが、このデモではVueインスタンスの data の中に入れてます。
new Vue({
  el: '#app',
  data: {
    reservations: [
      {
        "id": 1,
        "name": "予約A",
        "startTime": "11:00",
        "endTime": "11:40"
      },
      {
        "id": 2,
        "name": "予約B",
        "startTime": "12:00",
        "endTime": "13:30"
        },
      {
        "id": 3,
        "name": "予約C",
        "startTime": "15:10",
        "endTime": "17:40"
      }
    ]
  }
})
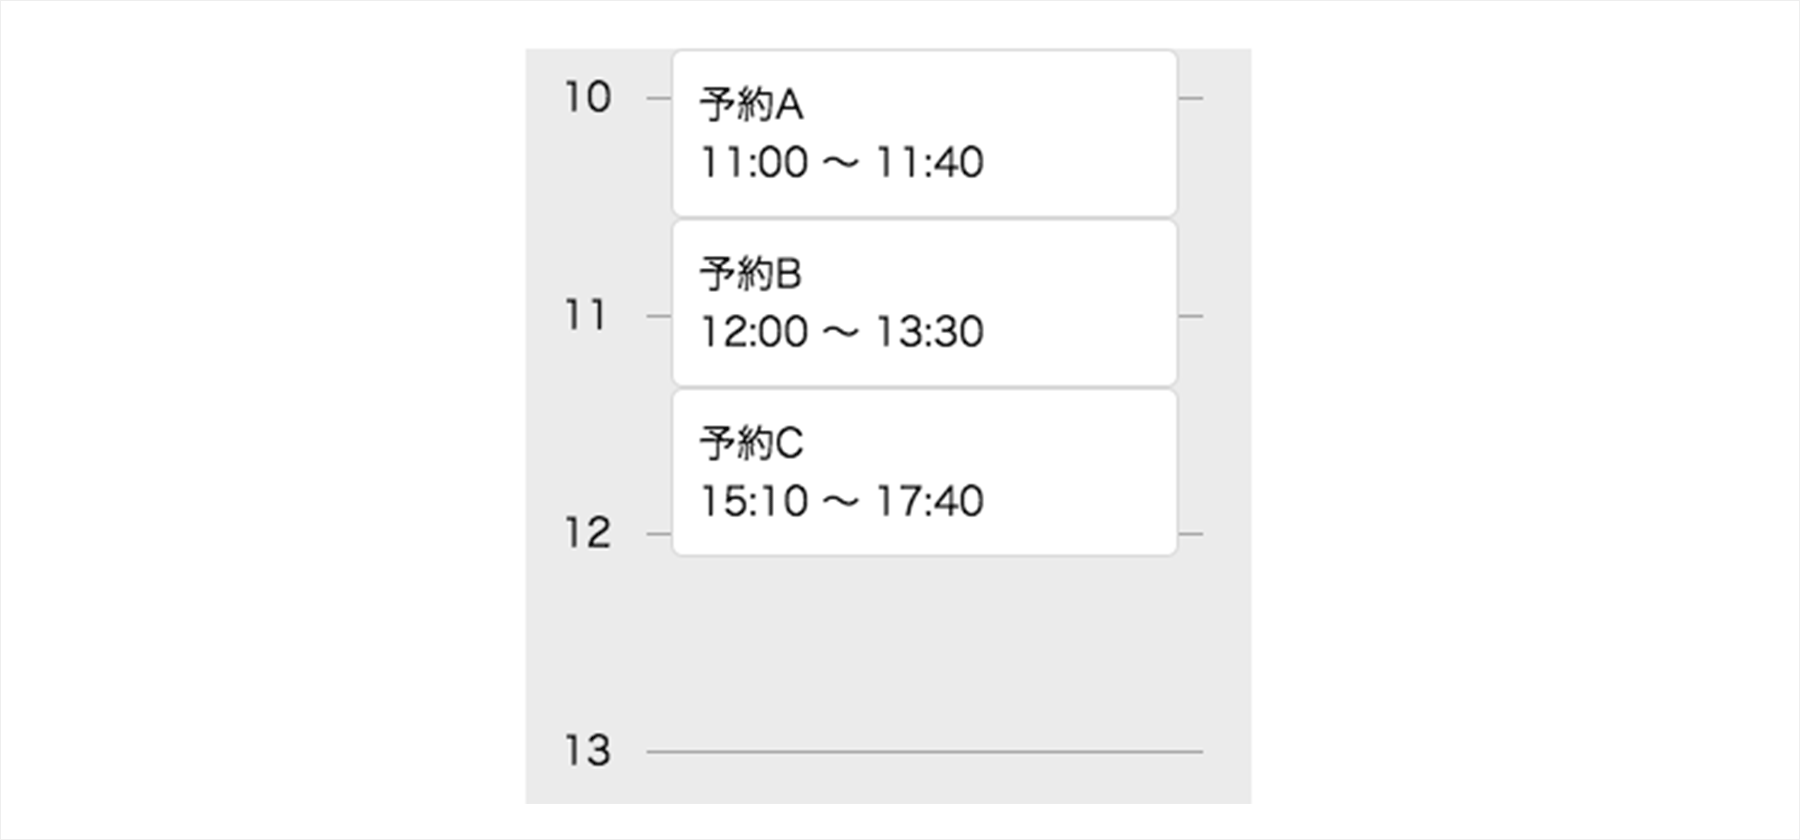
データの表示ができました!
が、普通に縦に積まれただけなので位置や長さを計算していきます!
縦の位置の計算
予約の縦の位置がうまく開始時間の位置に配置されるように計算します。
<div
  v-for="reservation in reservations"
  class="reserve_item"
  :style="getPosition(reservation)"
  :key="reservation.id">
    {{ reservation.name }}<br>
    {{ reservation.startTime }} 〜 {{ reservation.endTime }}
</div>
getPosition() という位置を計算する関数を作って :style でバインディングします。
new Vue({
  el: '#app',
  data: {
    shopOpenHour: 10,
    calBlockHeight: 90,
    topMargin: 20,
    reservations: [
      // … 省略
    ]
  },

  methods: {
    getPosition(item) {
      let styles = {}

      // 開始時間の時と分を分割
      const startTime = item.startTime.split(':')
      // 時間分の高さ計算
      let topPosition = (startTime[0] - this.shopOpenHour) * this.calBlockHeight
      // 分の高さを足す
      topPosition += startTime[1] * (this.calBlockHeight / 60)
      // 上部のマージン分の高さを足す
      topPosition += this.topMargin

      styles.top = topPosition + 'px'
      return styles
    }
  }
})
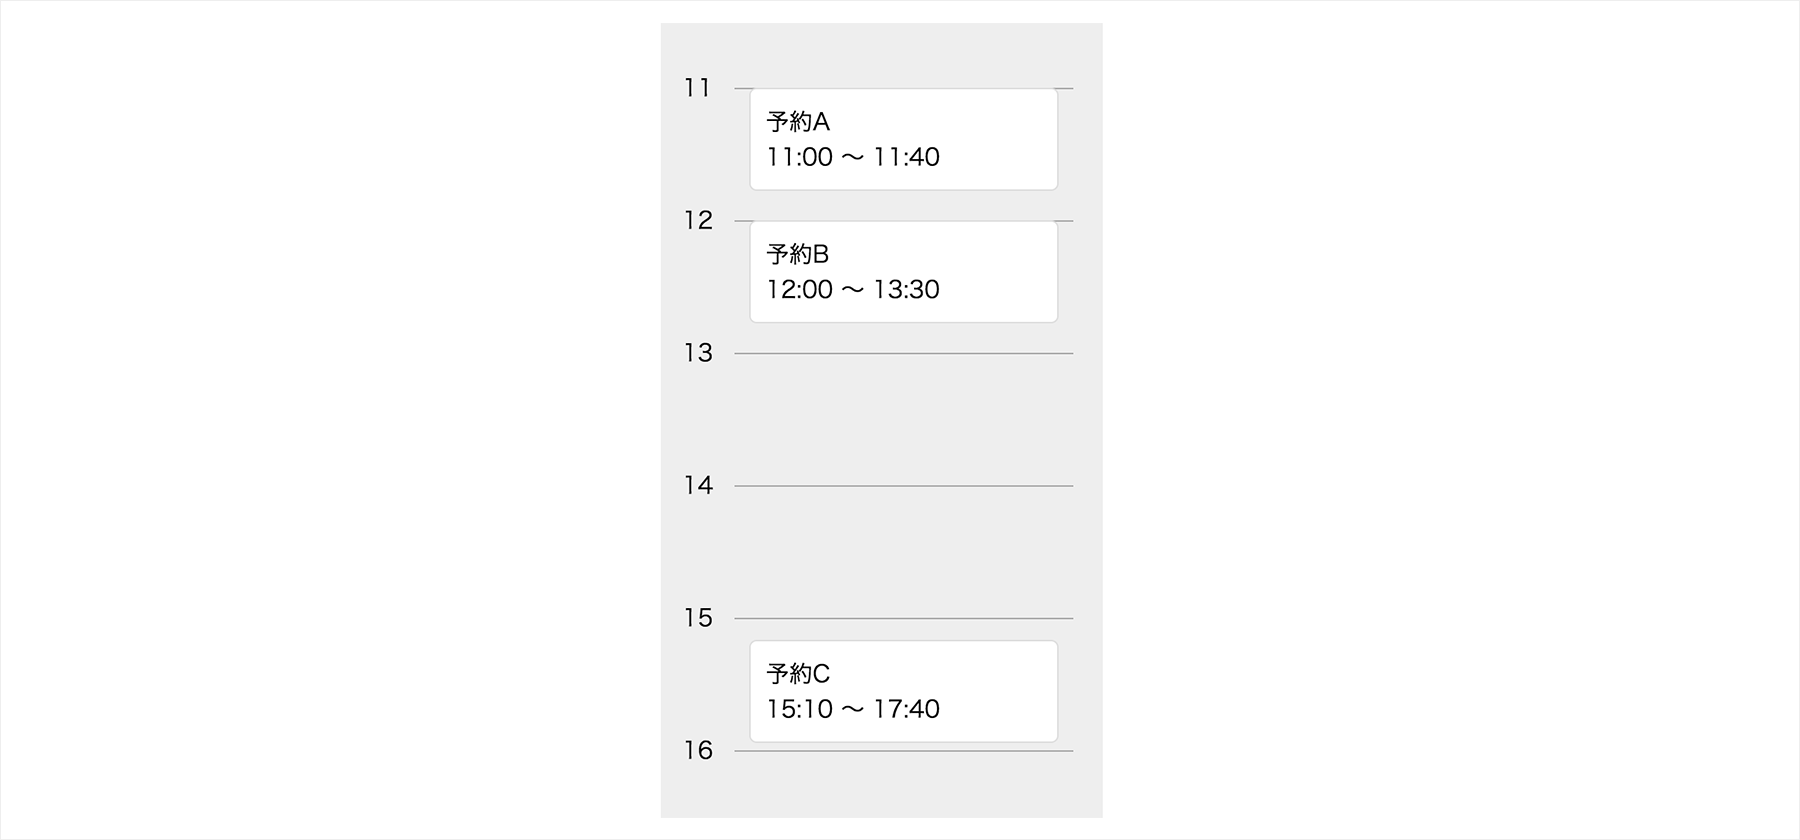
うまいこと配置されました!!
予約時間の長さを計算
さらに予約時間分の長さにするために getPosition() を改修して height を計算する処理も加えます。
終了時間と開始時間の差を計算して、1時間分の高さをかけることで長さの計算をしました。
getPosition(item) {
  let styles = {}

  // 開始時間の時と分を分割
  const startTime = item.startTime.split(':')
  // 時間分の高さ計算
  let topPosition = (startTime[0] - this.shopOpenHour) * this.calBlockHeight
  // 分の高さを足す
  topPosition += startTime[1] * (this.calBlockHeight / 60)
  // 上部のマージン分の高さを足す
  topPosition += this.topMargin

  // 終了時間の時と分を分割
  const endTime = item.endTime.split(':')
  // 終了時間と開始時間の差分を求める
  const endTimeLength = parseInt(endTime[0]) + parseFloat(endTime[1] / 60)
  const startTimeLength = parseInt(startTime[0]) + parseFloat(startTime[1] / 60)
  const itemHeight = (endTimeLength - startTimeLength) * this.calBlockHeight

  styles.top = topPosition + 'px'
  styles.height = itemHeight + 'px'

  return styles
}
完成
できました!スタイルのバインディングめちゃくちゃ便利!
See the Pen Vue Reservation Calendar by daichi (@kandai) on CodePen.
ちょっとしたTipsでしたが、誰かの参考になれば嬉しいです!


