Scaffoldから、かっこいいデザインのアプリを構築するまでをまとめてみました。
前提
- Ruby 2.1.3
- Rails 4.2.0
Scaffoldの準備
Railsの新規プロジェクト(Bene:ラテン語で善とか良という意味らしい…)を作成
> rails new Bene
デザインを確認するためのScaffoldを作成
> rails g scaffold user name:string password:string email:string regist_date:date
DBを作成
> rake db:migrate
Serverを起動
> rails server -b 0.0.0.0 -p 3000 -e development
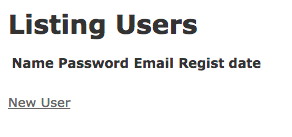
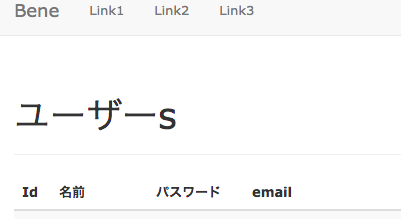
ブラウザからURL http://localhost:3000/users を開いてみる
と表示されればOK
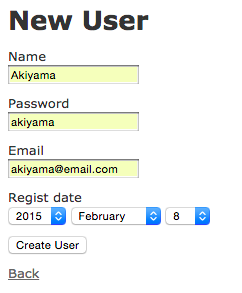
幾つかのデータを登録しておく。
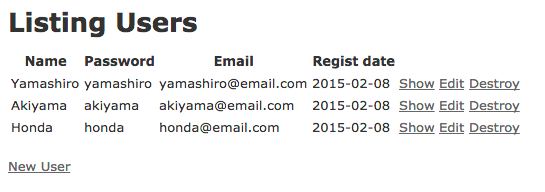
入力後の一覧イメージ
Bootstrap適用に必要なGemをBundleする
Gemfileに以下を追加する
# less(CSS)対応(後述LESSを使う場合)
gem 'less-rails'
# JavaScript のエンジンである v8 を Ruby から使えるようにする
gem 'therubyracer'
# JavaScriptコードを実行するためのエンジン
gem 'execjs'

# Twitter社が提供しているCSSとJavaScriptのフレームワーク
gem 'twitter-bootstrap-rails'
bundlerでインストールする。
bundler install
ソースに反映する
プロジェクトにbootstrap関連の必要なファイルをインストールする。
$ rails g bootstrap:install less
      insert  app/assets/javascripts/application.js
      create  app/assets/javascripts/bootstrap.js.coffee
      create  app/assets/stylesheets/bootstrap_and_overrides.css.less
      create  config/locales/en.bootstrap.yml
        gsub  app/assets/stylesheets/application.css
UsersをBootstrap化する。
→ビューファイルにBootstrapのCSSを適用するためのCLASSを追加する。
$ rails g bootstrap:themed Users
    conflict  app/views/users/index.html.erb
Overwrite Bene/app/views/users/index.html.erb? (enter "h" for help) [Ynaqdh] Y
       force  app/views/users/index.html.erb
    conflict  app/views/users/new.html.erb
Overwrite Bene/app/views/users/new.html.erb? (enter "h" for help) [Ynaqdh] Y
       force  app/views/users/new.html.erb
    conflict  app/views/users/edit.html.erb
Overwrite Bene/app/views/users/edit.html.erb? (enter "h" for help) [Ynaqdh] Y
       force  app/views/users/edit.html.erb
    conflict  app/views/users/_form.html.erb
Overwrite Bene/app/views/users/_form.html.erb? (enter "h" for help) [Ynaqdh] Y
       force  app/views/users/_form.html.erb
    conflict  app/views/users/show.html.erb
Overwrite Bene/app/views/users/show.html.erb? (enter "h" for help) [Ynaqdh] Y
       force  app/views/users/show.html.erb
$
※コマンド末尾に -f を付加すると Forceモードになり、強制的に上書きされる。
先ほど作ったUsers Scaffoldに幾つかのデータを登録して、一覧を表示してみる。画面の横幅をはみ出て表示されてしまうので、全体レイアウトの調整を行う。
全体レイアウトの変更
レスポンシブデザインに対応させるため app/views/layouts/application.html.erb ファイルを更新する。
$ rails g bootstrap:layout application fluid -f
フィックス rails g bootstrap:layout application fixed
Viewに以下のような修正がされ、新たなレイアウトが適用される。
...
<body>
<div class="navbar navbar-default navbar-static-top">
<div class="container">
<button type="button" class="navbar-toggle" data-toggle="collapse" data-target=".navbar-responsive-collapse">
<span class="icon-bar"></span>
<span class="icon-bar"></span>
<span class="icon-bar"></span>
</button>
<a class="navbar-brand" href="#">Bene System</a>
<div class="navbar-collapse collapse navbar-responsive-collapse">
<ul class="nav navbar-nav">
<li><%= link_to "Users", "/users" %></li>
<li><%= link_to "Link2", "/path2" %></li>
<li><%= link_to "Link3", "/path3" %></li>
</ul>
</div>
</div>
</div>
<div class="container">
<div class="row">
<div class="col-lg-9">
<%= bootstrap_flash %>
<%= yield %>
</div>
<div class="col-lg-3">
<div class="well sidebar-nav">
<h3>- IMS -</h3>
<ul class="nav nav-list">
<li class="nav-header">Menu</li>
<li><%= link_to "Users", "/users" %></li>
<li><%= link_to "Link2", "/path2" %></li>
<li><%= link_to "Link3", "/path3" %></li>
</ul>
</div><!--/.well -->
</div><!--/span-->
</div><!--/row-->
<footer>
</br>
<p>© Incstyle 2015</p>
</footer>
</div> <!-- /container -->
</body>
...
Rails Formをシンプルに。Simple Formの適用
現在の _form.html.erb のソースは少し見通しが悪いので、シンプルに記述できるSimple Formを導入する。
# シンプルフォーム
gem 'simple_form'
bundlerでインストールする。
$ bundler install
simple_formに必要なファイルをプロジェクトにインストールする。
$ rails generate simple_form:install --bootstrap
   identical  config/initializers/simple_form.rb
   identical  config/initializers/simple_form_bootstrap.rb
       exist  config/locales
   identical  config/locales/simple_form.en.yml
   identical  lib/templates/erb/scaffold/_form.html.erb
===============================================================================

  Be sure to have a copy of the Bootstrap stylesheet available on your
  application, you can get it on http://getbootstrap.com/.

  Inside your views, use the 'simple_form_for' with one of the Bootstrap form
  classes, '.form-horizontal' or '.form-inline', as the following:

    = simple_form_for(@user, html: { class: 'form-horizontal' }) do |form|

===============================================================================
フォームをSimple Formにして再度Bootstrap化する。
$ rails g bootstrap:themed Users
   identical  app/views/users/index.html.erb
   identical  app/views/users/new.html.erb
   identical  app/views/users/edit.html.erb
   identical  app/views/users/_form.html.erb
   identical  app/views/users/show.html.erb
シンプルな _form.html.erb が出来上がる。
<%= simple_form_for @user, :html => { :class => 'form-horizontal' } do |f| %>
  <%= f.input :name %>
  <%= error_span(@user[:name]) %>
  <%= f.input :password %>
  <%= error_span(@user[:password]) %>
  <%= f.input :email %>
  <%= error_span(@user[:email]) %>
  <%= f.input :regist_date %>
  <%= error_span(@user[:regist_date]) %>

  <%= f.button :submit, :class => 'btn-primary' %>
  <%= link_to t('.cancel', :default => t("helpers.links.cancel")),
                users_path, :class => 'btn btn-default' %>
<% end %>
※ここで、Webサービスは再起動する。
DatePickerを使用する
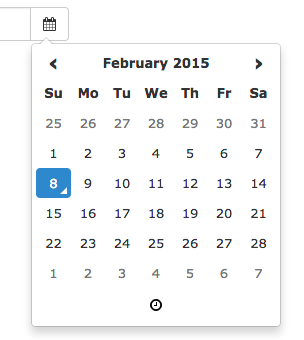
今のままでは、日付入力のユーザビリティが良くないので、DatePickerを採用する。
# 日時を操作するためのライブラリ
gem 'momentjs-rails'
# DateTimePicker
gem 'datetimepicker-rails', github: 'zpaulovics/datetimepicker-rails', branch: 'master', submodules: true
bundlerでインストールする。
$ bundler install
プロジェクトに反映させる
$ rails generate datetimepicker_rails:install
      create  config/initializers/ranged_datetime_wrapper.rb
icon_family: Glyphicon
      vendor  assets/javascripts/pickers.js
      create  vendor/assets/stylesheets/bootstrap-datetimepicker.min.css
      create  vendor/assets/stylesheets/bootstrap-datetimepicker.css
      create  vendor/assets/javascripts/bootstrap-datetimepicker.js
日付入力部分のSimple Formソースを修正
<%= f.input :regist_date %>
        ↓
<%= f.input :regist_date, as: :datetime_picker %>
aplication.jsを修正
//= require moment
//= require bootstrap-datetimepicker
//= require pickers
aplication.cssを修正
*= require_moment
*= require bootstrap-datetimepicker
DatePickerのアイコンが表示されるように、Font-Awesomeを適用する。
$ rails generate datetimepicker_rails:install Font-Awesome -f
※ここで、webサービスを再起動する。
DatePickerのボタンにマウスホバーするとバックが黒くなってしまうので、CSSを修正する
以下、Background-color部分を変更
a {
  color: #000;
  &:visited {
    color: #666;
  }
  &:hover {
    color: #fff;
    background-color: #000 → #EEE;
  }
}
日本語対応
設定ファイルを変更し、日本語設定にする。
application.rb にロケール設定と、定義ファイルの読み込みコードを追記する。
config.i18n.load_path += Dir[Rails.root.join('config', 'locales', '*.{rb,yml}').to_s]
config.i18n.default_locale = :ja
DatePickerの日本語対応
application.js の //= require moment の下に次を追記
//= require moment/ja
ここから翻訳定義を取得し、ja.ymlをconfig/locales/下に置く
https://github.com/svenfuchs/rails-i18n/blob/master/rails/locale/ja.yml
Datetimepickerの日付形式を日本の表記に変更するため以下を追記
ja:
  datepicker:
    dformat: '%Y/%m/%d'             # display format of the date (this is the default, can be ommited)
    pformat: 'YYYY/MM/DD'           # picking format of the date (this is the default, can be ommited)
  timepicker:
    dformat: '%R'                   # display format of the time (this is the default, can be ommited)
    pformat: 'HH:mm'                # picking format of the time (this is the default, can be ommited)
  dayViewHeaderFormat: 'MMMM YYYY'  # picking format of the time (this is the default, can be ommited)
アプリケーションの多言語対応
翻訳辞書を作成する。
ja:
  activerecord:
    models:
      user: ユーザー
    attributes:
      user:
        name: 名前
        email: email
        password: パスワード
ここまでで一覧表示を見てみると、タイトルが日本語になるものの「ユーザーs」となってしまい格好わるいので、Viewを修正する。
以下のように、複数形表示をさせる「.pluralize」を削除する。
  <h1><%=t '.title', :default => model_class.model_name.human.pluralize.titleize %></h1>
                ↓
  <h1><%=t '.title', :default => model_class.model_name.human.titleize %></h1>
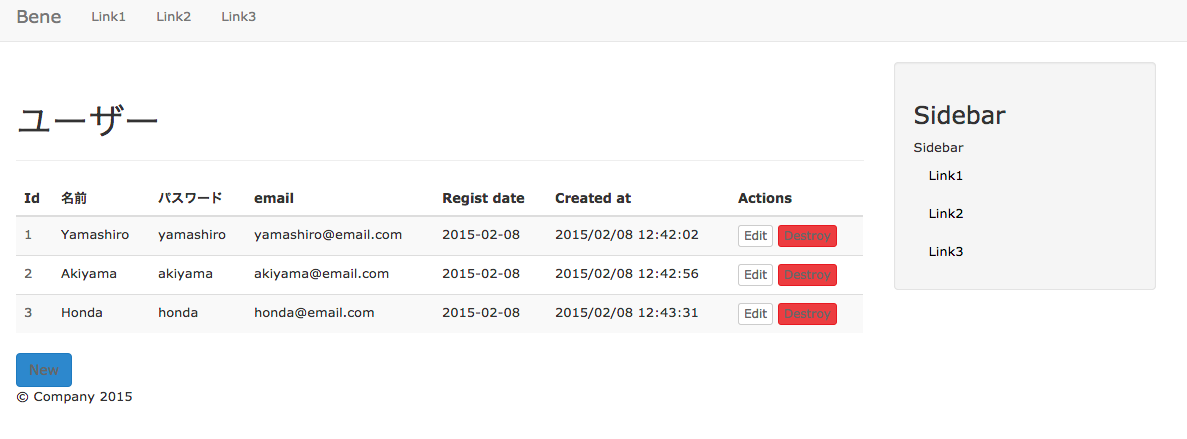
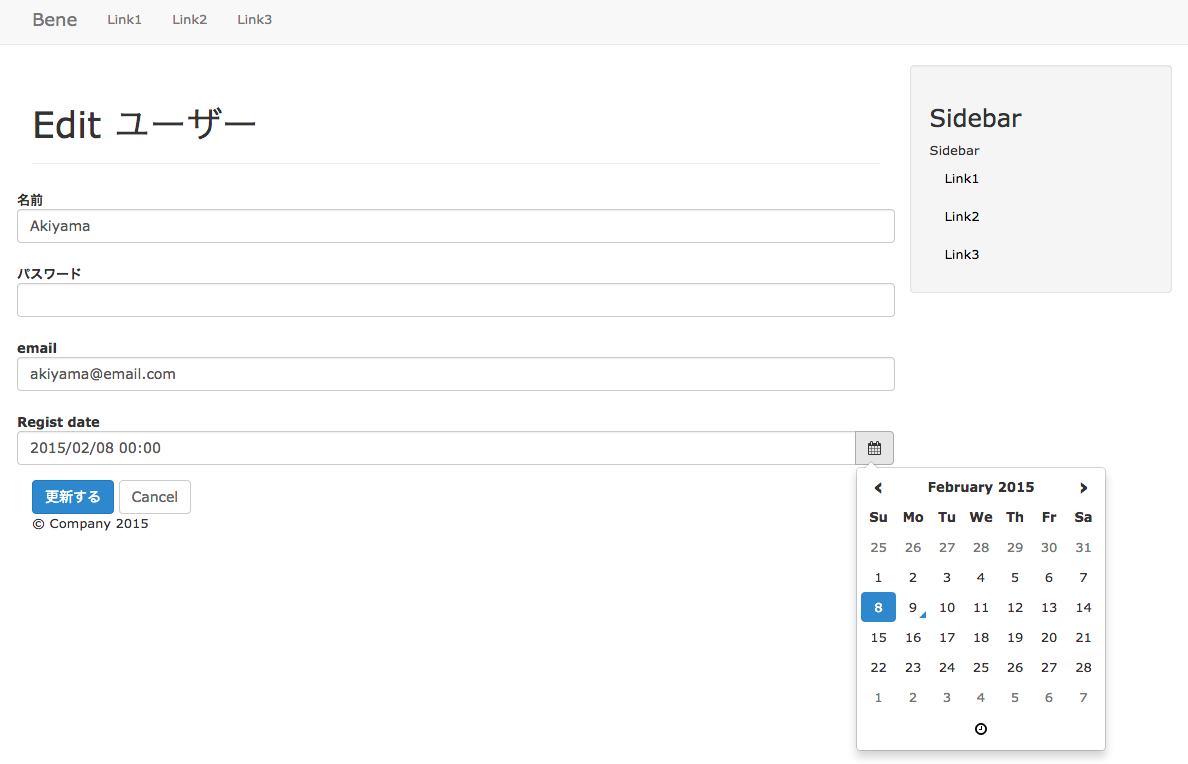
設定後のスクリーンショット
▼一覧画面
▼フォーム画面
更にスマートにカッコよくする為に・・・
ITマンモスさんのこのページが参考になります。
http://www.ohmyenter.com/?p=786
ここまで適用するとデザインがかっこよくなり、scaffoldから「次」を勉強するためのモチベーションになると思います。
