AlertDialogについて引数を渡す方法と戻り値を受け取る方法についてそれぞれ書きました。
今回はコンテンツエリアをカスタマイズする方法を紹介します。
コンテンツエリアとは
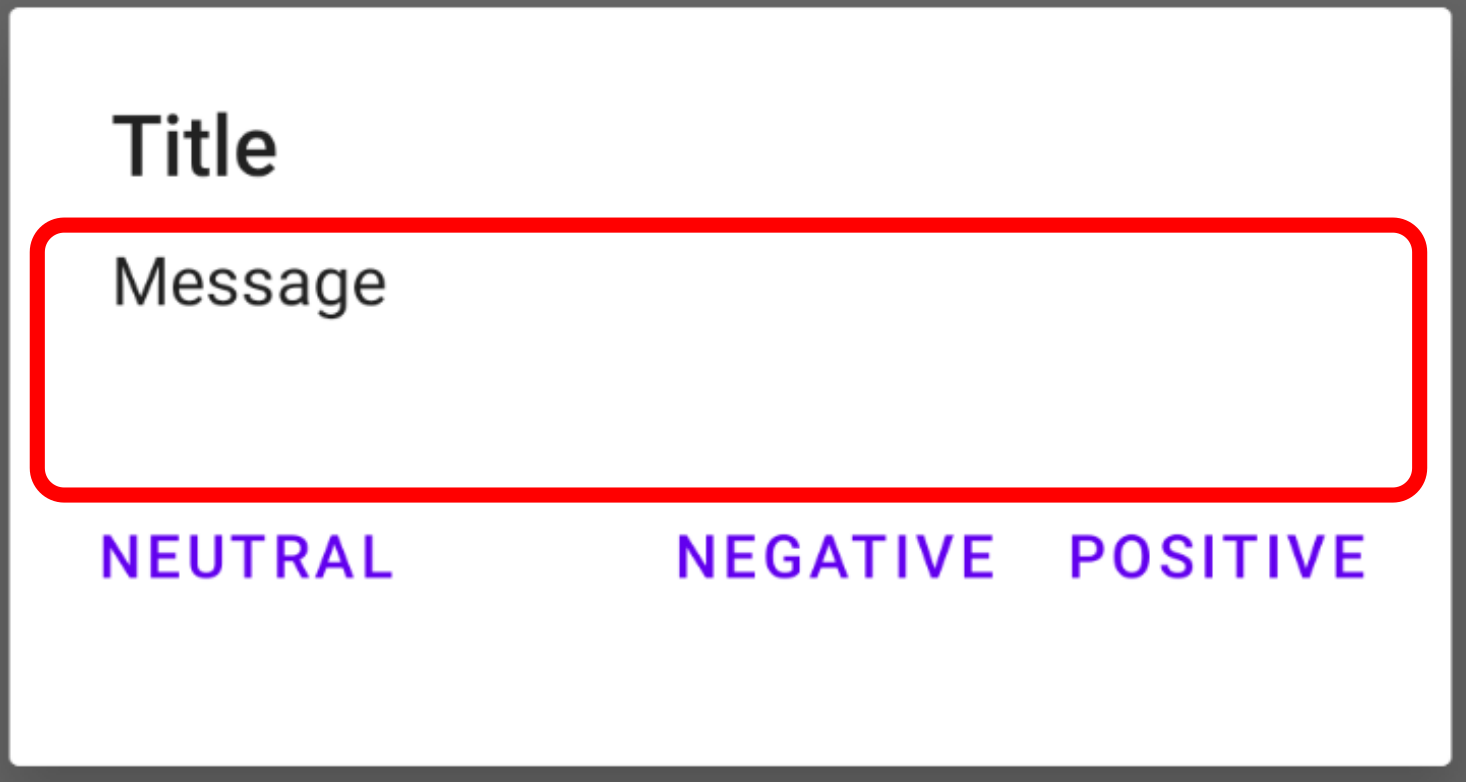
AlertDialogはタイトル、コンテンツエリア、アクションボタンの要素で構成されています。
下図の赤い枠線で囲っている部分がコンテンツエリアですね。
通常はメッセージが表示されます。
今回はコンテンツエリアをスコープとしていますが、タイトル、アクションボタンも独自にカスタマイズ可能です。
作成するサンプル
ちょっとした単語帳アプリを作成します。前々回の記事で作ったアプリの拡張で、ダイアログには単語の品詞のアイコンと、お気に入り登録をするためのImageButtonを配置します。

コード
前回、前々回はDialogFragmentクラスを作成する方法も紹介しましたが、今回はMainActivity上でMaterialAlertDialogBuilder()からAlertDailogを呼び出す方法についてのみ触れます。
dialog_content.xml
<?xml version="1.0" encoding="utf-8"?>
<LinearLayout
    xmlns:android="http://schemas.android.com/apk/res/android"
    android:orientation="vertical"
    android:layout_width="match_parent"
    android:layout_height="match_parent">

    <TextView
        android:id="@+id/text_dialogWord"
        android:text="text_word"
        android:layout_marginTop="20dp"
        android:layout_marginBottom="10dp"
        android:layout_width="wrap_content"
        android:layout_height="wrap_content"
        android:layout_marginLeft="10dp"
        android:textSize="24sp"/>

    <LinearLayout
        android:layout_width="match_parent"
        android:layout_height="match_parent"
        android:orientation="horizontal">

        <TextView
            android:id="@+id/text_dialogMeaning"
            android:text="text"
            android:layout_width="0dp"
            android:layout_height="24dp"
            android:layout_weight="1"
            android:textSize="18sp"
            android:layout_marginLeft="15dp"/>

        <ImageView
            android:id="@+id/image_dialogSpeech"
            android:layout_width="0dp"
            android:layout_height="24dp"
            android:layout_weight="0.15"
            android:src="@drawable/speech_adjective"/>

        <ImageButton
            android:id="@+id/imageButton_dialogFavorite"
            android:layout_width="0dp"
            android:layout_height="24dp"
            android:layout_weight="0.15"
            android:layout_marginRight="10dp"
            android:scaleType="centerInside"
            android:background="#0000"
            android:src="@drawable/favorite_off"/>

    </LinearLayout>
</LinearLayout>
こちらは特別なことはしていません。
MainAcitivity.kotlin
class MainActivity : AppCompatActivity() {

    // Listに表示する単語の一覧
    private var _wordList: MutableList<WordData> = mutableListOf()

    override fun onCreate(savedInstanceState: Bundle?) {
        super.onCreate(savedInstanceState)
        setContentView(R.layout.activity_main)

        // 単語一覧を生成
        _wordList = createWordList()

        // ListViewを取得
        val lvWords = findViewById<ListView>(R.id.lvWords)

        // ListViewに独自に定義したAdapterを設定
        val wordAdapter = WordAdapter(this, _wordList)
        lvWords.adapter = wordAdapter

        // クリック時のリスナを登録
        lvWords.onItemClickListener = ListItemClickListener()
    }

    private inner class ListItemClickListener : AdapterView.OnItemClickListener{
        // リストのアイテムがクリックされたときのイベントハンドラ
        override fun onItemClick(parent: AdapterView<*>?, view: View?, position: Int, id: Long) {
            val item = parent?.getItemAtPosition(position) as WordData

            // Builderオブジェクトの生成
            val builder = MaterialAlertDialogBuilder(this@MainActivity)

            // Contentレイアウトの作成
            val contentLayout = layoutInflater.inflate(R.layout.dialog_content, null)
            contentLayout.findViewById<TextView>(R.id.text_dialogWord).text = item.word
            contentLayout.findViewById<TextView>(R.id.text_dialogMeaning).text = item.meaning
            contentLayout.findViewById<ImageView>(R.id.image_dialogSpeech).setImageResource(getSpeechImageId(item.speech))
            // お気に入りボタンクリック時の操作
            contentLayout.findViewById<ImageButton>(R.id.imageButton_dialogFavorite).setOnClickListener{
                if (item.isFavorite) {
                    // お気に入り→お気に入り解除時の処理
                    contentLayout.findViewById<ImageView>(R.id.imageButton_dialogFavorite).setImageResource(R.drawable.favorite_off)
                    item.isFavorite = false
                    Toast.makeText(this@MainActivity, "${item.word} のお気に入り登録が解除されました。", Toast.LENGTH_LONG).show()
                } else {
                    // 非お気に入り→登録時の処理
                    contentLayout.findViewById<ImageView>(R.id.imageButton_dialogFavorite).setImageResource(R.drawable.favorite_on)
                    item.isFavorite = true
                    Toast.makeText(this@MainActivity, "${item.word} がお気に入りに登録されました。", Toast.LENGTH_LONG).show()
                }
            }

            // 作成したレイアウトをBuilderに登録
            builder.setView(contentLayout)

            // Positiveボタンの処理を記述
            builder.setPositiveButton("閉じる"){
                    _,
                    _ ->
            }

            // ダイアログの表示
            val dialog = builder.create()
            dialog.show()
        }
    }

    // 単語一覧作成処理
    private fun createWordList() : MutableList<WordData> {
        val wordList = mutableListOf<WordData>()
        wordList.add(WordData("bow", "動", "お辞儀をする",false, getSpeechImageId("動"),R.drawable.favorite_off))
        wordList.add(WordData("sea-level", "名", "海抜",false, getSpeechImageId("名"),R.drawable.favorite_off))
        // (中略)
        wordList.add(WordData("coveted", "形", "強く望まれた",false, getSpeechImageId("形"),R.drawable.favorite_off))
        return wordList
    }

    // 各単語の品詞に応じて品詞アイコンのIDを返すメソッド
    private fun getSpeechImageId(speech: String) : Int {
        return when (speech) {
            "助" -> { R.drawable.speech_auxiliary }
            "動" -> { R.drawable.speech_verb }
            //(中略)
            else -> { R.drawable.speech_none }
        }
    }
}
くどくどと説明するよりコメントを見ていただいた方が分かりやすいと思いますが……。
override fun onItemClick()中の処理がメイントピックですね。
簡単に言ってしまえば以下のことをやっているだけです。
- 独自に定義した
dialog_content.xmlをlayoutInflaterでinflate()する - 1.で作成した
Viewオブジェクトに各種パラメーターやイベントハンドラを実装 - そいつを
MaterialAlertDialogBuilderオブジェクトにセットする
あと下の方にあるcreateWordList()、getSpeechImageId()は気にしないでください、このアプリ独自のものです。
さらに言うとAlertDialogでお気に入り設定が変更された際の処理も今回のコードでは割愛しています(気持ち程度にToast表示するだけ)。
(余談)ListViewのカスタマイズとAdapter
本旨とはズレますがせっかくなので。
サンプルを見て分かる通り今回のアプリではListViewをカスタマイズして使っています。
独自に定義したdataクラスを扱うAdapterクラスを作成し、それをListViewに設定しています。
row.xml
<?xml version="1.0" encoding="utf-8"?>
<LinearLayout xmlns:android="http://schemas.android.com/apk/res/android"
    android:orientation="horizontal"
    android:layout_width="match_parent"
    android:layout_height="match_parent">

    <TextView
        android:id="@+id/text_word"
        android:layout_width="0dp"
        android:layout_height="20dp"
        android:layout_weight="1"
        android:layout_marginLeft="10dp"
        android:layout_marginTop="15dp"
        android:layout_marginBottom="15dp"
        android:textSize="18sp"/>

    <ImageView
        android:id="@+id/image_speech"
        android:layout_width="0dp"
        android:layout_weight="0.15"
        android:layout_height="25dp"
        android:layout_marginTop="15dp"
        android:layout_marginBottom="15dp"/>

    <ImageView
        android:id="@+id/image_favorite"
        android:layout_width="0dp"
        android:layout_weight="0.15"
        android:layout_height="25dp"
        android:layout_marginTop="15dp"
        android:layout_marginBottom="15dp"
        android:layout_marginRight="10dp"/>

</LinearLayout>
WordData.kt
data class WordData (
    var word: String,
    var speech: String,
    var meaning: String,
    var isFavorite: Boolean,
    var speechImageId: Int,
    var favoriteImageId: Int
)
WordAdapter.kt
class WordAdapter(context: Context, var wordList: List<WordData>) : ArrayAdapter<WordData>(context, 0, wordList) {
    private val layoutInflater = context.getSystemService(Context.LAYOUT_INFLATER_SERVICE) as LayoutInflater

    override fun getView(position: Int, convertView: View?, parent: ViewGroup): View {
        val word = wordList[position]

        var view = convertView
        if (convertView == null) {
            view = layoutInflater.inflate(R.layout.row, parent, false)
        }

        view?.findViewById<TextView>(R.id.text_word)?.text = word.word
        view?.findViewById<ImageView>(R.id.image_speech)?.setImageResource(word.speechImageId)
        view?.findViewById<ImageView>(R.id.image_favorite)?.setImageResource(word.favoriteImageId)

        return view!!
    }
}
まとめ
こちらからは以上です。
今回はだいぶシンプルなレイアウトですが、複雑なレイアウトでも基本はこの通りだと思います。
もっと詳しく知りたい方はぜひ公式のドキュメントを確認してみてください。
ではまた次回。