pyvipsとは
画像を高速かつ少メモリで処理するライブラリです
中身で行なっていることは、画像を処理するプログラムのパイプラインを作成し、最後に書き出すときに一気に全体を実行する形です。tensorflowのdefine-by-runと似ています。
このようにすることで、並列実行&画像全体をメモリに保持する必要がなくなります。
pyvipsに関しては、日本語記事がなかったので、ここにまとめます。
pyvips公式ドキュメント
https://libvips.github.io/pyvips/index.html
pyvipsのドキュメントだけでは情報が不十分の場合は、vipsのドキュメントを参照すると良いです
https://libvips.github.io/libvips/API/current/func-list.html
インストール
$ conda install --channel conda-forge pyvips
それかもしくは
$ pip install --user pyvips
これだけで使用できたら成功
使用できない場合はvips自体が入ってない可能性があるので、https://github.com/libvips/libvips/releases から最新のvips (vips-#.#.#.tar.gz)をダウンロードし、解答して、その中で以下を行う
$ ./configure
$ make
$ sudo make install
./configureの実行時にprefixを指定すれば、sudoなしで実行も可能
画像の読み込み
import pyvips

# ファイルから読み込み
image = pyvips.Image.new_from_file('some-image.jpg', access='sequential')

# 画像の書き出し
image.write_to_file('x.jpg')
jpg以外にも様々なファイル形式の画像をこれで読み込むことができる
vipsで使用可能なファイル形式
- JPEG
- TIFF
- PNG
- FITS
- Matlab
- Analyze
- PFM
- Radiance
- OpenSlide
numpy配列との相互変換
numpy -> pyvips.Image
pyvips.Image.new_from_memoryで行うことができます。
一度numpy画像をflattenしてから行っています
# 型名変換
dtype_to_format = {
    'uint8': 'uchar',
    'int8': 'char',
    'uint16': 'ushort',
    'int16': 'short',
    'uint32': 'uint',
    'int32': 'int',
    'float32': 'float',
    'float64': 'double',
    'complex64': 'complex',
    'complex128': 'dpcomplex',
}

# np_3dがnumpy画像
height, width, bands = np_3d.shape
linear = np_3d.reshape(width * height * bands)
vi = pyvips.Image.new_from_memory(linear.data, width, height, bands,
                                  dtype_to_format[str(np_3d.dtype)])
pyvips.Image -> numpy
format_to_dtype = {
    'uchar': np.uint8,
    'char': np.int8,
    'ushort': np.uint16,
    'short': np.int16,
    'uint': np.uint32,
    'int': np.int32,
    'float': np.float32,
    'double': np.float64,
    'complex': np.complex64,
    'dpcomplex': np.complex128,
}

img = pyvips.Image.new_from_file('some-img.jpg', access='sequential')
np_3d = np.ndarray(buffer=img.write_to_memory(),
                   dtype=format_to_dtype[img.format],
                   shape=[img.height, img.width, img.bands
基本的な処理
四則演算
普通の四則演算は普通に可能
img += [1, 2, 1]
画像同士の四則演算は以下のようにadd/subtract /multiply/divideで可能
out = left.add(right)
resize
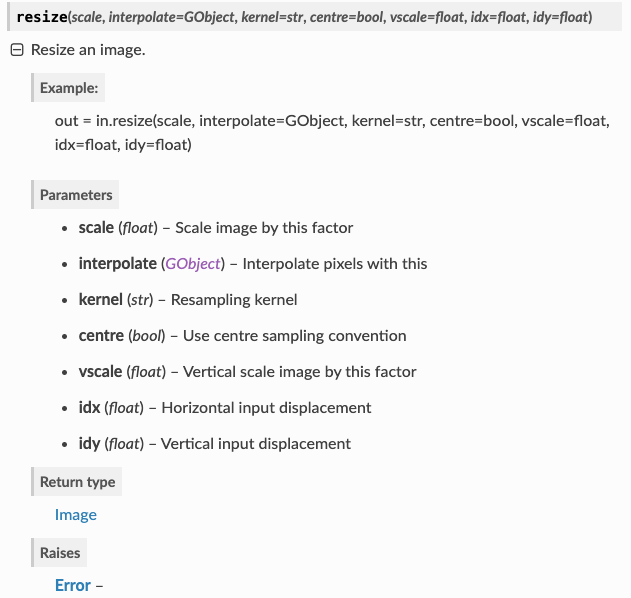
- Example
inter = pyvips.Interpolator.new('bicubic')
img_resize = img.resize(0.5, interpolate=inter)
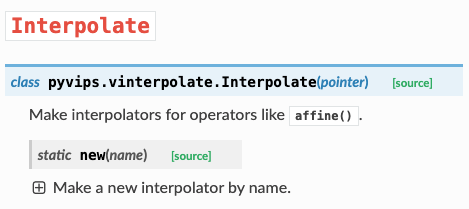
interpolationについて
https://libvips.github.io/pyvips/vinterpolate.html
使用可能なinterpolationの種類は、コマンドラインでvips -l interpolatを行うと確認できる
$ vips -l interpolate
VipsInterpolate (interpolate), VIPS interpolators
    VipsInterpolateNearest (nearest), nearest-neighbour interpolation
    VipsInterpolateBilinear (bilinear), bilinear interpolation
    VipsInterpolateBicubic (bicubic), bicubic interpolation (Catmull-Rom)
    VipsInterpolateLbb (lbb), reduced halo bicubic
    VipsInterpolateNohalo (nohalo), edge sharpening resampler with halo reduction
    VipsInterpolateVsqbs (vsqbs), B-Splines with antialiasing smoothing
手元の環境ではnearest, bilinear, bicubic, lbb, nohalo, vsqbsが使用可能
- Example
inter = pyvips.Interpolator.new('nohalo')
padding
embedで行うことが可能
https://libvips.github.io/pyvips/vimage.html#pyvips.Image.embed
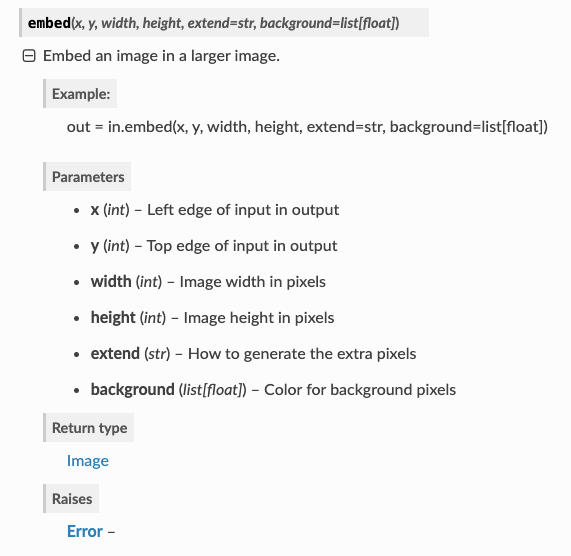
- Example
画像の上下にpad_hずつ、左右にpad_wずつpaddingする場合 (padding部分の色は黒にする)
img_pad = img.embed(pad_w, pad_h, img.width+pad_w*2, img.height+pad_h*2, background=0)
crop
https://libvips.github.io/pyvips/vimage.html#pyvips.Image.crop
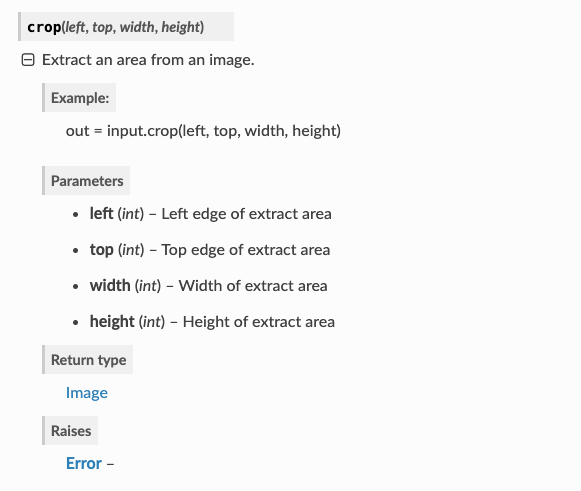
- Example
横方向にはxからx+widthまで、縦方向にはyからy+heightまでcropするとき
(numpyなら、img_np[y:y+height, x:x+width, :]とする処理)
img_crop = img.crop(x, y, width, height)
回転
90,180,270度回転が可能
img90 = img.rot90()
img180 = img.rot180()
img270 = img.rot270()
flip
# 左右にflip
img_hor = img.fliphor()
# 上下にflip
img_ver = img.flipver()
画像の作成
blackで全て黒の画像を作成できる
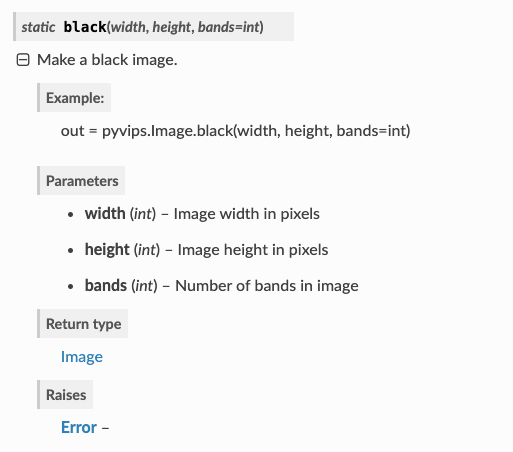
img_black = pyvips.Image.black(width, height, bands=3)
アルファチャンネルの追加
画像の透過度のアルファを追加することができます
img = img.addalpha()
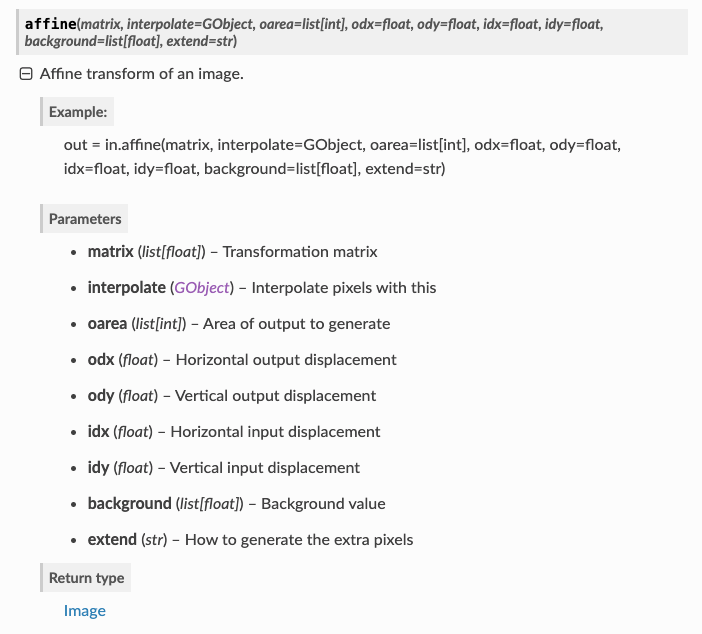
affine
任意のaffine変換を行うことも可能
引数の'matrix'にaffine行列を設定することでできる
https://libvips.github.io/pyvips/vimage.html?highlight=add#pyvips.Image.affine
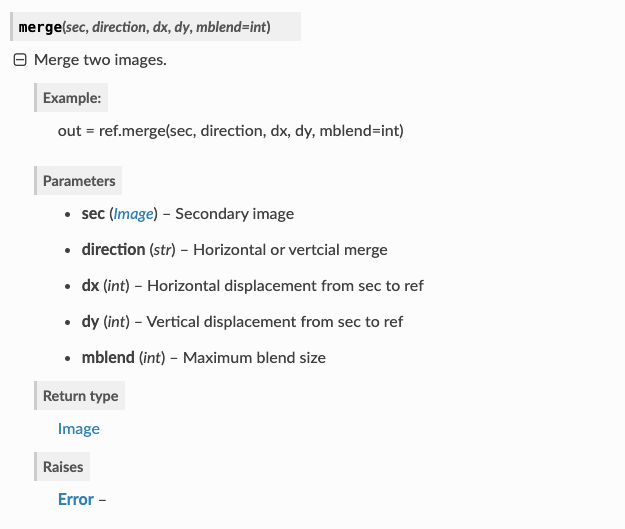
merge
二つの画像をマージできる
引数
- sec : 二つ目の画像(マージされる画像)
- direction : 水平方向なら
'horizontal', 垂直方向なら'vertical' - dx, dy : どれくらい離してmergeするか
- mblend : 最大でどれくらい画像を混合させるか
フィルタリング
conv
https://libvips.github.io/pyvips/vimage.html#pyvips.Image.conv
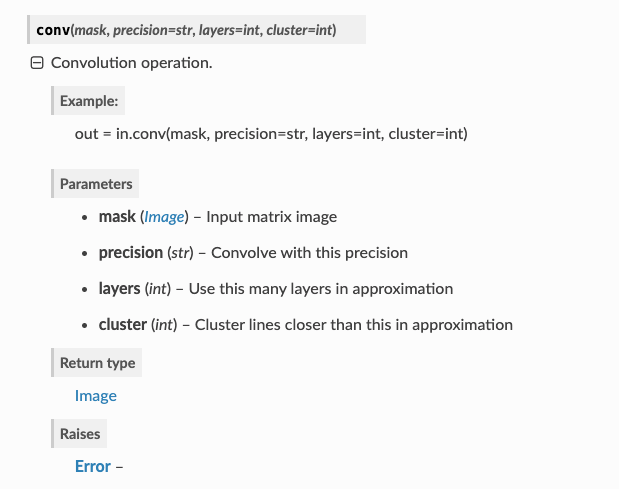
- Example
maskで畳み込みする場合
precisionは、計算結果をどの型に丸めるかということ
今回はintegerにしているので、整数値に丸める
mask = pyvips.Image.new_from_array([[-1, -1, -1],
                                    [-1, 16, -1],
                                    [-1, -1, -1]
                                   ], scale=8)
image = image.conv(mask, precision='integer')
sobel
sobelフィルタを適用
img_sobel = img.sobel()
gaussblur
ガウシアンフィルタを作用させて、blurをかける(ぼやけさせる)
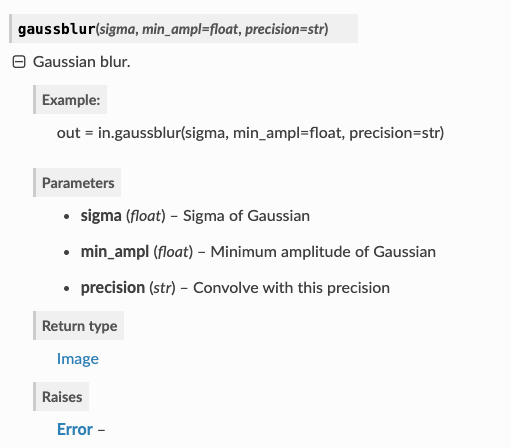
- Example
sigmaでガウス分布の分散を変更
min_amplはデフォルトで0.2
img_blur = img.gaussblur(1, 0.2)
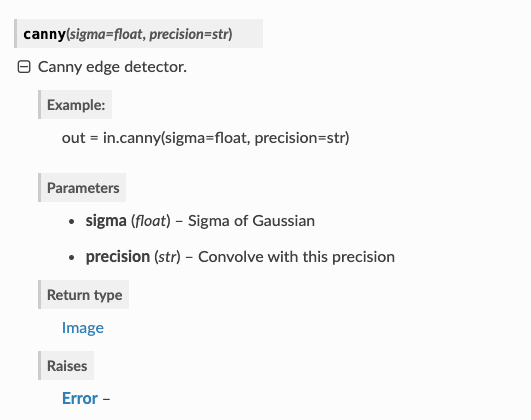
canny
canny edgeフィルタを作用
数学関数
pyvips.Imageには基本的な数学関数が用意されている
- sin(), asin()
- cos(), acos()
- tan(), atan()
- log(), log10()
- exp(), exp10()
- median()
- real(), imag() : 画像が複素数の場合、実部と虚部を出力
- floor(), ceil() : 繰り上げ繰り下げ
描画
draw_image
subの画像をimageに書き込む
書き込む場所の始点を(x,y)にする

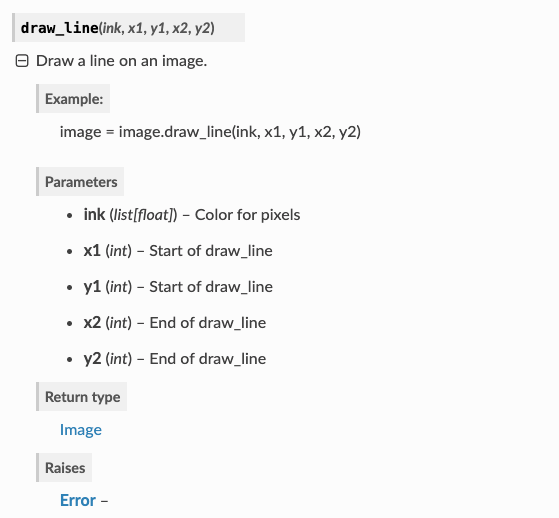
draw_line
(x1,y1)から(x2,y2)まで線を描画
色はinkで指定
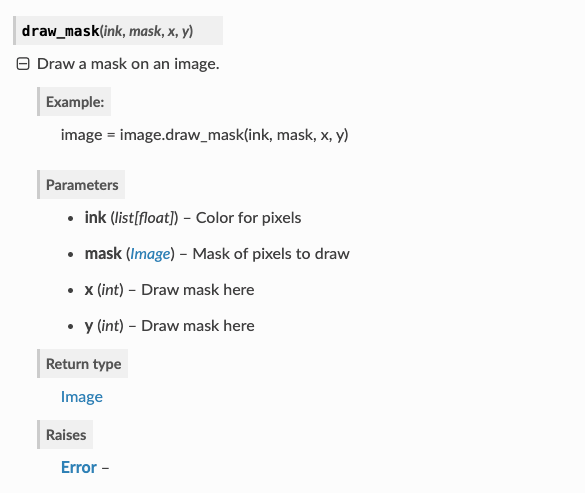
draw_mask
(x,y)を始点として、maskの部分をinkの色で塗りつぶす
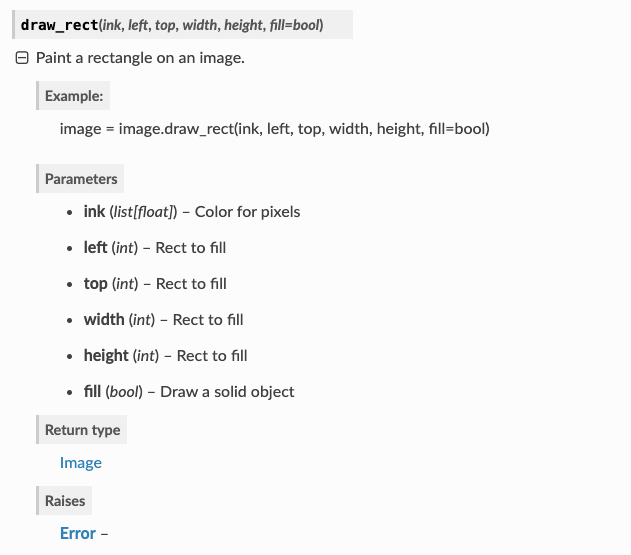
draw_rect
(left, top, width, height)で指定した四角形をinkの色で描画