はじめに
Calligraphyというライブラリを使って自分でダウンロードしたフォントを表示します。
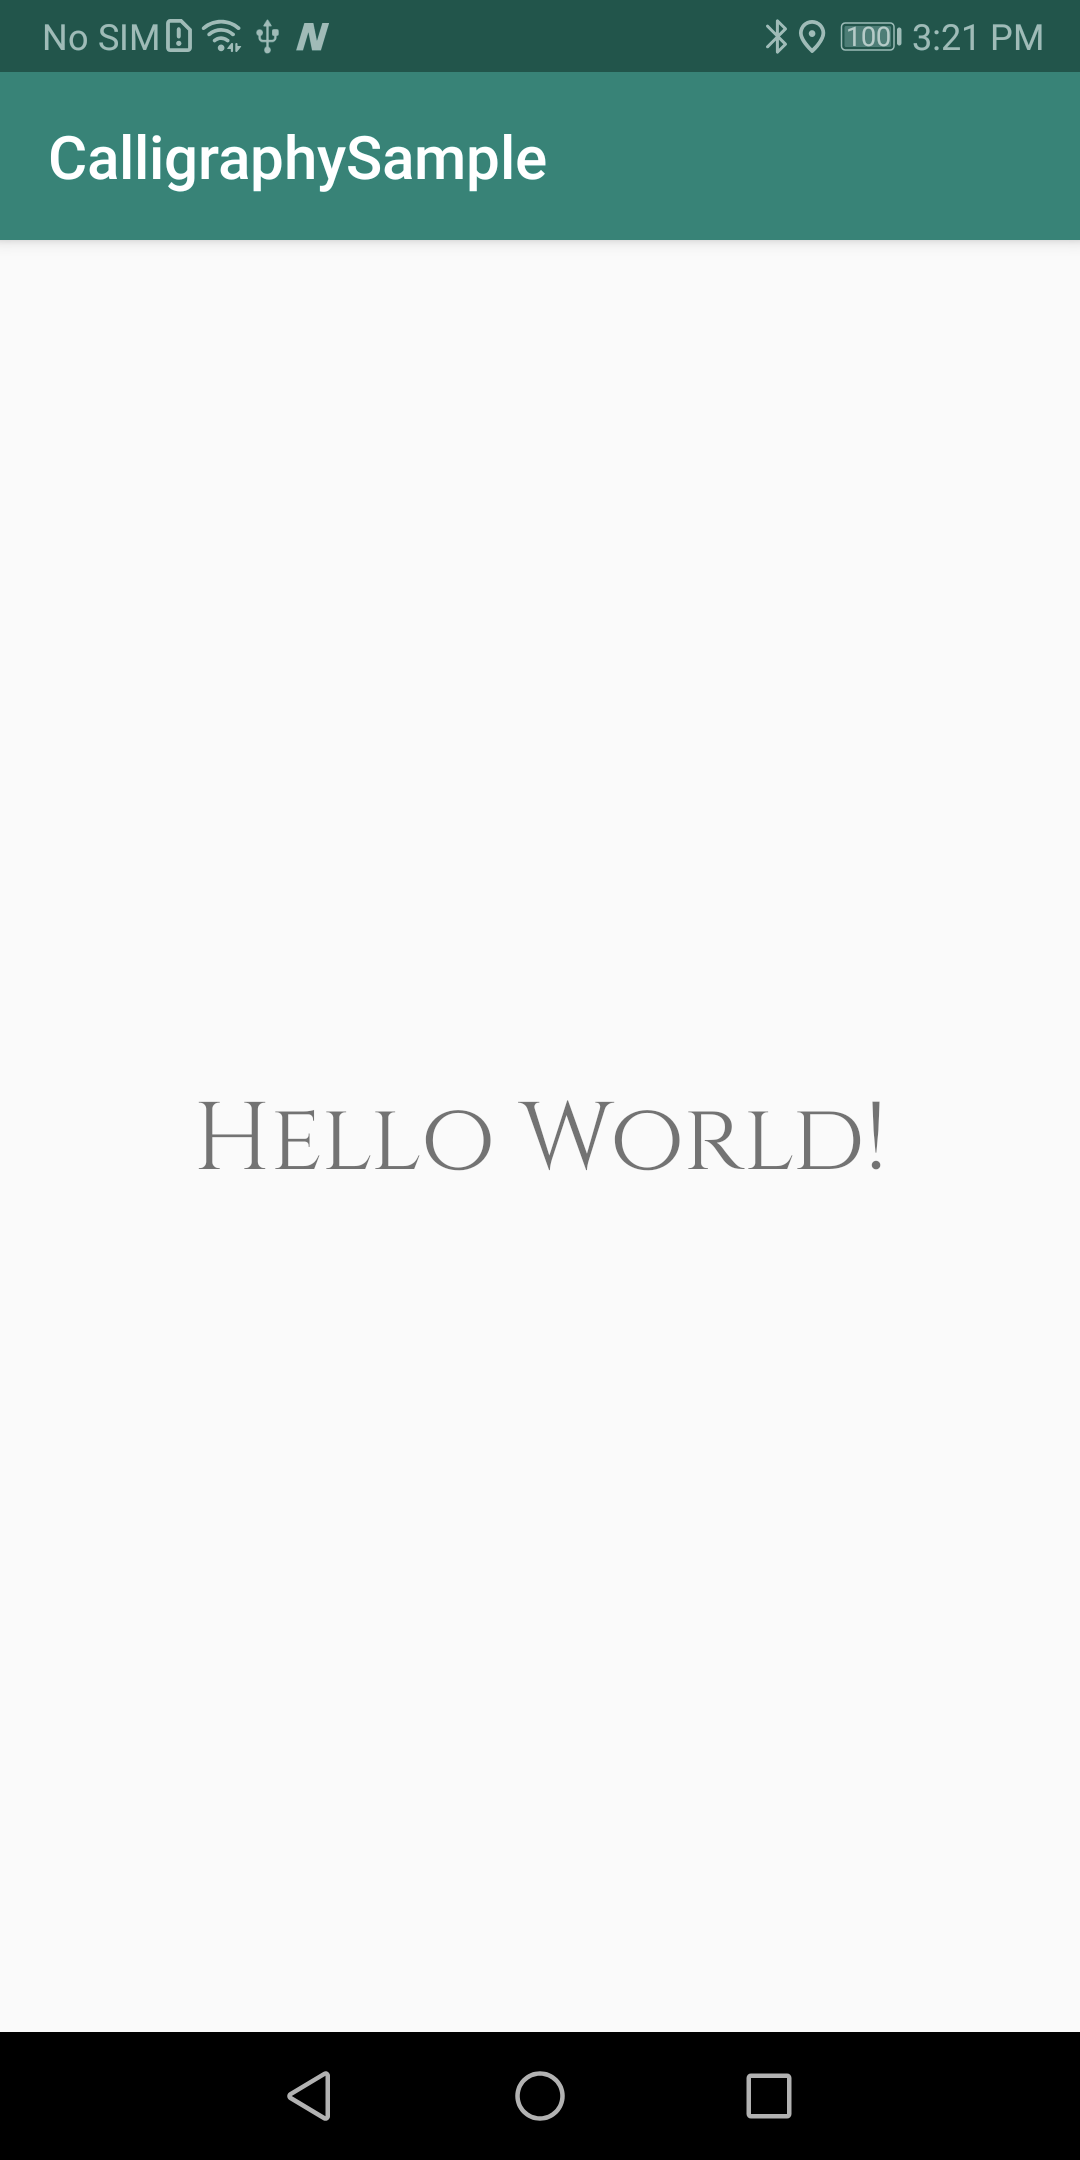
本記事では次のようにフォントを表示するアプリを作成して動作を確認していきます。
1. プロジェクトにライブラリを追加する
次の手順でCalligraphyをセットアップします。
(1) build.gralde(app)に次の内容を追記する。
groovy|build.gradle(.app)
dependencies {
    implementation 'io.github.inflationx:calligraphy3:3.1.1'
    implementation 'io.github.inflationx:viewpump:2.0.3'
}
(2) 「Gradle file have changed slice last project sync」と表示されるので「Sync Now」をクリックする。

2. 利用するフォント(ttfファイル)をダウンロードする。
Google Fontにアクセスし、次の手順でフォントファイルをダウンロードします。
(1) 表示されているフォントを選択する。

(2) ⬇️を押して、ダウンロードする。

3. プロジェクトにフォント(ttfファイル)を追加する
次の手順でプロジェクトにフォント(ttfファイル)を追加します。
(1) 「File」→「New」→「Folder」→「Assets Folder」でAssetsフォルダを作成する。
(2) 「assets右クリック」→「New」→「Directory」でfontsフォルダを作成する。
(3) fontsフォルダにフォント(ttfファイル)を格納する。

4. TextViewにフォント(ttfファイル)を指定する
次の内容をTextViewに**fontPath="fonts/Cinzel-Regular.ttf"**の行を追加します。
xml|activity_main.xml
    <TextView
        android:layout_width="wrap_content"
        android:layout_height="wrap_content"
        android:text="Hello World!"
        fontPath="fonts/Cinzel-Regular.ttf"
        app:layout_constraintBottom_toBottomOf="parent"
        app:layout_constraintLeft_toLeftOf="parent"
        app:layout_constraintRight_toRightOf="parent"
        app:layout_constraintTop_toTopOf="parent" />
5. アプリケーションでフォントをインストールする
次の内容をMainActivity.ktにフォントをインストールする処理を追加します。
kotlin|MainActivity.kt
    override fun onCreate(savedInstanceState: Bundle?) {
        super.onCreate(savedInstanceState)

        ViewPump.init(
            ViewPump.builder()
                .addInterceptor(
                    CalligraphyInterceptor(
                        CalligraphyConfig.Builder().build()
                    )
                )
                .build()
        )

        setContentView(R.layout.activity_main)
    }

    override fun attachBaseContext(newBase: Context) {
        super.attachBaseContext(ViewPumpContextWrapper.wrap(newBase))
    }
次の内容を記述すればデフォルトフォントとして使えるようになるようです。
しかし今回はTextViewのみ反映させたいので特に設定しません。
kotlin|MainActivity.kt
    override fun onCreate(savedInstanceState: Bundle?) {
        super.onCreate(savedInstanceState)

        ViewPump.init(
            ViewPump.builder()
                .addInterceptor(
                    CalligraphyInterceptor(
                        CalligraphyConfig.Builder()
                            .setDefaultFontPath("fonts/Cinzel-Regular.ttf") // Add Line
                            .setFontAttrId(R.attr.fontPath)                 // Add Line
                            .build()
                    )
                )
                .build()
        )

        setContentView(R.layout.activity_main)
    }
おわりに
Calligraphyで気をつけること、できること
- フォントを利用するにはassets->fontsフォルダにフォント(ttfファイル)を格納する必要がある
- フォントを利用するにはTextViewのfontPathに利用するフォント名称を記述する必要がある
- フォントを利用するにはActivityにフォントを読み込む処理を記述する必要がある。
- ダウンロードしたフォントをデフォルトフォントとして利用することもできる。
Calligraphyを使ったサンプル
次にCalligraphyを使ったサンプルを公開しています。
何か不明点などあれば次のサンプルをご覧ください。
 |
Kaleidot725 => android-mylab => CalligraphySample |
|---|