はじめに
RecyclerView を使う際には Adapter などに独自で処理を実装する必要があり、ここが RecyelerView を利用する上でかなり面倒な実装だったりします。 Epoxy はこの面倒な処理を実装してくれるライブラリらしいです。Epoxy のサンプルを作成してどんなことができるのかざっくりと解説していきたいと思います。
準備する
Epoxy を利用できるようにセットアップを進めます。ライブラリとして epoxy、 epoxy-databinding, epoxy-processor を追加します。databinding を利用する際には epoxy-databinding が必要になります、databinding を利用しないのであれば追加する必要はないです。ライブラリを追加したら kapt と databinding を有効化するだけです。これでセットアップは完了です。
// kapt 有効化
apply plugin: 'kotlin-kapt'

android {
      ︙
    // databinding 有効化
    dataBinding {
        enabled = true
    }
      ︙
}

dependencies {
      ︙
    def epoxy_version = "3.9.0"
    implementation "com.airbnb.android:epoxy:$epoxy_version"
    implementation "com.airbnb.android:epoxy-databinding:${epoxy_version}"
    kapt "com.airbnb.android:epoxy-processor:$epoxy_version"
      ︙
}
実装する
Epoxy を利用するには EpoxyModel とEpoxyController を作成する必要があります。これらの EpoxyModel と EpoxyController ですが次のような役割になっています。
| 名称 | 説明 |
|---|---|
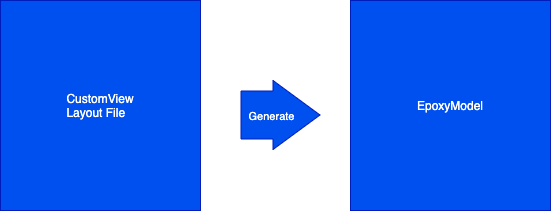
| EpoxyModel | Epoxyが生成するクラスで RecylerView に表示する View を定義する。また Epoxy から View を操作するためのインタフェースを定義する。EpoxyModel は開発者が作成した CustomView や Layout ファイルから生成される。 |
| EpoxyController | RecyclerView に表示する EpoxyModel を生成し、EpoxyModel に定義されたインタフェースを使って、View の操作を行う。 |
EpoxyModel を作成する
EpoxyModel を作成する方法は 3種類あるみたいです。CustomViewから作成する方法、Databinding から作成する方法、 ViewHolder から作成する方法とあります。今回は Databinding から作成するのを試してみたいと思います。
Databinding から生成する場合には、まずは普通に Databinding 同様に Layout で囲った Layout ファイル を作成します。今回は TextView と Button を持った Layout を用意してみたいと思います。
<layout xmlns:android="http://schemas.android.com/apk/res/android"
    xmlns:app="http://schemas.android.com/apk/res-auto"
    xmlns:tools="http://schemas.android.com/tools">

    <data>

        <import type="android.view.View" />

        <variable
            name="title"
            type="String" />

        <variable
            name="onClickListener"
            type="View.OnClickListener" />
    </data>

    <androidx.constraintlayout.widget.ConstraintLayout
        android:layout_width="match_parent"
        android:layout_height="wrap_content"
        android:layout_margin="5dp">

        <TextView
            android:id="@+id/title_text_view"
            android:layout_width="0dp"
            android:layout_height="wrap_content"
            android:text="@{title}"
            android:textSize="32sp"
            app:layout_constraintBottom_toBottomOf="@id/action_button"
            app:layout_constraintEnd_toStartOf="@id/action_button"
            app:layout_constraintStart_toStartOf="parent"
            app:layout_constraintTop_toTopOf="@id/action_button"
            tools:text="XXXXXXXXXXXXXXX" />

        <Button
            android:id="@+id/action_button"
            android:layout_width="wrap_content"
            android:layout_height="wrap_content"
            android:text="ACTION"
            app:layout_constraintEnd_toEndOf="parent"
            app:layout_constraintTop_toTopOf="parent"
            app:setOnClickListener="@{onClickListener}" />

    </androidx.constraintlayout.widget.ConstraintLayout>

</layout>
そしてどこでもよいので package-info.java を作成してやります。そしてこのファイルに@EpoxyDataBindingLayouts({Layoutファイル名}) を追加してると、Layout ファイルから EpoxyModel を生成してくれるようになります。
@EpoxyDataBindingLayouts({R.layout.header_data_binding_layout})
package jp.kaleidot725.sample;

import com.airbnb.epoxy.EpoxyDataBindingLayouts;
import jp.kaleidot725.sample.R;
Build ➔ Make Project からビルドしてみます。すると java ➔ generated ➔ project package ➔に HeaderDataBindingLayoutBindingModel_ が生成されます。この生成された HeaderDataBindingLayoutBindingModel_ が EpoxyModel になります。EpoxyController では この生成された HeaderDataBindingLayoutBindingModel_ を利用して View の生成や操作を実装していきます。
public class HeaderDataBindingLayoutBindingModel_ extends DataBindingEpoxyModel implements GeneratedModel<DataBindingEpoxyModel.DataBindingHolder>, HeaderDataBindingLayoutBindingModelBuilder {
}
EpoxyController を作成する
EpoxyModel の実装が完了したので、次は EpoxyController を作成していきます。EpoxyController の作成は簡単で Typed2EpoxyController を継承したクラスを作成してやります。あとは buildModels を override し EpoxyModel を使って View の生成をしてやるだけです。
class HeaderDatabindingViewController(
    private val selectListener: SelectListener
) : Typed2EpoxyController<List<String>, Boolean>() {

    override fun buildModels(names: List<String>, loadingMore: Boolean) {
        // 名前リストの数だけ、 EpoxyModel を作成してやる。
        names.forEach { item ->
            // Layout ファイルに記述した title や onClickListener の variable 定義を通じて View の設定を変更する。
            headerDataBindingLayout {
                id("Content")
                title(item)
                onClickListener(View.OnClickListener { selectListener.onSelected(item) })
            }
        }
    }

    interface SelectListener {
        fun onSelected(item: String)
    }
}
動作確認する
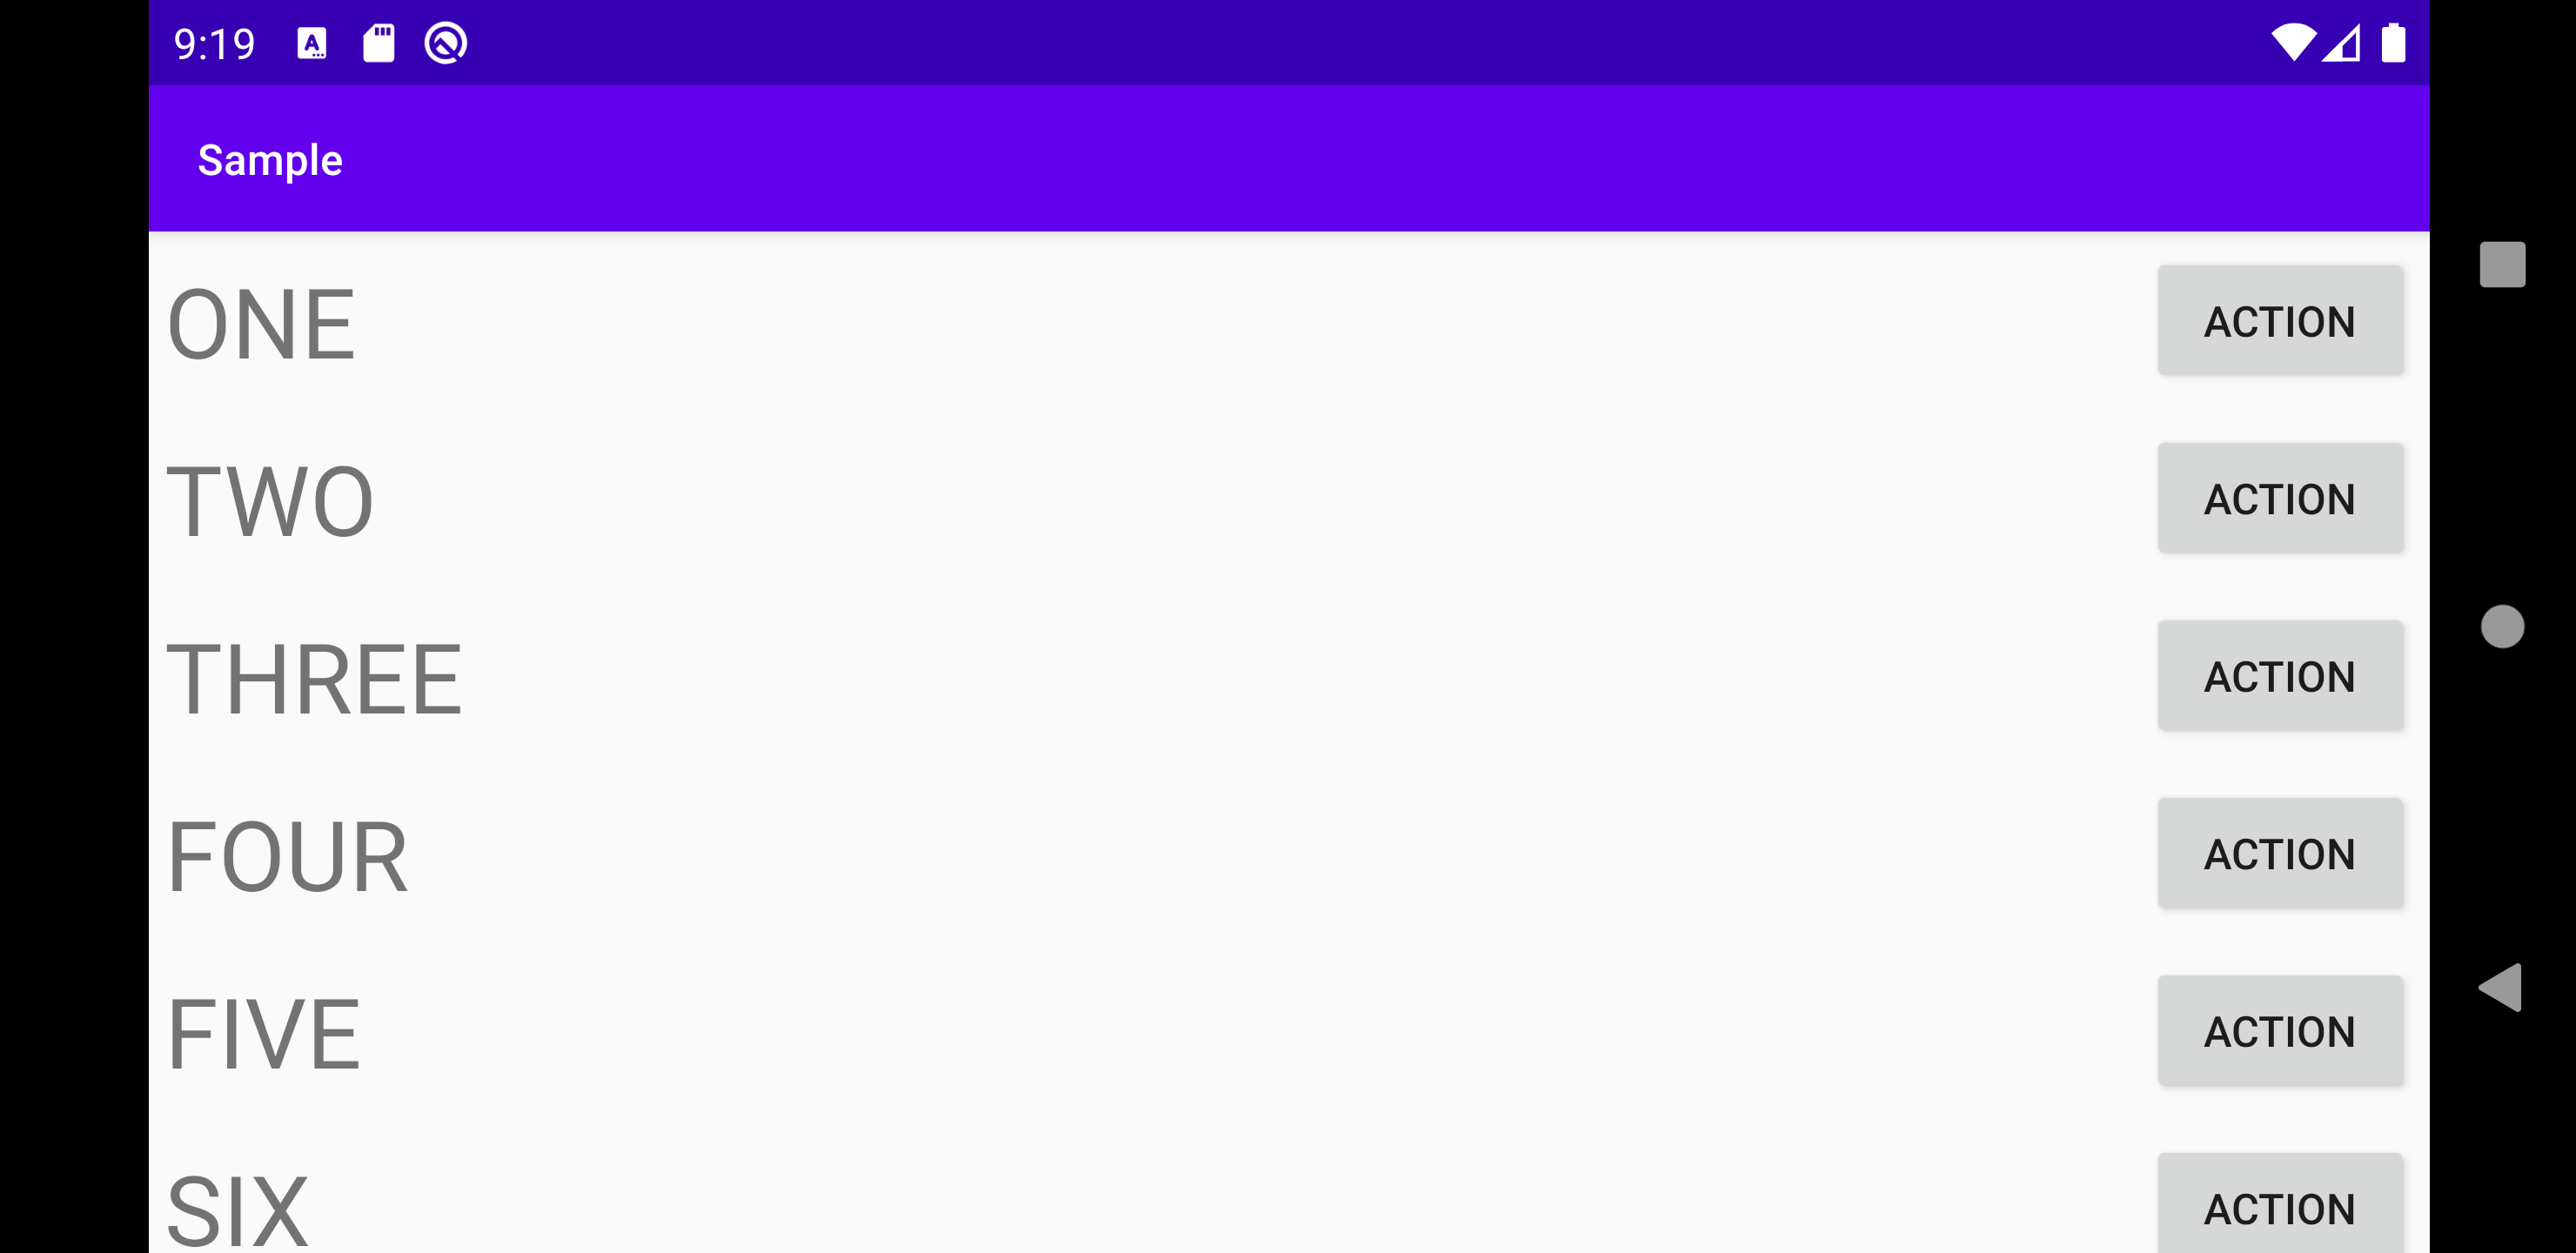
まずは EpoxyController を生成していきます。EpoxyController を生成すると RecyclerView に設定する Adapter が用意されます。なので RecyclerView にその adapter をセットしてやります。あとは EpoxyControler の setData にてデータをセットしてやるだけです。これで setData にてセットしたデータが RecyclerView に表示されます。
class MainActivity : AppCompatActivity() {
    private val itemList = listOf(
        "ONE", "TWO", "THREE", "FOUR", "FIVE",
        "SIX", "SEVEN", "EIGHT", "NINE", "TEN"
    )

    override fun onCreate(savedInstanceState: Bundle?) {
        super.onCreate(savedInstanceState)
        setContentView(R.layout.activity_main)


        val headerDatabindingViewController = HeaderDatabindingViewController(object :
            HeaderDatabindingViewController.SelectListener {
            override fun onSelected(item: String) {
                Toast.makeText(applicationContext, item, Toast.LENGTH_SHORT).show()
            }
        })

        recycler_view.apply {
            this.adapter = headerDatabindingViewController.adapter
            this.layoutManager = LinearLayoutManager(applicationContext).apply {
                orientation = LinearLayoutManager.VERTICAL
            }
        }

        headerDatabindingViewController.setData(itemList, false)
    }
}
<?xml version="1.0" encoding="utf-8"?>
<androidx.constraintlayout.widget.ConstraintLayout xmlns:android="http://schemas.android.com/apk/res/android"
    xmlns:app="http://schemas.android.com/apk/res-auto"
    xmlns:tools="http://schemas.android.com/tools"
    android:layout_width="match_parent"
    android:layout_height="match_parent"
    tools:context=".MainActivity">

    <androidx.recyclerview.widget.RecyclerView
        android:id="@+id/recycler_view"
        android:layout_width="0dp"
        android:layout_height="match_parent"
        app:layout_constraintTop_toTopOf="parent"
        app:layout_constraintBottom_toBottomOf="parent"
        app:layout_constraintStart_toStartOf="parent"
        app:layout_constraintEnd_toEndOf="parent"/>

</androidx.constraintlayout.widget.ConstraintLayout
起動してみます、はいセットしたデータが RecyclerView に問題なく表示されています。
おわりに
ざっくり Epoxy をまとめると次のようになりますね。
- Epoxy を利用して RecyclerView にデータを表示するには EpoxyModel と EpoxyController が必要
- EpoxyModel には表示する View と View の操作を定義する。 EpoxyModel は CustomView や Databinding の定義から自動生成できる。
- EpoxyController は自分で作成する。EpoxyController には与えられたデータから EpoxyModel をどのように生成するか定義する。
Epoxy を使うと今まで大変だった ReyclerViewAdapter の作成作業が減るのがよいなと思いました。Adapter を作るのはわりと面倒だったので Epoxy など積極的に使って効率的に機能を実装しましょう。


