Sinatraとは?
SinatraとはRubyフレームワークのひとつです。
RubyのフレームワークといえばRuby On Railsが有名ですが、
Sinatraフレームワークは「とにかく軽量」「さっくと始める」事に特化しています。
何が良いかというと、とにかくroutingが楽です。
詳しくは
https://ja.wikipedia.org/wiki/Sinatra
http://www.sinatrarb.com/intro-ja.html
辺りを参考にして頂けるとわかりやすいかと思います。
また今回は、Slim, CoffeScript, Sassをテンプレートにして構築していきます。
OSはCentOS65を使用します。
Vagrantの準備
プロジェクトディレクトリ作成, Vagarntの初期化
本記事はDesktopに作成
$ cd ~/Desktop
$ mkdir sinatra
$ cd sinatra
$ vagrant init
Vagrantfile書き換え
Vagrantfileが生成させています。開くと色々書いてありますが、全部消して 下記をコピペしてください。
# -*- mode: ruby -*-
# vi: set ft=ruby :
VAGRANTFILE_API_VERSION = "2"

Vagrant.configure(VAGRANTFILE_API_VERSION) do |config|
  config.vm.box = "https://github.com/2creatives/vagrant-centos/releases/download/v6.5.3/centos65-x86_64-20140116.box"
  config.ssh.forward_agent = true
  # config.vm.synced_folder "./", "/vagrant", nfs: true
  config.vm.network :private_network, ip:"192.168.33.33"
  config.vm.provider :virtualbox do |vb|
    vb.customize ["modifyvm", :id, "--natdnsproxy1", "off"]
    vb.customize ["modifyvm", :id, "--natdnshostresolver1", "off"]
  end
end
コピペしたら保存します。
Vagrantの起動、ログイン
下記コマンドでVagrantの起動、ログインします。
$ vagrant up
$ vagrant ssh
ログインが完了したら、下記コマンドで諸々インストールします。
$ sudo yum update
$ sudo yum install wget vim
$ sudo yum -y install curl-devel libffi-devel expat-devel gettext-devel openssl-devel zlib-devel perl-ExtUtils-MakeMaker
$ sudo yum -y install libxslt-devel libxml2-devel sqlite-devel
$ sudo yum -y install gcc gcc-c++
$ sudo yum -y groupinstall "Development Tools"
$ sudo yum -y install readline-devel
gitのアップデート
$ cd
$ wget https://www.kernel.org/pub/software/scm/git/git-2.5.0.tar.gz
$ tar zxvf git-2.5.0.tar.gz
$ cd git-*
$ ./configure --prefix=/usr/local
$ make
$ sudo make install
$ which git
$ git --version
rbenvでRuby, Bundlerのインストール
準備が整ったらRubyをインストールします。下記コマンドでRubyをインストールしてください。
Rubyのインストール
$ git clone https://github.com/sstephenson/rbenv.git ~/.rbenv
$ git clone https://github.com/sstephenson/ruby-build.git ~/.rbenv/plugins/ruby-build

$ echo 'export PATH="$HOME/.rbenv/bin:$PATH"' >> ~/.bash_profile
$ echo 'eval "$(rbenv init -)"' >> ~/.bash_profile
$ exec $SHELL -l

$ rbenv install 2.2.1 #安定版インストール。少し時間がかかります。
$ rbenv global 2.2.1
$ which ruby
$ which gem
$ ruby -v
$ gem -v
Bundlerのインストール
$ rbenv exec gem install bundler
$ rbenv rehash
$ which bundler # ~/.rbenv/配下に入る
$ bundler -v
$ gem list bundler
sinatraプロジェクトの作成
bundlerのインストールが終わったので、いよいよsinatraを入れていきます。
作業ディレクトリの作成
$ cd /vagrant
$ mkdir sinatra #ディレクトリ名は任意に変更してください
$ cd sinatra
Bundlerの初期化, Gemのインストール
$ bundle init
上記コマンドでVagrantfileが生成させています。開くと色々書いてありますが、全部消して 下記をコピペしてください。
source 'https://rubygems.org'

gem 'sinatra'
gem 'sinatra-contrib'
gem 'sass'
gem 'slim'
gem 'coffee-script'
gem 'therubyracer'

group :develoopment do
  gem 'shotgun'
  gem 'thin'
end
保存が完了したら下記コマンドでGemをインストールします。
$ bundle install --path vendor/bundle
Gemのインストールが完了しました。
sinatrateのテンプレート作成
ここまで来たらとは自分の作業しやすいようにゴリゴリディレクトリ等を作っていくだけです!
僕は下記のようにディレクトリ、ファイルを配置してみました。
sinatra/
 ├ app.rb
 ├ assets/
 │ └ js/
 │ └ scss/
 ├ config.ru # sinatra起動時に一番最初に呼ばれる
 ├ Gemfile
 ├ Gemfile.lock
 ├ Vendor/
 ├ views/
 │ └ index.slim
こんな感じです。app.rb, config.ruは必須です。
viewsにhtml系を、assetsにjsやscssを格納するようにしました。(ここらへんは作業しやすいように変更も大丈夫です)
app.rb, config.ruの設定
上記で作成した、app.rb, config.ruを編集します。
config.ru ・・・sinatra起動時に一番最初に呼び出せれるファイル。ここでapp.rbを呼び出すようにしてます。
app.rb ・・・ Controllerの役割をします。ここでroutingの設定をおこないます。
config.ru
require 'bundler'
Bundler.setup
require File.expand_path(File.join('..','app'), __FILE__)
run App
app.rb
require 'sinatra/base'
require 'sinatra/reloader'
require 'slim'
require 'sass'
require 'coffee-script'

class App < Sinatra::Base
  configure :development do
    register Sinatra::Reloader
  end

  # routingの設定
  get '/' do
    slim :index
  end
end
sinatraの起動
下記コマンドでsinatraを起動します。
$ bundle exec shotgun --server=thin --port=3000 -o 192.168.33.33
最後にブラウザに
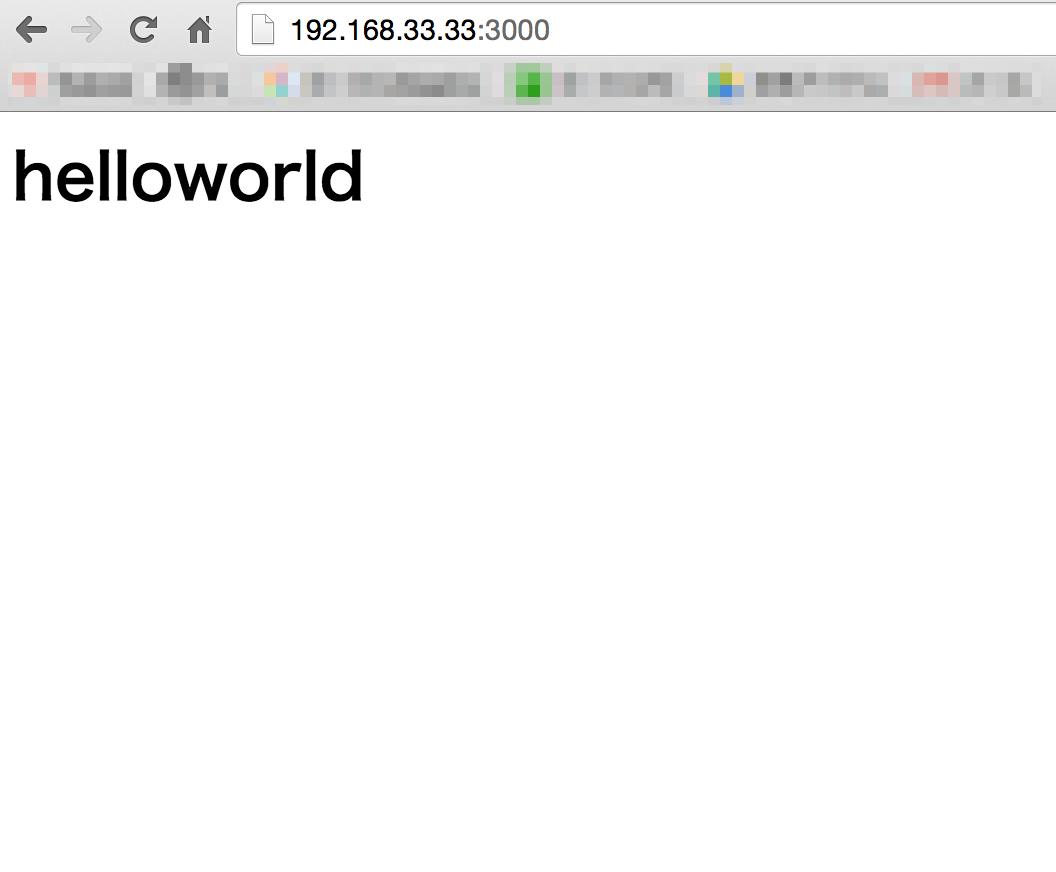
**http://192.168.33.33:3000/**アクセスして結果を確認しましょう!
下記図のようにhelloworldが出れば大成功です!!

お疲れ様でした!以上がVagrantにsinatra開発環境作成手順になります!
Railsより簡単に作業を始められるので小さめのプロジェクトにおすすめですね!
おまけ
nfsをONにして読み込み速度高速化
Vagrantfileの下記コメントを外す
config.vm.synced_folder "./", "/vagrant", nfs: true
参考
http://cu39.hateblo.jp/entry/2013/07/02/183935
http://qiita.com/mochizukikotaro/items/f6f7ac94576728cd0f2a
http://qiita.com/mochizukikotaro/items/970e69b0217eeb790752