背景
JavaもSwiftも知らん素人がIonicでスマホアプリをつくる(その1 開発準備とテストアプリ作成編)の続き。
で、アプリ作りこむとか、最初はそんなん後回し。
まずはリリース。リリースが一番大事。
まずは世に出す。
WidgetIdの変更
あんま気にしなくていいんだが、WidgetIdというのが世のリリース済アプリと同じだとリリースできないので変えて置く必要がある。
下記のようにアプリ名/config.xmlの2行目のwidget idを適当に変更。
<?xml version='1.0' encoding='utf-8'?>
<widget id="io.ionic.starterrrrrrrrrrrrrrrr" version="0.0.1" xmlns="http://www.w3.org/ns/widgets" xmlns:cdv="http://cordova.apache.org/ns/1.0">
Androidアプリに変換する
ちまただとビルドとか言われるが、そんな用語はどーでもいい。
とりあえず下記コマンドを打つと、HTML, CSS, Javascriptで書いたコードがAndroidアプリなソースコードに変換されるのだ。
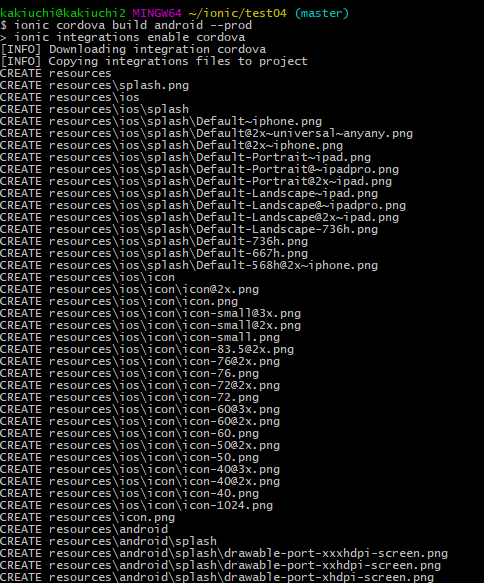
$ ionic cordova build android --prod
下記のようにビャーーーって文字がでてくる。気にするな。英語は気にしない。
ビルド中にエラー発生
ログの下部に予期しないエラー。
File C:\Users\kakiuchi\.android\repositories.cfg could not be loaded.
Checking the license for package Android SDK Platform 27 in C:\Users\kakiuchi\AppData\Local\Android\sdk\licenses
Warning: License for package Android SDK Platform 27 not accepted.

FAILURE: Build failed with an exception.

* What went wrong:
A problem occurred configuring project ':CordovaLib'.
> You have not accepted the license agreements of the following SDK components:
  [Android SDK Platform 27].
  Before building your project, you need to accept the license agreements and complete the installation of the missing components using the Android Studio SDK Manager.
  Alternatively, to learn how to transfer the license agreements from one workstation to another, go to http://d.android.com/r/studio-ui/export-licenses.html

* Try:
Run with --stacktrace option to get the stack trace. Run with --info or --debug option to get more log output.

* Get more help at https://help.gradle.org

BUILD FAILED in 3m 10s
cmd: Command failed with exit code 1 Error output:
FAILURE: Build failed with an exception.
なんやこれ。
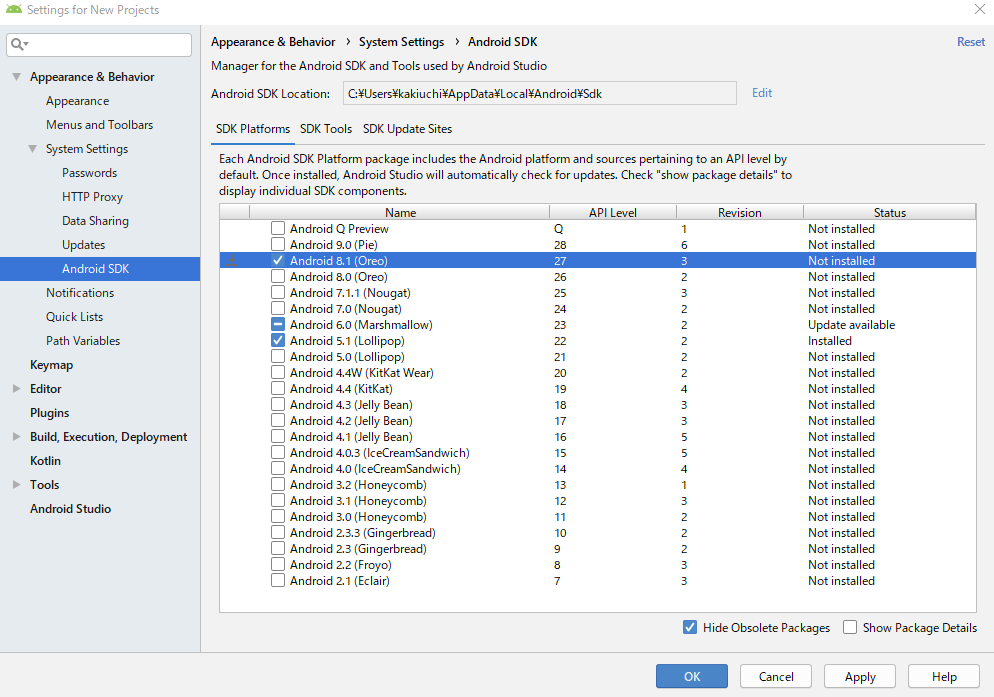
とりあえずAndroid Studio SDK Managerで「Android SDK Platform 27」をacceptすればよいとあたりをつける。
どうやらAndroid StudioのConfigureからSDK Managerを選択できて27っぽいやつを選択して様子を見る。
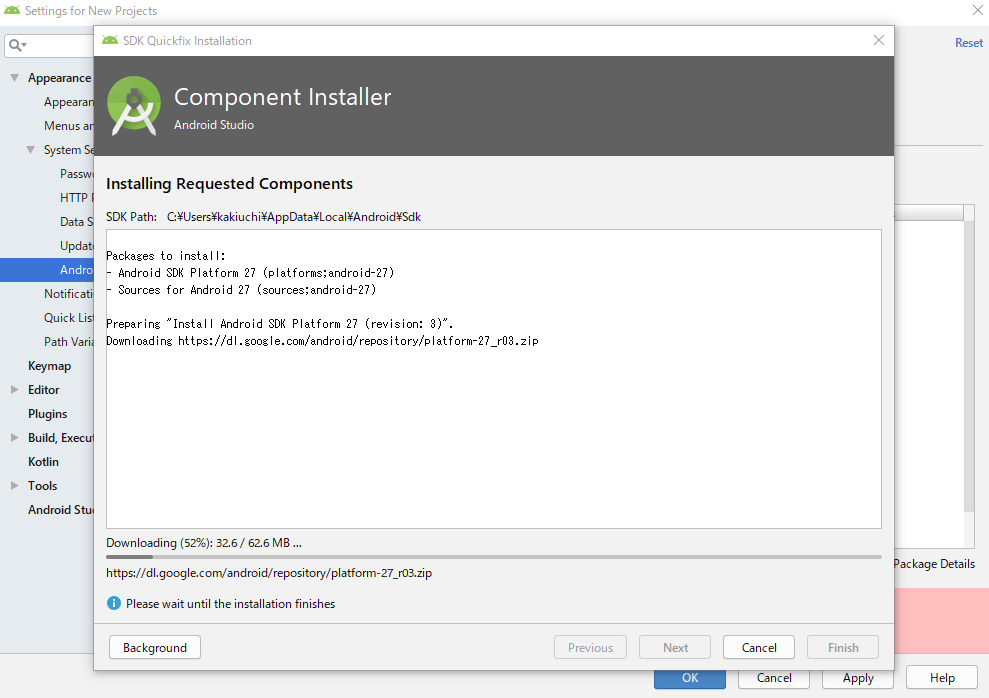
すると下記のようになり、Android SDK Platform 27っぽいのがダウンロードされてる。これはいけるぞ。
いけた。
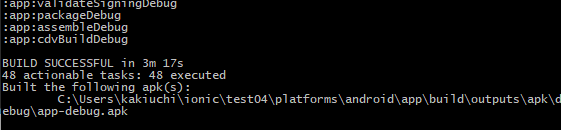
よゆうやな。
するとアプリ名/platforms/androidというディレクトリが出来上がって、その中にAndroidアプリなソースコードがジャブジャブに入っている。
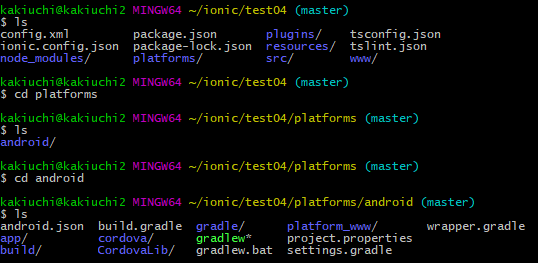
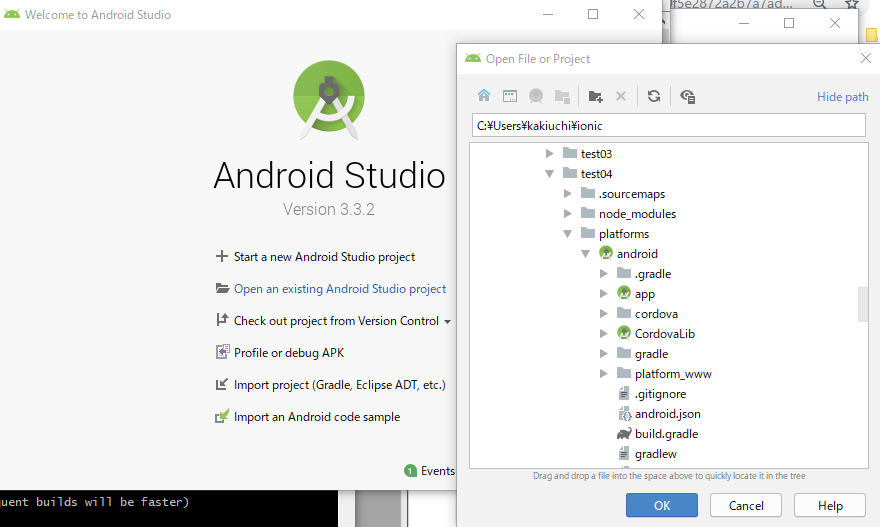
AndroidStudioでの起動確認
このディレクトリアプリ名/platforms/androidをAndroidStudioから開きます。
AndroidStudioでの起動確認中にエラー発生
なんやまた。
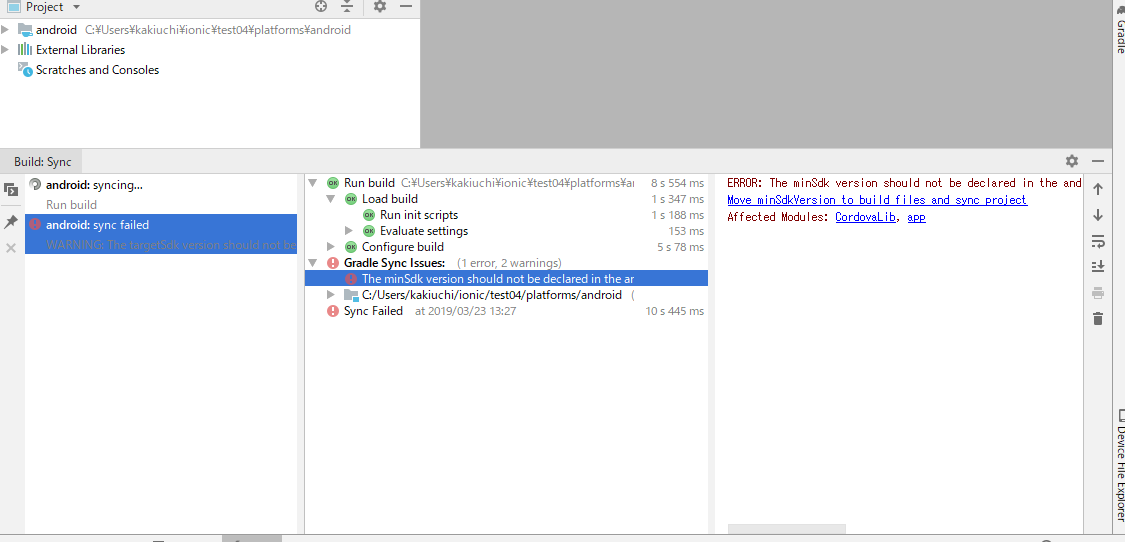
エラーメッセージはこんな感じ。
The minSdk version should not be declared in the android manifest file. You can move the version from the manifest to the defaultConfig in the build.gradle file.
<a href="remove.sdk.from.manifest">Move minSdkVersion to build files and sync project</a>
Affected Modules: <a href="openFile:C:/Users/kakiuchi/ionic/test04/platforms/android/CordovaLib/AndroidManifest.xml">CordovaLib</a>, <a href="openFile:C:/Users/kakiuchi/ionic/test04/platforms/android/app/src/main/AndroidManifest.xml">app</a>
Google翻訳するとminSdkのバージョンは、Androidのマニフェストファイルでではなくbuild.gradleファイルのdefaultConfigかけということっぽい。
そしてAndroidのマニフェストファイルはどうやらアプリ名/platforms/android/CordovaLib/AndroidManifest.xmlと
アプリ名/platforms/android/app/src/main/AndroidManifest.xmlにあるっぽいな。
そしてbuild.gradleファイルはアプリ名/platforms/android/app/buiid.gradeに発見。
ということで、まずはアプリ名/platforms/android/CordovaLib/AndroidManifest.xmlの編集。
<?xml version="1.0" encoding="utf-8"?>
<manifest xmlns:android="http://schemas.android.com/apk/res/android"
      package="org.apache.cordova" android:versionName="1.0" android:versionCode="1">
    <uses-sdk android:minSdkVersion="19" />
</manifest>
の下から2行目の<uses-sdk android:minSdkVersion="19" />を削除。
<?xml version="1.0" encoding="utf-8"?>
<manifest xmlns:android="http://schemas.android.com/apk/res/android"
      package="org.apache.cordova" android:versionName="1.0" android:versionCode="1">
</manifest>
つぎにアプリ名/platforms/android/app/src/main/AndroidManifest.xmlの編集。
<?xml version='1.0' encoding='utf-8'?>
<manifest android:hardwareAccelerated="true" android:versionCode="1" android:versionName="0.0.1" package="io.ionic.starter" xmlns:android="http://schemas.android.com/apk/res/android">
    <supports-screens android:anyDensity="true" android:largeScreens="true" android:normalScreens="true" android:resizeable="true" android:smallScreens="true" android:xlargeScreens="true" />
    <uses-permission android:name="android.permission.INTERNET" />
    <application android:hardwareAccelerated="true" android:icon="@mipmap/icon" android:label="@string/app_name" android:supportsRtl="true">
        <activity android:configChanges="orientation|keyboardHidden|keyboard|screenSize|locale" android:label="@string/activity_name" android:launchMode="singleTop" android:name="MainActivity" android:theme="@android:style/Theme.DeviceDefault.NoActionBar" android:windowSoftInputMode="adjustResize">
            <intent-filter android:label="@string/launcher_name">
                <action android:name="android.intent.action.MAIN" />
                <category android:name="android.intent.category.LAUNCHER" />
            </intent-filter>
        </activity>
    </application>
    <uses-sdk android:minSdkVersion="19" android:targetSdkVersion="27" />
</manifest>
ここの下から2行目の<uses-sdk android:minSdkVersion="19" android:targetSdkVersion="27" />を削除。
<?xml version='1.0' encoding='utf-8'?>
<manifest android:hardwareAccelerated="true" android:versionCode="1" android:versionName="0.0.1" package="io.ionic.starter" xmlns:android="http://schemas.android.com/apk/res/android">
    <supports-screens android:anyDensity="true" android:largeScreens="true" android:normalScreens="true" android:resizeable="true" android:smallScreens="true" android:xlargeScreens="true" />
    <uses-permission android:name="android.permission.INTERNET" />
    <application android:hardwareAccelerated="true" android:icon="@mipmap/icon" android:label="@string/app_name" android:supportsRtl="true">
        <activity android:configChanges="orientation|keyboardHidden|keyboard|screenSize|locale" android:label="@string/activity_name" android:launchMode="singleTop" android:name="MainActivity" android:theme="@android:style/Theme.DeviceDefault.NoActionBar" android:windowSoftInputMode="adjustResize">
            <intent-filter android:label="@string/launcher_name">
                <action android:name="android.intent.action.MAIN" />
                <category android:name="android.intent.category.LAUNCHER" />
            </intent-filter>
        </activity>
    </application>
</manifest>
最後にアプリ名/platforms/android/app/buiid.gradeの編集。
# 省略
android {

    defaultConfig {
        versionCode cdvVersionCode ?: new BigInteger("" + privateHelpers.extractIntFromManifest("versionCode"))
        applicationId privateHelpers.extractStringFromManifest("package")

        if (cdvMinSdkVersion != null) {
            minSdkVersion cdvMinSdkVersion
        }
    }
  # 省略
}
# 省略
でminSdkVersionが19でtargetSdkVersionが27であると追記。
# 省略
android {

    defaultConfig {
        minSdkVersion 19
        targetSdkVersion 27
        versionCode cdvVersionCode ?: new BigInteger("" + privateHelpers.extractIntFromManifest("versionCode"))
        applicationId privateHelpers.extractStringFromManifest("package")

        if (cdvMinSdkVersion != null) {
            minSdkVersion cdvMinSdkVersion
        }
    }
  # 省略
}
# 省略
するとこんな感じになってビルドエラーはクリア。

そしてAndroid Studio画面右上の緑▽ボタン(Run app)を押す。
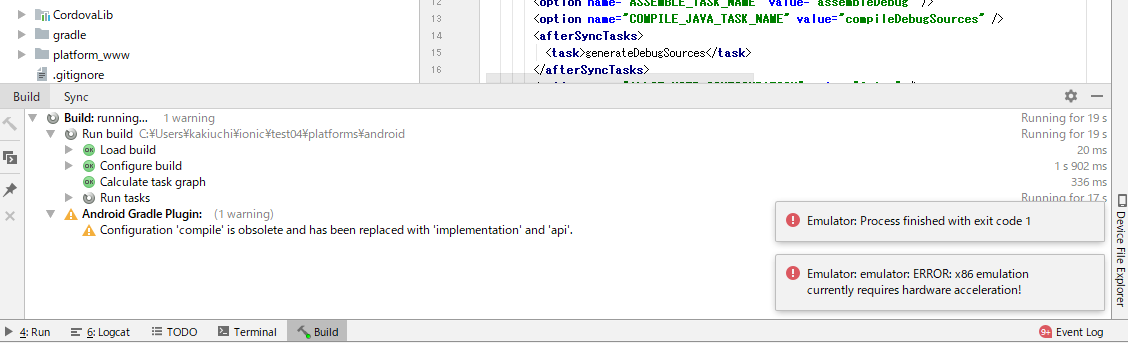
しかし右下に新たなエラー発生。
Emulator: emulator: ERROR: x86 emulation currently requires hardware acceleration!
なんやまた。
とりあえずエラーメッセでググる。
じゃあIntel x86 Emulator Acceleratorを何やかんやせよということらしい。
参考サイト:Androidエミュレーター(AVD)が起動せずに「Emulator: emulator: ERROR: x86 emulation currently requires hardware acceleration」とエラー表示された場合
で再度Android Studioを起動してRun app。

するとこんな感じでスマホアプリの画面デモが表示されます。
よゆうやな。
これをちまたではエミュレーションとかいうらしいですが、そんな言葉はどうでもいいでしょう。
APKファイルとかいうやつを作る
Androidアプリをリリースするためには、Android StudioのプロジェクトをまとめてドカンとAPKファイルというやつに変換する必要がある。
そしてそのあとAPKファイルに署名(自分のだよという証明)をする必要がある。
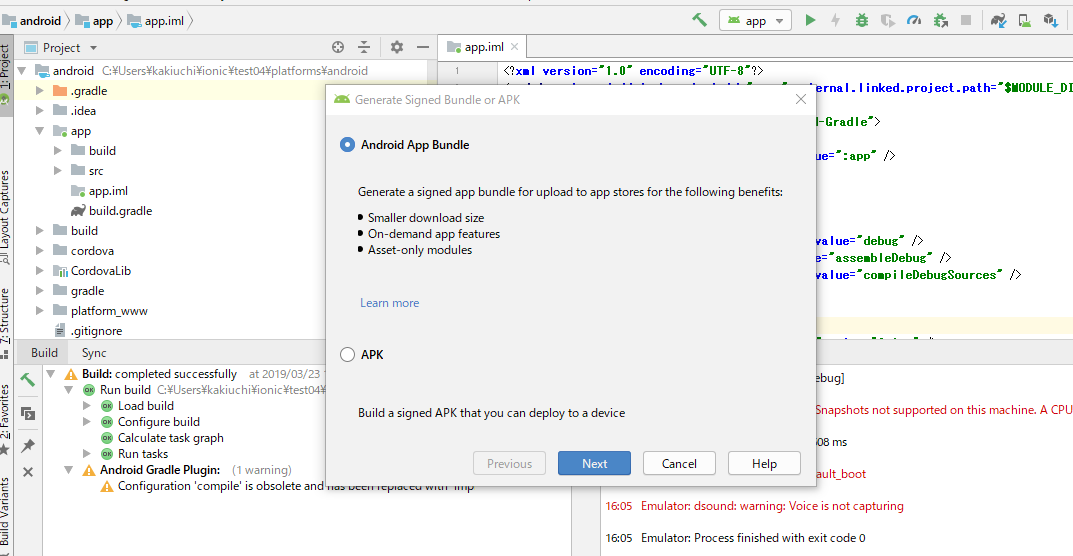
まずはAndroid StudioのメニューバーのBuildからGenerate Singled APK...というのをクリック。
下記のような画面がでてきてAndroid App Bundleを選択してNext
(Android App BundleというのはGoogle Playへアップロードするための新しい形式らしいが、あんま難しいことは気にしない)
すると下記のようなKeyを作る画面になる。これが署名的な要素を担う。
このKeyはアプリをリリースするときやバージョンアップするときに必要な大事なものだ。
ちゃんとやろう。
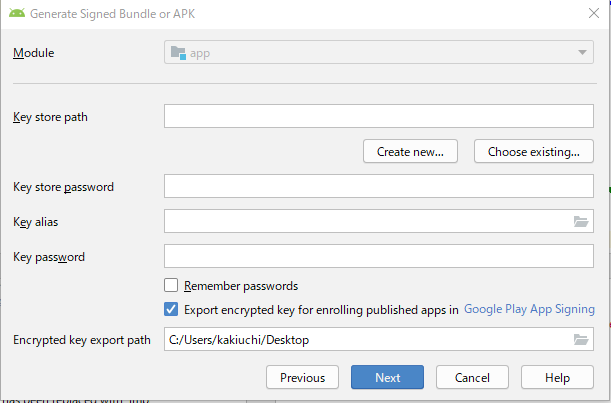
まず初作成の場合はCreate new
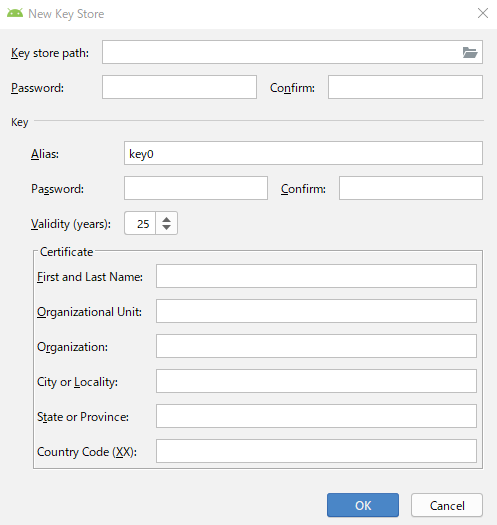
各項目は下記のようなイメージだ。
| 英語 | 日本語 |
|---|---|
| Key store path | Key storeとなるファイルの場所とファイル名 |
| Password | Key storeのパスワード |
| Confirm | Key storeのパスワードの確認 |
| Alias | Keyのニックネーム的なもの |
| Password | Keyのパスワード |
| Confirm | Keyのパスワードの確認 |
| Validity | Keyの有効期間 |
| First and Last Name | 氏名 |
| Organization Unit | 組織の部門名 |
| Organization | 組織名 |
| City or Locality | 住んでる市 |
| State or Province | 国 |
| Country Code | 国番号、日本は81 |
Key StoreとKeyは別物だ。違いは下記URLに書いてるが、眠かったので読んでも理解できなかった。
https://blog.aroundit.net/android-keystore-alias/
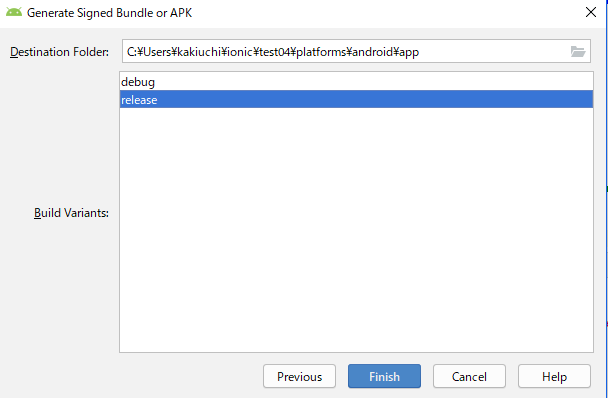
きにぜず、その後、デフォのまますすんで下記画面でreleaseを選んでフィニッシュ
Google Playの申請
ついに申請だ。
GooglePlayConsole登録
GooglePlayにアプリを公開するためにはGooglePlayConsoleというところへ開発者登録をしないといけない。
そして残念ながら初回のみ25$のお金が必要だ。(どんまい。きにすんな。呑み会1回分だ。がまんの時。)
下記から登録を進める。
https://play.google.com/apps/publish/signup
お金は払う以外は簡単なのでやり方は割愛する。
順調にいくと下記画面にたどり着く。
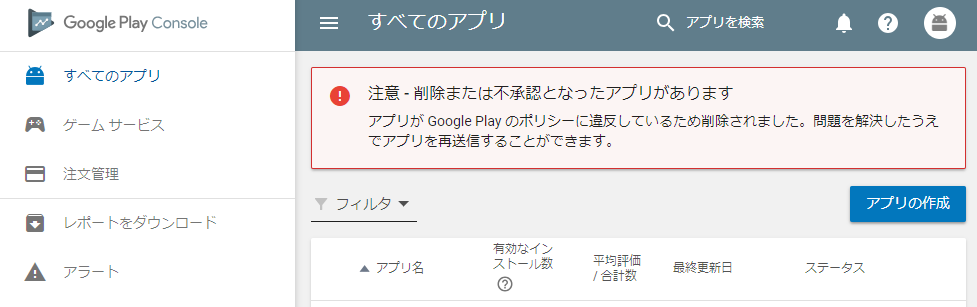
ストア掲載情報
アプリの作成をクリックすると下記画面に行く。
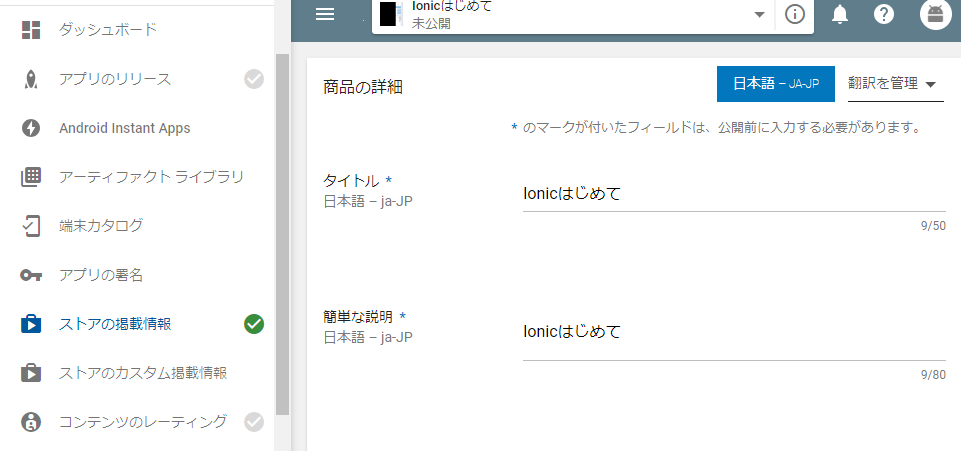
てきとーに入力して保存。
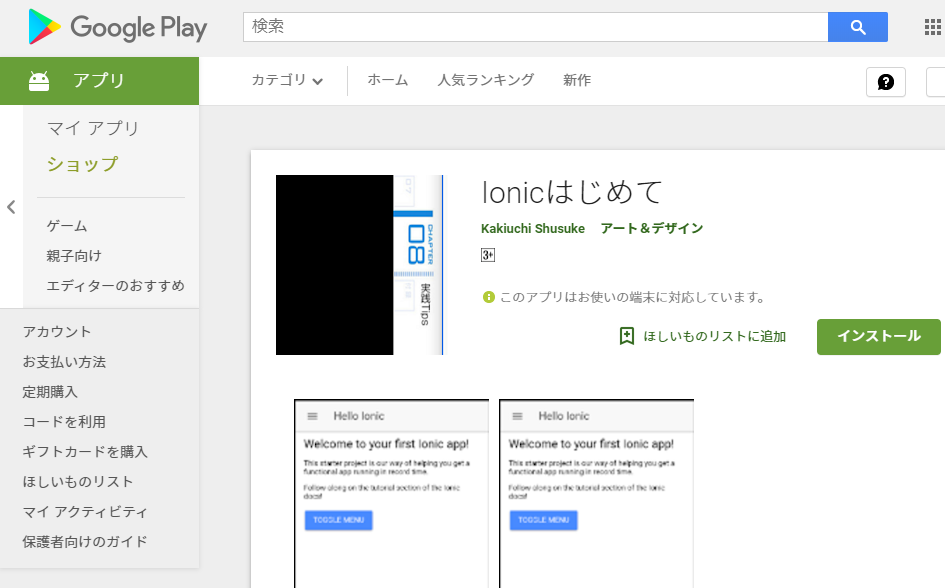
これは下記のようなGooglePlayのアプリ画面の情報たちの登録にあたる。

アプリのリリース
左のカラムからアプリのリリースを選ぶ
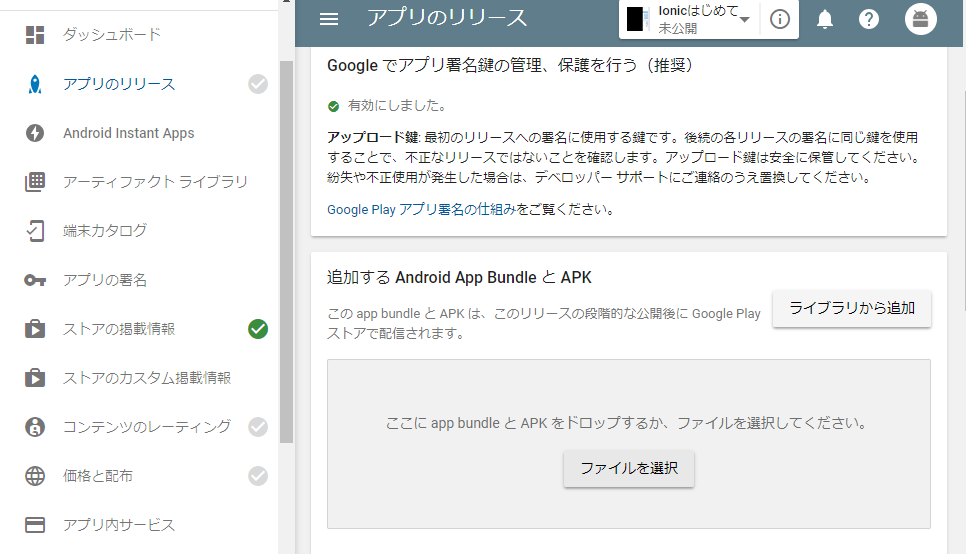
追加するAndroid App BundleとAPKで、さきほど作ったAKPファイルを入れる。
ただし拡張子はakpでない。
なんか進化しているAndroid App Bundleという形式でつくったので、拡張子はaabだ。
細かいことは気にしない。
とりあえずアプリ名\platforms\android\app\release\app.aabをドロップ。
その他は適当に入力でOKでしょう。
コンテンツのレーティング
特に難しくないでしょう。割愛
価格と配布
特に難しくないでしょう。割愛
もっかいアプリのリリース
全部ちゃんと回答していると製品版として公開を開始がクリックできる。
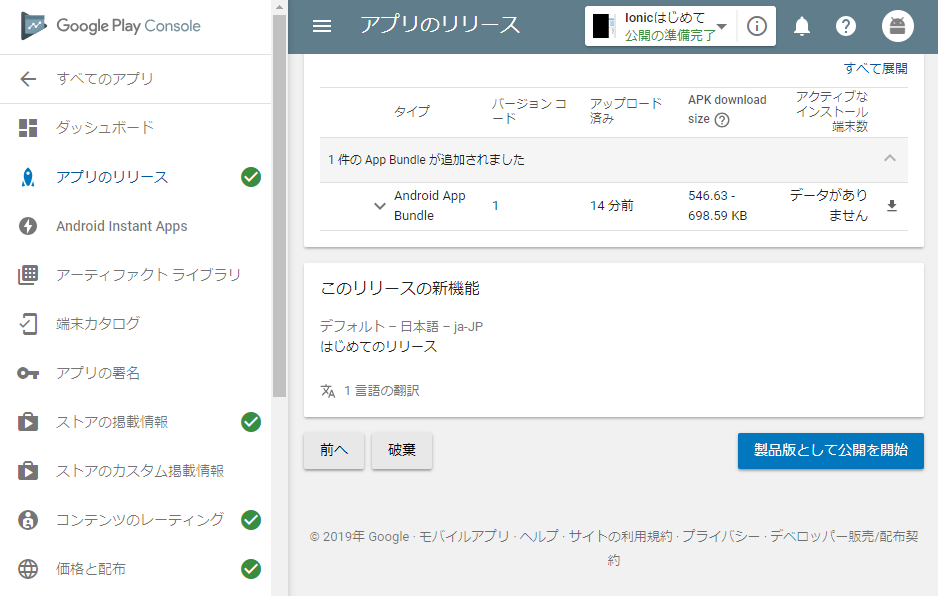
クリックして数時間たてば、もう公開されてます。よゆうやな。(今回はじゃっかんエラーおおめで焦った。)
おめでとう。Androidアプリエンジニアです。
MacないのでiOSアプリの検証でけへん。