はじめに
この記事は「Ateam LifeDesign Advent Calendar 2023」で完走賞を狙って25記事書いているうちの24日目の記事です。
UIクラス
GASではUIクラスが用意されており、これらを使うことでユーザーインターフェースを作成し、管理することができます。
今日はこのクラスに用意されているメソッドを実際の表示と併せて見ていきます。
alert
alert(prompt)
ダイアログが開いて指定したメッセージとOKのボタンが表示されます。
SpreadsheetApp.getUi().alert('Hello, world');

alert(prompt, buttons)
見た目は先程と似ていますがbuttonsに特定のボタンを指定することでOK以外のものを表示できるようにします。
var ui = SpreadsheetApp.getUi();
var response = ui.alert('Are you sure you want to continue?', ui.ButtonSet.OK_CANCEL);
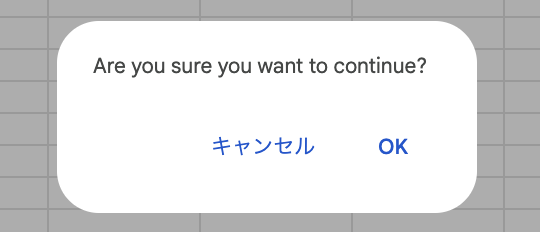
buttonsには以下のものを指定することができます。
| プロパティ | 種類 | 説明 |
|---|---|---|
| OK | Enum | OKのみ表示されたボタン |
| OK_CANCEL | Enum | 「OK」と「キャンセル」を選択できるボタン |
| YES_NO | Enum | 「はい」と「いいえ」を選択できるボタン |
| YES_NO_CANCEL | Enum | 「はい」「いいえ」「キャンセル」の3つから選択できるボタン |
alert(title, prompt, buttons)
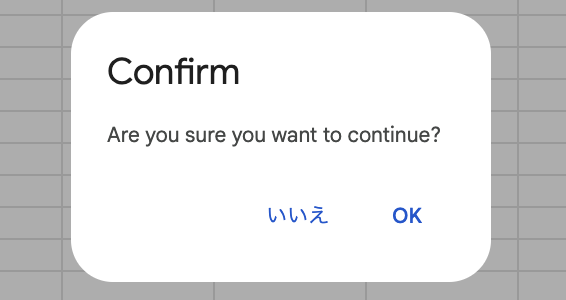
ダイアログにタイトルを表示できるようになります。
var ui = SpreadsheetApp.getUi();
var response = ui.alert('Confirm', 'Are you sure you want to continue?', ui.ButtonSet.YES_NO);
createMenu
メニューを追加することができます。onOpen()は、スプレッドシートが開かれた際に呼び出されるイベントなので、ここでメニュー追加の処理を書くことでスプレッドシートを開いたときに独自のメニューが追加された状態にします。
まずcreateMenu('My Menu')を呼び出して、名前が"My Menu"の新しいメニューオブジェクトを作成しています。そして.addItem('My menu item', 'myFunction')を使って、この新しいメニューに"My menu item"という名前のメニューアイテムを追加し、それが選択された時にmyFunctionという関数が実行されるように設定しています。.addSeparator()を使って、メニューに区切り線を追加しています。
さらにサブメニューを追加するために.addSubMenu()を使います。ここではMy sub-menuという名前のサブメニューを作成しています。.addItem()を使って、サブメニューに2つのアイテムを追加しています。"One sub-menu item"というアイテムが選択されたときにmySecondFunctionが実行され、"Another sub-menu item"が選択されたときにmyThirdFunctionが実行されるように設定しています。
最後に.addToUi()を使って、作成したメニューを実際のスプレッドシートUIに追加しています。
function onOpen(e) {
  SpreadsheetApp.getUi()
      .createMenu('My Menu')
      .addItem('My menu item', 'myFunction')
      .addSeparator()
      .addSubMenu(SpreadsheetApp.getUi().createMenu('My sub-menu')
          .addItem('One sub-menu item', 'mySecondFunction')
          .addItem('Another sub-menu item', 'myThirdFunction'))
      .addToUi();
}
prompt(prompt)
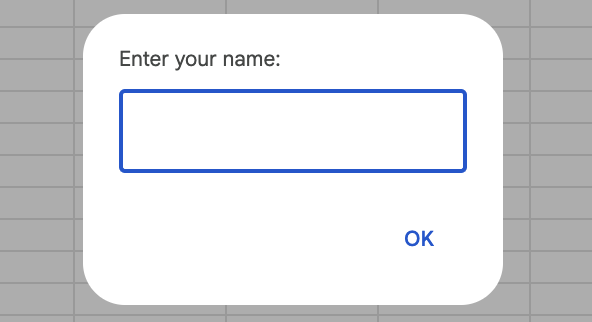
入力ダイアログボックスをひらきます。これもalert同様にprompt(prompt, buttons) とprompt(title, prompt, buttons)でそれぞれボタンを変更したりタイトルを追加することも可能です。
var ui = SpreadsheetApp.getUi();
var response = ui.prompt('Enter your name:');
showModalDialog(userInterface, title)
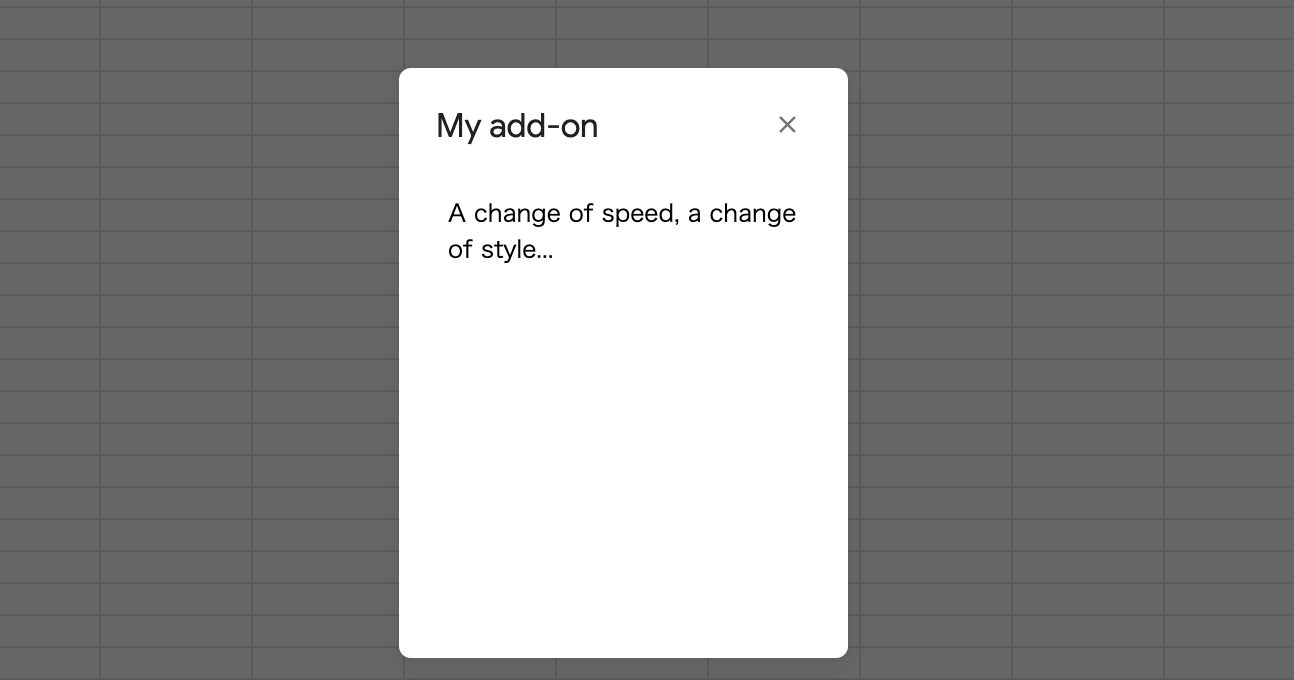
特定のhtmlコンテンツを含む独自のサイズのモーダルを生成し、ユーザーがスプレッドシート上でそれを表示できるようにします。ダイアログは指定されたhtmlコンテンツを表示し、ユーザーの入力待ち状態になります。
HtmlService.createHtmlOutput('<p>A change of speed, a change of style...</p>')でhtml出力を生成します。ここでは、<p>タグで囲まれたテキストを含む簡単なHTMLを指定しています。そして.setWidth(250)と.setHeight(300)でモーダルダイアログの幅と高さをそれぞれ250ピクセルと300ピクセルに設定しています。最後にshowModalDialog()メソッドを使用して、作成したhtmlを含むモーダルダイアログを表示しています。'My add-on'はダイアログのタイトルとして表示されます。
var htmlOutput = HtmlService
    .createHtmlOutput('<p>A change of speed, a change of style...</p>')
    .setWidth(250)
    .setHeight(300);
SpreadsheetApp.getUi().showModalDialog(htmlOutput, 'My add-on');
showModelessDialog(userInterface, title)
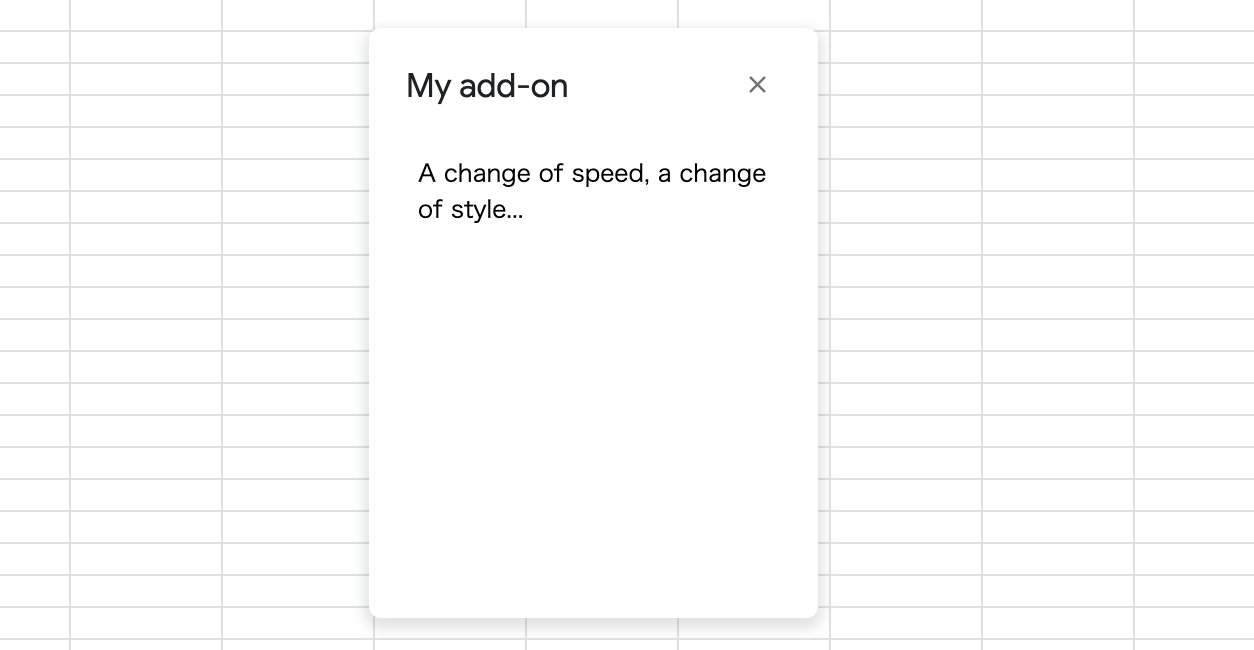
さきほどのモーダレス版です。こちらの場合はダイアログが出てる間もスプレッドシートを触ることができます。
var htmlOutput = HtmlService
    .createHtmlOutput('<p>A change of speed, a change of style...</p>')
    .setWidth(250)
    .setHeight(300);
SpreadsheetApp.getUi().showModelessDialog(htmlOutput, 'My add-on');
showSidebar(userInterface)
サイドバーを開いて任意のコンテンツを表示することができます。サイドバーの幅は300pxで固定されています。
var htmlOutput = HtmlService
    .createHtmlOutput('<p>A change of speed, a change of style...</p>')
    .setTitle('My add-on');
SpreadsheetApp.getUi().showSidebar(htmlOutput);
最後に
今日はUIクラスについて見ていきました。どれもうまく使えばより便利にGASを活用できそうですね!

