これは何?
この記事は「24日後に立派なSalesforceエンジニアになるWEBエンジニア Advent Calendar 2022」の9日目の記事です。16日後に立派なSalesforceエンジニアになるために今日はLightning Web Component (LWC)からデータベースへのアクセスについて見ていきたいと思います。
データの取得
パターン1. lightning-record-formを使う
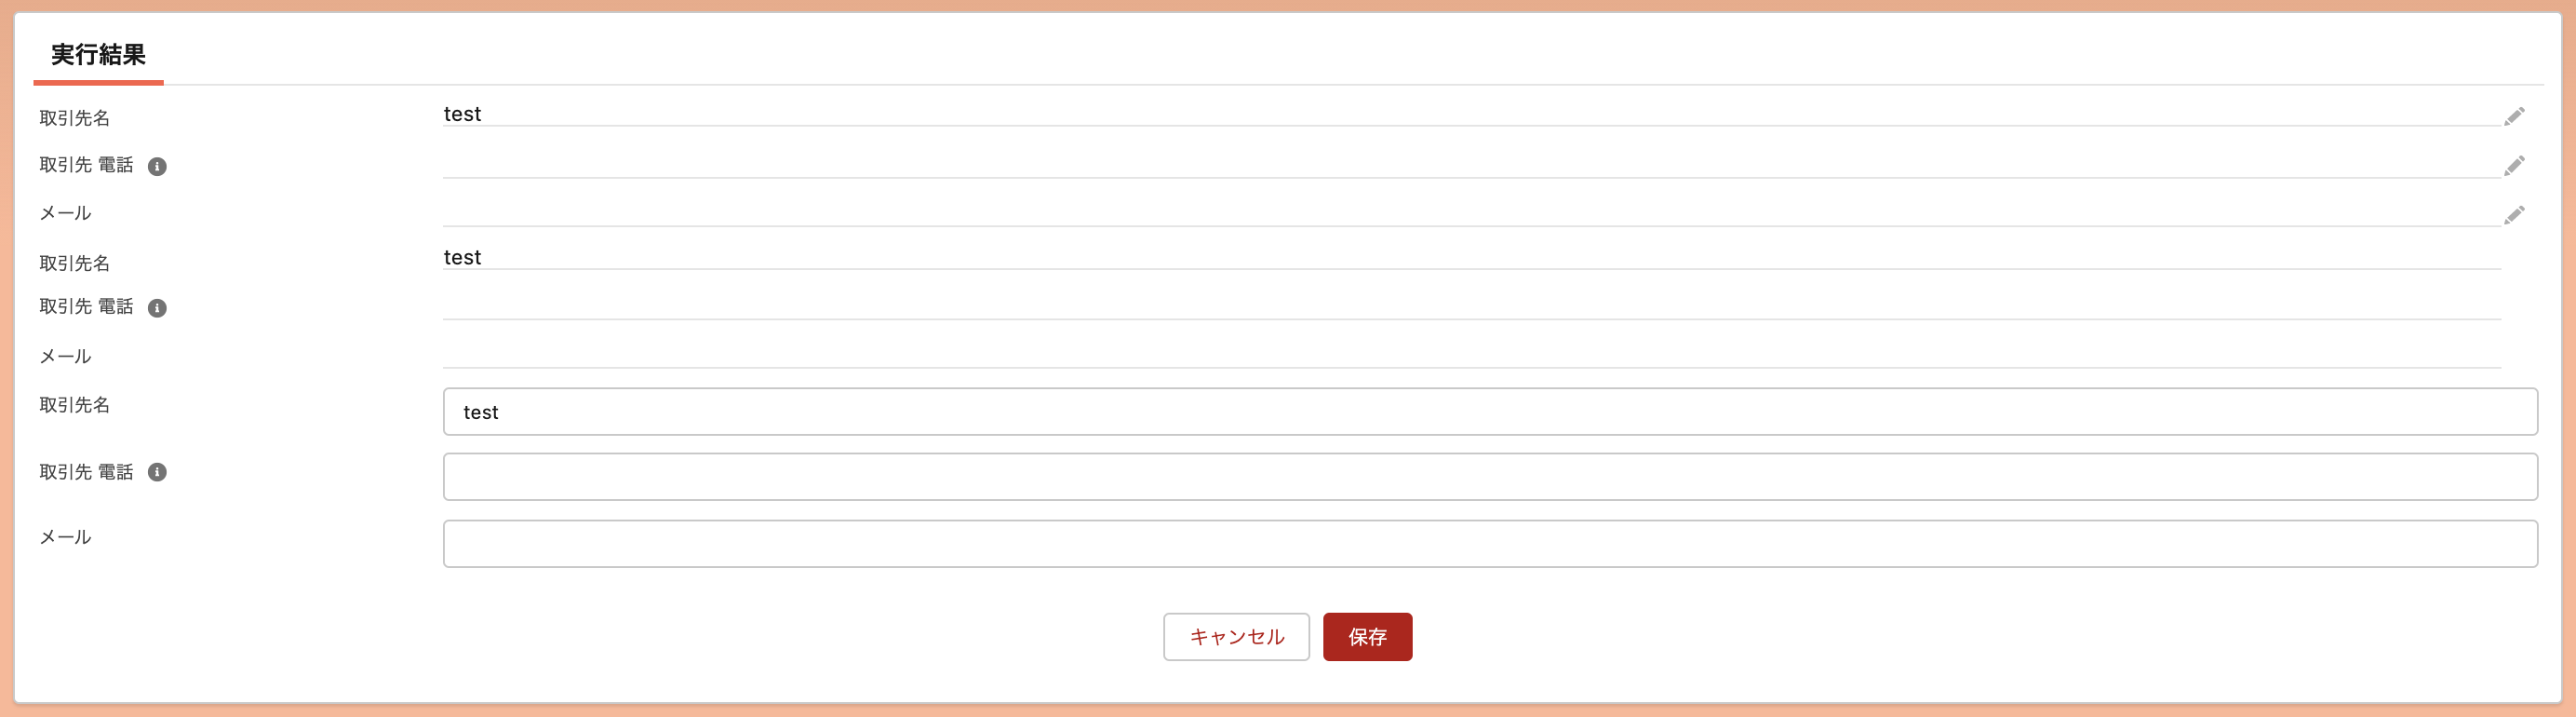
これが一番簡単な方法。レコードIDとオブジェクト名を指定して標準のレイアウトでレコードを表示する。modeにより編集などの指定も可能。以下のコードの場合は、レコードIDやオブジェクト名は配置したレコードページから取得してきており、画像はAccountページに配置したサンプルになっている。
import { LightningElement, api } from 'lwc';

export default class Test extends LightningElement {
    @api recordId;
    @api objectApiName;
    fields = ['AccountId', 'Name', 'Phone', 'PersonEmail'];
}
<template>
    <lightning-record-form
        record-id={recordId} object-api-name={objectApiName} fields={fields} mode="view">
    </lightning-record-form>
    <lightning-record-form
        record-id={recordId} object-api-name={objectApiName} fields={fields} mode="readonly">
    </lightning-record-form>
    <lightning-record-form
        record-id={recordId} object-api-name={objectApiName} fields={fields} mode="edit">
    </lightning-record-form>
</template>
上から順にmodeがedit view read-only になっている。
パターン2. lightning-record-view-formを使う
レイアウトをカスタマイズしたい場合はこちら。先ほどとほとんど一緒だが表示の仕方を変更することができる。
ちなみにLWCではLightning Design Systemと呼ばれるデザインシステムが用意されているのでレイアウトをカスタマイズするときはそれを参考にすると良い。ある程度パターン化されたものがBase Componentとしても用意されているのでそちらも上手く活用するといい感じの画面が簡単に作れそう。
import { LightningElement, api } from 'lwc';

export default class Test extends LightningElement {
    @api recordId;
}
<template>
    <lightning-record-view-form
                record-id={recordId}
                object-api-name="Account">
        <div class="slds-grid">
            <div class="slds-col slds-size_1-of-2">
                <lightning-output-field field-name="Name"></lightning-output-field>
                <lightning-output-field field-name="Phone"></lightning-output-field>
            </div>
            <div class="slds-col slds-size_1-of-2">
                <lightning-output-field field-name="Industry"></lightning-output-field>
                <lightning-output-field field-name="AnnualRevenue"></lightning-output-field>
            </div>
        </div>
    </lightning-record-view-form>
</template>
デフォルトは1カラムだったのが2カラムにカスタマイズされた。

パターン3. getRecordを使う
lightning-record-formもlightning-record-view-formもフォームの見た目しか表現できないので、フォームじゃないレイアウトを使ってさらに柔軟な見た目にしたいときはこれを使う。
import { LightningElement, api, wire } from 'lwc';
import { getRecord } from 'lightning/uiRecordApi';
const FIELDS = ['Account.Name', 'Account.Phone'];

export default class Test extends LightningElement {
    @api recordId;

    @wire(getRecord, { recordId: '$recordId', fields: FIELDS })
    account;

    get name() {
        return this.account.data.fields.Name.value;
    }
}
取ってきた項目を表示するときはaccount.data.fields.Name.valueのようにして呼び出すが、html内でそれを記述してもいいしjs側にgetterを用意しておいてそれを呼び出しても良い。
accountの情報を取得する前にレンダリングされてデータがなくてエラーで落ちてしまうのを防ぐために<template if:true={account.data}>を入れてデータの取得後のみ表示するようにしている。
<template>
    <lightning-card icon-name="standard:account">
        <template if:true={account.data}>
            <div class="slds-p-horizontal_small">
                <p>{name}</p>
                <p><lightning-formatted-phone value={account.data.fields.Phone.value}></lightning-formatted-phone></p>
            </div>
        </template>
    </lightning-card>
</template>
パターン4. Apexクラスを使う
ここまでのやり方は全てレコードIdを指定することでデータを取得してきたが、レコードId以外を指定してデータを取得するときや、複数テーブルをjoinした結果を取得したいときなどはこのやり方を使う。ApexクラスでSOQLを書いてデータを取得し、javascriptに返してやり表示する感じ。
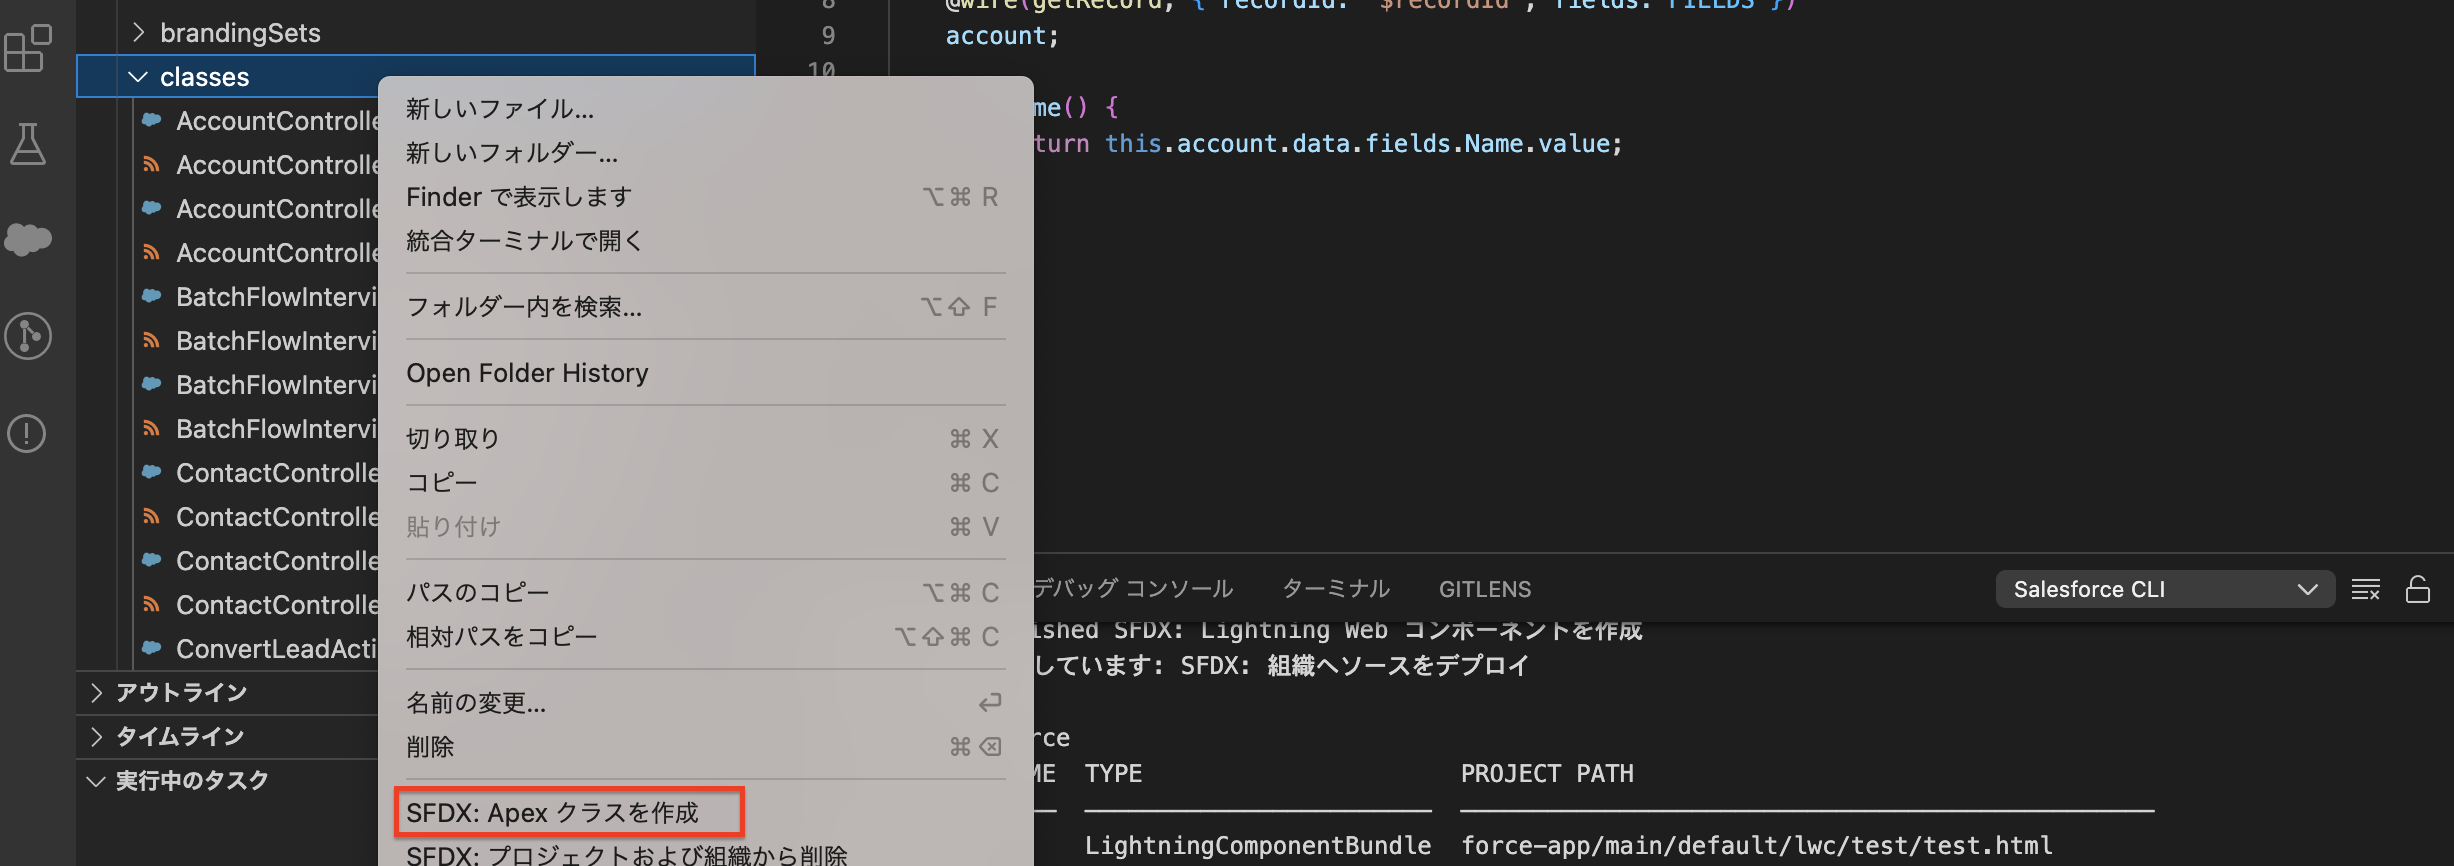
まずApexクラスを作成する。作成はここから。
今回はサンプルとしてNameを指定してレコードを一件取得してきて表示する。
public with sharing class testController {
  @AuraEnabled(cacheable=true) // wireサービスから呼び出すためにはこれが必要
  public static Account getAccountByName(String name) {
    List<Account> account = [
      SELECT
        Id,
        Phone,
        Name
      FROM Account
      WHERE Name = :name
      LIMIT 1
    ];

    return account[0];
  }
}
上記で作ったApexクラスをjsにインポートする。
import { LightningElement, api, wire } from 'lwc';
// 先ほどのApexクラスをインポート
import getAccountByName from '@salesforce/apex/testController.getAccountByName';

export default class Test extends LightningElement {
    @api recordId;

    // ここでApexクラスのメソッドを呼び出して、戻り値をaccountDataに接続
    @wire(getAccountByName, { name: 'test' })
    accountData;

    get name() {
        return this.accountData.data.Name;
    }

    // もしくは @wire を使わずに以下のように直接Apexメソッドを呼び出すこともできる
    connectedCallback() {
        getAccountByName({
            name : 'test'
        })
        .then( data => { // 正常終了時の処理
        } )
        .catch((error) => { // 異常終了時の処理
        });
    }
}
getRecordの時は取ってきた項目を表示するのにaccount.data.fields.Name.valueという書き方をしていたが、今回の場合はaccountData.data.Nameという形で呼び出すことになるので注意。
<template>
    <lightning-card icon-name="standard:account">
        <template if:true={accountData.data}>
            <div class="slds-p-horizontal_small">
                <p>{name}</p>
                <p><lightning-formatted-phone value={accountData.data.Phone}></lightning-formatted-phone></p>
            </div>
        </template>
    </lightning-card>
</template>
表示についてはパターン3と全く同じなので割愛。
最後に
今回はLWCでレコードを取得して表示する方法についていくつかあるのでそれをまとめてみました。どのパターンも結構簡単に表示ができるなという印象。また途中に書いたLightning Design SystemやBase Componentも提供されているので、標準ぽい画面を簡単に作れそうですね。
明日はLWCのデコレータについて見ていきたいと思います。