今回の記事では爆速でポートフォリオを作成する方法を紹介します。
前提
・ firebaseのアカウント作成
・ vueの知識、vue-cliの知識が皆無でない方
・ vueコマンドが使える
・ npmコマンドが使える
流れ
- vue-cliプロジェクトの作成
- vuetifyの導入
- デザイン作成
- firebaseをホスティング
vue-cliのプロジェクト作成
自分の開発ディレクトリ(なんでもいい)内で以下のコマンドを実行しvue-cliプロジェクトを作成してください。
vue create portfolio-sample
この時、portfolio-sampleはプロジェクト名なので自由に名前を決めてください。
プロジェクト作成完了後、ディレクトリ内に入り、
cd poortfolio-sample
以下のコマンドを実行してください。
npm run serve
App running at:
  - Local:   http://localhost:8080/
  - Network: http://192.168.100.152:8080/
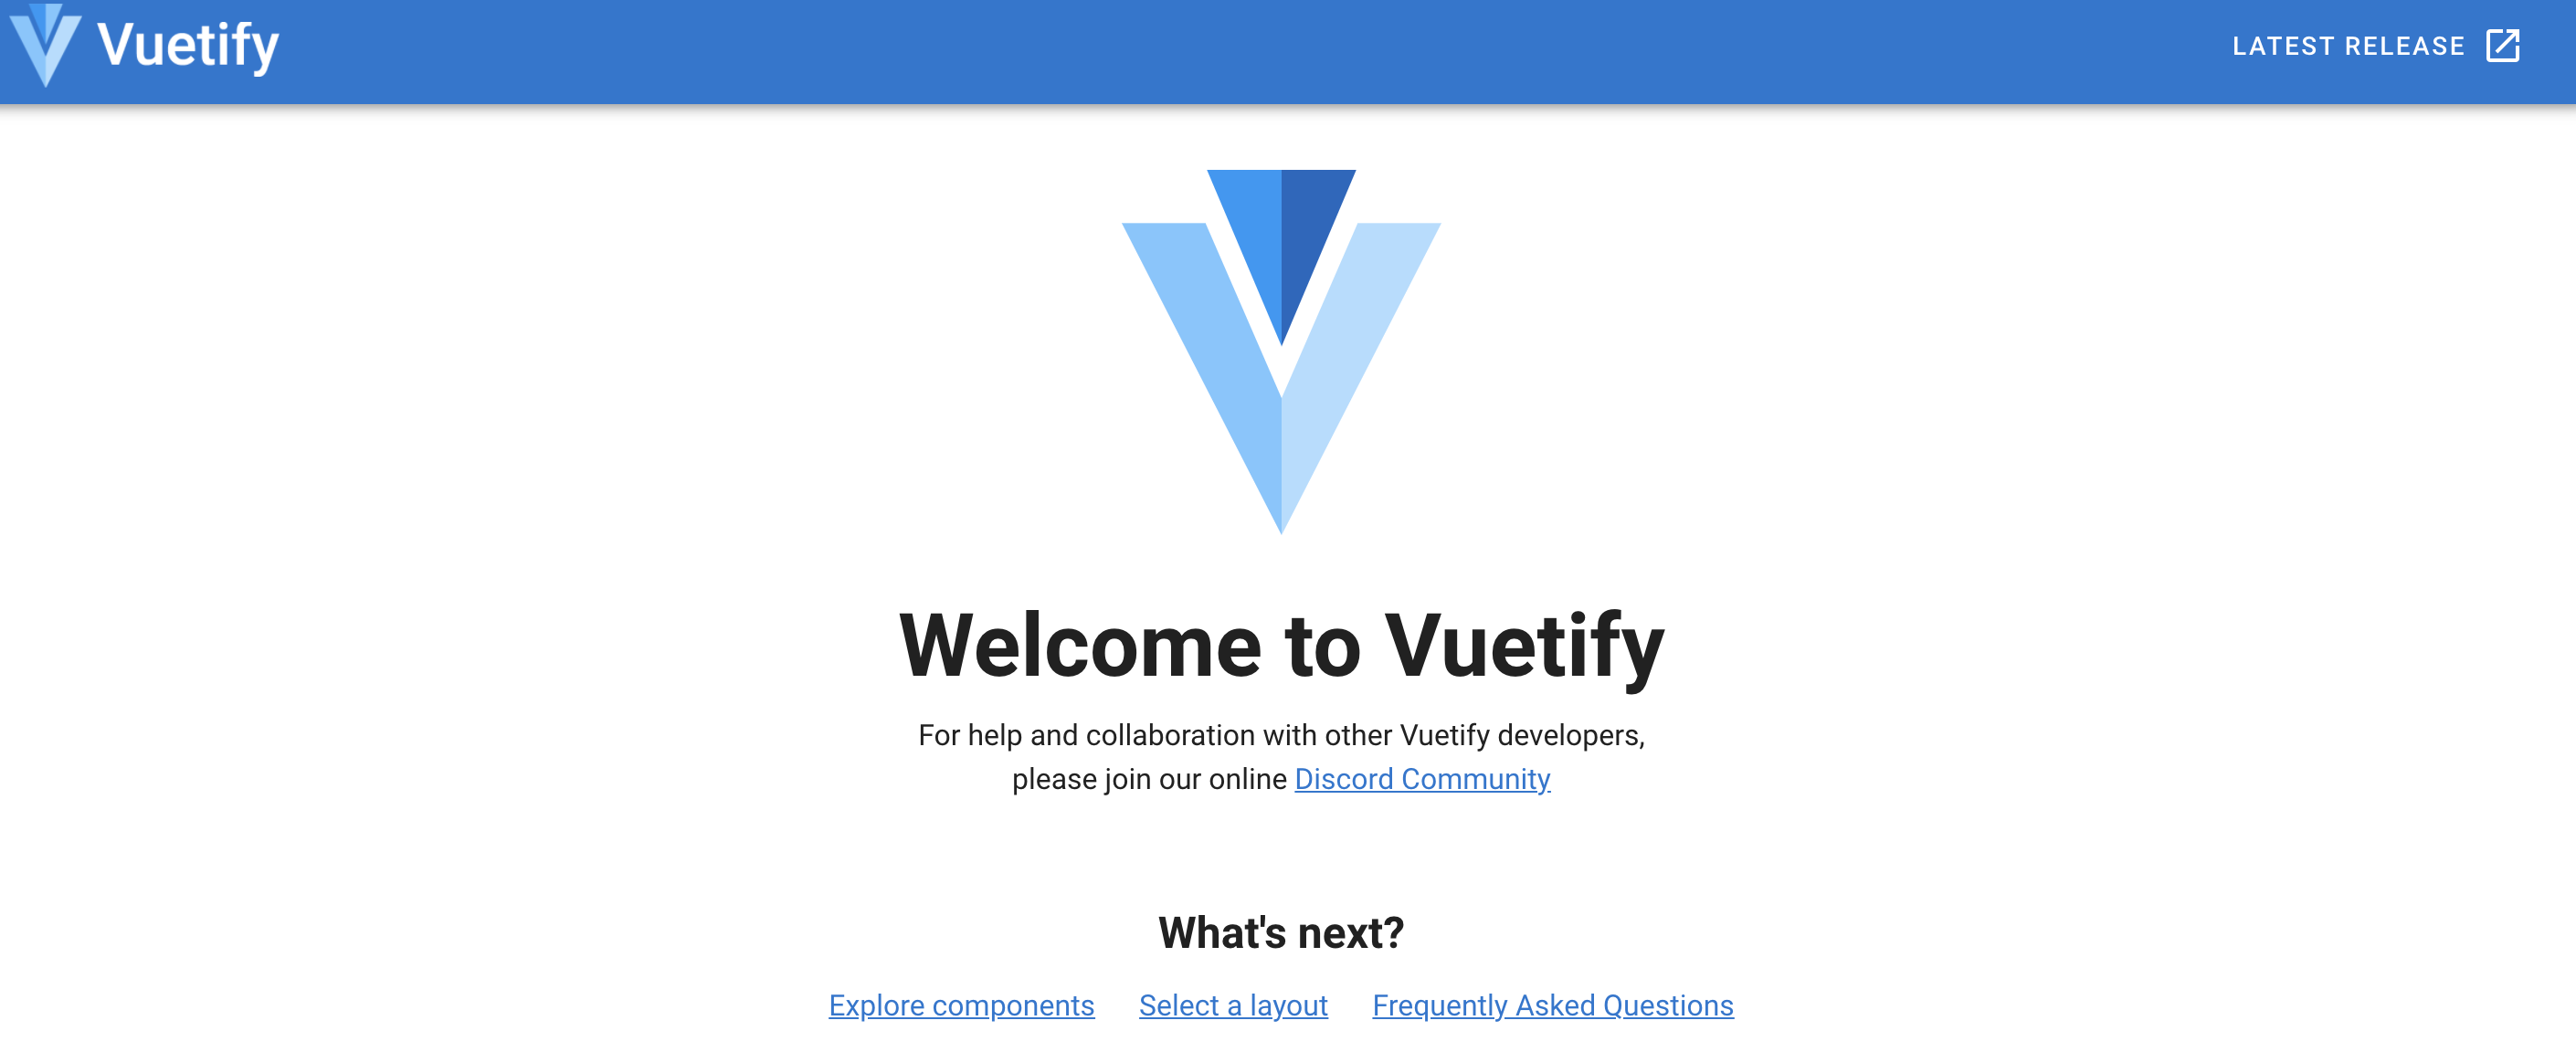
このようにurlが出てくるのでLocalのurlにブラウザでアクセスしてください。

このように表示されていればOKです。
コマンドに戻り、control+cで終了します。
vuetifyの導入
以下のコマンドを実行してください。
vue add vuetify
実行完了したら、もう一度以下のコマンドを実行してください。
npm run serve
導入できていたら以下のように画面が変わっているはずです。
これでvuetifyが使えるようになりました。
デザイン作成
以下の公式サイトにアクセスして始めるをクリック
今回作成もしくは編集するファイルは、以下です。
①コンポーネントを作成しますので、以下のディレクトリ内にファイルを作成していきます。
└── components
    └──HelloWorld.vue
②コンポーネントを呼び出して表示するのでApp.vueは編集します。
└──src
    └──App.vue
<template>
  <v-app>
    <v-app-bar
      app
      color="primary"
      dark
    >
      <div class="d-flex align-center">
        <v-img
          alt="Vuetify Logo"
          class="shrink mr-2"
          contain
          src="https://cdn.vuetifyjs.com/images/logos/vuetify-logo-dark.png"
          transition="scale-transition"
          width="40"
        />

        <v-img
          alt="Vuetify Name"
          class="shrink mt-1 hidden-sm-and-down"
          contain
          min-width="100"
          src="https://cdn.vuetifyjs.com/images/logos/vuetify-name-dark.png"
          width="100"
        />
      </div>

      <v-spacer></v-spacer>

      <v-btn
        href="https://github.com/vuetifyjs/vuetify/releases/latest"
        target="_blank"
        text
      >
        <span class="mr-2">Latest Release</span>
        <v-icon>mdi-open-in-new</v-icon>
      </v-btn>
    </v-app-bar>

    <v-main>
      <HelloWorld/>
    </v-main>
  </v-app>
</template>

<script>
import HelloWorld from './components/HelloWorld';

export default {
  name: 'App',

  components: {
    HelloWorld,
  },

  data: () => ({
    //
  }),
};
</script>
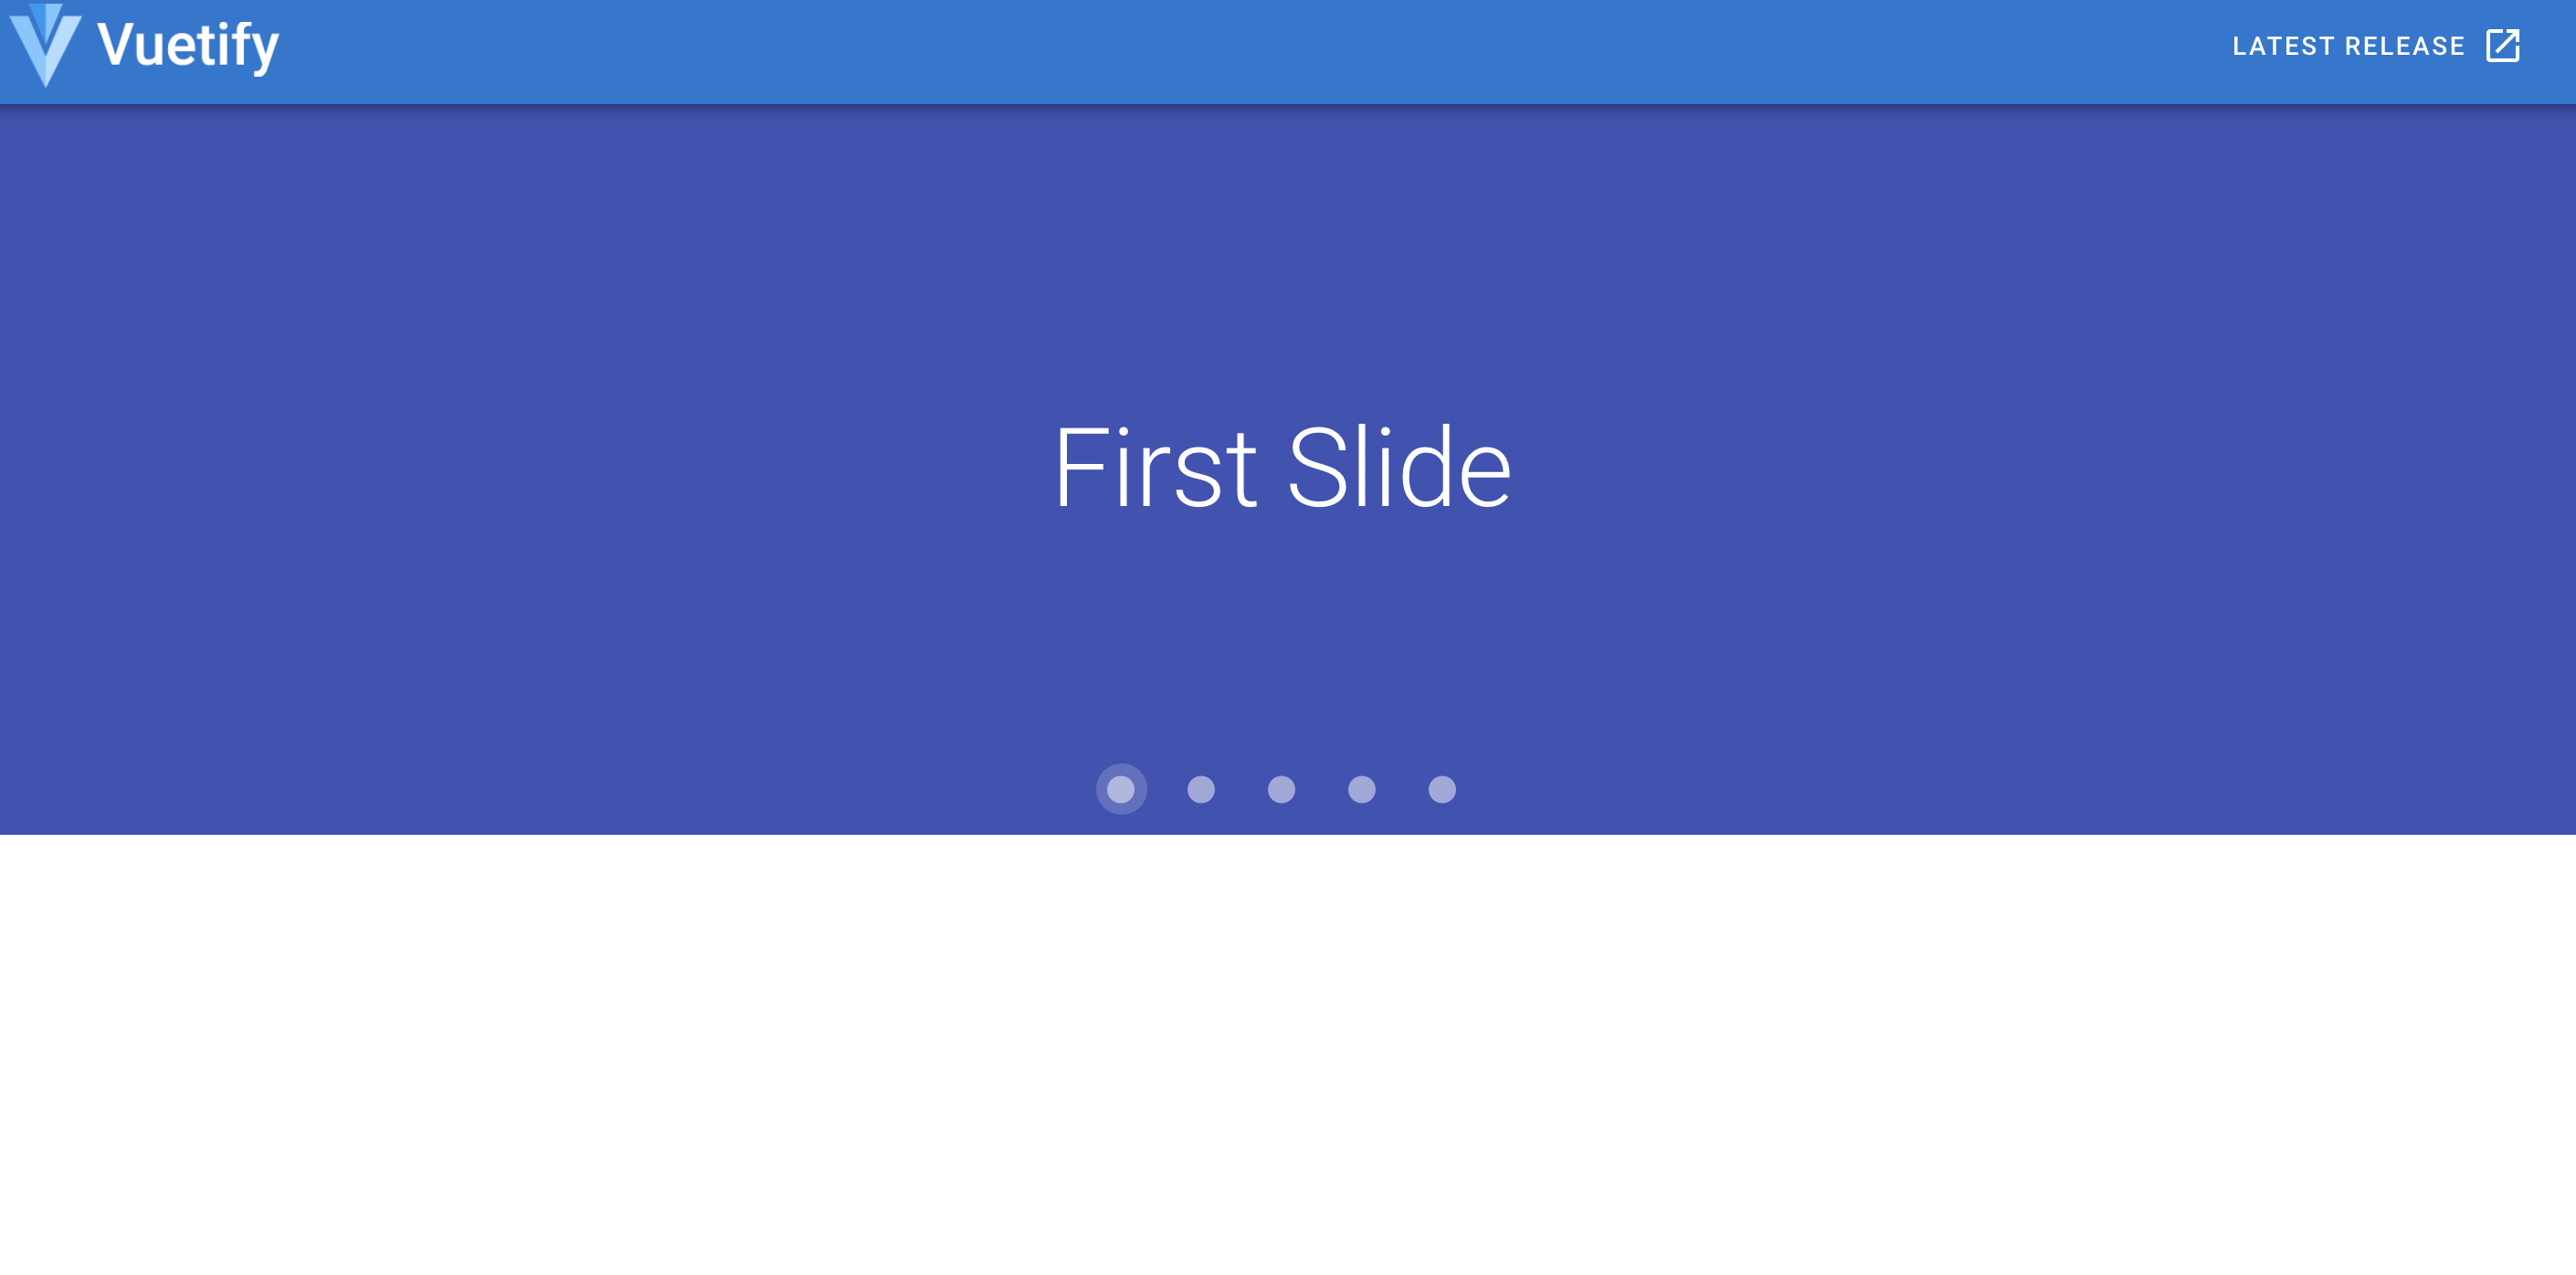
試しにvuetifyからデザインをコピーしてみましょう。
UIコンポーネントのCarouselsから好きなデザインを選んで<>をクリックしてコードをコピーしてHelloWorld.vueに貼り付けてください。
<template>
  <v-carousel cycle height="400" hide-delimiter-background show-arrows-on-hover>
    <v-carousel-item v-for="(slide, i) in slides" :key="i">
      <v-sheet :color="colors[i]" height="100%">
        <v-row class="fill-height" align="center" justify="center">
          <div class="display-3">{{ slide }} Slide</div>
        </v-row>
      </v-sheet>
    </v-carousel-item>
  </v-carousel>
</template>


<script>
export default {
  data() {
    return {
      colors: [
        "indigo",
        "warning",
        "pink darken-2",
        "red lighten-1",
        "deep-purple accent-4"
      ],
      slides: ["First", "Second", "Third", "Fourth", "Fifth"]
    };
  }
};
</script>
ブラウザで見てみると、きちんと表示されていることがわかります。
この容量で、いろいろデザインをパズル形式で埋めていきましょう。
以下のファイルを作成してください。
└── components
    ├── HelloWorld.vue
    ├── Parallax.vue
    ├── Footer.vue
    └── TimeLines.vue
App.vueを編集します。
// 省略
    <v-main>
      <HelloWorld />
       // 追加
      <TimeLines />
      <Parallax />
      <Footer />
    </v-main>
  </v-app>
</template>

<script>
import HelloWorld from "./components/HelloWorld";
// 追加
import TimeLines from "./components/TimeLines";
import Parallax from "./components/Parallax";
import Footer from "./components/Footer";

export default {
  name: "App",

  components: {
    HelloWorld,
    // 追加
    Parallax,
    TimeLines,
    Footer
  },
// 省略
次にそれぞれのコンポーネントファイルにコードをvuetifyからコピーして貼り付けていきます。
<template>
  <v-timeline>
    <v-timeline-item>timeline item</v-timeline-item>
    <v-timeline-item class="text-right">timeline item</v-timeline-item>
    <v-timeline-item>timeline item</v-timeline-item>
    <v-timeline-item class="text-right">timeline item</v-timeline-item>
    <v-timeline-item>timeline item</v-timeline-item>
    <v-timeline-item class="text-right">timeline item</v-timeline-item>
    <v-timeline-item>timeline item</v-timeline-item>
  </v-timeline>
</template>
<template>
  <v-parallax dark src="https://cdn.vuetifyjs.com/images/backgrounds/vbanner.jpg">
    <v-row align="center" justify="center">
      <v-col class="text-center" cols="12">
        <h1 class="display-1 font-weight-thin mb-4">Vuetify</h1>
        <h4 class="subheading">Build your application today!</h4>
      </v-col>
    </v-row>
  </v-parallax>
</template>
<template>
  <v-footer dark padless>
    <v-card flat tile class="indigo lighten-1 white--text text-center">
      <v-card-text>
        <v-btn v-for="icon in icons" :key="icon" class="mx-4 white--text" icon>
          <v-icon size="24px">{{ icon }}</v-icon>
        </v-btn>
      </v-card-text>

      <v-card-text
        class="white--text pt-0"
      >Phasellus feugiat arcu sapien, et iaculis ipsum elementum sit amet. Mauris cursus commodo interdum. Praesent ut risus eget metus luctus accumsan id ultrices nunc. Sed at orci sed massa consectetur dignissim a sit amet dui. Duis commodo vitae velit et faucibus. Morbi vehicula lacinia malesuada. Nulla placerat augue vel ipsum ultrices, cursus iaculis dui sollicitudin. Vestibulum eu ipsum vel diam elementum tempor vel ut orci. Orci varius natoque penatibus et magnis dis parturient montes, nascetur ridiculus mus.</v-card-text>

      <v-divider></v-divider>

      <v-card-text class="white--text">
        {{ new Date().getFullYear() }} —
        <strong>Vuetify</strong>
      </v-card-text>
    </v-card>
  </v-footer>
</template>


<script>
export default {
  data: () => ({
    icons: ["mdi-facebook", "mdi-twitter", "mdi-linkedin", "mdi-instagram"]
  })
};
</script>
コードの記述完了したらブラウザで見てみましょう。
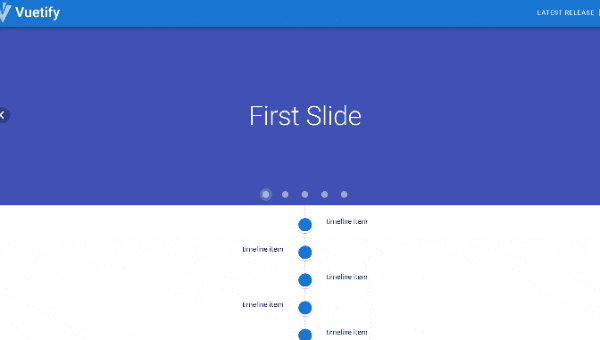
これで完成です。他にもUIコンポーネントはあるのでいろいろ試されたい方はやってみてください。
firebaseでホスティングする
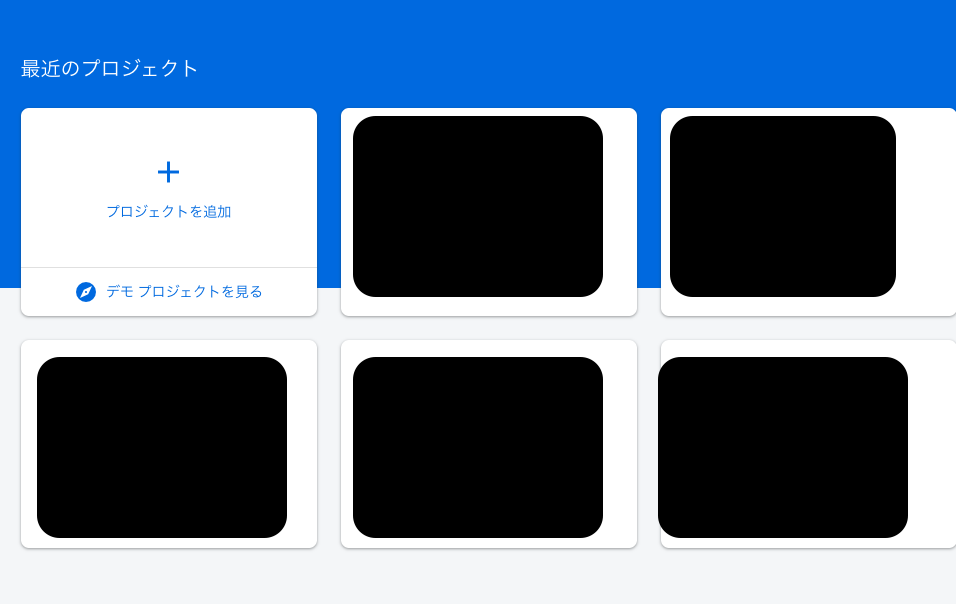
firebaseでプロジェクトの追加ボタンを押してください。
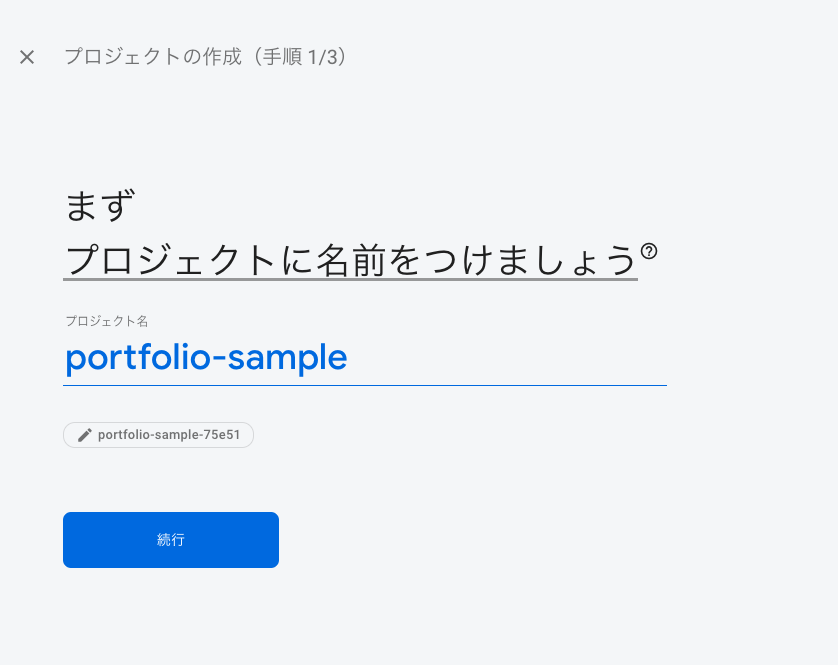
次にプロジェクト名を記入して次へ
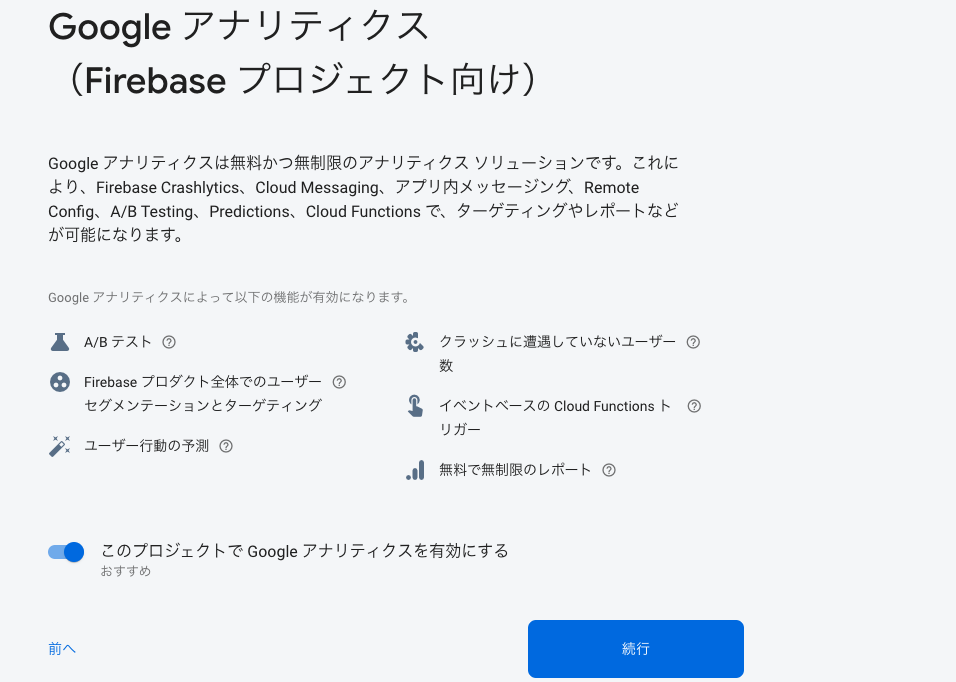
特に変更することはないので続行

アカウントを選択してプロジェクトを作成してください。
完了したら、ターミナルへ移動します。(vscodeなどの)
以下のコマンドを実行してください。
npm install -g firebase-tools
firebaseにログインします。
firebase login
ログイン完了後、以下のコマンドを実行します。
firebase init

- Hostingをスペースキーで選択し、エンター
- What do you want to use as your public directory?と聞かれるので dist と書いてエンター
- yを入力
- githubはnoで大丈夫です。
完了したらビルドします。
npm run build
ビルドが完了したら、以下のコマンドを実行してデプロイをします。
firebase deploy
デプロイ完了しました。
参考までに、ホスティングしたサイトです。
https://sample-app-88fe0.web.app/