はじめに
オンライン研修やオンライン会議の時に、動画共有されたことありますか?
そんな時に、動画開始!と参加者に伝えるための、ONAIRをobnizでつくりました。
イメージはこちら。

つくったもの
まずはこちらをご覧ください。
obnizでON AIRをつくってみました。
— 柳瀬浩之@人材開発×UX専門家 (@btap_hiro) August 12, 2020
オンライン会議やオンライン研修の動画共有の時に、ZOOMの自分の画面に表示させようかな。#protoout #obniz #動画配信 #オンライン会議 #オンライン研修 pic.twitter.com/FHhT5zUb47
シンプルです。
ZOOMなどで動画共有を開始したタイミングで、自分の画面にobnizを登場させ、ON AIR中であることを知らせるものです。
別パターンとして、手作りのON AIRもつくってみました。
もっとオシャレなもので作るといいですね。

準備するもの
・obniz
・フルカラーLED
・PCとobnizを繋ぐコード
・スマホ
・PC
使い方
1. obnizを起動させ、フルカラーLEDと接続する
obnizとフルカラーLEDの接続の仕方

長さに注目ください。
微妙に少しずつ長さが異なりますので、しっかり確認いただき、
obnizの番号が書いてある所に、同じ番号を差し込んでください。
2. 以下にスマホでアクセスする。(PCも可)
3. 自分のobnizのIDを入力する。

4. ON , OFFを押す

作り方
<!DOCTYPE html>
<html>

<head>
    <meta charset="UTF-8" />
    <meta name="viewport" content="width=device-width, initial-scale=1" />
    <script src="https://unpkg.com/obniz@3.x/obniz.js"
            crossorigin="anonymous"></script>
    <script src="https://code.jquery.com/jquery-3.4.1.js"
            integrity="sha256-WpOohJOqMqqyKL9FccASB9O0KwACQJpFTUBLTYOVvVU="
            crossorigin="anonymous"></script>
    <link rel="stylesheet" href="https://stackpath.bootstrapcdn.com/bootstrap/4.1.0/css/bootstrap.min.css"
        integrity="sha384-9gVQ4dYFwwWSjIDZnLEWnxCjeSWFphJiwGPXr1jddIhOegiu1FwO5qRGvFXOdJZ4"
        crossorigin="anonymous" />

    <title>Button to Led</title>
</head>

<body>
    <h2 class="text-center" style="margin:40px">LED ON / OFF</h2>
    <div id="onoff-buttons" class="text-center">
        <button id="on" type="button" class="btn btn-primary">ON</button>
        <button id="off" type="button" class="btn btn-secondary" disabled>
            OFF</button><br />
    </div>

<script>

    // 公式サイトより挿入
    $(() => {
        let obniz = new Obniz("OBNIZ_ID_HERE");
        obniz.onconnect = async () => {
            const rgbled = obniz.wired('WS2811', { gnd: 0, vcc: 1, din: 2 });

            rgbled.rgb(0, 0, 0);
            $("#on").click(e => {
                obniz.display.clear();  // 一旦クリアする
                obniz.display.font('Avenir', 30)
                obniz.display.print('ON AIR!!');
                rgbled.rgb(255, 0, 0);
                $("#on").prop("disabled", true);
                $("#off").prop("disabled", false);
            });
            $("#off").click(e => {
                obniz.display.clear();
                obniz.display.font('Avenir', 18)
                obniz.display.print('LED OFF');
                rgbled.rgb(0, 0, 0);
                $("#on").prop("disabled", false);
                $("#off").prop("disabled", true);
            });
        };
    });
</script>

</body>

</html>
まとめ
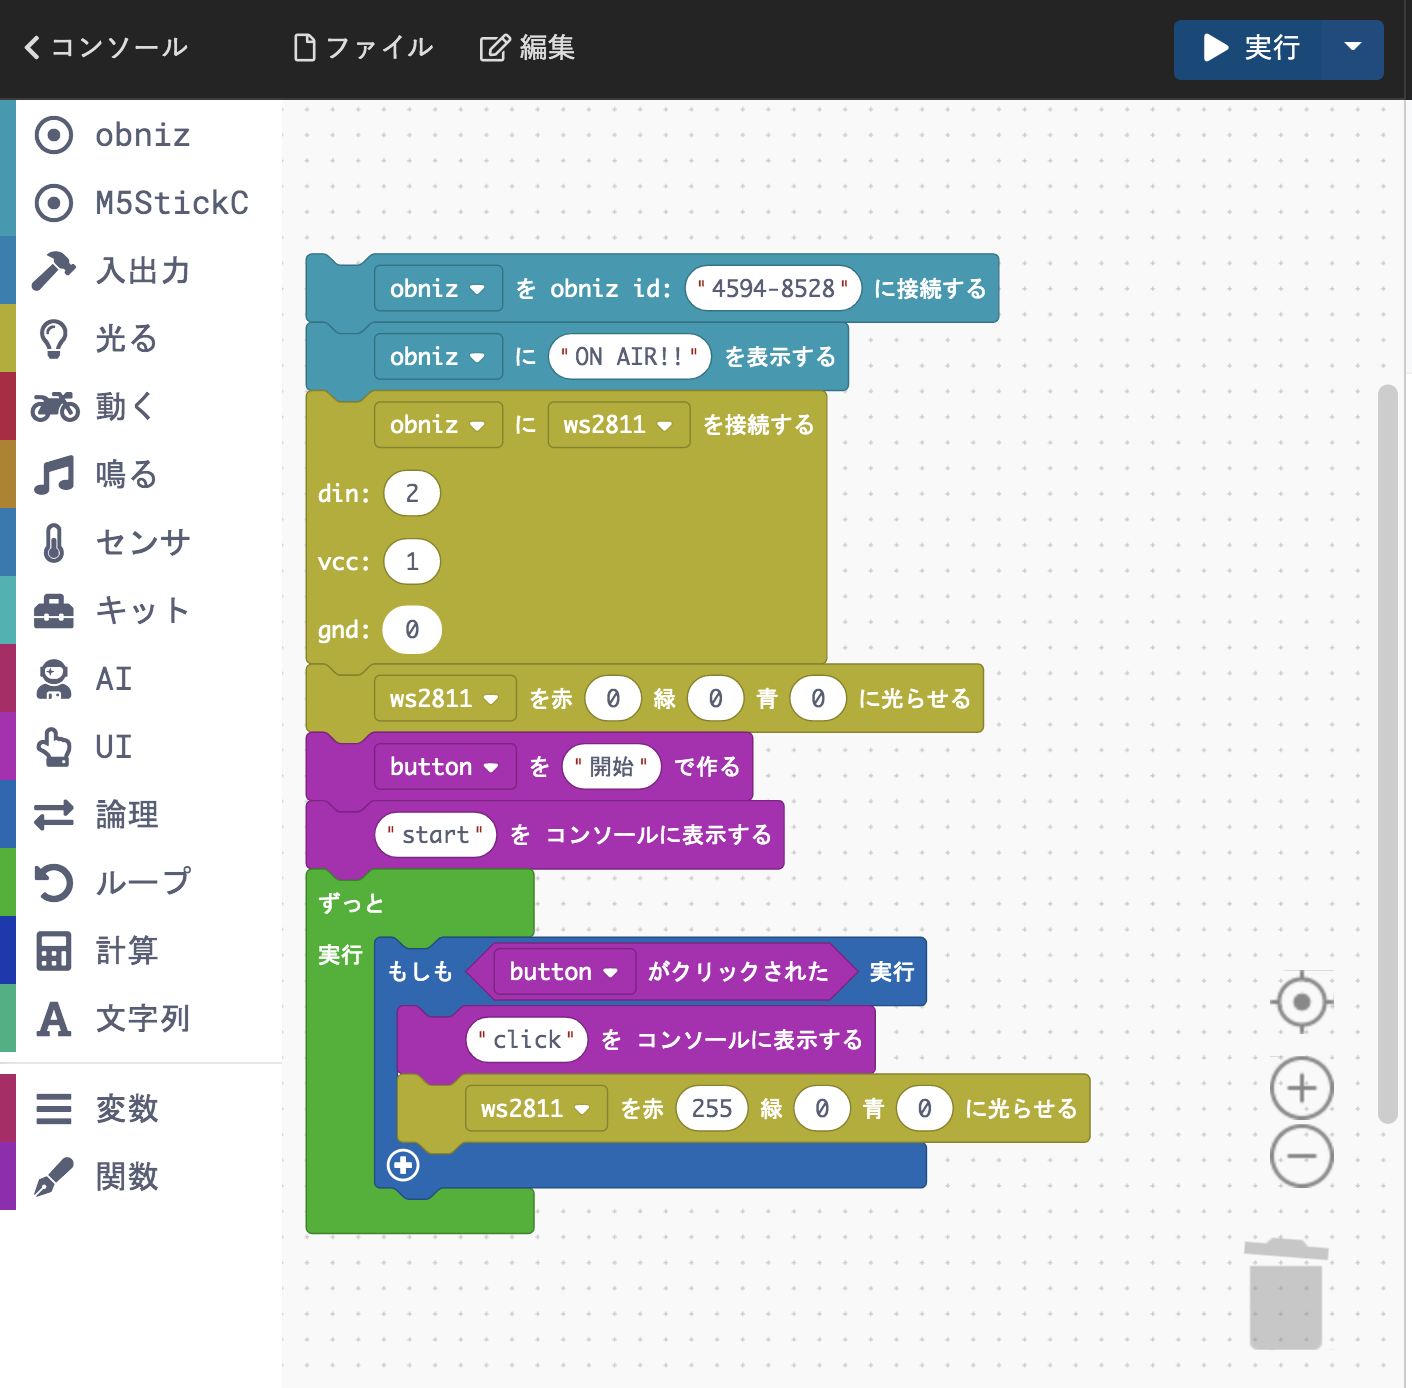
Javascriptを書かなくても、
公式ページには、以下のようなビジュアルプログラミングができるツールが
用意されています。(私は最初これで作りました。)

これでも十分動きます。
ただ、より自由度を高めようと思うと、今回のようにJavascriptでつくるのが良いかなと思い、今回作ってみました。
お試しください。