株式会社やどかりのカイノと申します。
12/1に担当して、2回目で12/15のアドベントカレンダーを担当します。
やどかり&ネッコス Advent Calendar 2021の15日目を担当させていただきます。
明日はイグっちゃんです![]()
はじめに
前回かいた記事ではLaravelとポケモンAPIを使って図鑑を作りました。
http://13.115.177.152/
上記にAWS上でサーバアップもしました。
今回はそれを使ってKotlinでAndroidスマホ画面に図鑑を表示するまでをやっていこうと思います。
使用言語
Laravel 6.20
kotlin
出来上がりの動画
今回の内容でこのようになりました。
898匹分の図鑑をAndroid端末で確認できています。
今回やったこと
1.Laravelアプリ側でAPI作成
2.RetrofitでAPIと繋ぎ込み
3.RecyclerViewで1匹ずつ画面に表示
Laravelアプリ側でAPI作成
まずルーティングの設定
// API用ルーティング
Route::get('/get_pokemons', 'PokemonController@get_pokemons');
コントローラで処理記述
DBには前回の記事で行った内容で保存できているので取ってくるだけです。
<?php
namespace App\Http\Controllers;

use Illuminate\Http\Request;
use App\Models\Pokemon;

class PokemonController extends Controller
{
    public function get_pokemons ()
    {
        $pokemons = Pokemon::all();
        $pokemons = (array)$pokemons;
        $pokemons = array_values($pokemons)[0];

        echo json_encode($pokemons);
        exit();
    }
}
解説1 : Pokemon:all()でテーブルから全てのPokemonを取得
解説2 : 配列に変換しarray_valuesで採番し直す
解説3 : json_encode()でJSONに変換して出力する
RetrofitでAPIと繋ぎ込み
ここからはKotlin側の実装です。
1.gradleとManifest
build.gradleに以下のライブラリを追加
    // retrofit
    implementation 'com.squareup.retrofit2:retrofit:2.7.0'
    implementation 'com.squareup.retrofit2:converter-gson:2.7.0'
今回ネットワークを利用した通信なのでAndroidManifestに以下を記入
  <uses-permission android:name="android.permission.INTERNET" />
  <uses-permission android:name="android.permission.ACCESS_NETWORK_STATE" />
2.interface
今回は HTTP の GET メソッドを使うため@GET をつけました。
interface API_Interface {
    @get:GET("/get_pokemons")
    val pokemons: Call<List<Pokemon>>
}
3.Model
APIから取り出したいデータを格納するデータクラス
まーこんなには今回使わないんですけどLaravelアプリ側で送っている値を一旦全部かきました。
class Pokemon {
    var id: Int? = null
    var p_id: Int? = null
    var jp_name: String? = null
    var en_name: String? = null
    var type1: String? = null
    var type2: String? = null
    var ability1: String? = null
    var ability2: String? = null
    var hidden_ability: String? = null
    var hp: Int? = null
    var attack: Int? = null
    var defense: Int? = null
    var special_attack: Int? = null
    var special_defense: Int? = null
    var speed: Int? = null
    var total_stats: Int? = null
    var front_default: String? = null
    var back_default: String? = null
    var dream_world_front_default: String? = null
    var home_front_default: String? = null
    var official_artwork_front_default: String? = null
    var height: Int? = null
    var weight: Int? = null
}
4.呼び出し
今回はMainActivityでretrofitを使ってリクエストします。
        val retro = Retrofit.Builder()
            .baseUrl("http://13.115.177.152/")
            .addConverterFactory(GsonConverterFactory.create())
            .build()

        val service = retro.create(API_Interface::class.java)
        val pokemons: Call<List<Pokemon>> = service.pokemons
ここまででRetrofitで呼び出しは完了
RecyclerViewで1匹ずつ画面に表示
1.gradle
RecyclerViewを使用するためのライブラリを追加
    // recyclerview
    implementation 'androidx.recyclerview:recyclerview:1.2.1'
    implementation "androidx.recyclerview:recyclerview-selection:1.1.0"
2. 1行分のレイアウトを作成
<?xml version="1.0" encoding="utf-8"?>
<LinearLayout
    xmlns:android="http://schemas.android.com/apk/res/android"
    android:layout_width="match_parent"
    android:layout_height="wrap_content"
    android:background="#000000"
    android:padding="4dp">

  <ImageView
      android:id="@+id/front_default"
      android:layout_width="60dp"
      android:layout_height="match_parent" />

  <LinearLayout
      android:layout_width="0dp"
      android:layout_height="wrap_content"
      android:layout_weight="1"
      android:orientation="vertical"
      android:layout_marginStart="16dp">

    <TextView
        android:id="@+id/p_id"
        android:textColor="#64CE6C"
        android:textSize="14sp"
        android:layout_width="match_parent"
        android:layout_height="wrap_content"
        android:layout_marginBottom="4dp" />

    <TextView
        android:id="@+id/type1"
        android:textColor="#64CE6C"
        android:textSize="14sp"
        android:layout_width="match_parent"
        android:layout_height="wrap_content" />

    <TextView
        android:id="@+id/type2"
        android:textColor="#64CE6C"
        android:textSize="14sp"
        android:layout_width="match_parent"
        android:layout_height="wrap_content" />

    <TextView
        android:id="@+id/jp_name"
        android:textColor="#64CE6C"
        android:textSize="14sp"
        android:layout_width="match_parent"
        android:layout_height="wrap_content" />
  </LinearLayout>
</LinearLayout>
3. 1行分のデータモデルを設定
data class PokemonRow(
    var p_id: Int?,
    var jp_name: String?,
    var type1: String?,
    var type2: String?,
    var front_default: String?
)
4.ViewHolderとAdapterの定義
class CustomAdapter(private val pokemonRowList: ArrayList<PokemonRow>): RecyclerView.Adapter<CustomAdapter.ViewHolder>() {

    // Viewの初期化
    class ViewHolder(view: View) : RecyclerView.ViewHolder(view) {
        val p_id: TextView
        val jp_name: TextView
        val type1: TextView
        val type2: TextView
        val front_default: ImageView

        init {
            p_id = view.findViewById(R.id.p_id)
            jp_name = view.findViewById(R.id.jp_name)
            type1 = view.findViewById(R.id.type1)
            type2 = view.findViewById(R.id.type2)
            front_default = view.findViewById(R.id.front_default)
        }
    }

    // レイアウトの設定
    override fun onCreateViewHolder(viewGroup: ViewGroup, viewType: Int): ViewHolder {
        val view = LayoutInflater.from(viewGroup.context).inflate(R.layout.list_item, viewGroup, false)
        return ViewHolder(view)
    }

    // Viewの設定
    override fun onBindViewHolder(viewHolder: ViewHolder, position: Int) {
        val pokemon = pokemonRowList[position]

        viewHolder.p_id.text = "No."+pokemon.p_id.toString()
        viewHolder.jp_name.text = pokemon.jp_name
        viewHolder.type1.text = pokemon.type1
        viewHolder.type2.text = pokemon.type2
        var front_default = pokemon.front_default
        Picasso.get()
            .load(front_default)
            .resize(300, 300) //表示サイズ指定
            .centerCrop() //resizeで指定した範囲になるよう中央から切り出し
            .into(viewHolder.front_default) //imageViewに流し込み
    }
}
CustomAdapter.kt内で、ViewHolderは、1行分のレイアウト情報を定義する。
onCreateViewHolderメソッドで設定したレイアウトに対応するViewを初期化。
onBindViewHolderメソッドで1行ごとにこのメソッドは呼び各Viewの詳細設定を行います。
5.Picassoでweb上の画像を表示
Laravelアプリから送られてくるfront_defaultなどの画像用のパラメータは全てURLで定義されているため、これを画像に変換できるPicassoをAdapter内のonBindViewHolderでレイアウト1行ごとに実行。
    //for picasso
    implementation 'com.squareup.picasso:picasso:2.71828'
        Picasso.get()
            .load(front_default)
            .resize(300, 300) //表示サイズ指定
            .centerCrop() //resizeで指定した範囲になるよう中央から切り出し
            .into(viewHolder.front_default) //imageViewに流し込み
6.Activityで呼び出し
        pokemons.enqueue(object : Callback<List<Pokemon>> {
            override fun onResponse(call: Call<List<Pokemon>>, response: Response<List<Pokemon>>) {

                if (response.isSuccessful) {
                    response.body()?.let {
                        for (item in it) {
                            val data: Pokemon = Pokemon().also {
                                it.id = item.id
                                it.p_id = item.p_id
                                it.jp_name = item.jp_name
                                it.en_name = item.en_name
                                it.type1 = item.type1
                                it.type2 = item.type2
                                it.ability1 = item.ability1
                                it.ability2 = item.ability2
                                it.hidden_ability = item.hidden_ability
                                it.hp = item.hp
                                it.attack = item.attack
                                it.defense = it.defense
                                it.special_attack = item.special_attack
                                it.special_defense = item.special_defense
                                it.speed = item.speed
                                it.front_default = item.front_default
                                it.back_default = item.back_default
                                it.dream_world_front_default = item.dream_world_front_default
                                it.home_front_default = item.home_front_default
                                it.official_artwork_front_default = item.official_artwork_front_default
                                it.height = item.height
                                it.weight = item.weight
                            }
                            Log.d("kkk","it.pid:"+data.p_id)
                            Log.d("kkk","it.jp_name:"+data.jp_name)
                            Log.d("kkk","it.front_default:"+data.front_default)
                            pokemonList.add(data)
                            val p = PokemonRow(data.p_id, data.jp_name, data.type1, data.type2, data.front_default)
                            mPokemonList.add(p)
                        }

                        Log.d("kkk", "mPokemonList:"+mPokemonList)

                        // RecyclerViewの取得
                        val recyclerView = findViewById<RecyclerView>(R.id.recycler_view)

                        // LayoutManagerの設定
                        recyclerView.layoutManager = GridLayoutManager(this@MainActivity, 2)

                        // CustomAdapterの生成と設定
                        mAdapter = CustomAdapter(mPokemonList)
                        recyclerView.adapter = mAdapter
                    }
                } else {
                   // 例外処理 今回は考慮しない
                }
            }
            override fun onFailure(call: Call<List<Pokemon>>, t: Throwable) {
                Log.d("kkk","onFailure:"+t.message)
            }
        })
APIからレスポンスで受け取った値を各パラメータに格納し
GridLayoutManagerで今回は2列表示させる。
結果このようになります
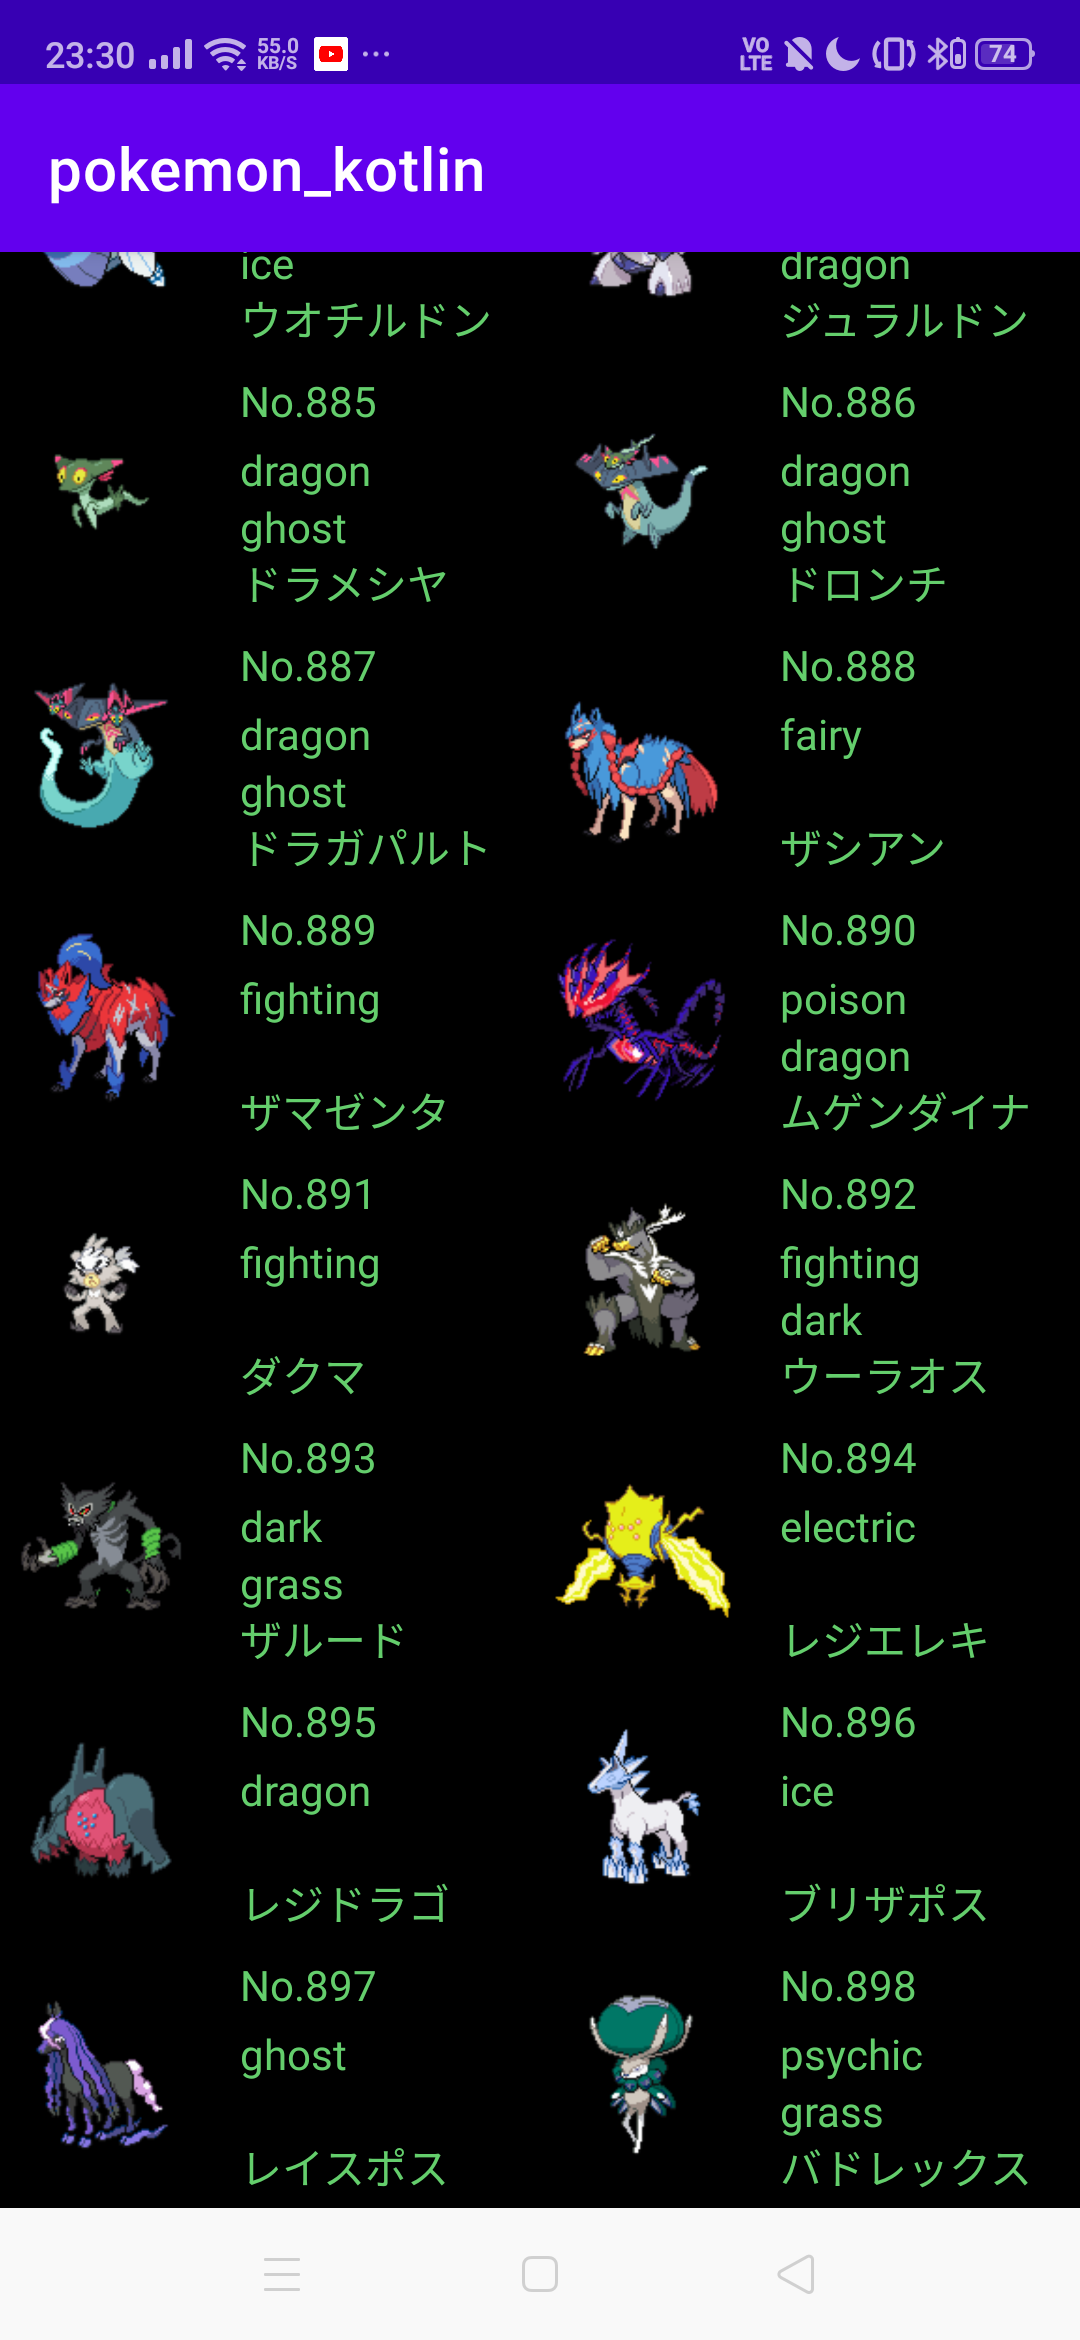
どうでもいいけどドラパルトがドラガパルドになってました。
終わり
RetrofitもRecyclerViewも今年は結構お世話になったので復習の良い機会になりました。
Android関連はのことはまだまだ未熟で今後も勉強続けていきます!
年末年始の暇な時にまた色々と触ってみようと思います。
近頃寒くなってきましたね。みなさん風邪などひかないように!
体調管理しっかりして元気に新年を迎えていきましょーや。