タイトルの通りです。今回はLinuxからWindowsに向けて公開鍵で認証してSSH接続を実施します。
実施目的
LinuxからWindowに鍵認証でログインする
(パスワードを入力しない)
OSが混在している環境でLinuxからWindows上のbatファイルを実行したい場合などに利用できるかと存じます。ただ、sshは公式でも明言されている通り、正式リリースではなくテストリリースであるとのことです。
対象OS
・Windows Server 2012 R2(以下Windows)
・CentOS 7.2(以下Linux)
手順
Windows版のOpenSSHを利用します。
本記事時点での最新バージョンは2016/11頭に公開された「v0.0.3.0」です。
公式からファイルをDL
https://github.com/PowerShell/Win32-OpenSSH/releases
→2012 R2なので「OpenSSH-Win64.zip」を利用する
手順は公式のWIKIに沿って進める
https://github.com/PowerShell/Win32-OpenSSH/wiki/Install-Win32-OpenSSH
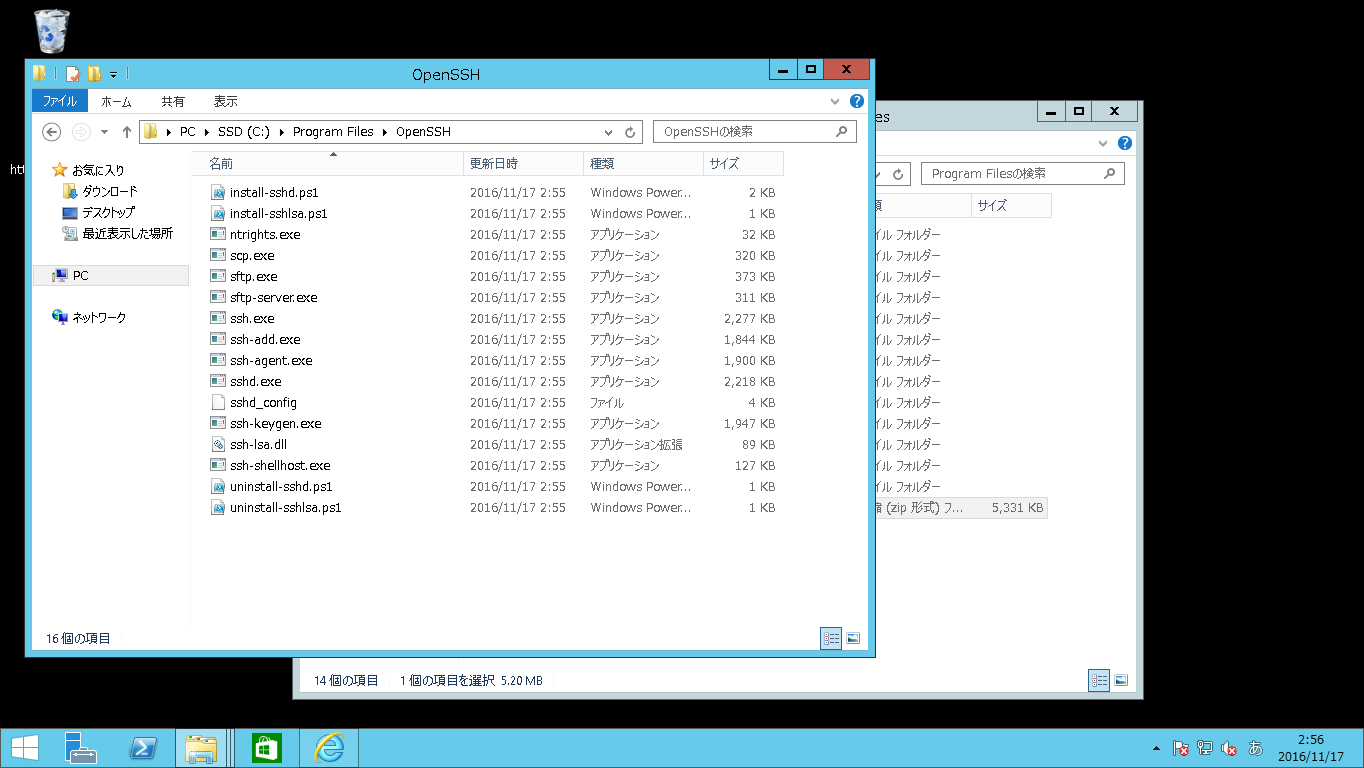
まずはファイルをDLして、配置する
(配置するパスは、公式に合わせないとうまく動かない事象があるようです)
管理者権限でpowershellを起動して、インストールコマンド実行
cd 'C:\Program Files\OpenSSH'
powershell -executionpolicy bypass -file install-sshd.ps1

鍵作成
.\ssh-keygen.exe -A
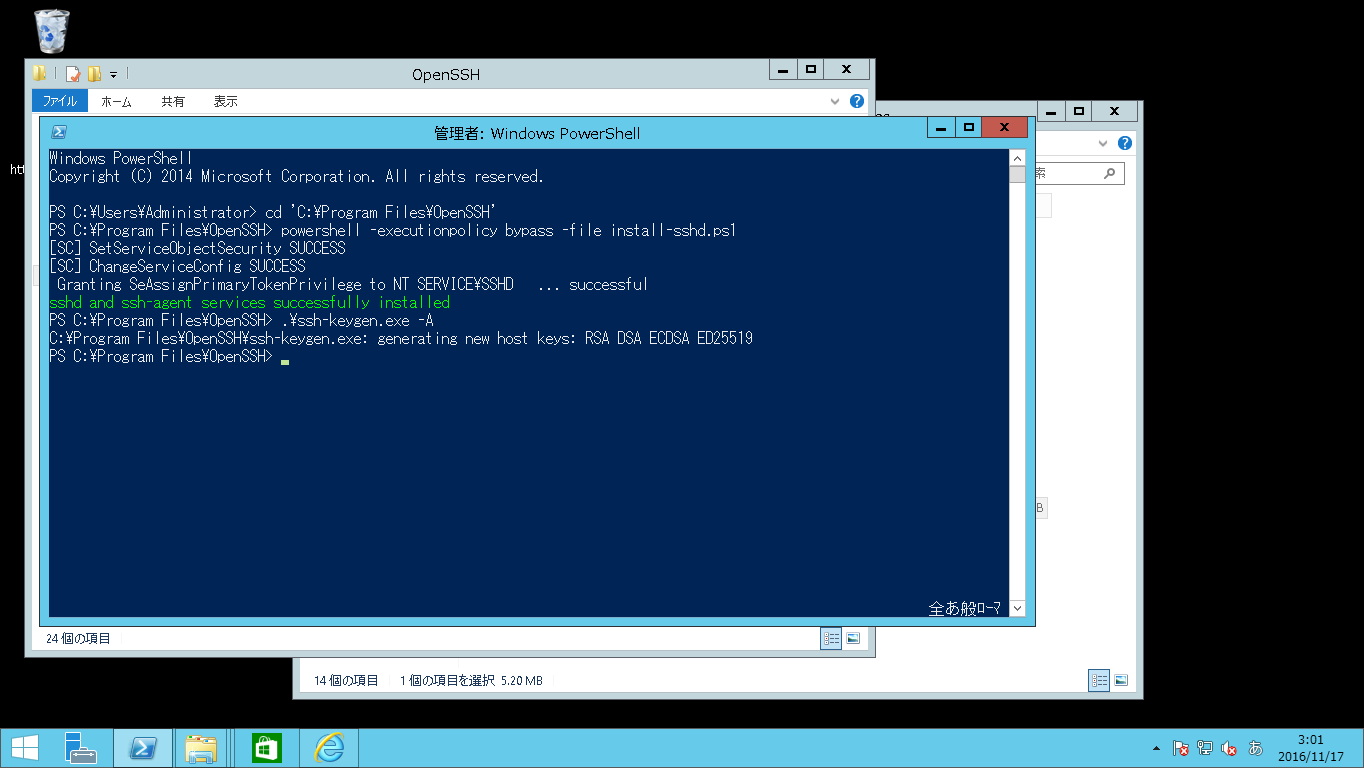
C:\Program Files\OpenSSH以下にファイルが作成されました。
公式の「6.Secure SSH host keys (optional) 」は今回省略します。
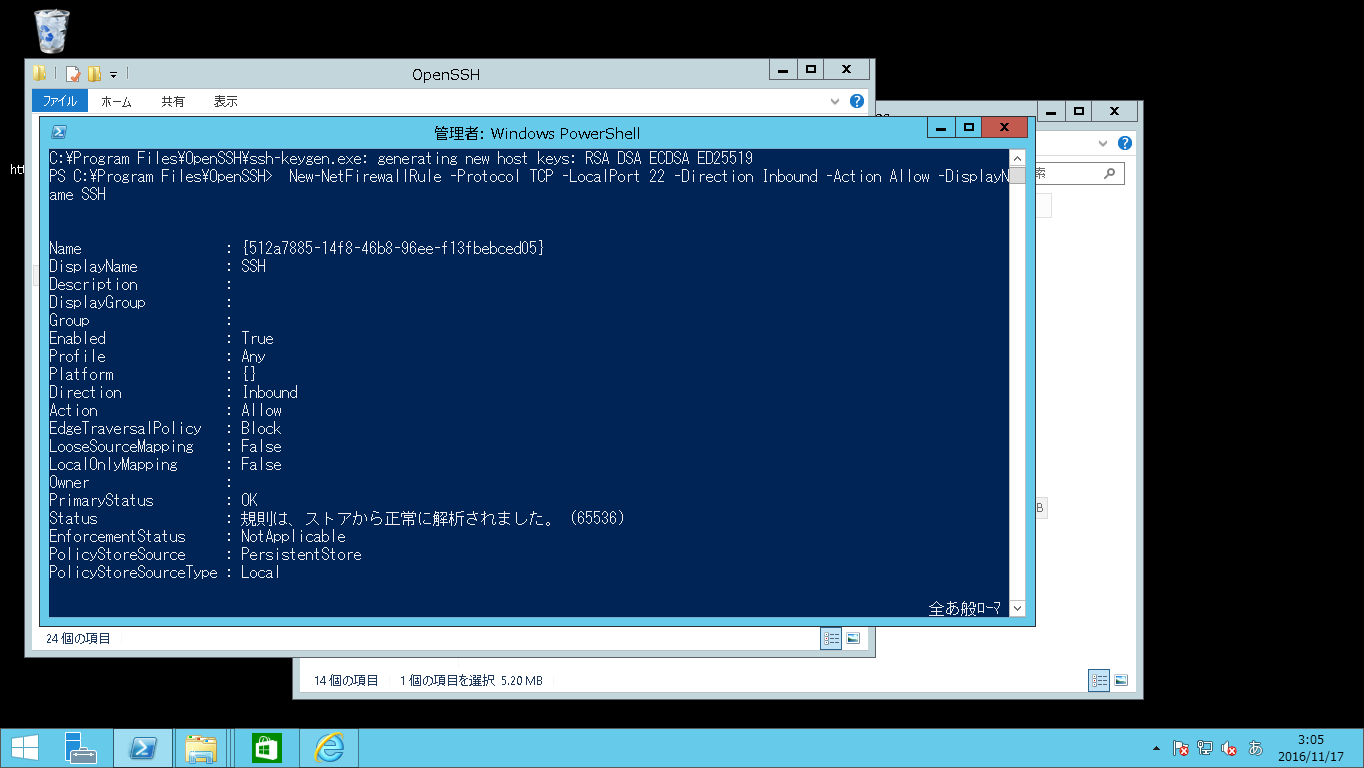
FWのポートを開ける
New-NetFirewallRule -Protocol TCP -LocalPort 22 -Direction Inbound -Action Allow -DisplayName SSH
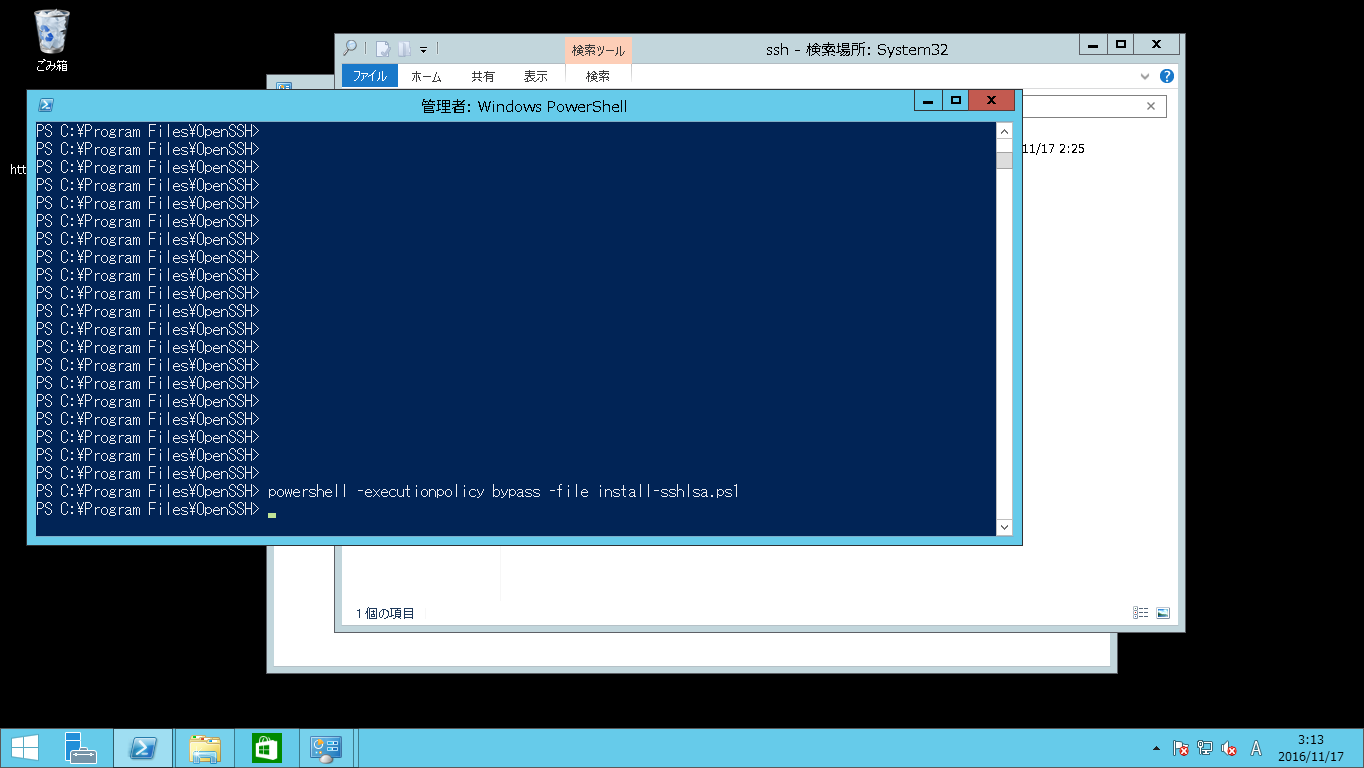
鍵認証関連機能(?)のインストール
powershell -executionpolicy bypass -file install-sshlsa.ps1
OSの再起動実施
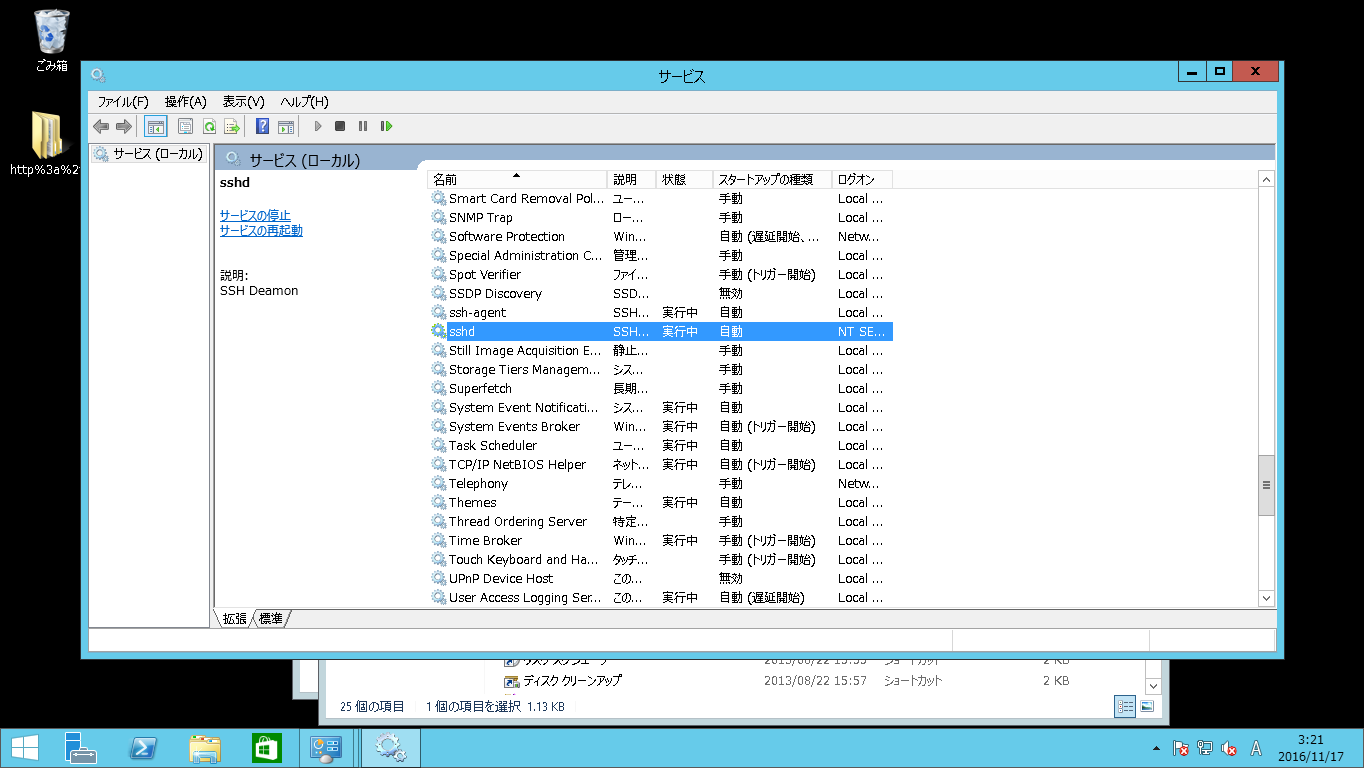
再起動時にsshが上がるようサービスの設定追加
Set-Service sshd -StartupType Automatic
Set-Service ssh-agent -StartupType Automatic
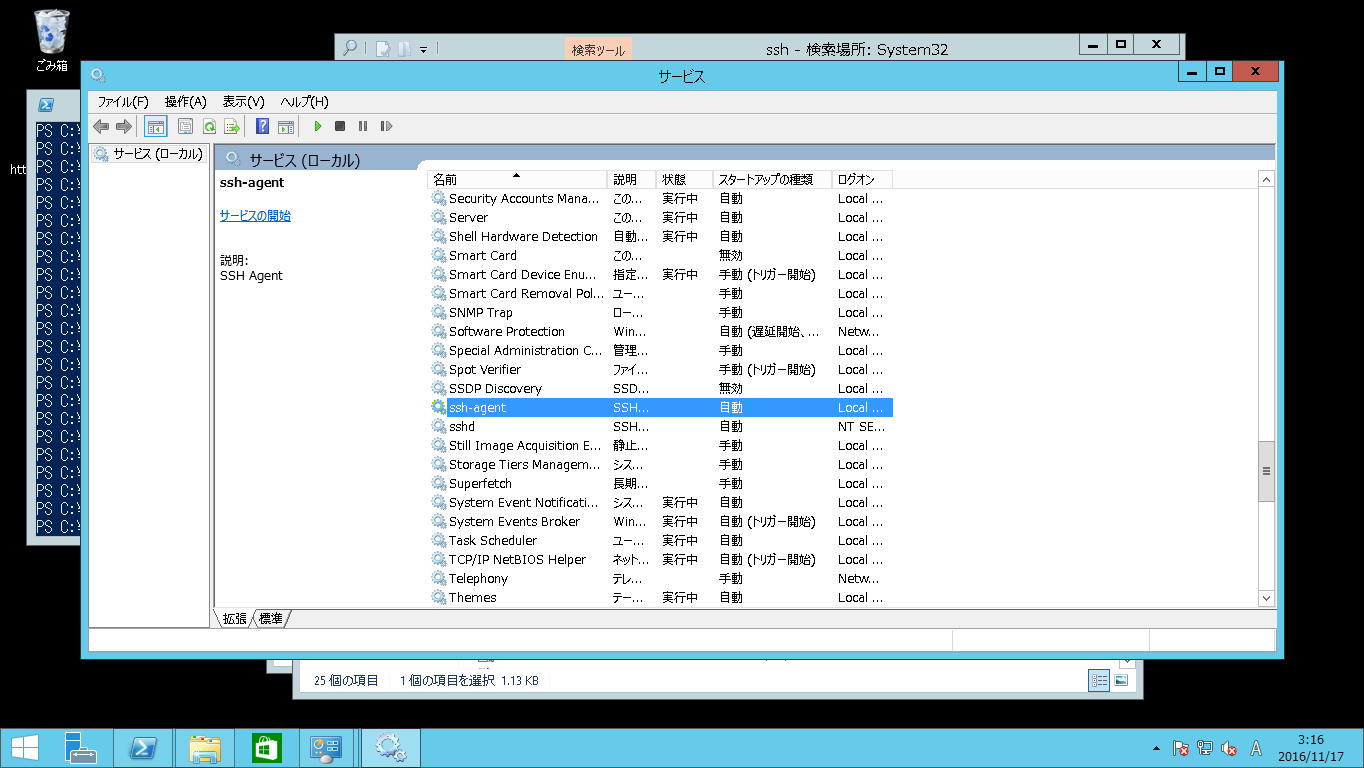
手順では、SSH Server Onlyとなっていて、実施しておくべきと投稿にもあったので実施しておく。powershellのコマンドはきちんと勉強しておきたい。。
netsh advfirewall firewall add rule name='SSH Port' dir=in action=allow protocol=TCP localport=22
では、Windows側のsshd,ssh-agentを開始してlinux側から接続してみます。
Linux側
$ ssh Administrator@hostname
Administrator@WIN-M61C3KETVII C:\Users\Administrator>
Administrator@WIN-M61C3KETVII C:\Users\Administrator> mkdir .ssh
接続できました。ついでに鍵を格納するフォルダを作成しておきます。では本題の鍵認証に進みます。まずは、Linux側で鍵の作成します。
rootユーザで作成して、Windowsに転送します。
$ cd
$ ssh-keygen -t rsa
Generating public/private rsa key pair.
Enter file in which to save the key (/root/.ssh/id_rsa):
Created directory '/root/.ssh'.
Enter passphrase (empty for no passphrase):
Enter same passphrase again:
Your identification has been saved in /root/.ssh/id_rsa.
Your public key has been saved in /root/.ssh/id_rsa.pub.

$ ls -l .ssh
id_rsa
id_rsa.pub

$ scp -p .ssh/id_rsa.pub Administrator@hostname:authorized_keys
Windowsのパス指定に自信がなかったので、ホームフォルダに配置しました。配置したauthorized_keysを同階層の.sshフォルダ以下に移動しておきます。
また、Windows側の設定ファイルを以下のように編集
# PubkeyAuthentication yes
PubkeyAuthentication yes

# PasswordAuthentication yes
PasswordAuthentication no
sshd,ssh-agentを再起動してLinux側から鍵を指定して認証してみたいと思います。また、簡易バッチファイルを作成してsshで接続するユーザのホームフォルダに配置します。
echo "ssh echo" > test.txt
ssh -i .ssh/id_rsa Administrator@hostname test.bat
Administrator@WIN-M61C3KETVII C:\Users\Administrator>
C:¥Users¥Administrator¥のホームフォルダに想定通りtest.txtが出来ました。ここに至るまでに、対話式では接続できるが鍵認証を試行すると権限のエラーになるなど試行錯誤を繰り返していました。最終的には公式のWIKIに書いている手順に沿って進めると、問題なく利用できました。まず公式を見るべきでしたね。