はじめに
改善項目がありましたら基本的には直接プルリクエスト、又はマージリクエストを頂けたらと思います.
今回主に利用するkahirokunn/k8s-templates リポジトリにはkind又はAmazon Elastic Kubernetes Service (EKS)を立ち上げ、その上に様々なアプリケーションを展開する方法を記録しています.
今回はこちらを利用して、EKS環境の構築方法と、その上にArgoCDを立ち上げる方法を紹介します
環境構築
1. git clone
$ git clone https://github.com/kahirokunn/k8s-templates.git
$ cd k8s-templates
2. 今回利用するAWSの名前付きprofileを設定する
設定方法がわからない方はAWS CLI の profile を追加するを参照して、今回利用する為の名前付きプロファイルを1つ作成してください.
3. config.json.sampleを元にconfig.jsonを作成し、<>で囲われている部分を適切な値で埋めてください
$ cp config.json.sample config.json
$ vim config.json
4. current directoryをeksに変更してください.
$ cd eks
5. terraformとeksctlを利用して、EKSに必要な環境とEKSを構築します
所要時間: 50分前後
以下のコマンドの裏では、terraform-aws-modules/vpc/awsを使ってたり、eksctlを使ってたりしております.
$ make all
コードを参照して頂くと記載されている通り
cluster-autoscaleraws-load-balancer-controllerebs-csi-controller-sa
のIRSAの設定もついでにしてあります.
興味あるかたはそれらを利用したり、追加したりして、対応するものをdeployしてみてください.
6. kubectlのcontextが作成したeksに向いている事を確認してください.
$ kubectl config current-context
もし向いてなかったら、$ make update-kubeconfigを実行してください
ArgoCDをdeployする
ArgoCDとは?その構成は?に関しては、Architectural Overviewを参照してください.
1. current directoryをexamples/argocdに変更してください.
$ ../examples/argocd
2. ArgoCDをdeployします
$ helm repo add argo https://argoproj.github.io/argo-helm
$ helm repo update
$ helm install argocd argo/argo-cd -n argocd --wait --create-namespace -f argocd-app/argocd-add-plugin-values.yaml
3. ArgoCDのdashboardにアクセスします
パスワードをメモ
$ kubectl -n argocd get secret argocd-initial-admin-secret -o jsonpath="{.data.password}" | base64 -d
port-forwardして、dashboardにアクセスする.
nameはadmin、パスワードは先程メモしたものを利用する.
$ kubectl port-forward svc/argocd-server 8080:443 -n argocd
ArgoCDで色々Deployしてみる
1. gitで管理されているnginxのhelm chartをArgoCDのGUI経由でDeployしてみます
k8s-templates/examples/argocd/sample-nginx-chartsをdeployします.
Podを消したりして耐障害性を確認してみましょう.
2. prom-grafanaをkubectl経由でDeployします
kahirokunn/k8s-templates/examples/argocd/prom-grafanaをdeployし、GUIで状態を確認します
$ kubectl apply -f ./prom-grafana
deployが完了するとこういう画面になります.
dashboardにアクセスしてみましょう.
$ kubectl port-forward svc/grafana 8082:3000 -n prom-grafana-dev
初期のnameはadmin、passはadminです.
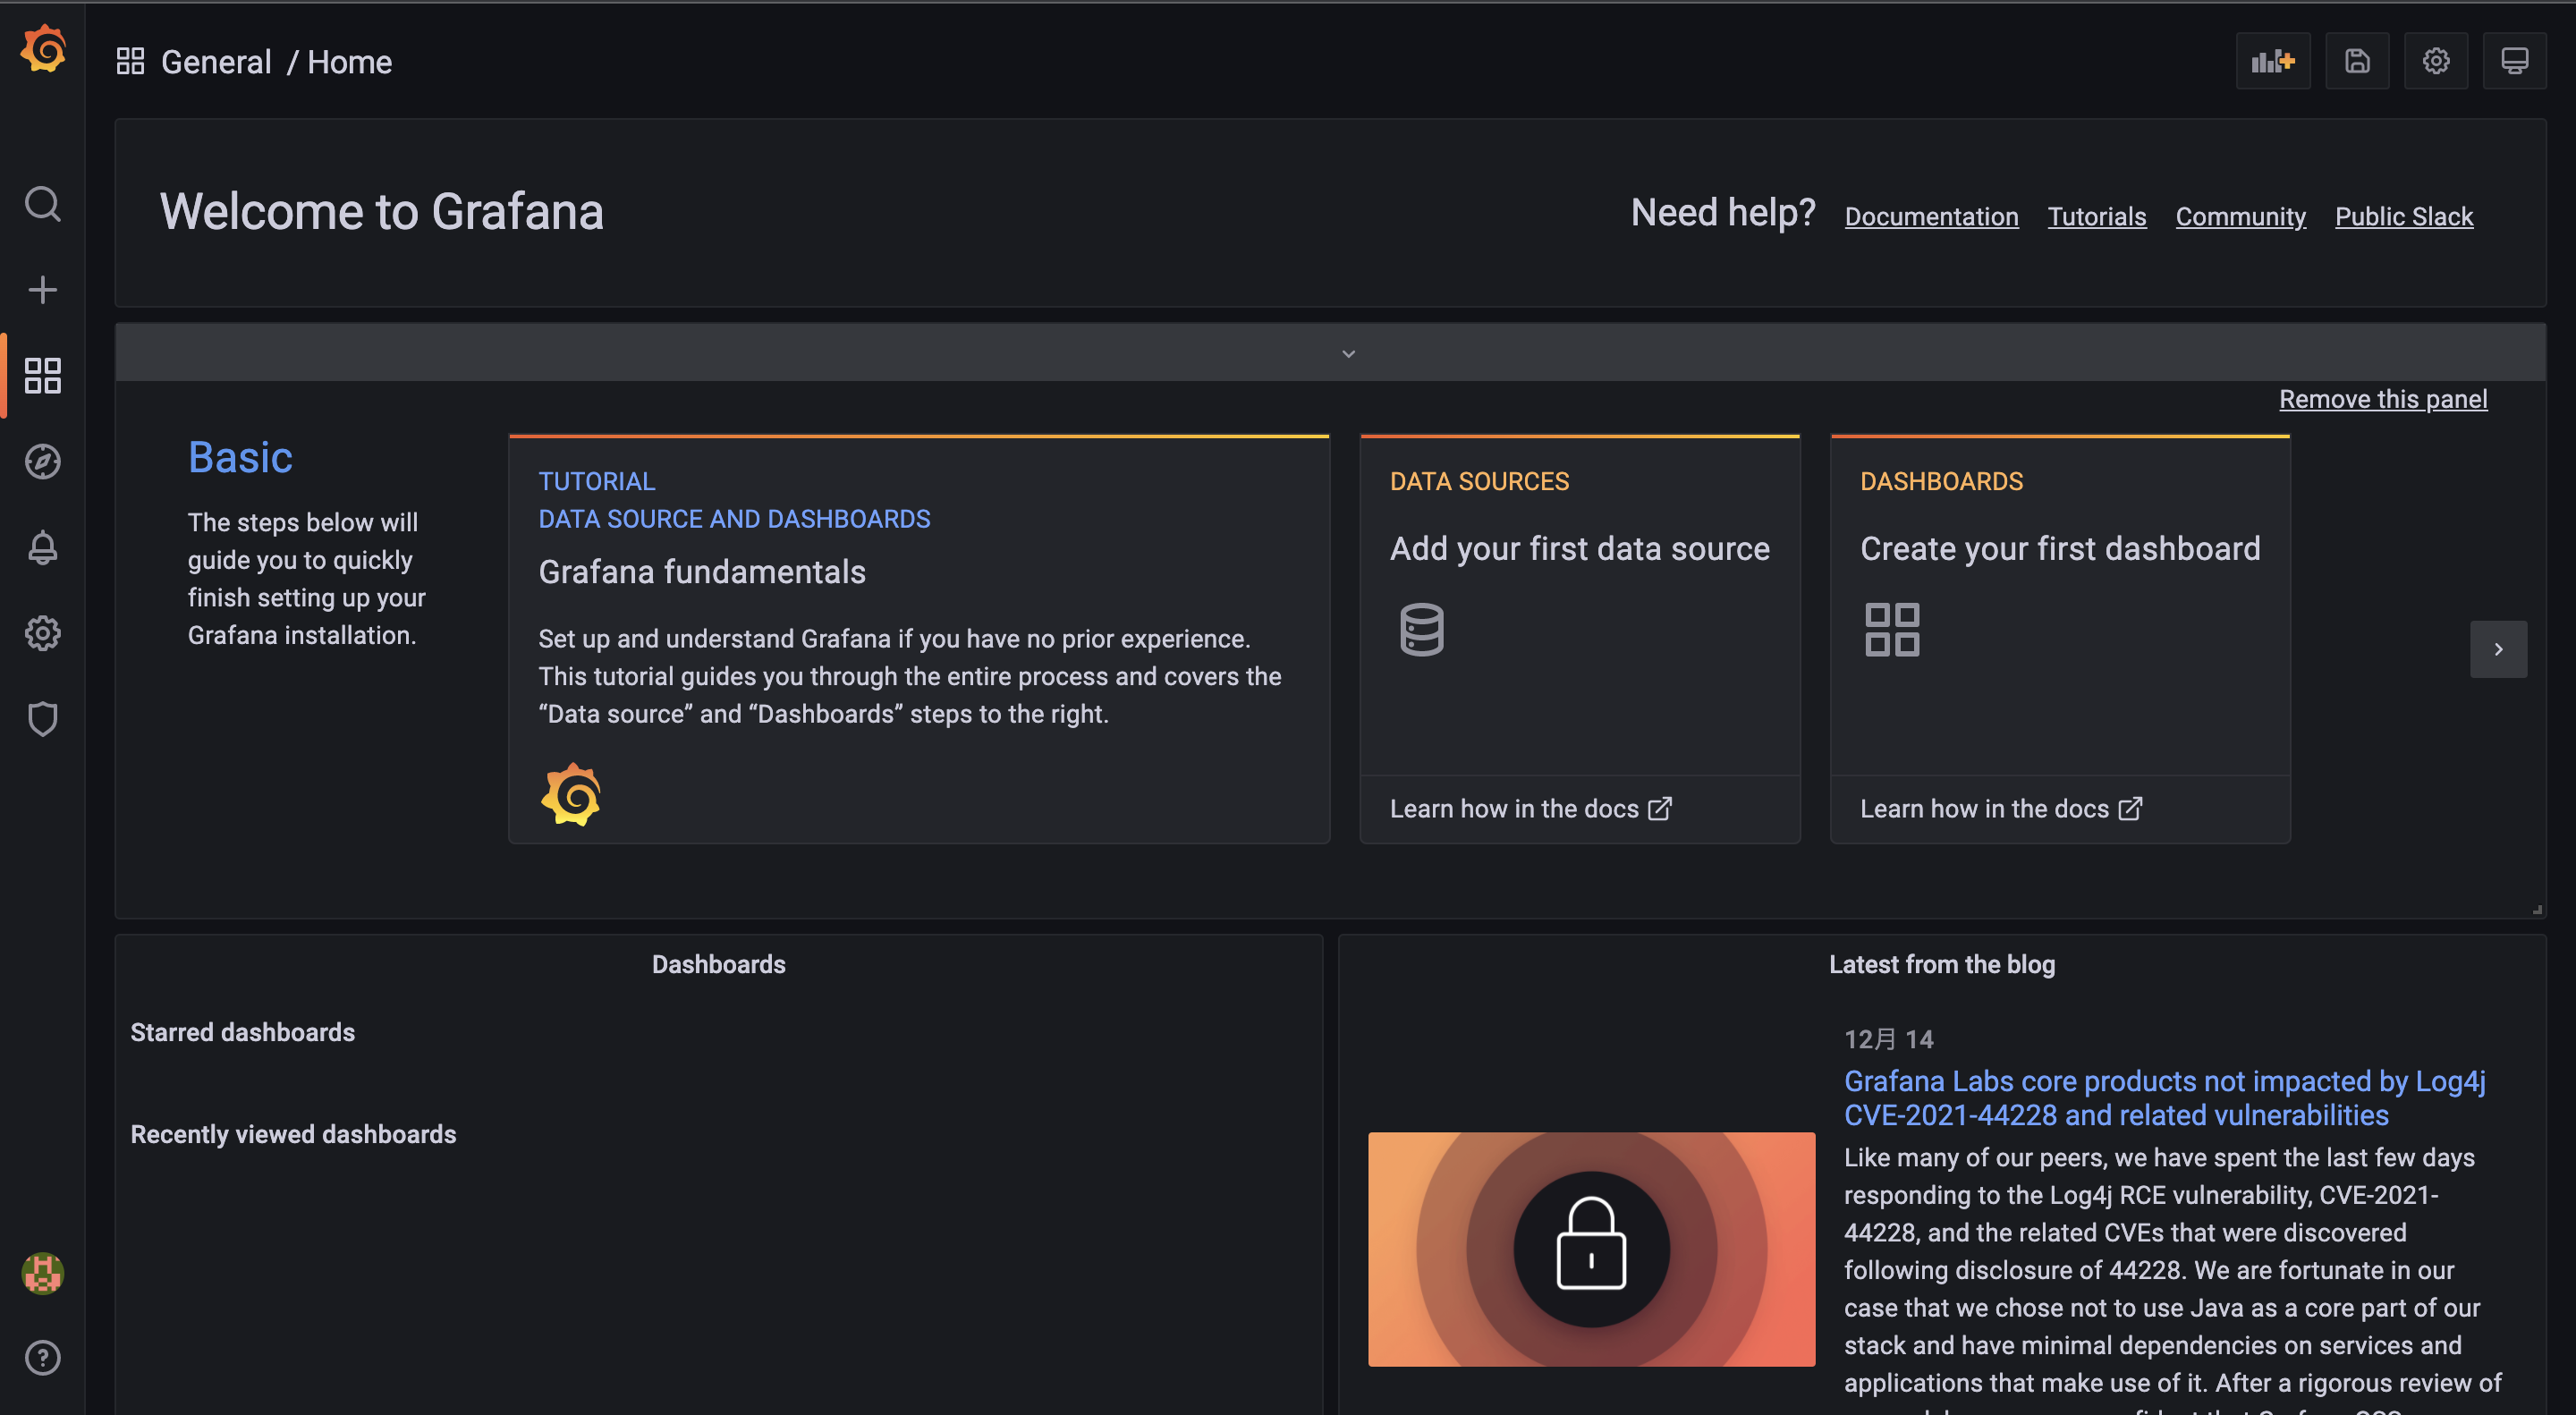
入れると画面が見れます.
3. ArgoCDの状態もArgoCDで確認できるようにします
k8s-templates/examples/argocd/argocd-appをdeployし、GUIで状態を確認します
$ cd argocd-app
$ jsonnet -S argocd-app.jsonnet | kubectl apply -f-
適用した瞬間には既にSyncとでます.
同様にArgoCD Serverを消したりして耐障害性を確認してみましょう.


