はじめに
この記事は、ミロゴス Advent Calendar 2022 8日目の記事です。
外部のAPIを実行する処理が含まれた開発において、開発環境用にモックAPIが欲しい場面に出くわしたことはないでしょうか。
この記事では上記のような場合に、AWS CDKを使ってAPIGatewayにモックAPIを手軽に作成する方法を紹介します。
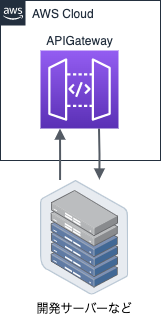
構成
APIGatewayのみを使用するシンプルな構成です。
AWS CDKにはapigateway.MockIntegrationというクラスがあり、簡単にモックAPIを作成することができます。
今回はGETとPOSTの2つのAPIを作成します。
環境
cdk --version
2.21.1 (build a6ee543)

node_modules/.bin/tsc --v
Version 3.9.10
完成系
mock-api-stack.ts
import { Stack, StackProps } from 'aws-cdk-lib';
import { Construct } from 'constructs';
import * as apigateway from 'aws-cdk-lib/aws-apigateway';

export class MockApiStack extends Stack {
  public readonly apiGw: apigateway.RestApi;
  constructor(
    scope: Construct,
    id: string,
    props: StackProps,
  ) {
    super(scope, id, props);

    this.apiGw = new apigateway.RestApi(this, `MockAPIGateway`, {
      restApiName: `test-mock-api`,
      endpointTypes: [apigateway.EndpointType.REGIONAL],
      deployOptions: {
        stageName: 'v1',
      },
    });

    // SAMPLE GET API
    const getMemberResponseTemplates = JSON.stringify({
      "result": true,
      "errorCode": null,
      "errorMessage": null,
      "memberId": "hoge",
      "memberName": "huga"
    });
    const member = this.apiGw.root.addResource('member');
    const get = member.addResource('get');
    get.addMethod(
      'GET',
      new apigateway.MockIntegration({
        requestTemplates: {
          'application/json': '{"statusCode": 200}',
        },
        integrationResponses: [
          {
            statusCode: '200',
            responseTemplates: {
              'application/json': getMemberResponseTemplates,
            },
          },
        ],
      }),
      {
        methodResponses: [
          {
            statusCode: '200',
            responseParameters: {
              'method.response.header.Access-Control-Allow-Origin': true,
            },
          },
        ],
      },
    );

    // SAMPLE POST API
    const postMemberResponseTemplates = JSON.stringify({
      "result": true,
      "errorCode": null,
      "errorMessage": null
    });
    const post = member.addResource('post');
    post.addMethod(
      'POST',
      new apigateway.MockIntegration({
        requestTemplates: {
          'application/json': '{"statusCode": 200}',
        },
        integrationResponses: [
          {
            statusCode: '200',
            responseTemplates: {
              'application/json': postMemberResponseTemplates,
            },
          },
        ],
      }),
      {
        methodResponses: [
          {
            statusCode: '200',
            responseParameters: {
              'method.response.header.Access-Control-Allow-Origin': true,
            },
          },
        ],
      },
    );
  }
}
APIGatewayの作成
まずはAPIGatewayを作成します。(公式リファレンスはこちら)。
今回はモック用のAPIを作るので設定項目は最低限のものとなります。
    this.apiGw = new apigateway.RestApi(this, `MockAPIGateway`, {
      restApiName: `test-mock-api`,
      endpointTypes: [apigateway.EndpointType.REGIONAL],
      deployOptions: {
        stageName: 'v1',
      },
    });
モックAPIの作成
APIGatewayのリソースができたらモックAPIを作成します。
今回はモックAPIのため固定レスポンスを返却する単純な作りになっています。
addMethod内にGETやPOSTなどの通信方式やレスポンスの中身を定義することで任意の結果を得られます。
   // SAMPLE GET API
    const getMemberResponseTemplates = JSON.stringify({
      "result": true,
      "errorCode": null,
      "errorMessage": null,
      "memberId": "hoge",
      "memberName": "huga"
    });
    const member = this.apiGw.root.addResource('member');
    const get = member.addResource('get');
    get.addMethod(
      'GET',
      new apigateway.MockIntegration({
        requestTemplates: {
          'application/json': '{"statusCode": 200}',
        },
        integrationResponses: [
          {
            statusCode: '200',
            responseTemplates: {
              'application/json': getMemberResponseTemplates,
            },
          },
        ],
      }),
      {
        methodResponses: [
          {
            statusCode: '200',
            responseParameters: {
              'method.response.header.Access-Control-Allow-Origin': true,
            },
          },
        ],
      },
    );
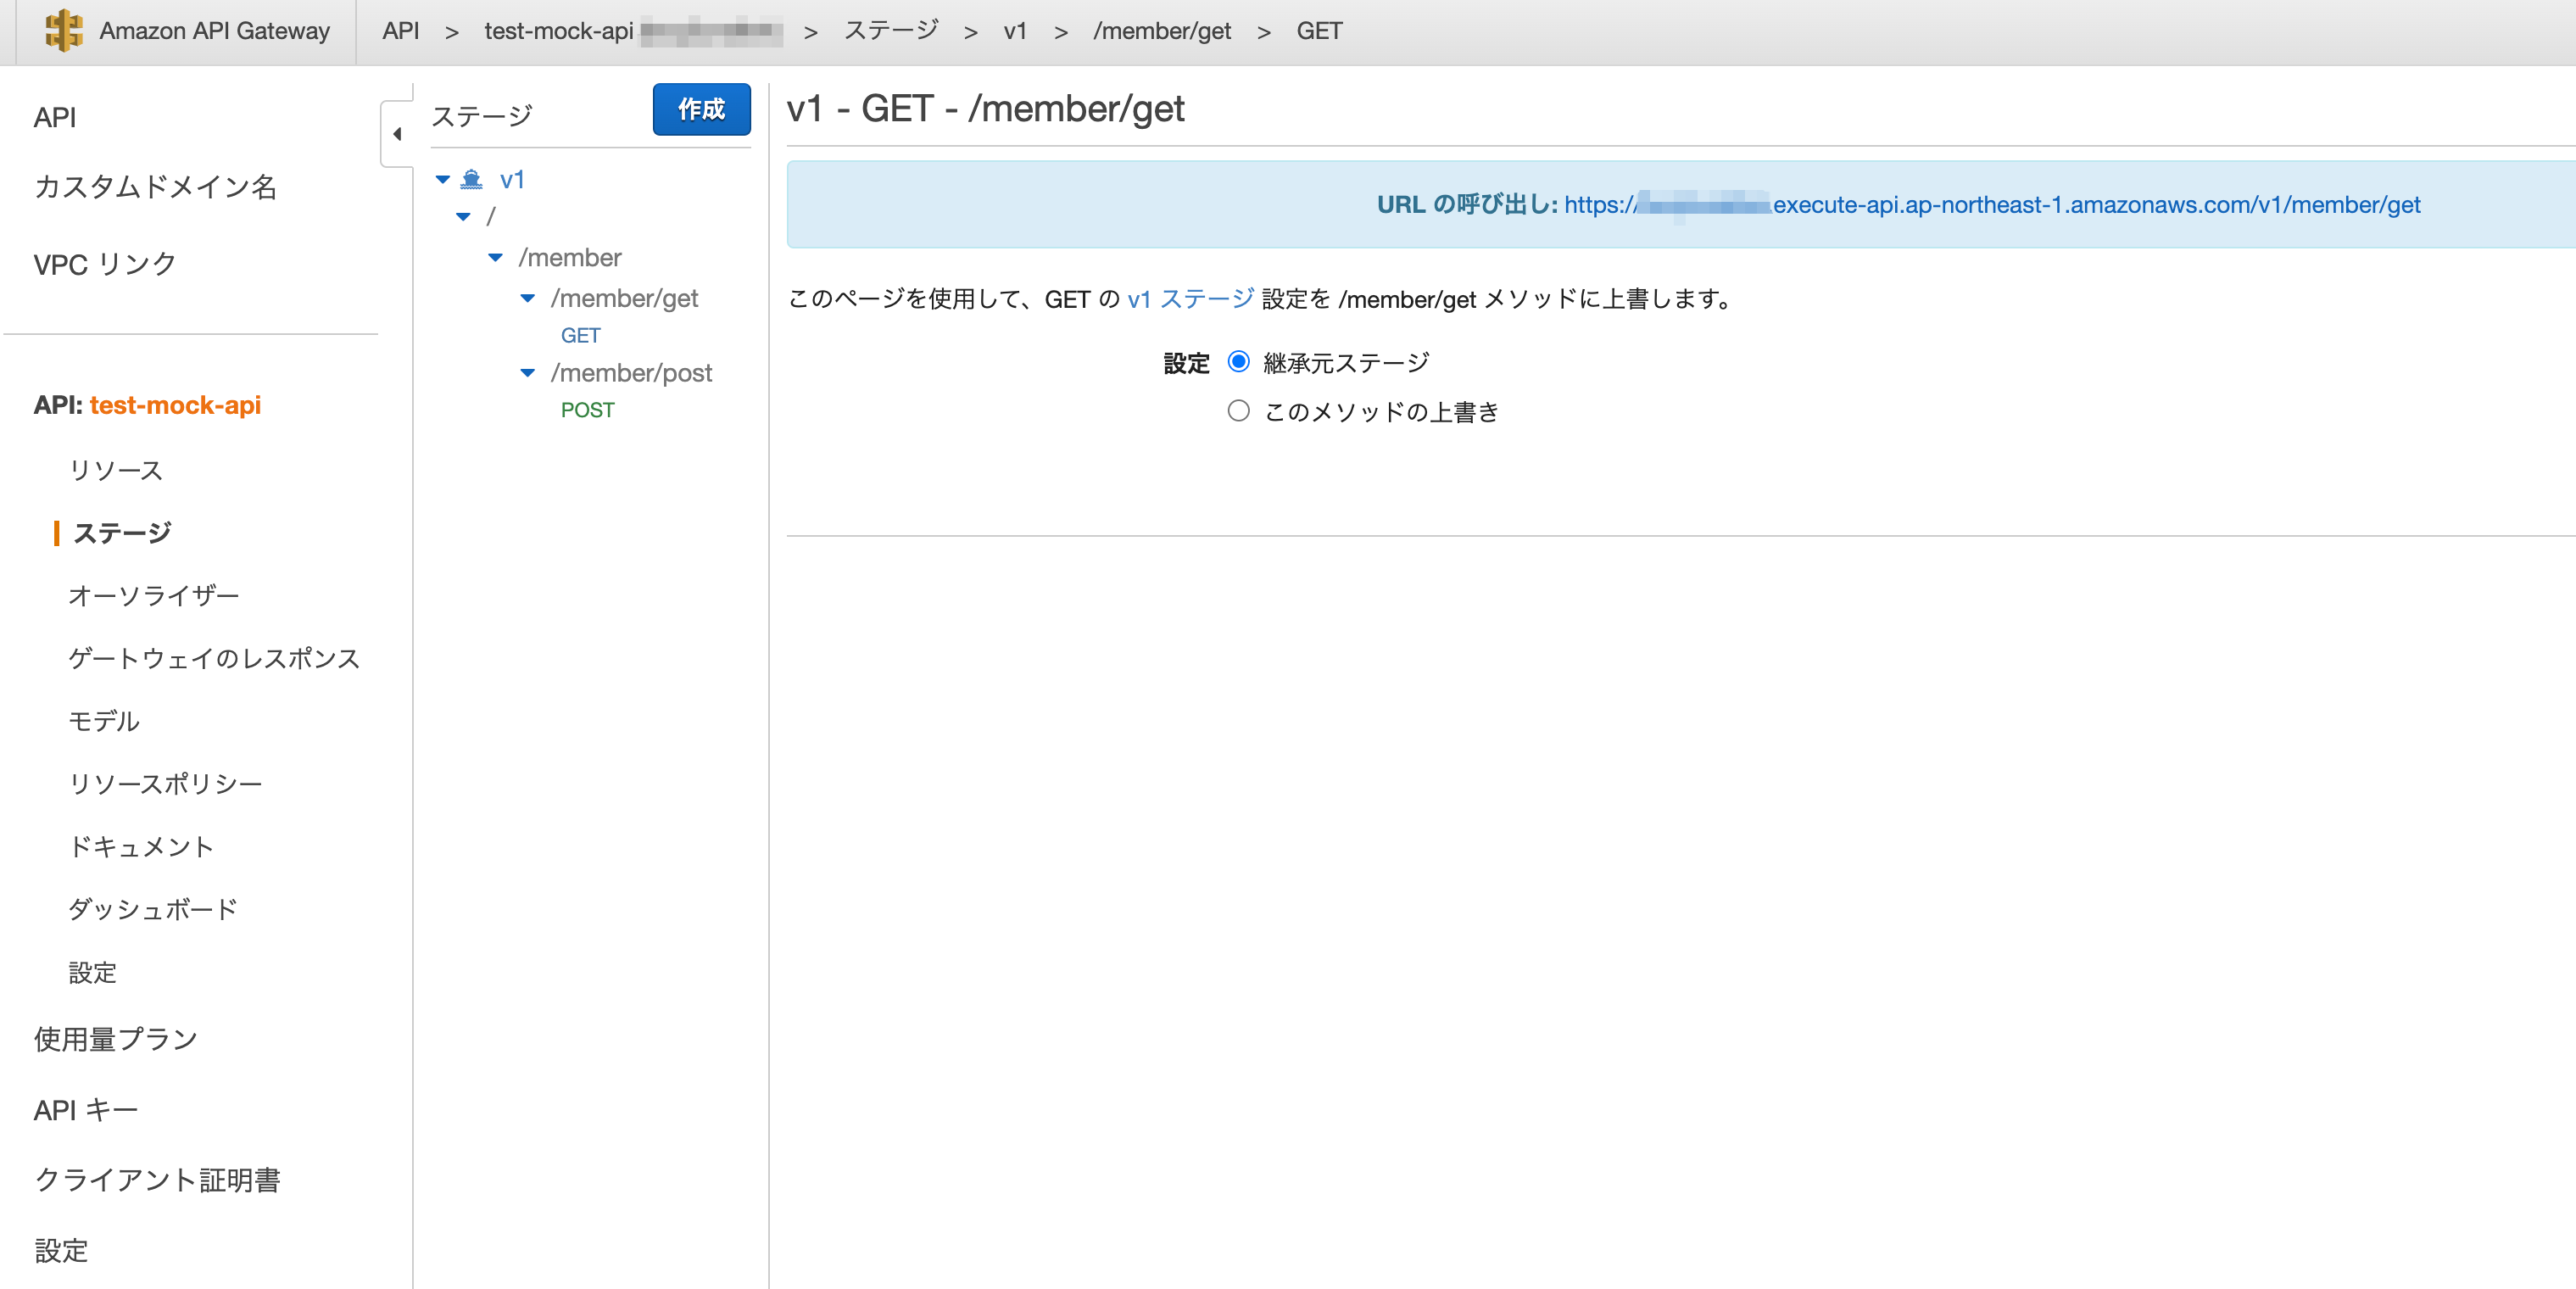
実行URLの確認
作成されたAPIはAWSコンソールのAPI Gateway -> API -> ステージから確認できます。
APIを選択すると表示されるURLの呼び出しという項目に実行URLが記載されています。
- 実際に実行してみた結果
curl https://XXXXXXXXXX.execute-api.ap-northeast-1.amazonaws.com/v1/member/get
{
    "result": true,
    "errorCode": null,
    "errorMessage": null,
    "memberId": "hoge",
    "memberName": "huga"
}

curl -X POST https://XXXXXXXXXX.execute-api.ap-northeast-1.amazonaws.com/v1/member/post
    {
      "result": true,
      "errorCode": null,
      "errorMessage": null
    }
まとめ
モックAPIを用意する方法はいくつかあると思いますが、AWS CDKで実装をしている場合はAPIGatewayでモックAPIを一緒に作ってしまう方法が楽かと思います。
モックAPIを手軽に作ることで開発効率を上げていきましょう!