Rubyの現時点(2022/3/19)での最新版を入れる機会があったのでメモ。
Atomの拡張機能「atom-runner」のインストール手順も記載。
端末とかRubyのバージョンとか
- Windows 10 64bit
- Ruby 3.1.1
- 因みに、WindowsでRails開発を行うならWSL上で構築したほうがよい(らしい)
Rubyインストール
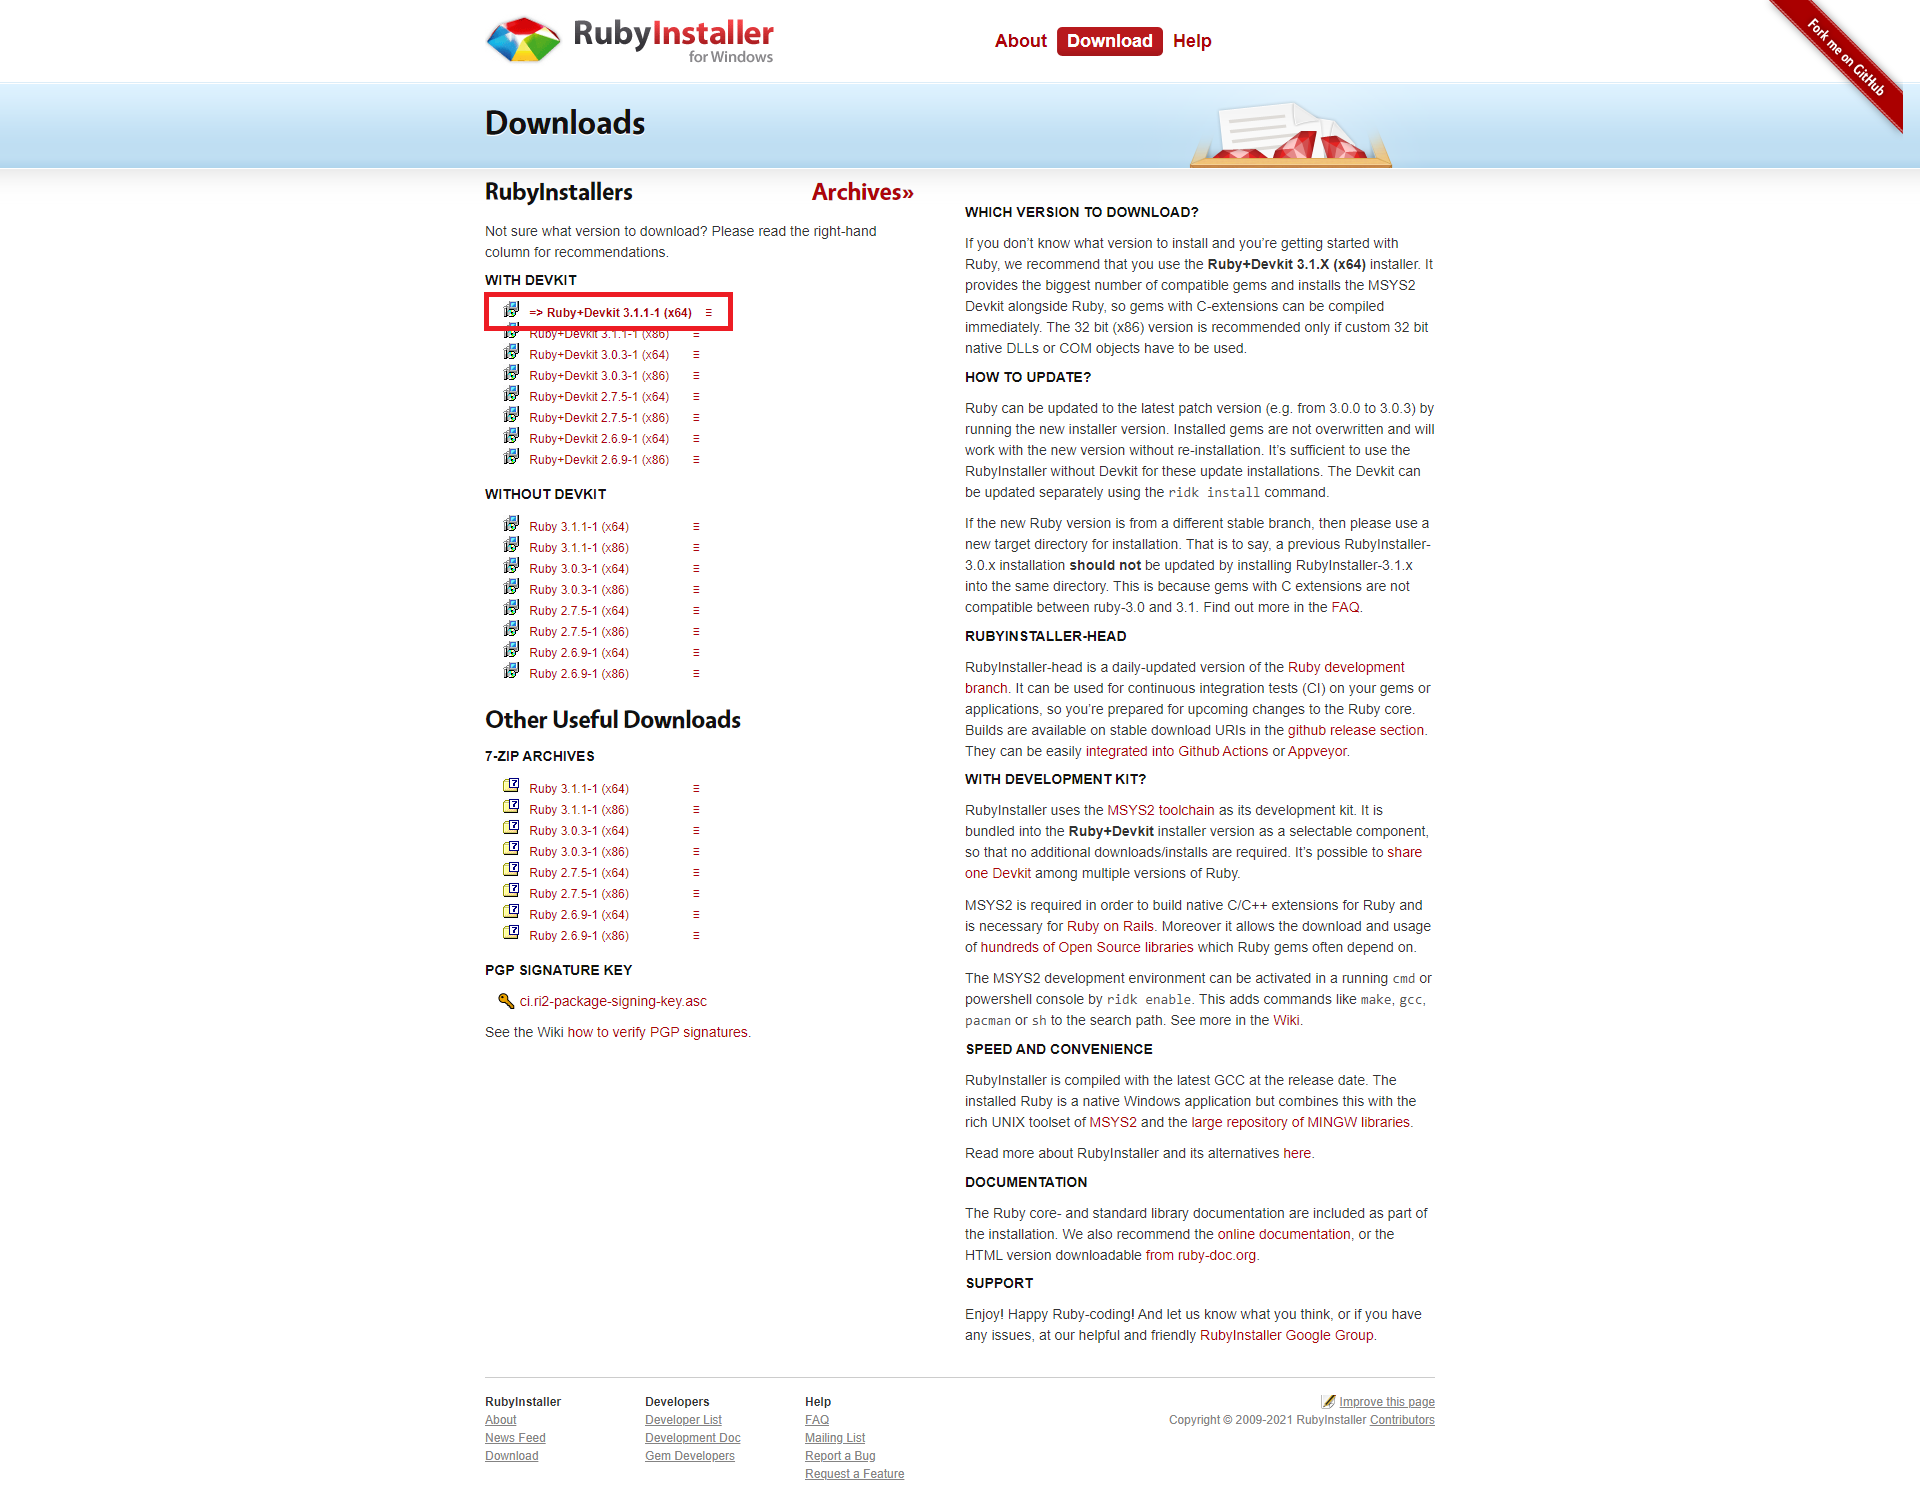
ダウンロードページ
64bit版をダウンロード
※ 純粋にRubyだけを実行する場合は、WITHOUT DEVKIT の方でよかったらしい。
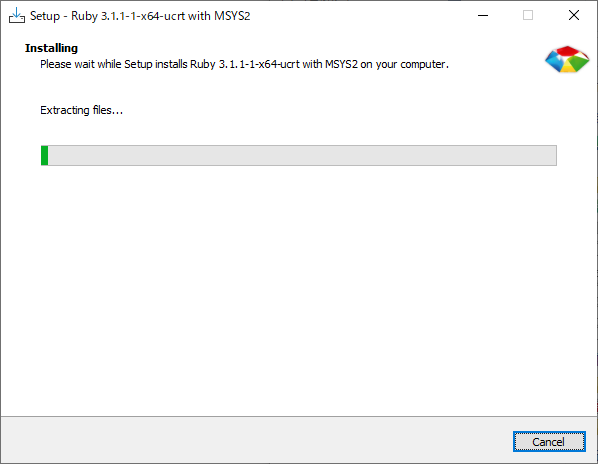
rubyinstaller-devkit-3.1.1-1-x64.exe を実行
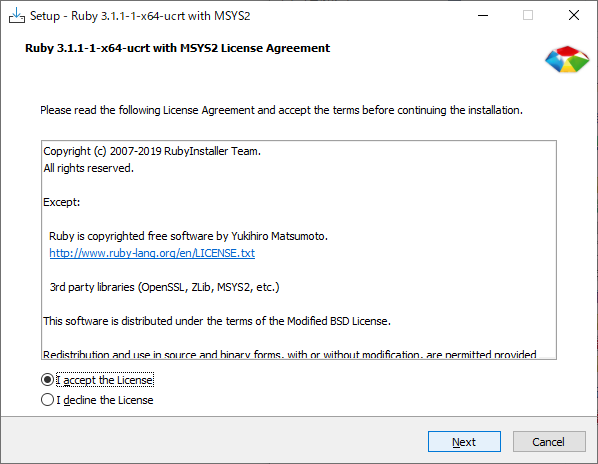
基本的にはそのまま次へでOK
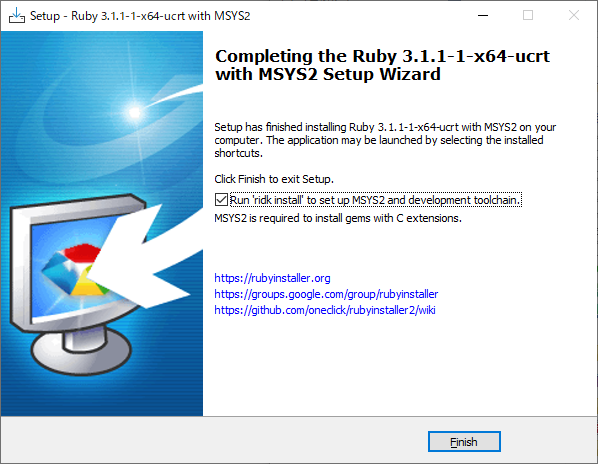

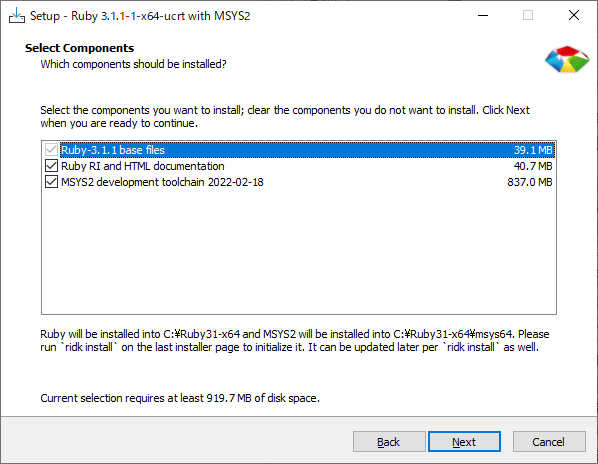
インストール完了
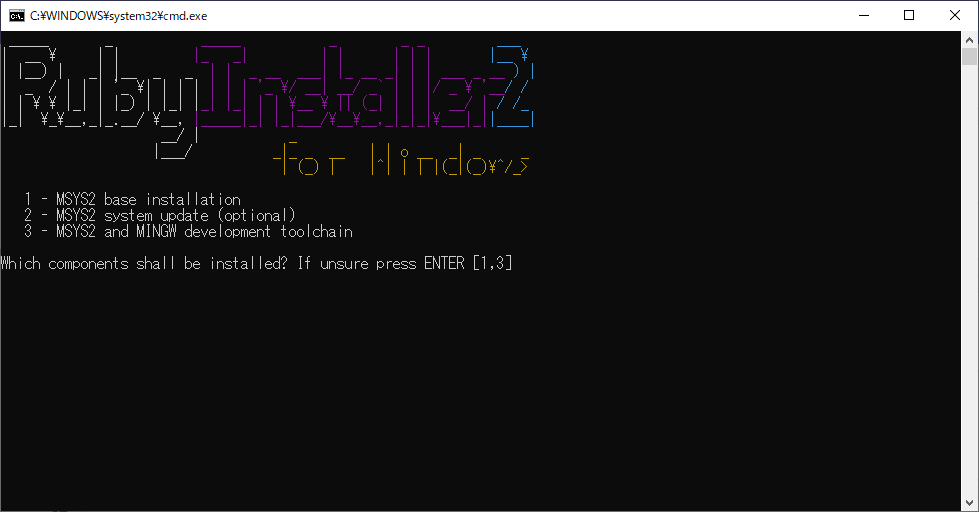
※上記、ダイアログを閉じると、RubyInstaller2 が起動する。
Cのライブラリを利用するgem(Nokogiriやsqlite3等)をインストールする場合は必須。
私の場合は不要だったため、Ctrl+Cで閉じました。
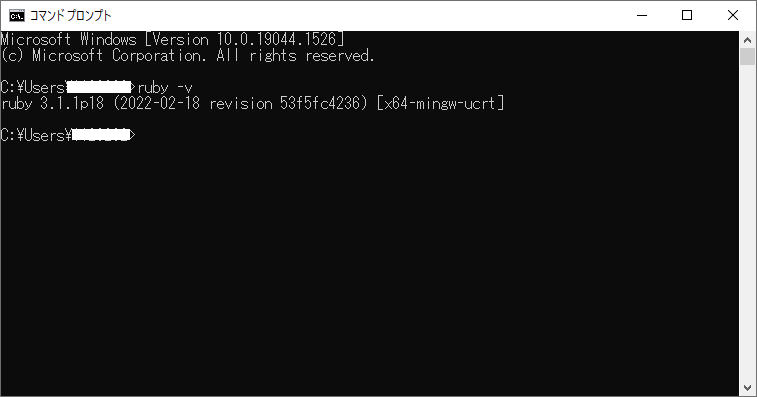
インストール確認
cmd などで ruby -v で確認する
Atomの拡張機能でRubyを動かす
atom-runner
コードを実行するためのパッケージ。
実行できる言語は JavaScript, CoffeeScript, Ruby, Python, Go, Bash and PowerShell
Atomのインストール
下記のページからダウンロードしてインストール。
特に難しい点はないため詳細は割愛。
Atom
atom-runnerのインストール
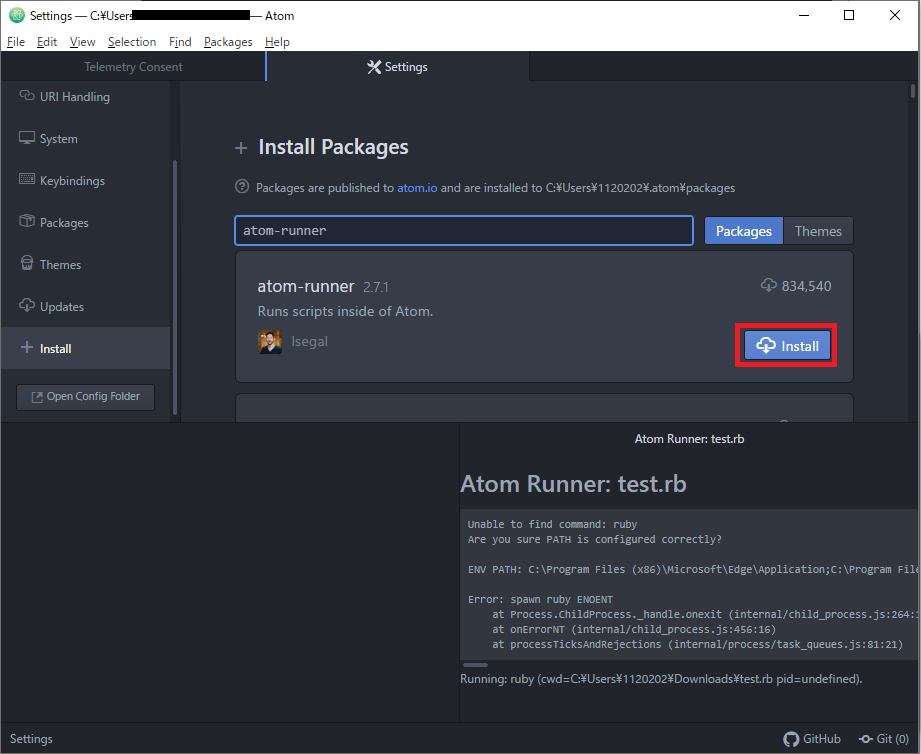
File → settings を選択

install をクリックして 「atom-runner」を入力。
Installボタンをクリックしてインストール完了。
動作確認
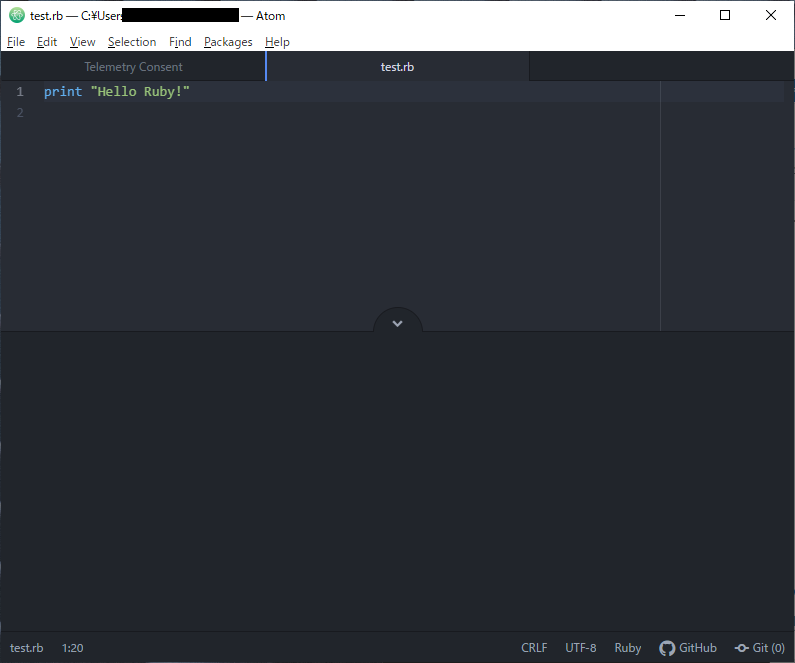
Atomを開き、適当な名前でRBファイルを作成(今回はtest.rbで作成)
中身は print "Hello Ruby!" としました。
Alt + R を入力すると、記載したRubyが実行されます。
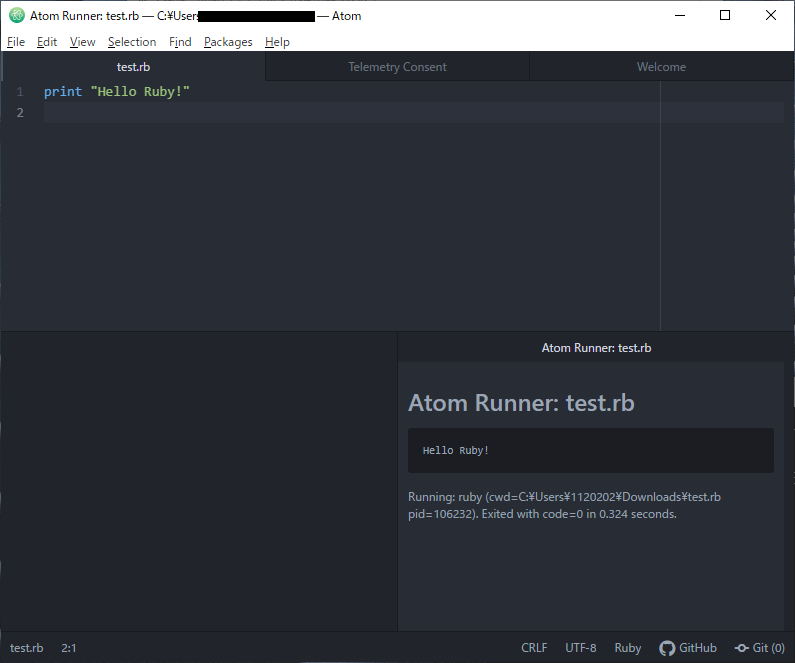
以上です。