MyBatisでは、MyBatisGeneratorを使用することで、テーブルからEntity、Mapper XML、Mapperインターフェースなどを自動生成することができます。
以下は、Spring BootのGradleプロジェクトでMyBatis Generatorを設定し、自動生成する方法の手順です。
1. 必要な依存関係を追加
まず、build.gradleにMyBatis Generatorのプラグインと依存関係を追加します。
plugins {
	id 'com.thinkimi.gradle.MybatisGenerator' version '2.4'
}

mybatisGenerator {
	verbose = true
	configFile = "src/main/resources/mybatis-generator-config.xml"
	mybatisProperties = [
			'driverFile'     : "$projectDir/src/main/libs/mysql-connector-j-9.0.0.jar",
			'jdbcUrl'        : "jdbc:mysql://db:3306/cook_diary_db",
			'jdbcDriverClass': 'com.mysql.cj.jdbc.Driver',
			'jdbcUsername'   : 'root',
			'jdbcPassword'   : 'rootpassword'
	]
}
2. MyBatis Generatorの設定ファイルを作成
次に、src/main/resourcesディレクトリにMyBatis Generatorの設定ファイルmybatis-generator-config.xmlを作成します。以下は基本的な設定例です。
<?xml version="1.0" encoding="UTF-8" ?>
<!DOCTYPE generatorConfiguration
        PUBLIC "-//mybatis.org//DTD MyBatis Generator Configuration 1.0//EN"
        "http://mybatis.org/dtd/mybatis-generator-config_1_0.dtd">

<generatorConfiguration>
    <classPathEntry location="${driverFile}"/>
    <context id="MySQLTables" targetRuntime="MyBatis3" defaultModelType="flat">
        <!-- JDBC接続情報 -->
        <jdbcConnection driverClass="com.mysql.cj.jdbc.Driver"
                        connectionURL="jdbc:mysql://localhost:3306/cook_diary_db"
                        userId="root"
                        password="rootpassword"/>

        <!-- Javaのエンティティクラスの生成先 -->
        <javaModelGenerator targetPackage="com.app.cook_diary.entity"
                            targetProject="src/main/java"/>

        <!-- Mapper XMLファイルの生成先 -->
        <sqlMapGenerator targetPackage="com.app.cook_diary.mappers"
                         targetProject="src/main/resources"/>

        <!-- Mapperインターフェースの生成先 -->
        <javaClientGenerator type="XMLMAPPER"
                             targetPackage="com.app.cook_diary.mapper"
                             targetProject="src/main/java"/>

        <!-- テーブル設定 -->
        <table tableName="account" />
        <table tableName="dish" />
    </context>
</generatorConfiguration>
-
jdbcConnection: Docker上のMySQLへの接続情報を設定。connectionURLはMySQLコンテナのアドレスとポートに対応する必要があります。 -
table: 自動生成の対象テーブルを指定します。tableNameはデータベースのテーブル名。domainObjectName属性を付与することで生成されるファイルのクラス名指定できる。(今回は省略)
注意事項
"http://mybatis.org/dtd/mybatis-generator-config_1_0.dtd"
上記で「URIが未登録です」とエラーが出ることがある。
このエラーは、XMLファイルのバリデーション時にDTDファイルを取得しようとした際にアクセスできない場合に発生します。以下の手順を実行してください。
- 公式DTD URLにアクセス
- 再度エラー箇所にカーソルを合わせて「DTOを取得」を選択
⇨ これで解決するはず!
4. Gradleタスクの実行
MyBatis Generatorを実行するには、以下のコマンドを実行します。
./gradlew mybatisGenerator
このコマンドを実行すると、設定に基づいて、以下の3つのコンポーネントが自動生成されます。
-
Entityクラス(
com.example.entity) -
Mapper XMLファイル(
src/main/resources/mappers) -
Mapperインターフェース(
com.example.mapper)
5. 生成されたファイルの確認
・エンティティクラス
UserEntity.javaというクラスが自動生成されます。このクラスは、テーブルのカラムに対応するフィールドを持つJavaオブジェクトです。
public class UserEntity {
    private Integer id;
    private String name;
    private Integer age;

    // GetterとSetter
}
Mapper XMLファイル
UserMapper.xmlというSQLマッパーXMLが生成され、基本的なCRUD操作が含まれます。
<mapper namespace="com.example.mapper.UserMapper">
    <resultMap id="BaseResultMap" type="com.example.entity.UserEntity">
        <id column="id" property="id" />
        <result column="name" property="name" />
        <result column="age" property="age" />
    </resultMap>

    <insert id="insert" parameterType="com.example.entity.UserEntity">
        INSERT INTO users (name, age)
        VALUES (#{name}, #{age});
    </insert>
</mapper>
Mapperインターフェース
UserMapper.javaというインターフェースが生成されます。ここには、SQLマッパーに対応するメソッドが含まれます。
public interface UserMapper {
    int insert(UserEntity record);
}
まとめ
-
依存関係の追加:
mybatis-generatorと必要なライブラリをbuild.gradleに追加。 -
設定ファイルの作成:
mybatis-generator-config.xmlで接続情報と生成設定を記述。 -
Gradleタスクの実行:
./gradlew mybatisGeneratorでコードを自動生成。
これで、MyBatis Generatorを使ってMySQLのテーブルから自動的にEntity、Mapper XML、Mapperインターフェースを生成できます。
余談
①実行後に起きたエラー:
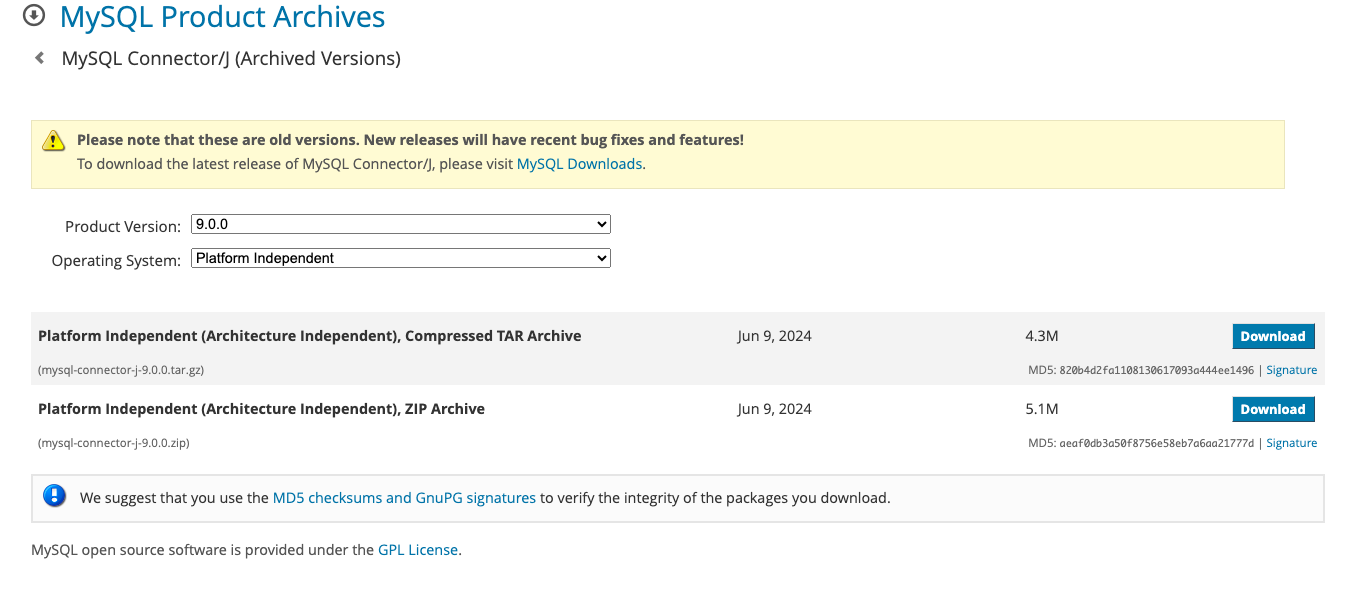
Caused by: java.lang.ClassNotFoundException: com.mysql.cj.jdbc.Driver
こちらにアクセスして、以下図を参考にzipをダウンロードする。
build.gradleに以下を追記してjarファイルを読み込ませてあげる。
dependencies {
    runtimeOnly 'mysql:mysql-connector-java:8.0.33' // 最新バージョンを指定
}