はじめに
仕事でcakephpを使うことになりましたので、実際にcakephpを使ってみたいと思います!
cakephpとは
phpで開発されたフレームワーク。MVCアーキテクチャを採用していてRuby on Railsの影響を受けてる。MVCの流れを簡単に確認しましたので備忘録も兼ねてまとめます。
cakephpをインストール
とりあえず下記のコマンドでcakephpをインストール
composer create-project --prefer-dist cakephp/app:4 BlogApp
ディレクトリ構成はこんな感じです
BlogApp
|-.github
|-bin
|-config
|-database
|-logs
|-plugins
|-resources
|-src
|-templates
|-tests
|-temp
|-vendor
|-webroot
|-.editorconfig
|-gitattributes
|-.ignore
|-.htaccess
|-composer.json
|-composer.lock
|-index.php
|-phpcs.xml
|-phpstan.neon
|-phpunit.xml.dist
|-README.md
とりあえず何か表示してみる
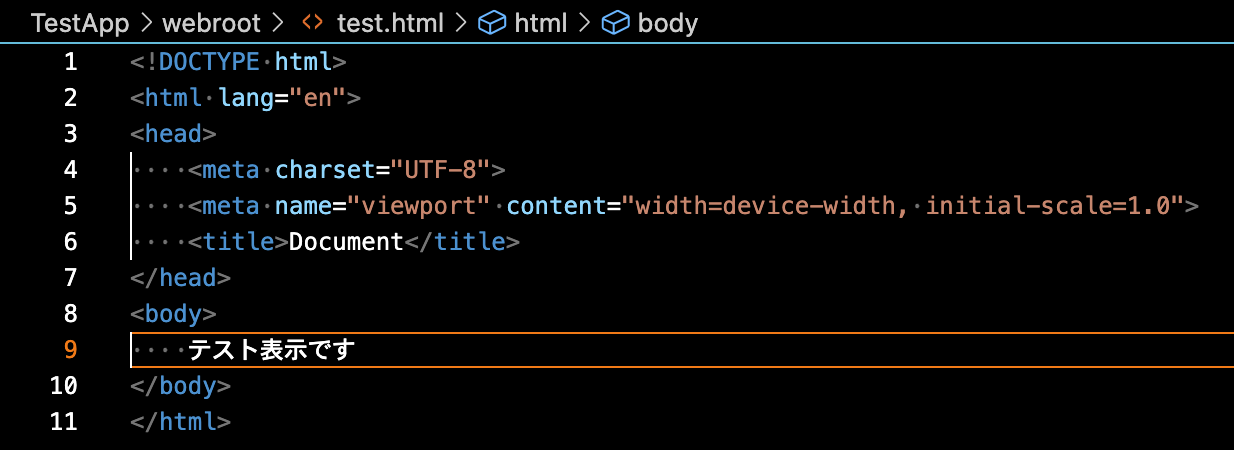
test.htmlは「テスト表示です」と表示させるだけにします。
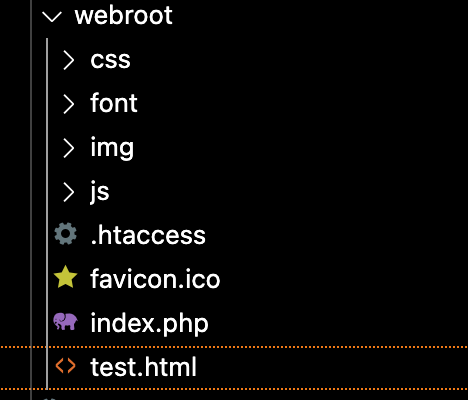
cakephpではwebroot配下がドキュメントルートで、cssとか読み込ませておきたいファイルを作成します。
ドキュメントルートに置いたファイルはルートバスからアクセスできます。

コントローラーを作成
下記コマンドでコントローラーを作成します。
Laravelのartisanみたいにcakeではbakeを使うみたいです。
cakeでbakeは覚えやすいですね
bin/cake bake controller tests
凄い。
actionが一気にたくさん出来ました。
<?php
declare(strict_types=1);

namespace App\Controller;

/**
 * Tests Controller
 *
 * @method \App\Model\Entity\Test[]|\Cake\Datasource\ResultSetInterface paginate($object = null, array $settings = [])
 */
class TestsController extends AppController
{
    /**
     * Index method
     *
     * @return \Cake\Http\Response|null|void Renders view
     */
    public function index()
    {
        $tests = $this->paginate($this->Tests);

        $this->set(compact('tests'));
    }

    /**
     * View method
     *
     * @param string|null $id Test id.
     * @return \Cake\Http\Response|null|void Renders view
     * @throws \Cake\Datasource\Exception\RecordNotFoundException When record not found.
     */
    public function view($id = null)
    {
        $test = $this->Tests->get($id, [
            'contain' => [],
        ]);

        $this->set(compact('test'));
    }

    /**
     * Add method
     *
     * @return \Cake\Http\Response|null|void Redirects on successful add, renders view otherwise.
     */
    public function add()
    {
        $test = $this->Tests->newEmptyEntity();
        if ($this->request->is('post')) {
            $test = $this->Tests->patchEntity($test, $this->request->getData());
            if ($this->Tests->save($test)) {
                $this->Flash->success(__('The test has been saved.'));

                return $this->redirect(['action' => 'index']);
            }
            $this->Flash->error(__('The test could not be saved. Please, try again.'));
        }
        $this->set(compact('test'));
    }

    /**
     * Edit method
     *
     * @param string|null $id Test id.
     * @return \Cake\Http\Response|null|void Redirects on successful edit, renders view otherwise.
     * @throws \Cake\Datasource\Exception\RecordNotFoundException When record not found.
     */
    public function edit($id = null)
    {
        $test = $this->Tests->get($id, [
            'contain' => [],
        ]);
        if ($this->request->is(['patch', 'post', 'put'])) {
            $test = $this->Tests->patchEntity($test, $this->request->getData());
            if ($this->Tests->save($test)) {
                $this->Flash->success(__('The test has been saved.'));

                return $this->redirect(['action' => 'index']);
            }
            $this->Flash->error(__('The test could not be saved. Please, try again.'));
        }
        $this->set(compact('test'));
    }

    /**
     * Delete method
     *
     * @param string|null $id Test id.
     * @return \Cake\Http\Response|null|void Redirects to index.
     * @throws \Cake\Datasource\Exception\RecordNotFoundException When record not found.
     */
    public function delete($id = null)
    {
        $this->request->allowMethod(['post', 'delete']);
        $test = $this->Tests->get($id);
        if ($this->Tests->delete($test)) {
            $this->Flash->success(__('The test has been deleted.'));
        } else {
            $this->Flash->error(__('The test could not be deleted. Please, try again.'));
        }

        return $this->redirect(['action' => 'index']);
    }
}
templateの内容を表示する
TestsControllerのindexメソッドを空にします。
    /**
     * Index method
     *
     * @return \Cake\Http\Response|null|void Renders view
     */
    public function index()
    {

    }
templatesにTestsフォルダを作成し、index.phpファイルを作成します。
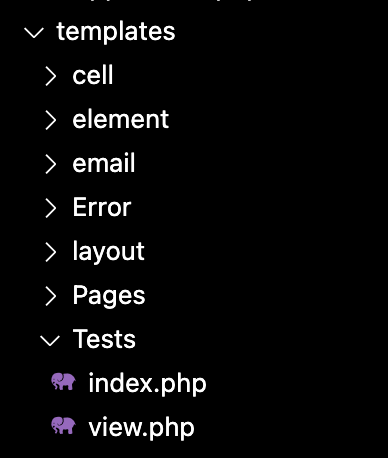
index.phpファイルにはh1だけ記述します
<h1>テンプレートの表示確認です</h1>
/Testsにアクセスします。

cakephpでは、コントローラー名とアクション名を、templateのフォルダ名とファイル名を合わせる事によって、templateの自動読み込みをしてくれます。
index.phpファイルの内容が表示されました。
コントローラーの値をtemplateで表示する
通常のアプリケーションでは、コントローラーで処理した内容をtemplateで表示させると思いますので、実際に実装してみたいと思います。
TestsControllerにviewアクションを追加します。
templateに値を渡すときはsetメソッドを使います
    public function view($id = null)
    {
        $this->set(['id' => $id]);
    }
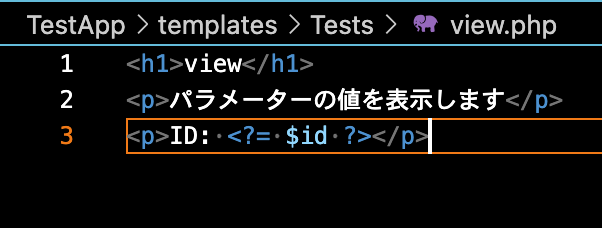
viewファイルを下記のようにします
Tests/view/300にアクセスすると、パラメーターの値が表示されました!

今回はset関数でtemplateに値を持っていきましたが、Laravelみたいにcompact関数などで持っていくことも可能です。
データベースから情報を取得する
まずはマイグレーションファイルの作成
bin/cake bake migration CreatePosts
カラムの設定
class CreatePosts extends AbstractMigration
{
    /**
     * Change Method.
     *
     * More information on this method is available here:
     * https://book.cakephp.org/phinx/0/en/migrations.html#the-change-method
     * @return void
     */
    public function change(): void
    {
        $table = $this->table('posts');
        $table
            ->addColumn('title', 'string', [
                'limit' => 150,
                'null' => false
            ])
            ->addColumn('description', 'text', [
                'limit' => 255
            ])
            ->addColumn('body', 'text')
            ->addColumn('published', 'boolean', [
                'default' => false
            ])
            ->addColumn('created', 'datetime')
            ->addColumn('modified', 'datetime')
            ->create();
    }
}
マイグレーションをしてテーブル作成
bin/cake migrations migrate
作成したテーブルにテストデータを入れるために、seedファイルを作成する
bin/cake bake seed Posts
seedファイルにダミーデータを記述する
    public function run(): void
    {
        $data = [
            [
                'title' => '最初の投稿',
                'description' => '最初の投稿の概要',
                'body' => '最初の投稿内容',
                'published' => 1,
                'created' => '2020-05-02 10:00:00',
                'modified' => '2020-05-02 10:00:00',
            ],
            [
                'title' => '2番目の投稿',
                'description' => '2番目の投稿の概要',
                'body' => '2番目の投稿内容',
                'published' => 1,
                'created' => '2020-05-02 10:00:00',
                'modified' => '2020-05-02 10:00:00',
            ],
        ];

        $table = $this->table('posts');
        $table->insert($data)->save();
    }
ダミーデータをテーブルに登録する為にコマンドを入力する。
bin/cake migrations seed
テーブルにダミーデータが登録されているか確認する。
モデルを作成する。
bin/cake bake model posts
    /**
     * Index method
     *
     * @return \Cake\Http\Response|null|void Renders view
     */
    public function index()
    {
        $this->loadModel('Posts');
        $posts = $this->Posts->find('all');

        dd($posts->toArray());
    }
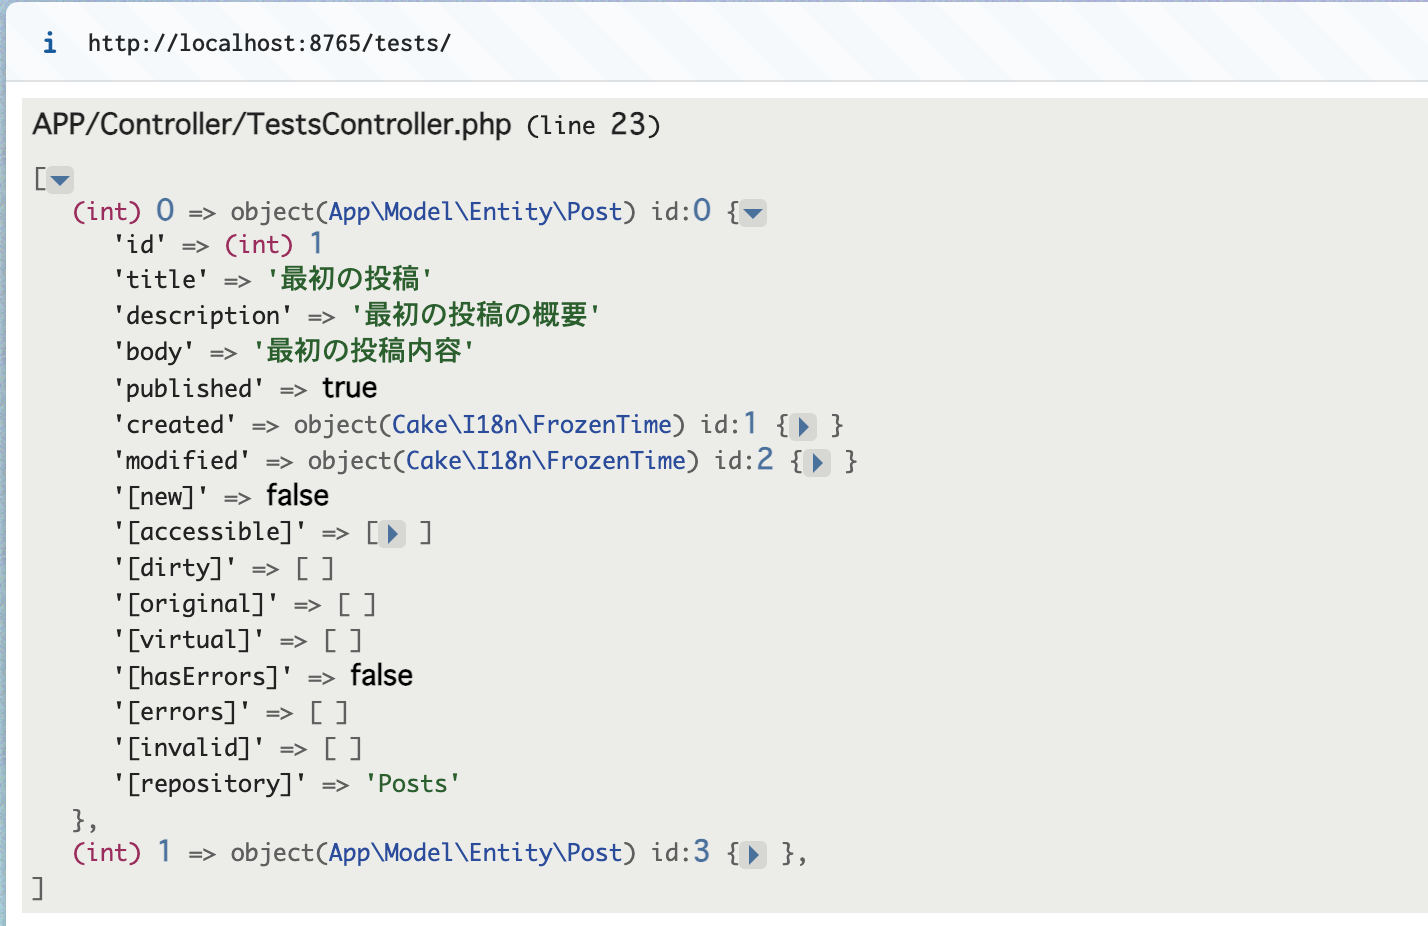
http://localhost:8765/tests/ にアクセスすると、Postsテーブルの情報が取得できています。
さいごに
cakephpを簡単に触ってみました!MVCということもあり、laravelに似てますね。他にも便利なヘルパーなどがありますので、実装しながら学んでいきたいと思います!
