環境
- Vagrant
- CentOS7.5
- Windows10
- Git bash
- VSCode
Vagrant起動まで
事前にHyper-vを切っておく
ディレクトリ作成
$ mkdir -p ~/workspace/lampapp
$ cd ~/workspace/lampapp
$ mkdir -p logs nginx httpd apps
$ vagrant init bento/centos-7.5
$ vi Vagrantfile
Vagrantfileの編集
Vagrantfile
中略
35 # config.vm.network "private_network", ip: "192.168.33.10" ⇐ここのコメントアウトを外す
Vagrantの起動とSSH接続
$ vagrant up
$ vagrant ssh
LAMP環境の構築
パッケージアップデートと、時刻設定
guest
$ sudo yum -y update
$ sudo timedatectl set-timezone Asia/Tokyo
MySQLのインストール
guest
$ sudo yum -y remove mariadb-libs
$ rm -rf /var/lib/mysql/
$ sudo yum -y localinstall http://dev.mysql.com/get/mysql57-community-release-el7-7.noarch.rpm
$ sudo yum info mysql-community-server
$ sudo yum -y install mysql-community-server
$ mysqld --version
$ sudo systemctl enable mysqld.service
$ sudo systemctl start mysqld.service
my.cnfの編集
/etc/my.cnf
(中略)
[mysqld]
character-set-server = utf8
validate-password=OFF  // デフォルトのパスワードチェックが厳しいので無効にする
guest
$ sudo systemctl restart mysqld.service  // 再起動
$ sudo less /var/log/mysqld.log   // 初期パスワード確認。
$ sudo mysql_secure_installation

Enter password for user root:
New password:
Re-enter new password:
Change the password for root ? ((Press y|Y for Yes, any other key for No) : y
New password:
Re-enter new password:
Do you wish to continue with the password provided?(Press y|Y for Yes, any other key for No) :
Remove anonymous users? (Press y|Y for Yes, any other key for No) :
Disallow root login remotely? (Press y|Y for Yes, any other key for No) :
Remove test database and access to it? (Press y|Y for Yes, any other key for No) :
Reload privilege tables now? (Press y|Y for Yes, any other key for No) :
PHPのインストール
guest
$ sudo yum -y install epel-release
$ wget http://rpms.famillecollet.com/enterprise/remi-release-7.rpm

// (wgetがない場合)
$ yum list installed | grep wget
$ yum install wget

$ sudo rpm -ivh ./remi-release-7.rpm
$ sudo yum -y install --enablerepo=remi,remi-php74 php php-devel php-mbstring php-pdo php-gd php-xml
$ sudo yum -y install --enablerepo=remi,remi-php74 php-mysqlnd
$ php -r "phpinfo();"| grep -i PDO
Apacheの自動起動設定
guest
$ sudo systemctl enable httpd
$ sudo systemctl start httpd
画面確認
guest
$ sudo vi /var/www/html/index.php
/var/www/html/index.php
<?php

echo 'こんにちは';
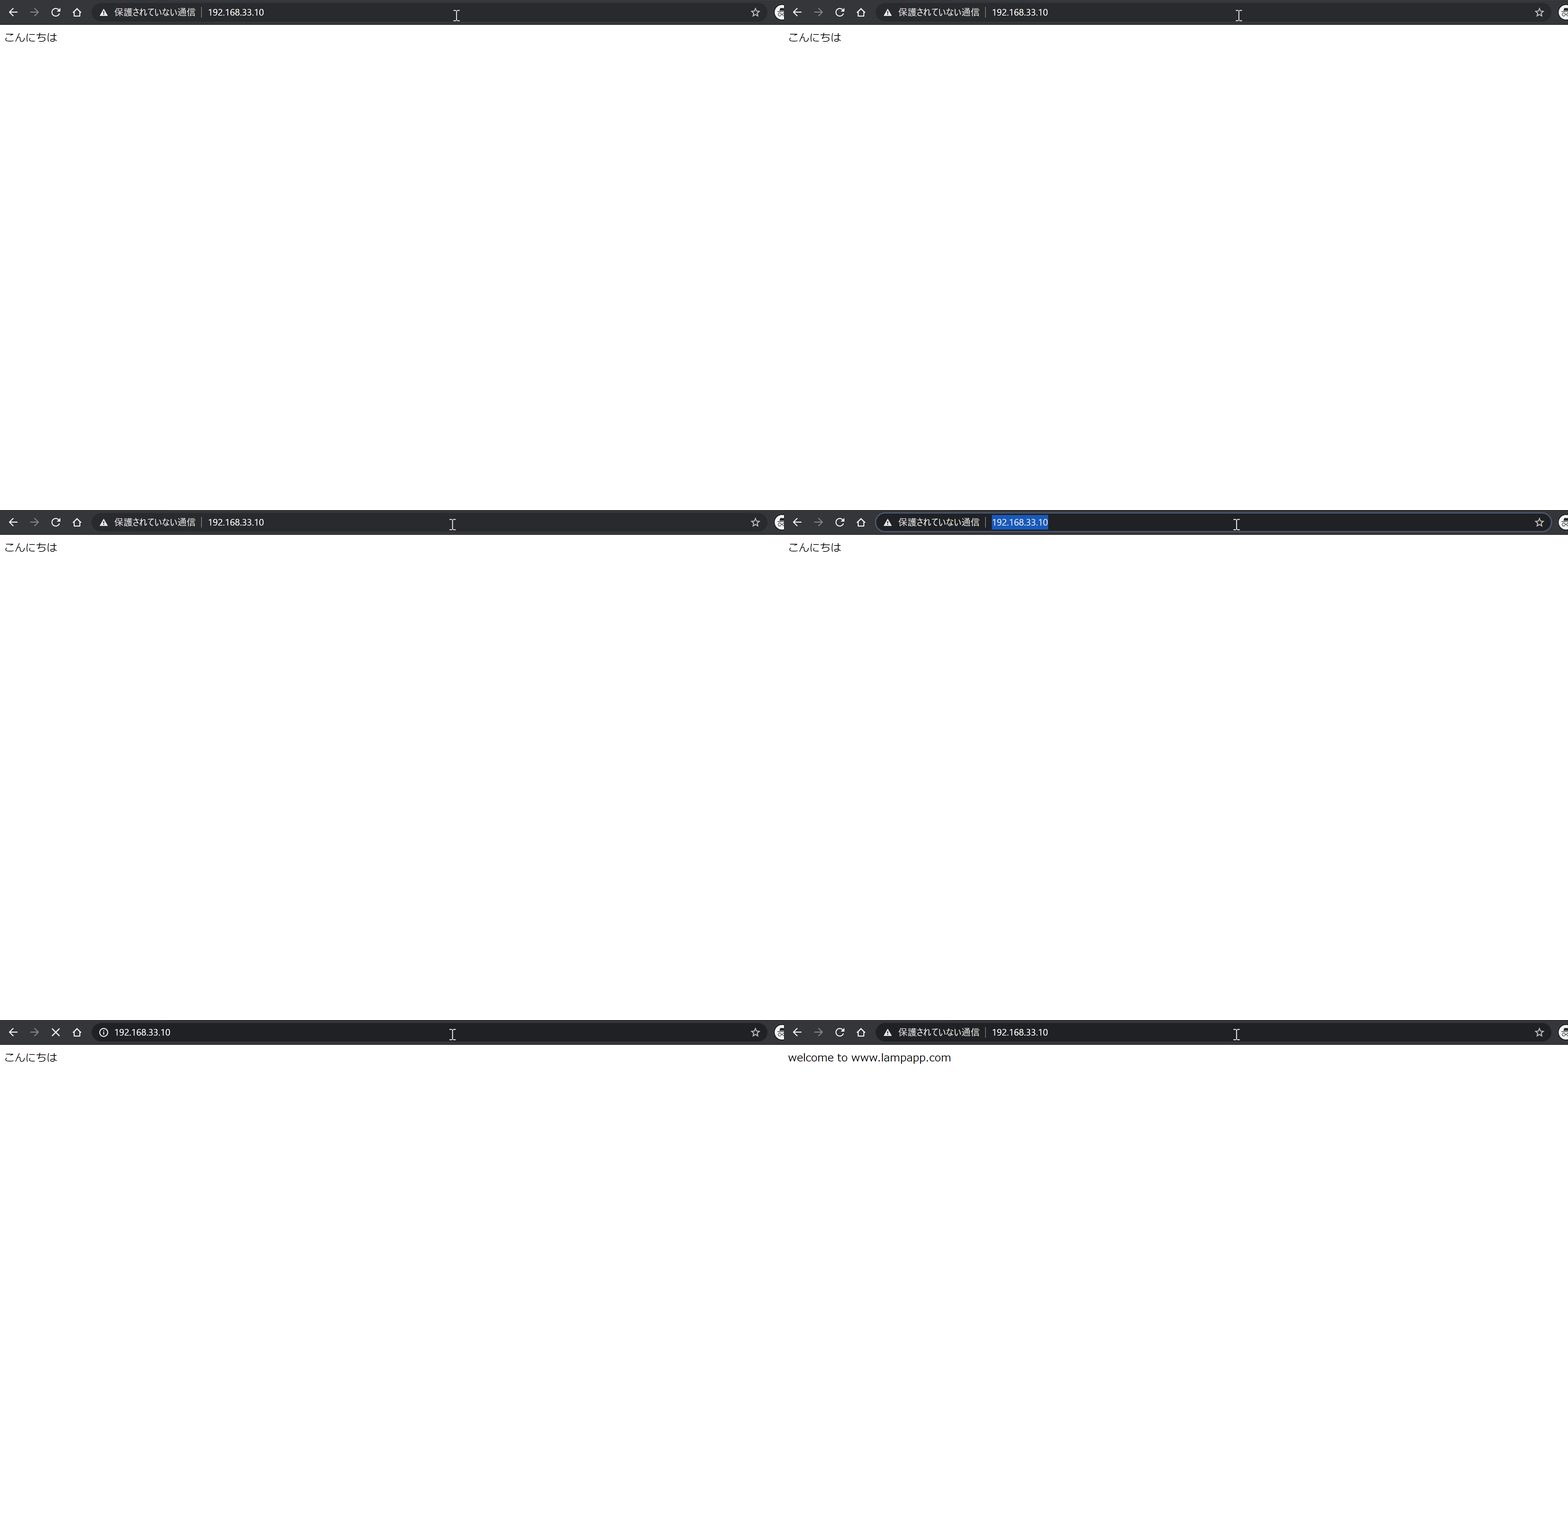
192.168.33.10にアクセスして画面表示されてたらOK
ゲスト・ホスト間でファイルの共有ができるよう設定
ゲスト→ホストにApacheの設定ファイル等を転送する
~/workspace/lampapp
$ vagrant ssh-config > ssh.config
// パスワードを聞かれるので"vagrant"と入力する
$ scp -P 2222 -F ssh.config vagrant@localhost:/etc/httpd/conf/httpd.conf ./httpd/
// さっき作ったindex.phpも転送
$ scp -P 2222 -F ssh.config vagrant@localhost:/var/www/html/index.php ./apps/
vagrant-vbguestのインストール
~/workspace/lampapp
$ vagrant plugin list
$ vagrant plugin install vagrant-vbguest
$ vagrant vbguest --status

[default] GuestAdditions 6.1.4 running --- OK.
Vagrantfileの編集
46 config.vm.synced_folder "./httpd", "/etc/httpd/conf"
47 config.vm.synced_folder "./apps", "/var/www/http"
Vagrantのリロード
~/workspace/lampapp
$ vagrant reload
変更確認
./apps/index.php
<?php

echo 'Welcome to www.lampapp.com'; // 'こんにちは'から修正
画面の文字が変わってたらOK
バーチャルホストの設定
httpd.confの設定
httpd/httpd.conf
(中略)
# EnableMMAP off
EnableSendfile on

# Supplemental configuration
#
# Load config files in the "/etc/httpd/conf.d" directory, if any.
IncludeOptional conf.d/*.conf

# ここから追加
NameVirtualHost *:80
<VirtualHost *:80>
    ServerName www.lampapp.com
    DocumentRoot /var/www/html/www.lampapp.com
    <Directory "/var/www/html/www.lampapp.com">
        Options All
        AllowOverride All
        Order Allow,Deny
        Allow from all
    </Directory>
</VirtualHost>
<VirtualHost *:80>
    ServerName asset.lampapp.com
    DocumentRoot /var/www/html/asset.lampapp.com
    <Directory "/var/www/html/asset.lampapp.com">
        Options All
        AllowOverride All
        Order Allow,Deny
        Allow from all
    </Directory>
</VirtualHost>
ディレクトリ構成変更
~/workspace/lampapp
$ mkdir apps/{www,asset}.lampapp.com
$ mv apps/index.php apps/www.lampapp.com
$ vi apps/asset.lampapp.com/index.php
apps/asset.lampapp.com/index.php
<?php

echo 'Welcome to asset.lampapp.com';
ホストの設定
/etc/hosts
# 中略
192.168.33.10 www.lampapp.com asset.lampapp.com
再起動
~/workspace/lampapp
$ vagrant ssh
$ sudo systemctl restart httpd
$ exit
$ vagrant suspend

// Windows再起動後、vagrant resume
画面確認
-
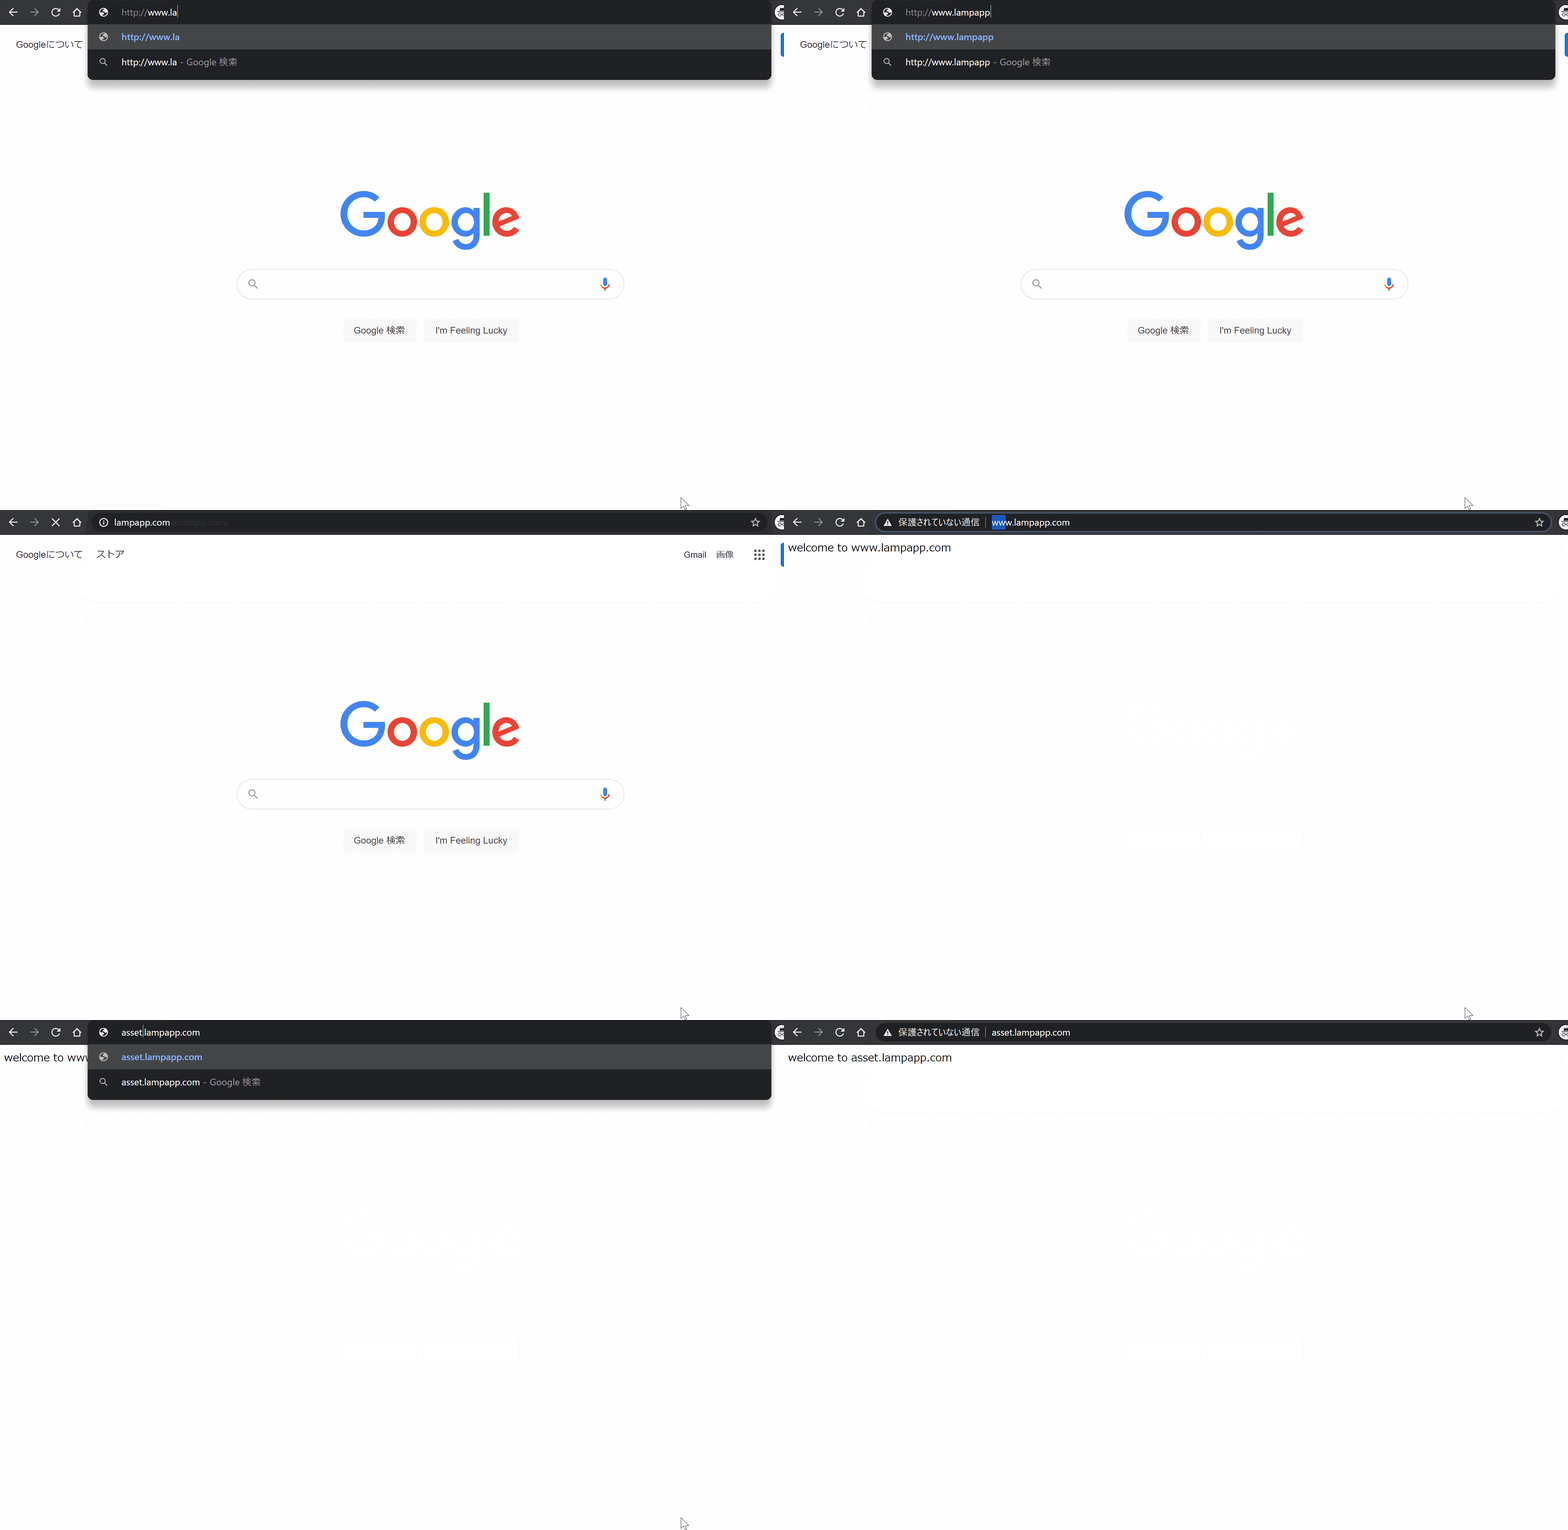
www.lampapp.com、asset.lampapp.comにアクセスし、各画面が表示されればOK
Nginxの設定
SSH接続
~/workspace/lampapp
$ vagrant ssh
Nginxのインストール
guest
$ sudo yum -y install nginx
$ sudo mkdir -p /var/log/nginx/{www,asset}.lampapp.com  // 先にログ用のディレクトリを作っておく
$ exit
Nginxの設定
~/workspace/lampapp
$ vi nginx/default.conf
./nginx/default.conf
server {
  listen 80;
  server_name www.lampapp.com;
  charset UTF-8;
  proxy_set_header    X-Real-IP       $remote_addr;
  proxy_set_header    X-Forwarded-For $proxy_add_x_forwarded_for;
  proxy_set_header    Host            $http_host;
  proxy_redirect      off;
  proxy_max_temp_file_size    0;
  access_log  /var/log/nginx/www.lampapp.com/access.log    main;
  error_log   /var/log/nginx/www.lampapp.com/error.log     warn;
  location / {
    proxy_pass http://127.0.0.1:8081;
    break;
  }
}
server {
  listen 80;
  server_name asset.lampapp.com;
  charset UTF-8;
  proxy_set_header    X-Real-IP       $remote_addr;
  proxy_set_header    X-Forwarded-For $proxy_add_x_forwarded_for;
  proxy_set_header    Host            $http_host;
  proxy_redirect      off;
  proxy_max_temp_file_size    0;
  access_log  /var/log/nginx/asset.lampapp.com/access.log    main;
  error_log   /var/log/nginx/asset.lampapp.com/error.log     warn;
  location / {
    proxy_pass http://127.0.0.1:8082;
    break;
  }
}
Apacheの修正
./httpd/httpd.conf
Listen 8081    # 80から修正
Listen 8082    # 追記

# (中略)

NameVirtualHost *:8081    # 80から変更
<VirtualHost *:8081>
    ServerName www.lampapp.com
    DocumentRoot /var/www/html/www.lampapp.com
    <Directory "/var/www/html/www.lampapp.com">
        Options All
        AllowOverride All
        Order Allow,Deny
        Allow from all
    </Directory>
</VirtualHost>
NameVirtualHost *:8082  # 追加
<VirtualHost *:8082>
    ServerName asset.lampapp.com
    DocumentRoot /var/www/html/asset.lampapp.com
    <Directory "/var/www/html/asset.lampapp.com">
        Options All
        AllowOverride All
        Order Allow,Deny
        Allow from all
    </Directory>
</VirtualHost>
Vagrantfileの修正
~/workspace/lampapp
$ mkdir logs/{www,asset}.lampapp.com
46 config.vm.synced_folder "./apps", "/var/www/html"
47 config.vm.synced_folder "./httpd", "/etc/httpd/conf"
48 config.vm.synced_folder "./nginx", "/etc/nginx/conf.d"  # 追加
49 config.vm.synced_folder "./logs/www.lampapp.com", "/var/log/nginx/www.lampapp.com"  # 追加
50 config.vm.synced_folder "./logs/asset.lampapp.com", "/var/log/nginx/asset.lampapp.com"  # 追加
Vagrantの再起動
~/workspace/lampapp
$ vagrant reload
$ vagrant ssh
Nginxの起動 & Apacheの再起動
$ sudo systemctl restart httpd
$ sudo systemctl enable nginx
$ sudo systemctl start nginx
- 再度
www.lampapp.com、asset.lampapp.comにアクセスし、各画面が表示されればOK
SSL証明(オレオレ証明書)
guest
$ openssl version  // 何も表示されない場合はインストール↓
$ sudo yum install openssl
// 秘密鍵の作成
$ mkdir /etc/nginx/ssl
$ sudo openssl genrsa -out /etc/nginx/ssl/lampapp.com.key 2048
// CSR(証明書署名要求)の作成
$ sudo openssl req -new -key /etc/nginx/ssl/lampapp.com.key -out /etc/nginx/ssl/lampapp.com.csr

// 今回はすべてEnter
Country Name (2 letter code) [XX]:
State or Province Name (full name) []:
Locality Name (eg, city) [Default City]:
Organization Name (eg, company) [Default Company Ltd]:
Organizational Unit Name (eg, section) []:
Common Name (eg, your name or your server's hostname) []:asset.lampapp.com
Email Address []:
Please enter the following 'extra' attributes
to be sent with your certificate request
A challenge password []:
An optional company name []:

// CRT(SSLサーバ証明書)の作成
$ sudo openssl x509 -days 3650 -req -signkey /etc/nginx/ssl/lampapp.com.key -in /etc/nginx/ssl/lampapp.com.csr -out /etc/nginx/ssl/lampapp.com.crt

// 確認
$ ls -l /etc/nginx/ssl

-rw-r--r--. 1 root root  993 Feb 16 20:22 lampapp.com.crt
-rw-r--r--. 1 root root  993 Feb 16 20:21 lampapp.com.csr
-rw-r--r--. 1 root root 1679 Feb 16 20:21 lampapp.com.key

$ exit
Nginxの設定
./nginx/default.conf
server {
  listen 443 ssl; # 80から変更
  server_name www.lampapp.com;
  charset UTF-8;
  proxy_set_header    X-Real-IP       $remote_addr;
  proxy_set_header    X-Forwarded-For $proxy_add_x_forwarded_for;
  proxy_set_header    Host            $http_host;
  proxy_redirect      off;
  proxy_max_temp_file_size    0;
  access_log  /var/log/nginx/www.lampapp.com/access.log    main;
  error_log   /var/log/nginx/www.lampapp.com/error.log     warn;
  ssl_certificate     /etc/nginx/ssl/lampapp.com.crt;  # 追加
  ssl_certificate_key /etc/nginx/ssl/lampapp.com.key;  # 追加
  location / {
    proxy_pass http://127.0.0.1:8081;
    break;
  }
}
server {
  listen 443 ssl; # 80から変更
  server_name asset.lampapp.com;
  charset UTF-8;
  proxy_set_header    X-Real-IP       $remote_addr;
  proxy_set_header    X-Forwarded-For $proxy_add_x_forwarded_for;
  proxy_set_header    Host            $http_host;
  proxy_redirect      off;
  proxy_max_temp_file_size    0;
  access_log  /var/log/nginx/asset.lampapp.com/access.log    main;
  error_log   /var/log/nginx/asset.lampapp.com/error.log     warn;
  ssl_certificate     /etc/nginx/ssl/lampapp.com.crt; # 追加
  ssl_certificate_key /etc/nginx/ssl/lampapp.com.key; # 追加
  location / {
    proxy_pass http://127.0.0.1:8082;
    break;
  }
}
再起動
~/workspace/lampapp
$ vagrant ssh
$ sudo systemctl restart nginx


