react-native使うとアニメーション大変なんじゃない?と言われたのでメモ
react nativeには二種類のアニメーションのAPIがある。
Animated API = 複雑なアニメーション向け
LayoutAnimation API = 簡単なアニメーションをお手軽に実装
IOS出身の人でも3分でアニメーション出来るよ!LayoutAnimationを使えばね。
LayoutAnimationの使い方
LayoutAnimationはとても簡単。
setStateの上に1行書くだけ!!!
stateの変化を検知すると、自動的にアニメーションを追加してくれる。
つまり以下のように、クラスメソッドの中のsetStateの上に一行追加するだけで良い。
onPressButton = () => {
  LayoutAnimation.spring()
  this.setState({boxHeight: 100})
}
androidで使うときは以下をコードの上の方に加える必要がある。
import { NativeModules } from 'react-native'
const { UIManager } = NativeModules;
UIManager.setLayoutAnimationEnabledExperimental && UIManager.setLayoutAnimationEnabledExperimental(true);
何を言っているのかわからないと思うので、実際の例を見てみる。
前提として、reactはstyleの値をstateで管理することが出来る。
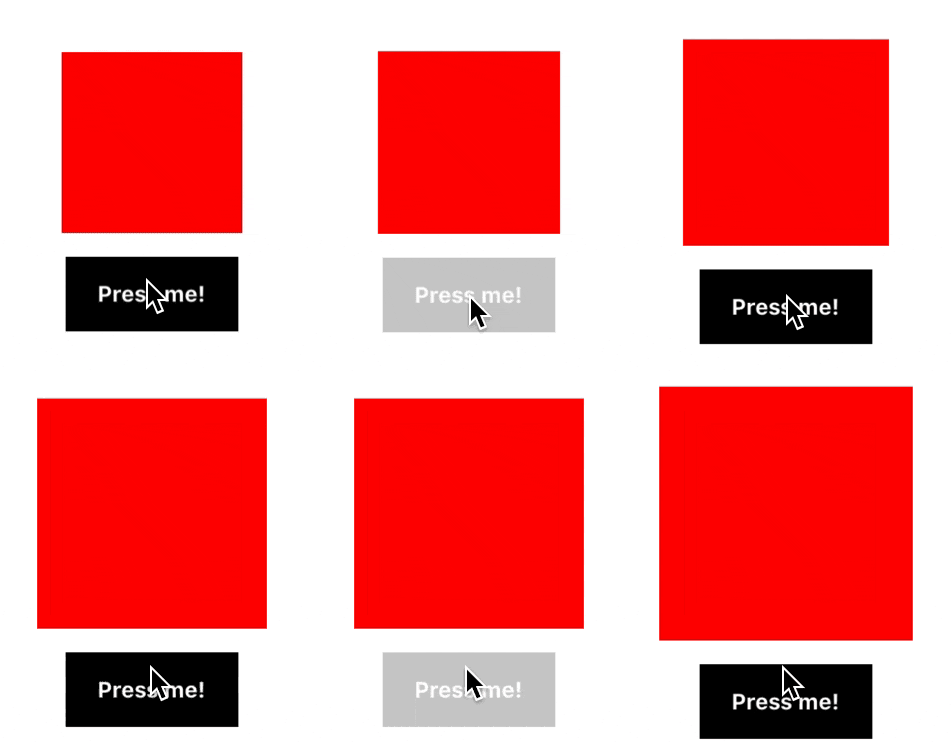
アニメーションを使わないと、以下のようにカクついた動きになる。
ボタンを押すと赤いboxのheightとwidthがsetStateで更新される。
export default class App extends React.Component {
  state = {
    w: 100,
    h: 100,
  }

  _onPress = () => {
    this.setState({ w: this.state.w + 15, h: this.state.h + 15 })
  }

  render() {
    return (
      <View style={styles.container}>
        <View style={[styles.box, { width: this.state.w, height: this.state.h }]} />
        <TouchableOpacity onPress={this._onPress}>
          <View style={styles.button}>
            <Text style={styles.buttonText}>Press me!</Text>
          </View>
        </TouchableOpacity>
      </View>
    )
  }
}
spring
それではアニメーションをしてみましょう。
setStateしているメソッドに1行足してください。
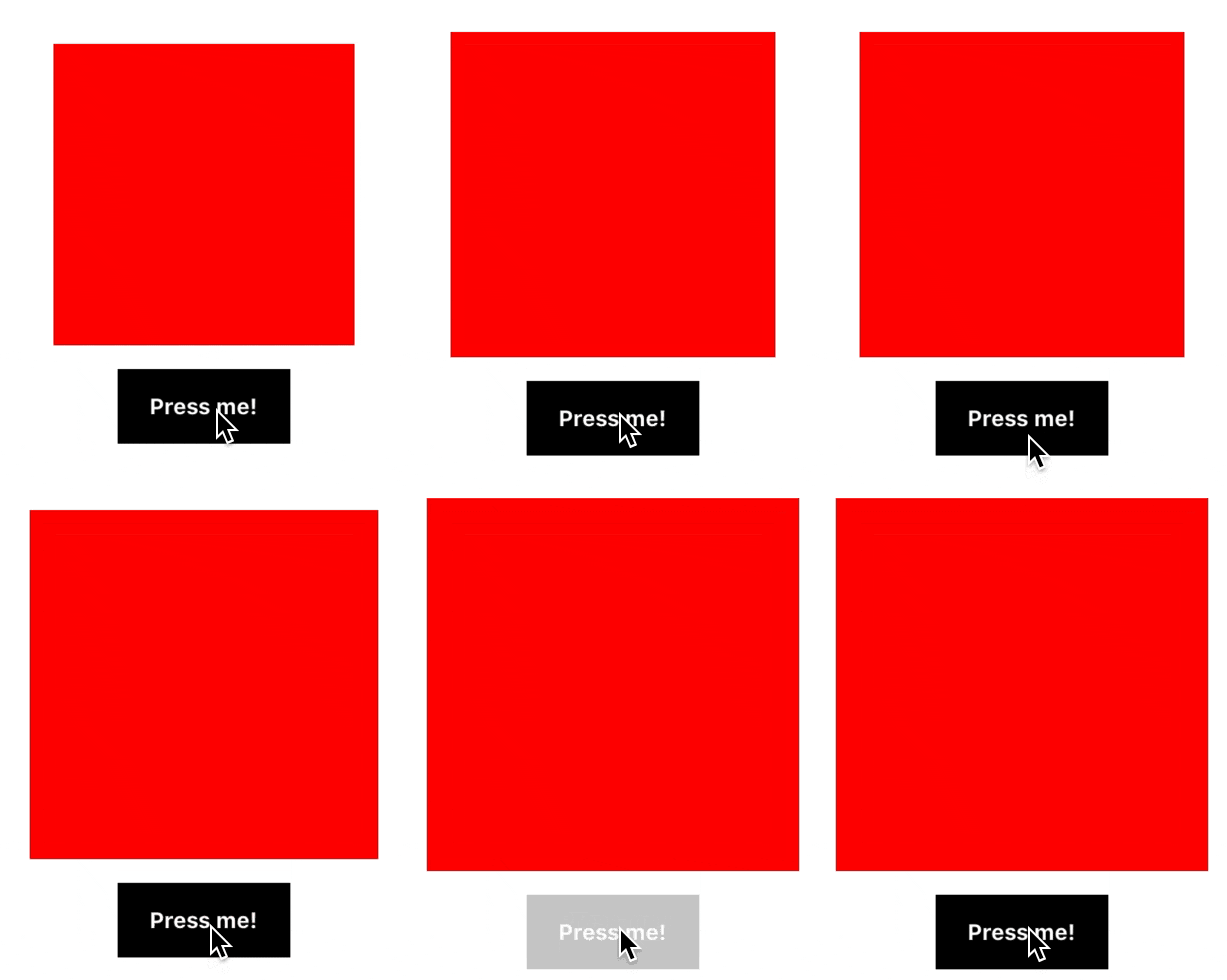
springはバネのようなアニメーションを実行します。
  _onPress = () => {
    LayoutAnimation.spring()
    this.setState({ w: this.state.w + 15, h: this.state.h + 15 })
  }
Animationの種類
LayoutAnimationには、標準で三種類のアニメーションが用意されています。
- spring バネのようにバウンス(弾むようなアニメーション)
- EaseInEaseOut 加速減速がある、自然なアニメーション(日本のアニメで多用される)()¥
- Liner 直線的な加速のアニメーション
使い方は、それぞれ、
LayoutAnimation.spring()
LayoutAnimation.easeInEaseOut()
LayoutAnimation.Liner()
をsetStateの上に置くだけです。
EaseInEaseOutの例
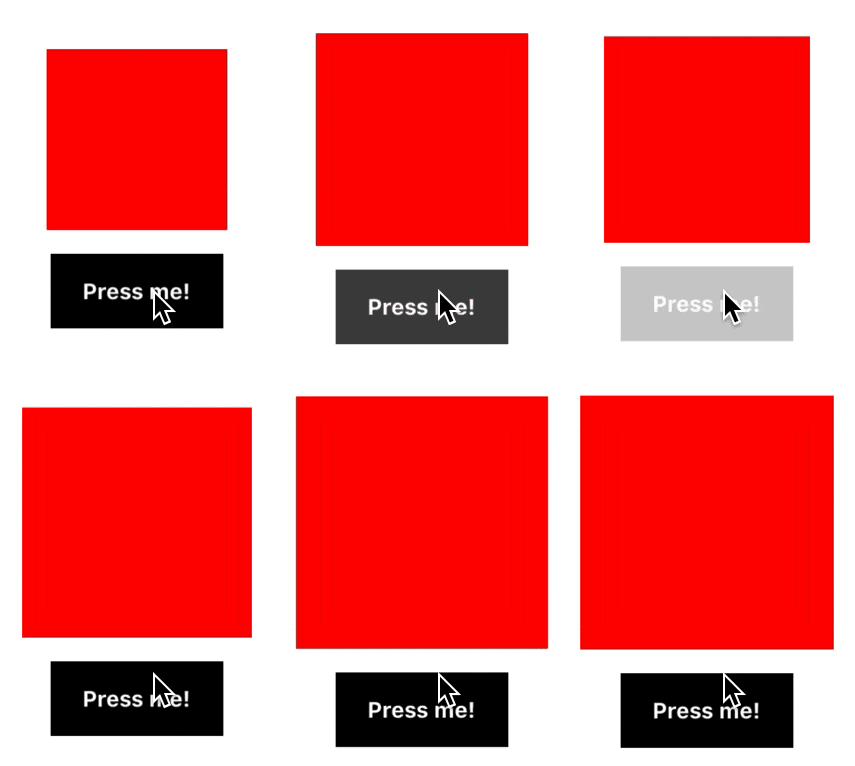
加速と減速がわかるでしょうか?アニメーションのスタートに加速し、終わりに減速しています。

アニメーションを微調整したい時
LayoutAnimationには、configureNextというメソッドがあるので、それに色々、configを渡しましょう。
LayoutAnimation.configureNext()に、duration, create, update, deleteをプロパティとして持つJSONを渡すことで、カスタムアニメーションを作ることが出来ます。
duration = アニメーションの時間
const CustomLayoutSpring = {
  duration: 1000,
  create: {
    type: LayoutAnimation.Types.spring,
    property: LayoutAnimation.Properties.scaleXY,
    springDamping: 0.7,
  },
  update: {
    type: LayoutAnimation.Types.spring,
    springDamping: 0.7,
  },
}

...
  _onPress = () => {
    LayoutAnimation.configureNext(CustomLayoutSpring)
    this.setState({ w: this.state.w + 15, h: this.state.h + 15 })
  }
アニメーションが終了した時に、メソッドを呼びたい
以下のように第二引数に関数を渡す事が出来ます。
渡された関数は、アニメーション終了後に呼ばれます。
これを利用し、あるアニメーションが終了してから新しいアニメーションを開始するということも可能です。
LayoutAnimation.spring(console.log('AAA'))
LayoutAnimation.configureNext(CustomLayoutSpring, console.log('AAA'))
お手軽にアニメーションを微調整できます。
いい時代になりましたねー。
もっと詳しく
LayoutAnimationの細かい実装は直接コードを読んでと公式が言っていますよー
github上のソースコード
リッチなアニメーションでユーザーに感動と便利を与えたいですね。


