前提
Windows環境を想定しています。
手順
1. mkcertのインストール
PowerShellで以下のコマンドを実行してmkcertをインストールする。
その後PowerShellを再起動する。
winget install mkcert

2. ルート証明書の作成
PowerShellにて以下のコマンドを実行する。
mkcert --install
以下のポップアップが表示されるので「はい」を選択する。

これで自己認証局とルート証明書が作成される。
さらにブラウザに自動でルート証明書を信頼する証明書リストに登録される。
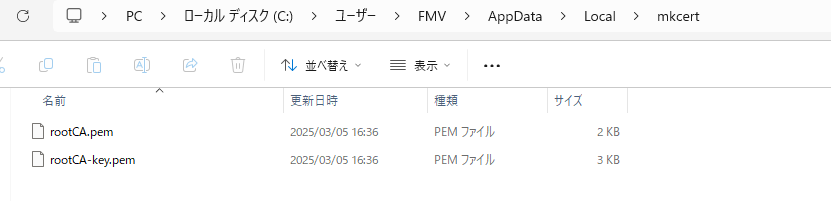
作成されたルート証明書と秘密鍵へのパスは以下のコマンドで確認できる。
mkcert -CAROOT

以下のファイルが作成されている。
- rootCA.pem (ルート証明書)
- rootCA-key.pem (秘密鍵)
3. サーバ証明書の作成
手順2で作成したルート証明書と秘密鍵のペアを用いて指定のドメインに対してサーバ証明書を作成する。
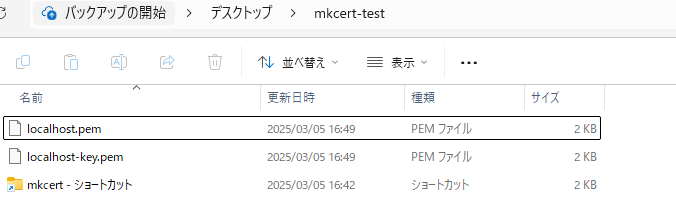
今回はlocalhostに対してサーバ証明書を作成する。
サーバ証明書と秘密鍵のペアを作成したいディレクトリに移動し、以下のコマンドを実行する。
mkcert localhost

これで完了。あとはサーバ側に作成したサーバ証明書と秘密鍵を設定し、クライアント側にルート証明書を信頼できる証明書として登録すればOK。(ブラウザで挙動確認を行う場合、後者は手順2で自動的に行われる。)
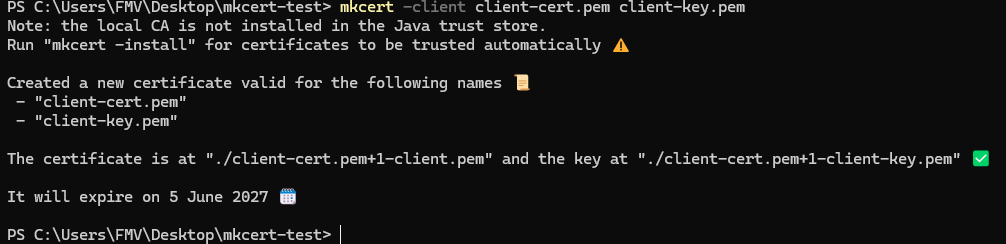
補足:クライアント証明書を作成したい場合
サーバ証明書の代わりにクライアント証明書を作成したい場合はルート証明書を作成した後に以下のコマンドを実行する。
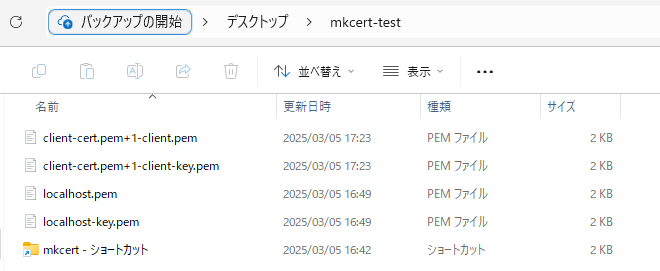
mkcert -client client-cert.pem client-key.pem