はじめに
Androidアプリにオープンソースライセンスを表示させる機会があったため、初めてクックパッドさんのlicense-tools-pluginを使用しました。
今後も使用する機会があるかと思い、導入方法をまとめました。
license-tools-pluginとは
クックパッドさんが公開しているプラグインで、以下の機能が提供されています。
- yamlを使ったオープンソースライセンスの管理
- ライセンス追記漏れのチェック
- ライセンス一覧のhtmlの作成
開発環境
PC:MacBook Pro
OS:macOS BigSur
Android Studio:Arctic Fox 2020.3.1
license-tools-pluginの導入方法
※今回はAndroid開発でよく使われるライブラリをいくつか追加し、出力したhtmlファイルをwebViewに表示させる方法について記載いたします。
1.プラグインを追加
build.gradle(project)に以下のコード上の①〜③を追記します。
追加②に関しては、最新のバージョンをこちらから確認して置き換えてください。
buildscript {
    repositories {
        google()
        mavenCentral()

        //追加① ここから
        maven {
            url 'https://plugins.gradle.org/m2/'
        }
        //ここまで
    }
    dependencies {
        classpath 'com.android.tools.build:gradle:4.2.2'
        classpath "org.jetbrains.kotlin:kotlin-gradle-plugin:1.5.30"

        classpath 'gradle.plugin.com.cookpad.android.plugin:plugin:1.2.8'  //追加②
    }
}

task clean(type: Delete) {
    delete rootProject.buildDir
}

apply plugin: "com.cookpad.android.plugin.license-tools" //追加③
build.gradleへの記述が終わったら、画面上部にあるSync Nowを押して同期します。

2.ymlファイルを作成
Android StudioのTerminalに以下のコマンドを入力し、yamlファイルを作成します。
./gradlew updateLicenses
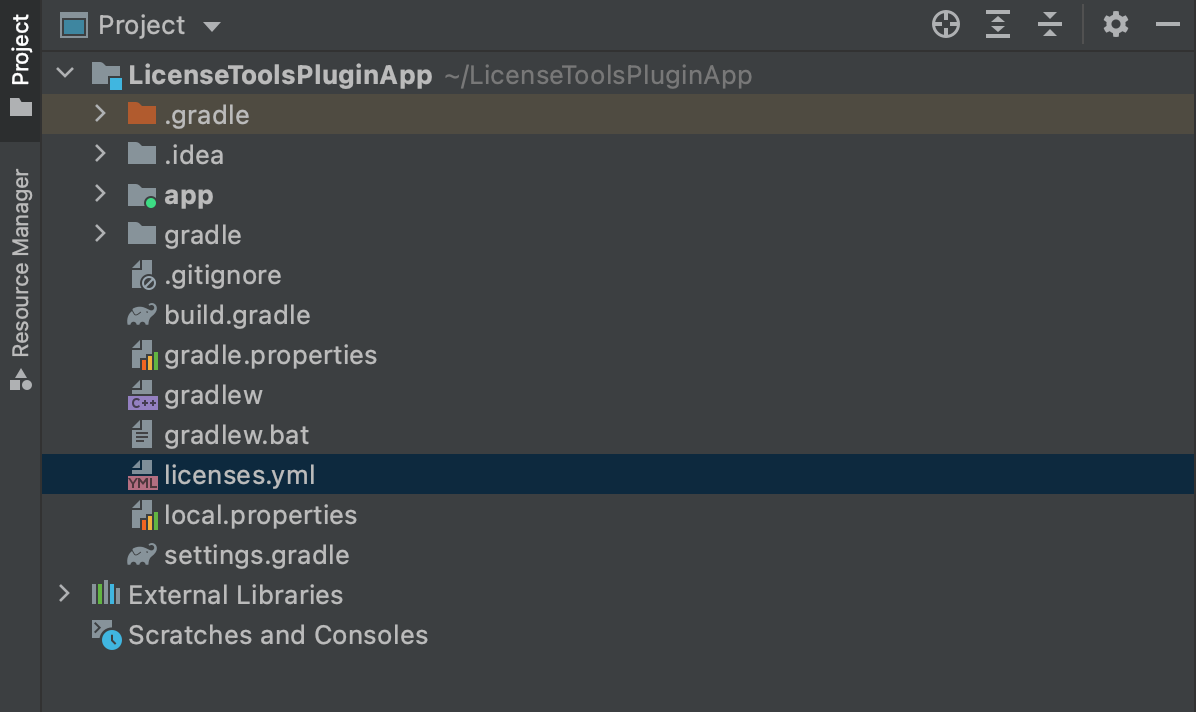
実行が完了すると、app直下にlicenses.ymlというyamlファイルが追加されます。
licenses.ymlの内容は以下のようになっています。(一部を抜粋)
- artifact: androidx.activity:activity:+
  name: activity
  copyrightHolder: #COPYRIGHT_HOLDER#
  license: The Apache Software License, Version 2.0
  licenseUrl: http://www.apache.org/licenses/LICENSE-2.0.txt
  url: https://developer.android.com/jetpack/androidx/releases/activity#1.2.4
- artifact: androidx.annotation:annotation-experimental:+
  name: annotation-experimental
  copyrightHolder: #COPYRIGHT_HOLDER#
  license: The Apache Software License, Version 2.0
  licenseUrl: http://www.apache.org/licenses/LICENSE-2.0.txt
  url: https://developer.android.com/jetpack/androidx/releases/annotation#1.1.0
- artifact: androidx.annotation:annotation:+
  name: annotation
  copyrightHolder: #COPYRIGHT_HOLDER#
  license: #LICENSE#
  licenseUrl: http://www.apache.org/licenses/LICENSE-2.0.txt
  url: https://developer.android.com/jetpack/androidx/releases/annotation#1.2.0
- artifact: androidx.appcompat:appcompat-resources:+
  name: appcompat-resources
  copyrightHolder: #COPYRIGHT_HOLDER#
  license: #LICENSE#
  licenseUrl: http://www.apache.org/licenses/LICENSE-2.0.txt
  url: https://developer.android.com/jetpack/androidx/releases/appcompat#1.3.1


// ライブラリの数によってはかなり長くなります
ここから少し面倒ですが、#COPYRIGHT_HOLDER#や#LICENSE#となっている箇所を調べて手動で編集します。
yamlファイル内のartifactやlicenseUrlを1つ1つ検索し、GitHubなどから情報を得ることができます。
(Androidの標準ライブラリは、The Android Open Source Projectと記載します。)
今回の場合ですと、以下のように編集します。
- artifact: androidx.activity:activity:+
  name: activity
  copyrightHolder: The Android Open Source Project
  license: The Apache Software License, Version 2.0
  licenseUrl: http://www.apache.org/licenses/LICENSE-2.0.txt
  url: https://developer.android.com/jetpack/androidx/releases/activity#1.2.4
- artifact: androidx.annotation:annotation-experimental:+
  name: annotation-experimental
  copyrightHolder: The Android Open Source Project
  license: The Apache Software License, Version 2.0
  licenseUrl: http://www.apache.org/licenses/LICENSE-2.0.txt
  url: https://developer.android.com/jetpack/androidx/releases/annotation#1.1.0
- artifact: androidx.annotation:annotation:+
  name: annotation
  copyrightHolder: The Android Open Source Project
  license: The Apache Software License, Version 2.0
  licenseUrl: http://www.apache.org/licenses/LICENSE-2.0.txt
  url: https://developer.android.com/jetpack/androidx/releases/annotation#1.2.0
- artifact: androidx.appcompat:appcompat-resources:+
  name: appcompat-resources
  copyrightHolder: The Android Open Source Project
  license: The Apache Software License, Version 2.0
  licenseUrl: http://www.apache.org/licenses/LICENSE-2.0.txt
  url: https://developer.android.com/jetpack/androidx/releases/appcompat#1.3.1


// ライブラリの数によってはかなり長くなります
全て編集が完了したら、Android StudioのTerminalに以下のコマンドを入力し、yamlファイルの確認をします。
./gradlew checkLicenses
エラーが発生しなければ問題なくyamlファイルが作成されています!
3.ライセンス一覧を作成
Android StudioのTerminalに以下のコマンドを入力し、htmlファイルを作成します。
./gradlew generateLicensePage
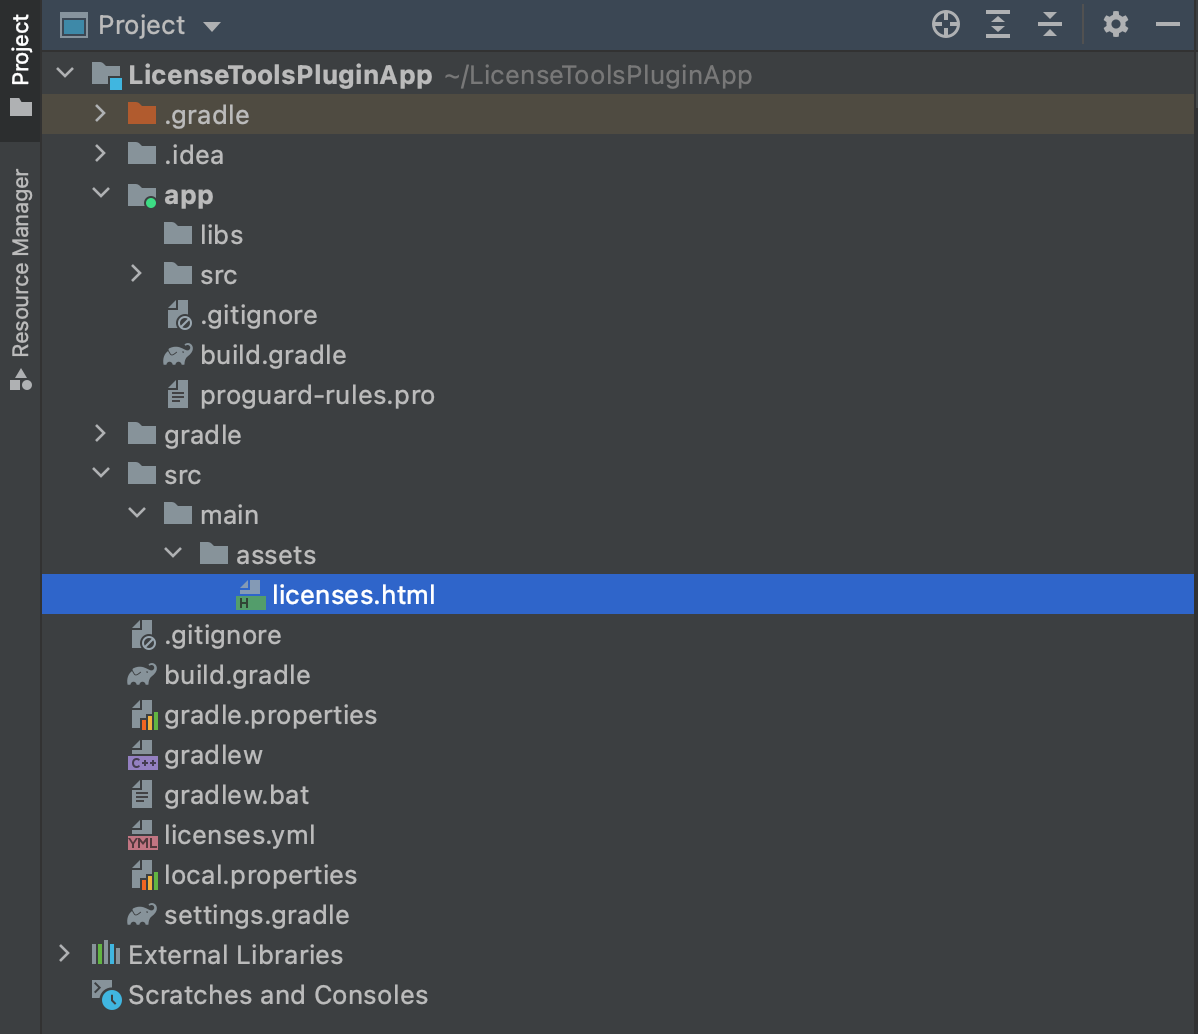
実行が完了すると、app直下にlicenses.htmlというhtmlファイルが追加されます。
4.ライセンスをアプリに表示
Assetsフォルダを作成し、先ほど追加されたlicenses.htmlを格納します。

htmlファイルをWebViewで表示するために、activity_main.xmlにWebViewを追加します。
<?xml version="1.0" encoding="utf-8"?>
<androidx.constraintlayout.widget.ConstraintLayout
    xmlns:android="http://schemas.android.com/apk/res/android"
    xmlns:app="http://schemas.android.com/apk/res-auto"
    xmlns:tools="http://schemas.android.com/tools"
    android:layout_width="match_parent"
    android:layout_height="match_parent"
    tools:context=".MainActivity">

    <WebView
        android:id="@+id/web_view"
        android:layout_width="match_parent"
        android:layout_height="0dp"
        android:layout_margin="16dp"
        app:layout_constraintBottom_toBottomOf="parent"
        app:layout_constraintEnd_toEndOf="parent"
        app:layout_constraintStart_toStartOf="parent"
        app:layout_constraintTop_toTopOf="parent">

    </WebView>

</androidx.constraintlayout.widget.ConstraintLayout>
MainActivity.ktには、WebViewにassetsフォルダ内のhtmlファイルを表示するよう記載します。
class MainActivity : AppCompatActivity() {
    override fun onCreate(savedInstanceState: Bundle?) {
        super.onCreate(savedInstanceState)
        setContentView(R.layout.activity_main)

        val webView = findViewById<WebView>(R.id.web_view)
        webView.loadUrl("file:///android_asset/licenses.html")
    }
}
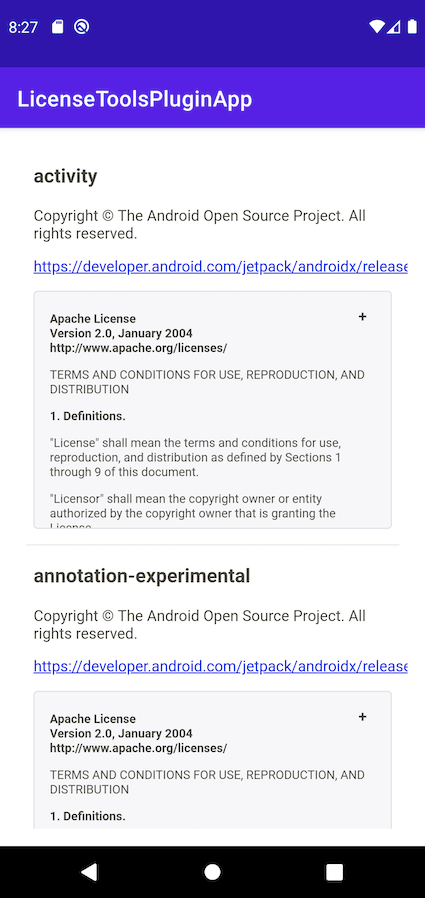
ここまでできたらアプリを実行してみましょう!
WebView内にオープンソースライセンスを表示することができました!
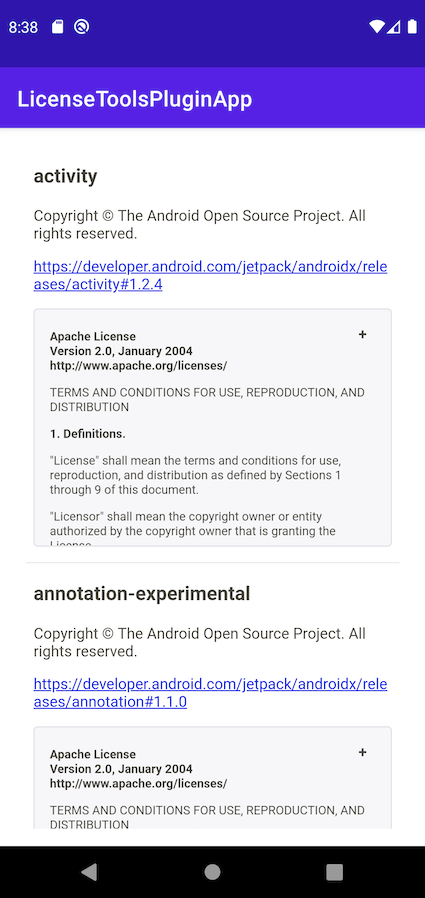
このままでもいいですが、URLが長いと横スクロールで見ることになり少し見づらい問題がありました。
修正したい場合は、htmlファイルに以下を追加します。
すると、横幅に合わせて改行されるめ、横スクロールをなくすことができます。
a {
overflow-wrap: break-word;
}
その他
アプリを作成する上で、ライブラリを追加した際は./gradlew checkLicensesコマンドを実行することで差分が取れます。
差分をコピーし、現在の licenses.ymlファイルにペーストします。
以降は初回時と同様に#COPYRIGHT_HOLDER#や#LICENSE#を編集し、再度コマンドを実行しエラーが無いかを確認します。
htmlファイルも再度./gradlew generateLicensePageコマンドで作成すれば、オープンソースライセンスを更新できます。