検証サーバーなどのテストフェーズにおいて、不具合対応のたびに発生するデプロイ作業、
面倒に思った経験はないでしょうか?
私はあります。
その作業、GitLabのCI/CDを活用することで自動化できます。
はじめに、GitLab、CI/CDって何?
そもそもGitLabとは、主に、ソースコードなどを共有・管理するシステムです。
GitLabを使うことで共同開発の効率や生産性の向上が見込めます。
CI/CDは、ソフトウェア開発の際に、ビルド・テスト・デプロイ・リリースの工程を自動化し、
業務効率を上げるための開発手法です。
GitLabには、このCI/CD機能が搭載されています。
実践
[前提]
・検証用サーバーはLinux(RHEL)を使用
(他OSの場合、コマンドを書き換える必要があります。)
・プロジェクトファイル作成済み(C#, .NETで作成したプロジェクトを例にします)
・GitLab上にプロジェクトのリポジトリを作成済み
手順としては、以下となります。
- gitlab-runnerのインストール(GitLab-Runner実行用)
- gitlab-runnerの登録
- .gitlab-ci.ymlの準備(GitLab-Runnerの処理を記述)
- 動作確認
たったこれだけです!
1. GitLab-runnerのインストール
検証用サーバーに、gitlab-runnerをインストールします。
公式ドキュメントに沿ってインストールを進めます。
[コマンド] ※OSに応じたコマンドを実行してください。
# Download the binary for your system
sudo curl -L --output /usr/local/bin/gitlab-runner https://gitlab-runner-downloads.s3.amazonaws.com/latest/binaries/gitlab-runner-linux-amd64

# Give it permissions to execute
sudo chmod +x /usr/local/bin/gitlab-runner

# Create a GitLab CI user
sudo useradd --comment 'GitLab Runner' --create-home gitlab-runner --shell /bin/bash

# Install and run as service
sudo gitlab-runner install --user=gitlab-runner --working-directory=/home/gitlab-runner
sudo gitlab-runner start
2. gitlab-runnerの登録
検証用サーバーにてコマンドを実行し、gitlab-runnerの登録を行います。
登録時、GitLabのURLとtokenの情報が必要です。
[コマンド] ※OSに応じたコマンドを実行してください。
sudo gitlab-runner register --url {URL} --registration-token{token}
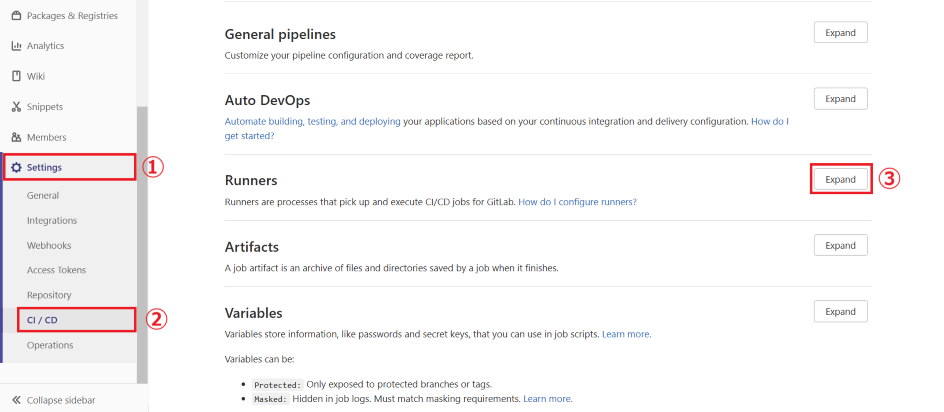
URLとtokenはこちらから確認できます。

3. .gitlab-ci.ymlの準備
GitLab CI/CDのパイプライン定義ファイル(.gitlab-ci.yml)を作成します。
ファイルは、GitLabリポジトリのルートディレクトリ直下に配置します。
記載例(.gitlab-ci.yml)
# ジョブの実行順序を定義(例:build → test → deploy → clean)
stages:
  - build
  - test
  - deploy
  - clean

# ジョブ定義(build)
build-job:
  stage: build
  script:
    - dotnet build ./SampleProject/Sample.csproj

# ジョブ定義(test) ※テストコード作成している場合
test-job:
  stage: test
  script:
    - dotnet build ./SampleProject/SampleUnitTest.csproj -r linux-x64
    - dotnet test -r linux-x64

# ジョブ定義(deploy)
deploy-job:
  stage: deploy
  script:
   - dotnet publish -c Release -r linux-x64 SampleProject/Sample.csproj
   - {検証用サーバーへのデプロイコマンドを各自記述}

# ジョブ定義(clean) ※必要に応じて定義
clean-job:
  stage: clean
  script:
  - {デプロイ後の不要ファイル削除処理のコマンドなど各自記述}
4. 動作確認
必要な設定は以上となります。
プロジェクトファイルに変更を加えコミットすることで、
先ほどパイプライン定義した処理が自動で実行されます。
パイプライン上で、各ジョブの実行ステータスを確認することができます。
Gitlab > CI/CD > Pipelines

全てのジョブが正常終了すると、上記画像のとおり、緑のチェックマークとなります。
最後に
GitLabのCI/CDの活用について、ご紹介いたしました。
ビルドからテスト、デプロイまでを自動化できるため、開発の効率化や、品質の向上にも繋がる強力なツールです。
メリットばかりと思いますので、まだ活用したことない方は、ぜひ導入を検討してみてはいかがでしょうか。