Ubuntu へ Chrome Remote Desktop を使ってMacからリモート接続
概要
リモートのLinux機にアクセスするのに、通常のSSH接続でもよいが、
画像を確認したい場合や、IPアドレスが変わり、トンネルを通すのが大変な場合でもリモート接続が可能で便利である。
▼Macからの接続画面

インストール
公式説明より抜粋
Chromeのインストール後に公式ページよりChrome リモートデスクトップをインストール。
Chrome リモートデスクトップ

64bit Debian パッケージのインストール
64bit Debian パッケージをこちらからダウンロード
.chrome-remote-desktop-session の作成
-
/usr/share/xsessions/で、ご使用のデスクトップ環境の .desktop ファイルを探します。
たとえば Cinnamon の場合は、「cinnamon.desktop」という名前のファイルがあり、次のコマンドが指定されています:gnome-session --session=cinnamon - ホーム ディレクトリに .chrome-remote-desktop-session というファイルを作成し、次の内容を指定します。
exec /usr/sbin/lightdm-session "<YOUR_EXEC_COMMAND>" -
<YOUR_EXEC_COMMAND>の部分を、.desktop ファイルの末尾にあるコマンドに置き換えます。
Cinnamon の場合、正しいコマンドは次のようになります:exec /usr/sbin/lightdm-session 'gnome-session --session=cinnamon'
統一デスクトップの場合は追加のコードが必要です。コマンド全体は次のとおりです:DESKTOP_SESSION=ubuntu XDG_CURRENT_DESKTOP=Unity XDG_RUNTIME_DIR=/run/user/$(id -u) exec /usr/sbin/lightdm-session 'gnome-session --session=ubuntu' - 「.chrome-remote-desktop-session」というファイルを保存します。
Ubuntu 16.04では以下のようになっている。
$ cd /usr/share/xsessions
$ ls
ubuntu.desktop
$ cat ubuntu.desktop
[Desktop Entry]
Name=Ubuntu
Comment=This session logs you into Ubuntu
Exec=gnome-session --session=ubuntu
TryExec=unity
Icon=
Type=Application
DesktopNames=Unity
X-Ubuntu-Gettext-Domain=gnome-session-3.0
ホームディレクトリに```.chrome-remote-desktop-session```を作成する
$ vi ~/.chrome-remote-desktop-session
[以下の内容を記載]
exec /usr/sbin/lightdm-session
DESKTOP_SESSION=ubuntu XDG_CURRENT_DESKTOP=Unity XDG_RUNTIME_DIR=/run/user/$(id -u) exec /usr/sbin/lightdm-session 'X-Ubuntu-Gettext-Domain=gnome-session-3.0'
### リモート接続の許可
1. パソコンで Chrome を開きます。
2. 上部のアドレスバーに「chrome://apps」と入力し、Enter キーを押します。
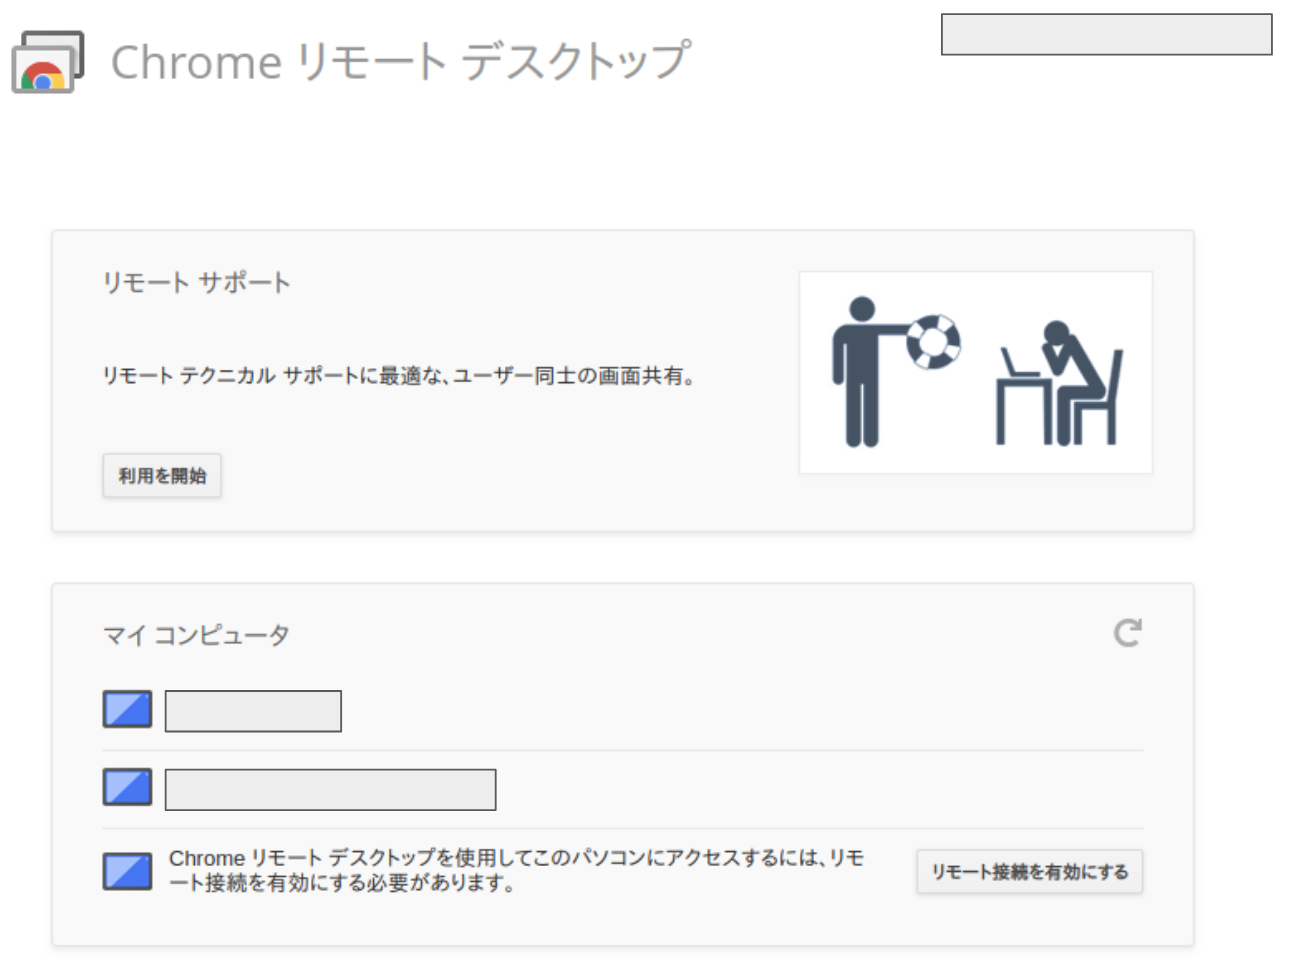
3. Chrome リモート デスクトップ Chrome リモート デスクトップ アプリ をクリックします。
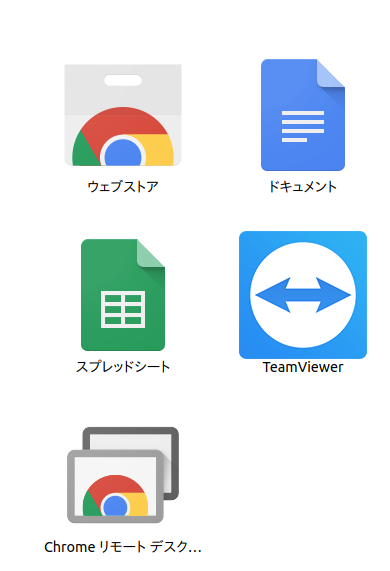
4. [マイ コンピュータ] の [利用を開始] をクリックします。
5. [リモート接続を有効にする] をクリックします。
6. PIN を入力し、同じ PIN を再入力して [OK] をクリックします。
7. 確認ダイアログを閉じます。
## トラブルシューティング
### 壁紙だけが表示される場合
⇢ desktop立ち上げ時の環境設定を変更することでうまく行きます。
### 他のパソコンから見た時にオフライン状態でリモート接続が選択できない。
⇢ 別な方法で設定を行い回避します。
システムを停止し、立ち上げ時のスクリプトを編集します。
$ sudo systemctl stop chrome-remote-desktop.service
立ち上げスクリプトのバックアップを取ります。
$ sudo cp /opt/google/chrome-remote-desktop/chrome-remote-desktop /opt/google/chrome-remote-desktop/chrome-remote-desktop.org
環境変数の確認をします
$ echo $DISPLAY
[値を覚えておく]
立ち上げスクリプトを編集していきます。
$ sudo vi /opt/google/chrome-remote-desktop/chrome-remote-desktop
``` python
FIRST_X_DISPLAY_NUMBER = 20
↓ ここに、echo $DISPLAYの結果を入れて、現在のディスプレイがリモート接続で見れるようにします。
FIRST_X_DISPLAY_NUMBER = 0 # 先ほど覚えた値
  @staticmethod
  def get_unused_display_number():
    """Return a candidate display number for which there is currently no
    X Server lock file"""
    display = FIRST_X_DISPLAY_NUMBER
    while os.path.exists(X_LOCK_FILE_TEMPLATE % display):
      display += 1
    return display
↓
  @staticmethod
  def get_unused_display_number():
    """Return a candidate display number for which there is currently no
    X Server lock file"""
    display = FIRST_X_DISPLAY_NUMBER
    # while os.path.exists(X_LOCK_FILE_TEMPLATE % display):
    #   display += 1
    return display
  def launch_session(self, x_args):
    self._init_child_env()
    self._setup_pulseaudio()
    self._setup_gnubby()
    self._launch_x_server(x_args)
    self._launch_x_session()
↓ 新しくXセッションを立ち上げる代わりに、すでに立ち上がっているホスト側の画面を利用。
  def launch_session(self, x_args):
    self._init_child_env()
    self._setup_pulseaudio()
    self._setup_gnubby()
    # self._launch_x_server(x_args)
    # self._launch_x_session()
    display = self.get_unused_display_number()
    self.child_env["DISPLAY"] = ":%d" % display
変更し終わったら再起動しましょう
$ sudo systemctl restart chrome-remote-desktop.service
以下のように接続ができれば成功です。
画面サイズなどは、先ほど編集したスクリプトを触ることで変更が可能です。
▼Macからの接続画面