この記事はなに?
Google App Engineでdbt Docsのページをホスティングしつつ、Github Actions から定期的に更新する手順をまとめた記事になります。
サービスアカウントの作成
Github Actions でデプロイする際に利用するサービスアカウントを作成します。
| 項目 | 設定値 |
|---|---|
| サービスアカウント名 | github-actions-app-engine-deploy |
| ロール | App Engine 管理者 |
| BigQuery ジョブユーザー | |
| BigQuery データ閲覧者 | |
| Cloud Build 編集者 | |
| Storage オブジェクト管理者 | |
| サービスアカウント ユーザー |
app.ymlの作成
dbt Docsのページを開くには、dbt docs generateコマンドを実行することで生成されるindex.html、manifest.json、catalog.jsonが必要になります。
なお、dbt docs generateコマンド自体は Github Actions で実行するため、事前にローカルでの実行は不要です。
app.yml
runtime: python39

instance_class: F1

handlers:
- url: /
  static_files: target/index.html
  upload: target/index.html
- url: /manifest.json
  static_files: target/manifest.json
  upload: target/manifest.json
- url: /catalog.json
  static_files: target/catalog.json
  upload: target/catalog.json
GAEのサービスの作成
app.ymlがある階層で、下記コマンドを実行して、GAEのサービスを生成しておきます。
gcloud init
gcloud app deploy
Github Actions で動かすapp_engine_deploy.ymlの作成
下記の例では、日本時間の午前5時にデプロイするように設定しています。
また、認証用サービスアカウントのkey.jsonをシークレットで設定した上で、呼び出すようにしています。
app_engine_deploy.yml
name: Deploy an App Engine app
on:
  schedule:
    - cron:  '0 20 * * *'
  workflow_dispatch:

permissions: write-all

jobs:
  deplay-staging:
    name: GAE deplay
    runs-on: ubuntu-latest
    steps:
      - name: Checkout
        uses: actions/checkout@v2
        with:
          ref: main
      - name: Set up Cloud SDK
        uses: google-github-actions/setup-gcloud@v0
        with:
          project_id: {{ プロジェクト名を入力 }}
          service_account_key: ${{ secrets.APP_ENGINE_DEPLOY_SA_KEY }}
          export_default_credentials: true
      - name: Set up Python
        uses: actions/setup-python@v4
        with:
          python-version: "3.9"
      - name: Install dbt
        run: |
          python -m pip install --upgrade pip
          pip install dbt-core==1.3.0 dbt-bigquery==1.3.0 pytz
      - name: dbt deps
        run: |
          dbt deps
      - name: dbt docs generate
        run: |
          dbt docs generate
      - name: Commit
        run: |
          git config user.name  "github actions"
          git config user.email "action@github.com"
          git add -f target/index.html target/manifest.json target/catalog.json
          git commit -a -m 'dbt docs generate'
          git push origin ${{ github.event.inputs.ref }}
      - name: Deploy an App Engine app
        id: deploy-app
        uses: google-github-actions/deploy-appengine@v0.3.1
        with:
          project_id: {{ プロジェクト名を入力 }}
          deliverables: app.yaml
          credentials: ${{ secrets.APP_ENGINE_DEPLOY_SA_KEY }}
          version: v1
IAP の設定
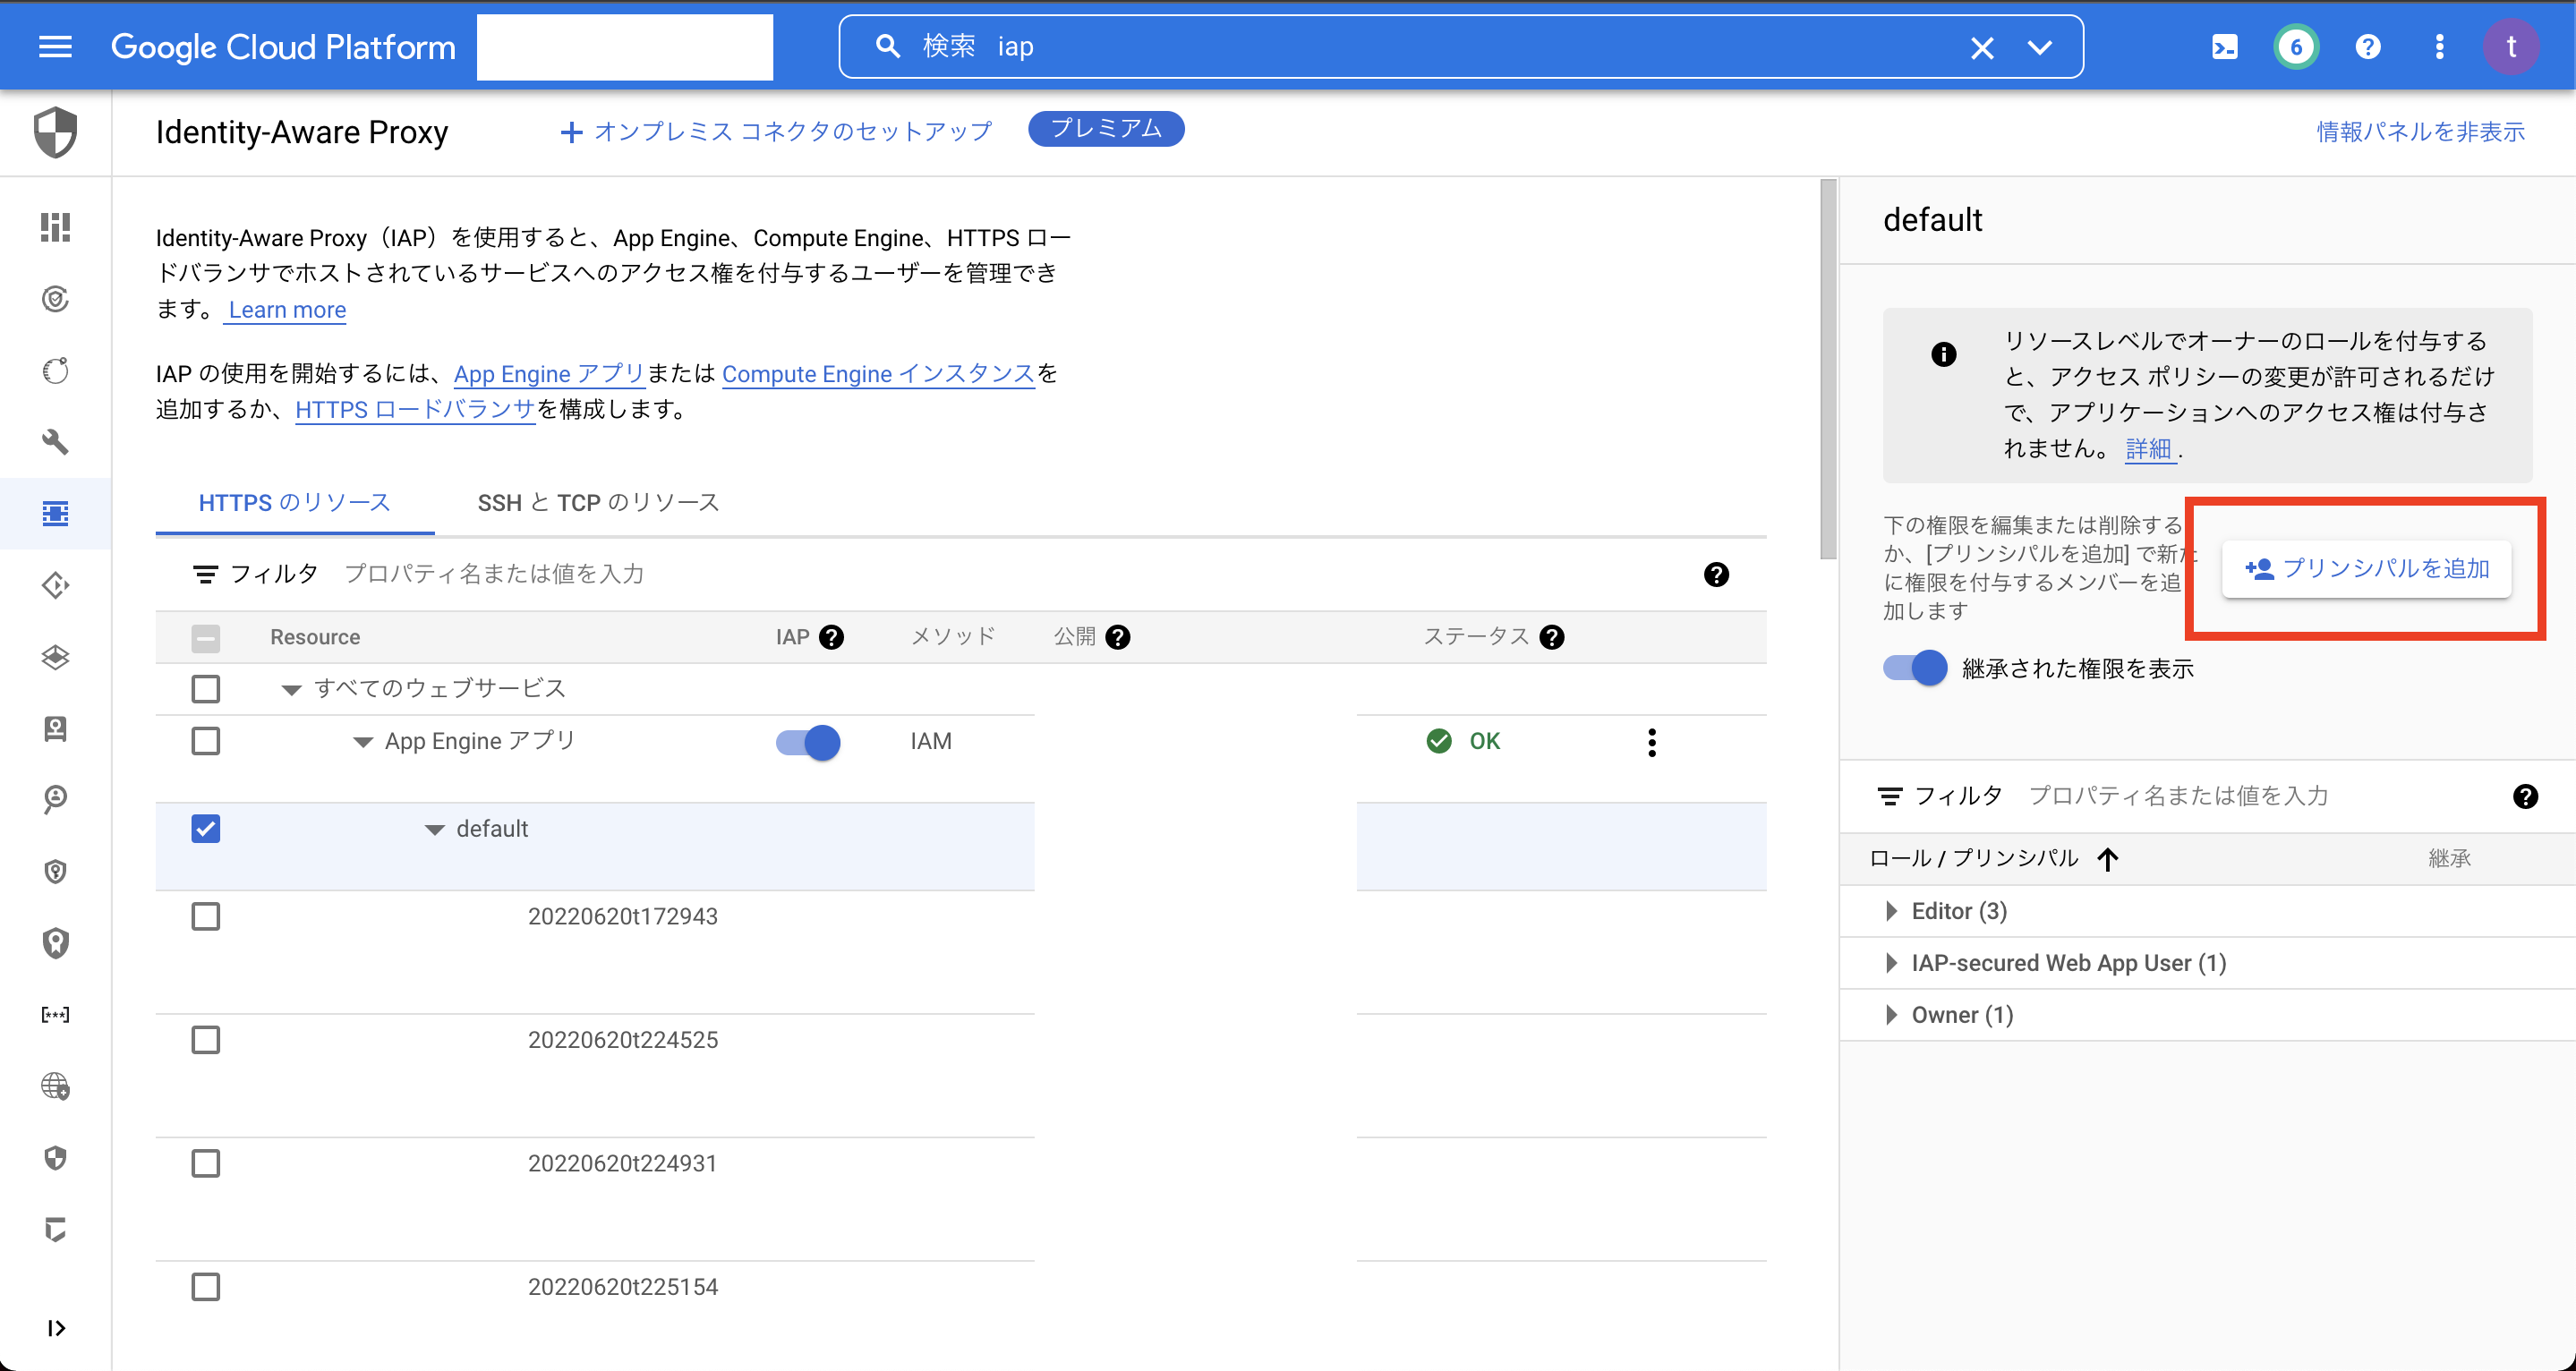
GCPにアクセスしIAPのページを開きます。
デプロイしたGAEのアプリを選択し、「プリンシパルを追加」からアクセスを許可したいプリンシパルを入力し、IAP-secured Web App Userのロールを付与して保存します。
反映に少し時間がかかるため5分ほど待った上で、デプロイしたGAEのサービスURLにアクセスしてみましょう。
Google認証の画面が表示され、先程許可したプリンシパルのみアクセスが許可されていれば完了です。