前回までの奮闘
https://qiita.com/k7daiki/items/7d83c4acb1c01d575598
今回は先にローカルからCloudSQLに繋ぎ、
そのあとにAppEngineからClougSQLに繋ぎます。
まずはモデルを反映させるためのアプリの作成
python manage.py startapp articles
次にその中にモデルを追加していきます。
# 追記
class Article(models.Model):
    title = models.CharField(max_length=20, blank=False)
    detail = models.TextField(blank=False)
次にプロジェクトと作成したアプリを繋げます。
# 追記
INSTALLED_APPS = [
    'articles.apps.ArticlesConfig'
]
次にマイグレートします。
python manage.py makemigrations
python manage.py migrate
次に記事ページを作成するためにtemplatesフォルダ直下に
articlesフォルダを作成し、その中にarticles_list.htmlを作成します。
また、記事作成画面であるarticles_create.htmlも作成します。
{% extends "base.html" %}
{% block content %}
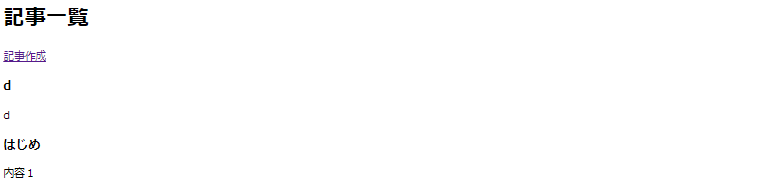
<h1>記事一覧</h1>
<a href="{% url 'articles.create' %}">記事作成</a>
{% for article in object_list %}
<div>
<h3>{{ article.title }}</h3>
<p>{{ article.detail }}</p>
</div>
{% endfor %}
{% endblock %}
{% extends "base.html" %}
{% block content %}
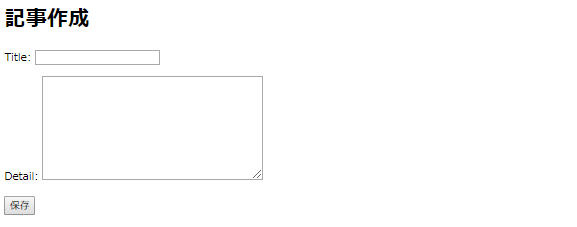
<h1>記事作成</h1>
<form action="" method="post">
{% csrf_token %} #セキュリティ対策
{{ form.as_p }} #おまじない
<input type="submit" value="保存">
</form>
{% endblock %}
また、htmlファイルが増えたのでbase.htmlをtemplatesファイル直下に作成します。
<!DOCTYPE html>
<html>
<head>
    <meta charset="utf-8">
    <title>blogapp</title>
</head>
<body>
    {% block content %}
    {% endblock %}
</body>
</html>
実行できるようにurls.pyをarticles直下に作成します。
*templatesの方のarticlesではないです
from django.urls import path
from .views import ArticleListView, ArticleCreateView

urlpatterns = [
    path('', ArticleListView.as_view(), name='articles.list'),
    path('create/', ArticleCreateView.as_view(), name='articles.create')
]
また、大元のurls.pyも編集します。
from django.contrib import admin
from django.urls import path, include #見落とし注意
from django.views.generic import TemplateView

urlpatterns = [
    path('admin/', admin.site.urls),
    path('', TemplateView.as_view(template_name="top.html"), name="top"),
  #追記
    path('articles/', include('articles.urls'))
]
次にviews.pyも編集します。
from django.shortcuts import render
# 追記
from django.views.generic import TemplateView, ListView, CreateView

from .models import Article
from .forms import ArticleForm

class ArticleListView(ListView):
    template_name = 'articles/articles_list.html'
    model = Article

class ArticleCreateView(CreateView):
    template_name = 'articles/articles_create.html'
    model = Article
    form_class = ArticleForm
    success_url = '/articles/'
articles直下にforms.pyを作成します。
*templatesの方のarticlesではないです
from django import forms
from .models import Article

class ArticleForm(forms.ModelForm):
    class Meta:
        model = Article
        fields = ('title', 'detail')
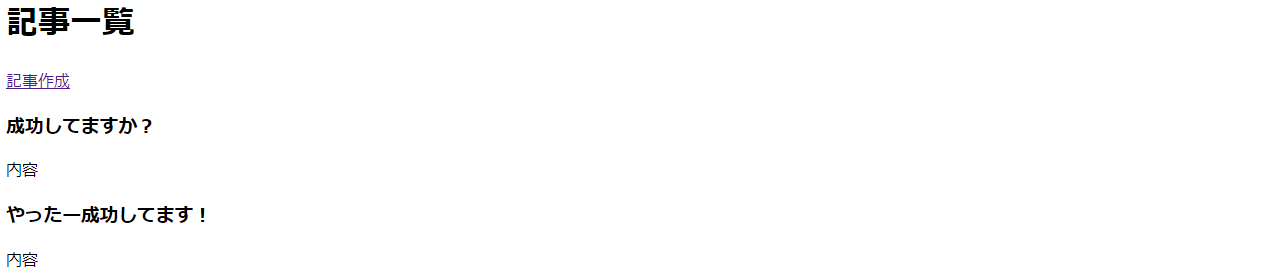
そしてローカルサーバーを立ち上げると無事起動でき、
記事作成画面から記事を作成し、記事一覧に表示できるようになりました。
ローカルからCloudSQLに接続
次は実際にモデルをGAEで起動するために
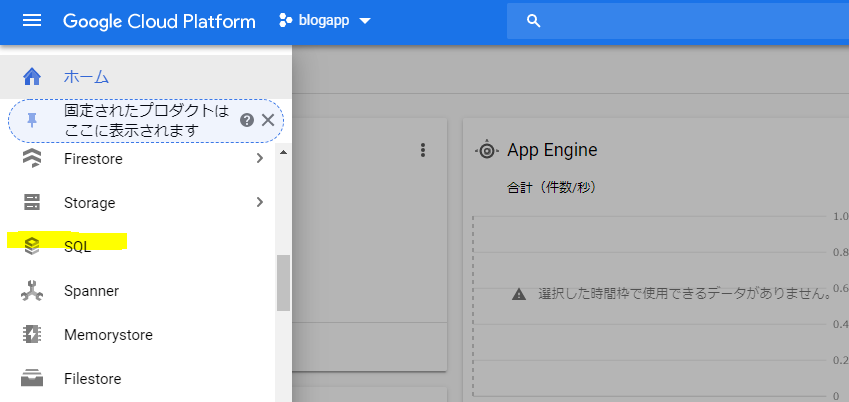
まずはCloudSQLインスタンスを立ち上げます。
GCPでSQLを選択し、MySQLインスタンスを作成します。
国の指定はasia-northeast1にしました。
作成が完了したらhttps://cloud.google.com/sql/docs/mysql-connect-proxy?hl=ja から
作成したプロジェクトでのAPIの使用を許可するを選択します。

次にプロキシをインストールします。下の画像通りにします。

GCPのインスタンスの詳細からインスタンス接続名をコピーします。
cloud sql proxyがある階層で以下を入力します。
cloud_sql_proxy -instances=<インスタンス接続名>=tcp:3306
そうすると
Ready for new connections
と出るはずです。
次にGCPのSQLのページでユーザーアカウントを作成します。
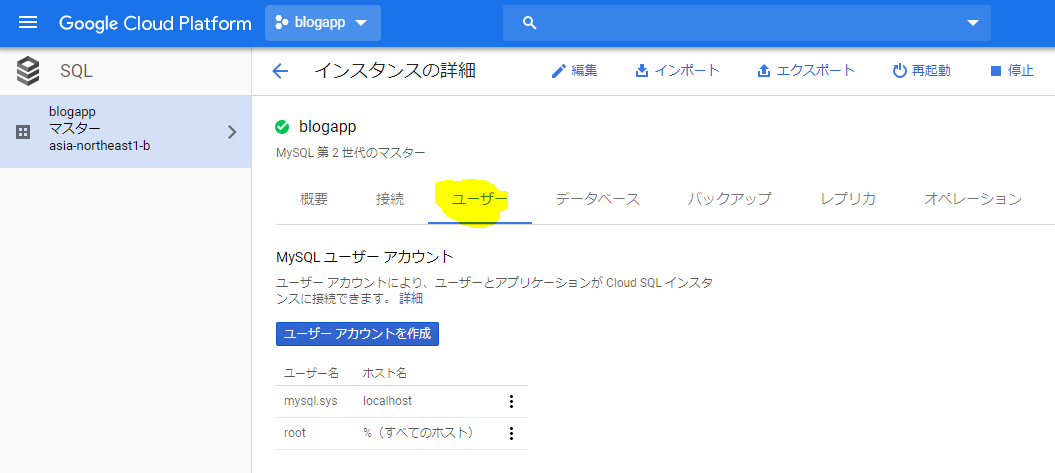
パスワード設定は任意です。
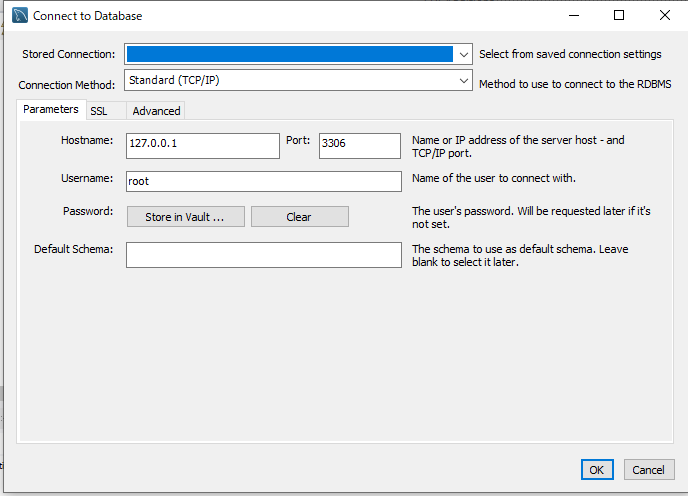
そしてデータベースと接続するために
MySQL Workbenchを使用します。
databaseという項目のConnect to databaseを選択し、
ユーザーやパスワードの必要な情報を入力し接続。

接続が完了するとコマンドプロンプトの方に以下の内容が出ます。
New connection for "SQLの接続詳細名"
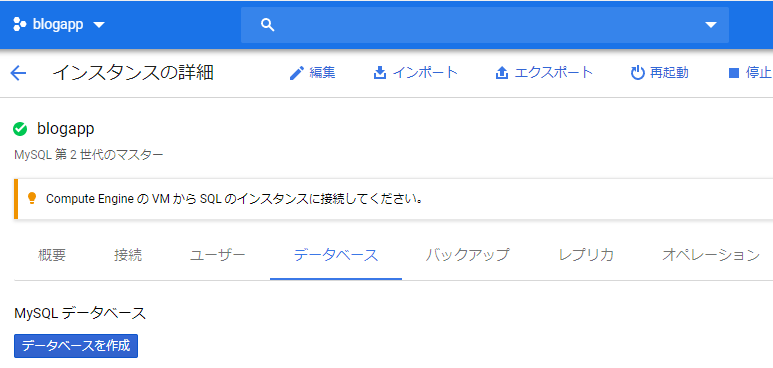
そして次にデータベースを作成し、
manage.pyとsetting.pyにmysqlの情報を足します。
まずGCPのSQLのページのデータベース項目から希望の名前のデータベースを作成します。
追記
import pymysql

pymysql.install_as_MySQLdb()
DATABASES = {
    'default': {
        'ENGINE': 'django.db.backends.mysql',
        'NAME': '<先ほど作成したデータベース名>',
        'USER': '<ユーザー名>',
        'PASSWORD': '<パスワード>',
        'HOST': '127.0.0.1',
        'POST': 3306
    }
}
以下を実行します。
python manage.py migrate
すると...あれ? エラーです。
django.core.exceptions.ImproperlyConfigured: mysqlclient 1.3.13 or newer is required; you have 0.9.3.
mysql系のライブラリが古いのか以下で確認します。
pip list --o
古いバージョンはないですね。あれ?
ググると同じ悩みの方がいました。
https://teratail.com/questions/182534
Django2.1へダウングレードします。
pip install django==2.1
そして再度マイグレートしますと
Operations to perform:
  Apply all migrations: admin, articles, auth, contenttypes, sessions
Running migrations:
  Applying contenttypes.0001_initial... OK
  Applying auth.0001_initial... OK
  Applying admin.0001_initial... OK
  Applying admin.0002_logentry_remove_auto_add... OK
  Applying admin.0003_logentry_add_action_flag_choices... OK
  Applying articles.0001_initial... OK
  Applying contenttypes.0002_remove_content_type_name... OK
  Applying auth.0002_alter_permission_name_max_length... OK
  Applying auth.0003_alter_user_email_max_length... OK
  Applying auth.0004_alter_user_username_opts... OK
  Applying auth.0005_alter_user_last_login_null... OK
  Applying auth.0006_require_contenttypes_0002... OK
  Applying auth.0007_alter_validators_add_error_messages... OK
  Applying auth.0008_alter_user_username_max_length... OK
  Applying auth.0009_alter_user_last_name_max_length... OK
  Applying sessions.0001_initial... OK
いけました~~!
AppEngineからCloudSQLに接続
次にAppEngineからCloudSQLに繋げる作業をします。
まずは、setting.pyを編集します
if os.getenv('GAE_APPLICATION', None):

    DATABASES = {
        'default': {
            'ENGINE': 'django.db.backends.mysql',
            'NAME': '<データベース名>',
            'USER': '<ユーザー名>',
            'PASSWORD': '<パスワード>',
            'HOST': '/cloudsql/<インスタンス接続名>',
        }
    }
else:
    DATABASES = {
        'default': {
            'ENGINE': 'django.db.backends.mysql',
            'NAME': '<データベース名>',
            'USER': '<ユーザー名>',
            'PASSWORD': '<パスワード>',
            'HOST': '127.0.0.1',
            'POST': 3306
        }
    }
そして以下のコマンドで最後にデプロイすれば記事系のブログが完成です。
gcloud app deploy --project=<プロジェクト名>
お疲れ様でした。