概要
iOSアプリ開発のUIでよく使われる UILabel に行間を設定する2つの方法を紹介します
前提
- Xcode 10.1
- Swift 4.2
Storyboardで設定する
まずは適当な Storyboard or xib 開き、UILabelを設置します。

画面右側の Inspector の Attribute Inspector を見てみます
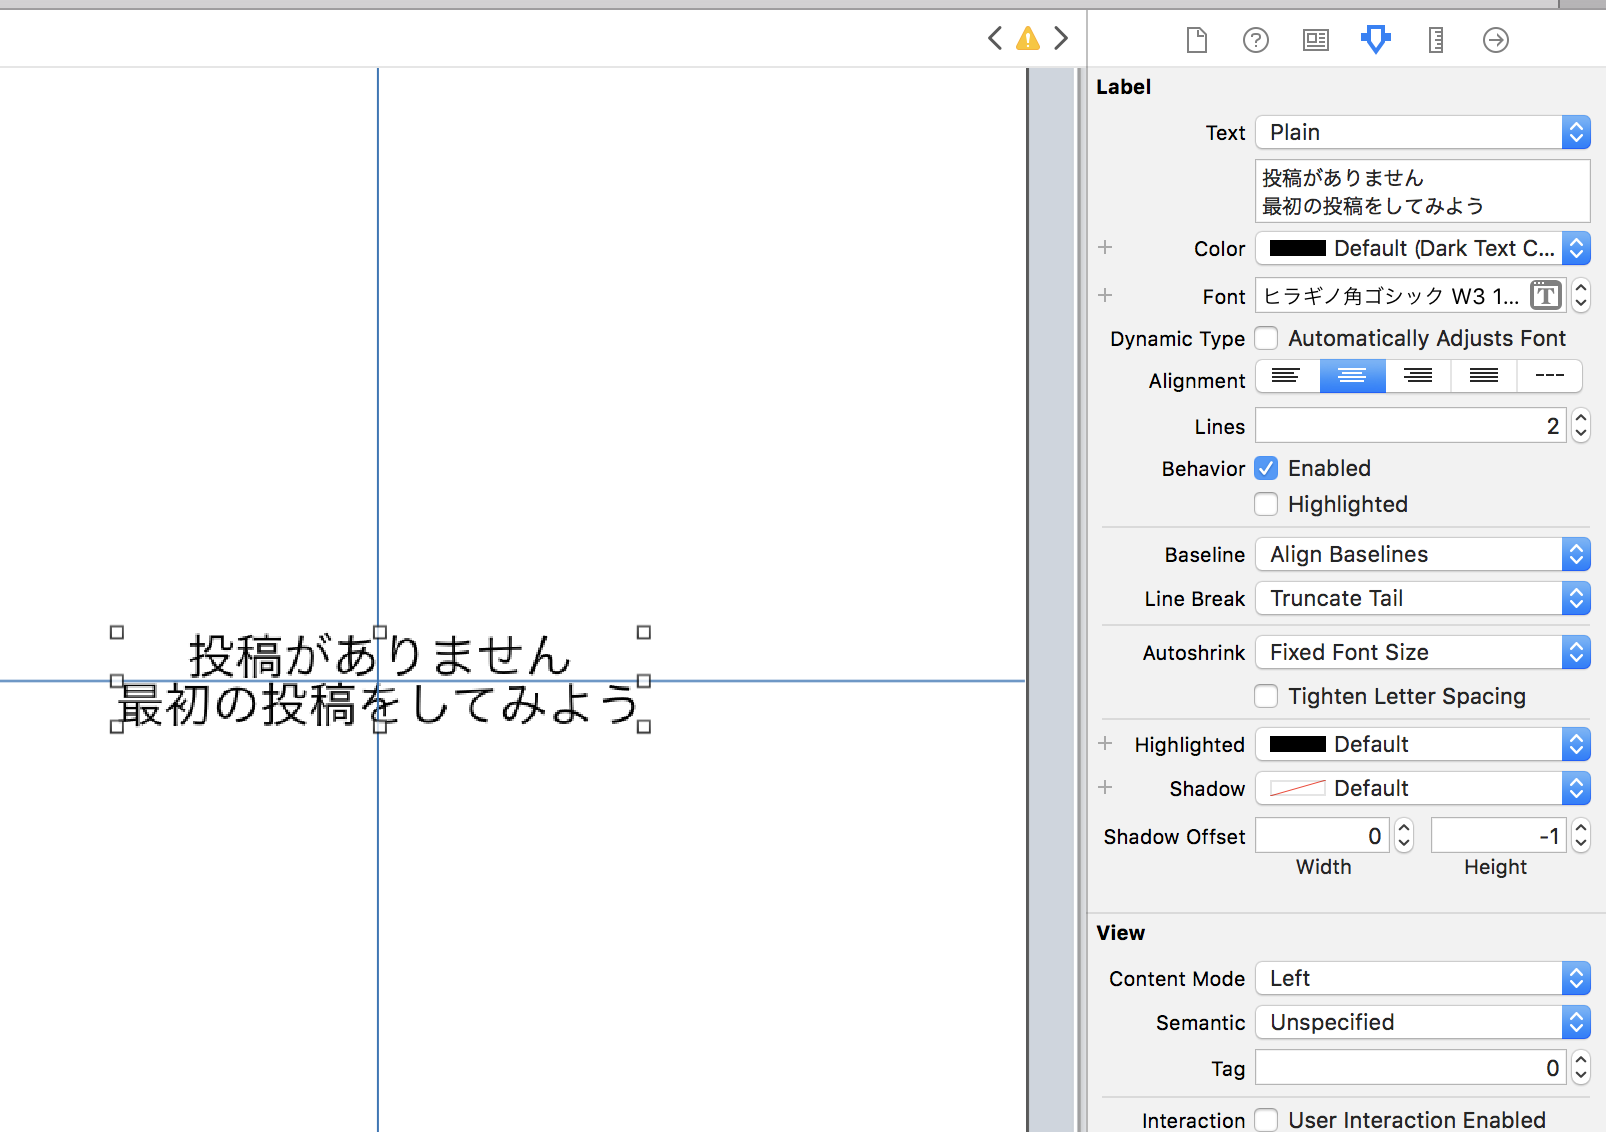
Label -> Text が Plain の状態では行間を設定できないので、ここをattributedに変更します
最後に、下記GIFのように設定すると行間を変更できます

コードから動的に変更する
- IBOutlet接続する
- UILabelのattributedText に
NSAttributedStringをセットする
class ViewController: UIViewController {

    @IBOutlet private weak var titleLabel: UILabel!

    override func viewDidLoad() {
        super.viewDidLoad()
        var attributes: [NSAttributedStringKey: Any] = [:]
        let paragraphStyle = NSMutableParagraphStyle()
        paragraphStyle.lineSpacing = 10.0
        paragraphStyle.alignment = .center
        attributes.updateValue(paragraphStyle, forKey: .paragraphStyle)
        titleLabel.attributedText = NSAttributedString(string: "投稿がありません\n最初の投稿をしてみよう", attributes: attributes)
    }
}
他の画面でも簡単に使えるように、 NSAttributedStringのextensionに定義しておきましょう
class ViewController: UIViewController {

    @IBOutlet private weak var titleLabel: UILabel!

    override func viewDidLoad() {
        super.viewDidLoad()
        titleLabel.attributedText = NSAttributedString(string: "投稿がありません\n最初の投稿をしてみよう", lineSpacing: 10.0, alignment: .center)
    }
}

extension NSAttributedString {
    convenience init(string: String, lineSpacing: CGFloat, alignment: NSTextAlignment) {
        var attributes: [NSAttributedStringKey: Any] = [:]
        let paragraphStyle = NSMutableParagraphStyle()
        paragraphStyle.lineSpacing = lineSpacing
        paragraphStyle.alignment = alignment
        attributes.updateValue(paragraphStyle, forKey: .paragraphStyle)
        self.init(string: string, attributes: attributes)
    }
}