前回はSpring Bootで社員情報一覧と部署一覧を返すバックエンドのブログラムを作成しました。
今回は、Angularを使用してバックエンドから受け取ったデータを表示させます。
Angularプロジェクト作成
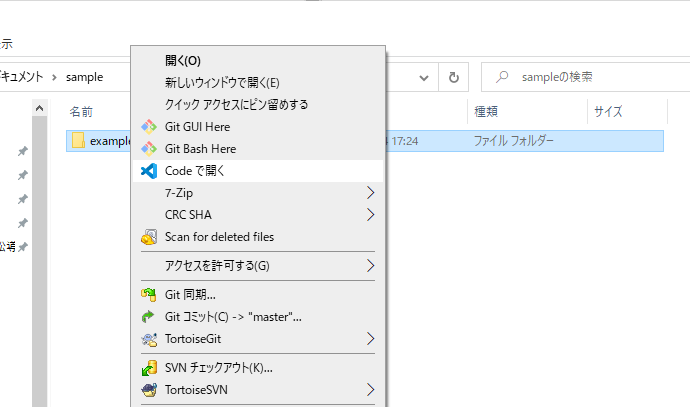
適当な場所にフォルダを作り以下のコマンドを実行します。
今回はDocumentsにsampleフォルダを作成しました。
ng new example
yを入力してエンターを押します。
? Would you like to add Angular routing? (y/N) y
SCSSを選択してエンターを押します。
? Which stylesheet format would you like to use?
  CSS
> SCSS   [ https://sass-lang.com/documentation/syntax#scss                ]
  Sass   [ https://sass-lang.com/documentation/syntax#the-indented-syntax ]
  Less   [ http://lesscss.org                                             ]
  Stylus [ http://stylus-lang.com                                         ]
しばらくするとプロジェクトが作成されます。
√ Packages installed successfully.
    Successfully initialized git.
VSCodeのターミナルを開き以下のコマンドを実行して、アプリケーションを起動します。
npm start
しばらく待つと以下のメッセージが表示されます。
** Angular Live Development Server is listening on localhost:4200, open your browser on http://localhost:4200/ **
: Compiled successfully.
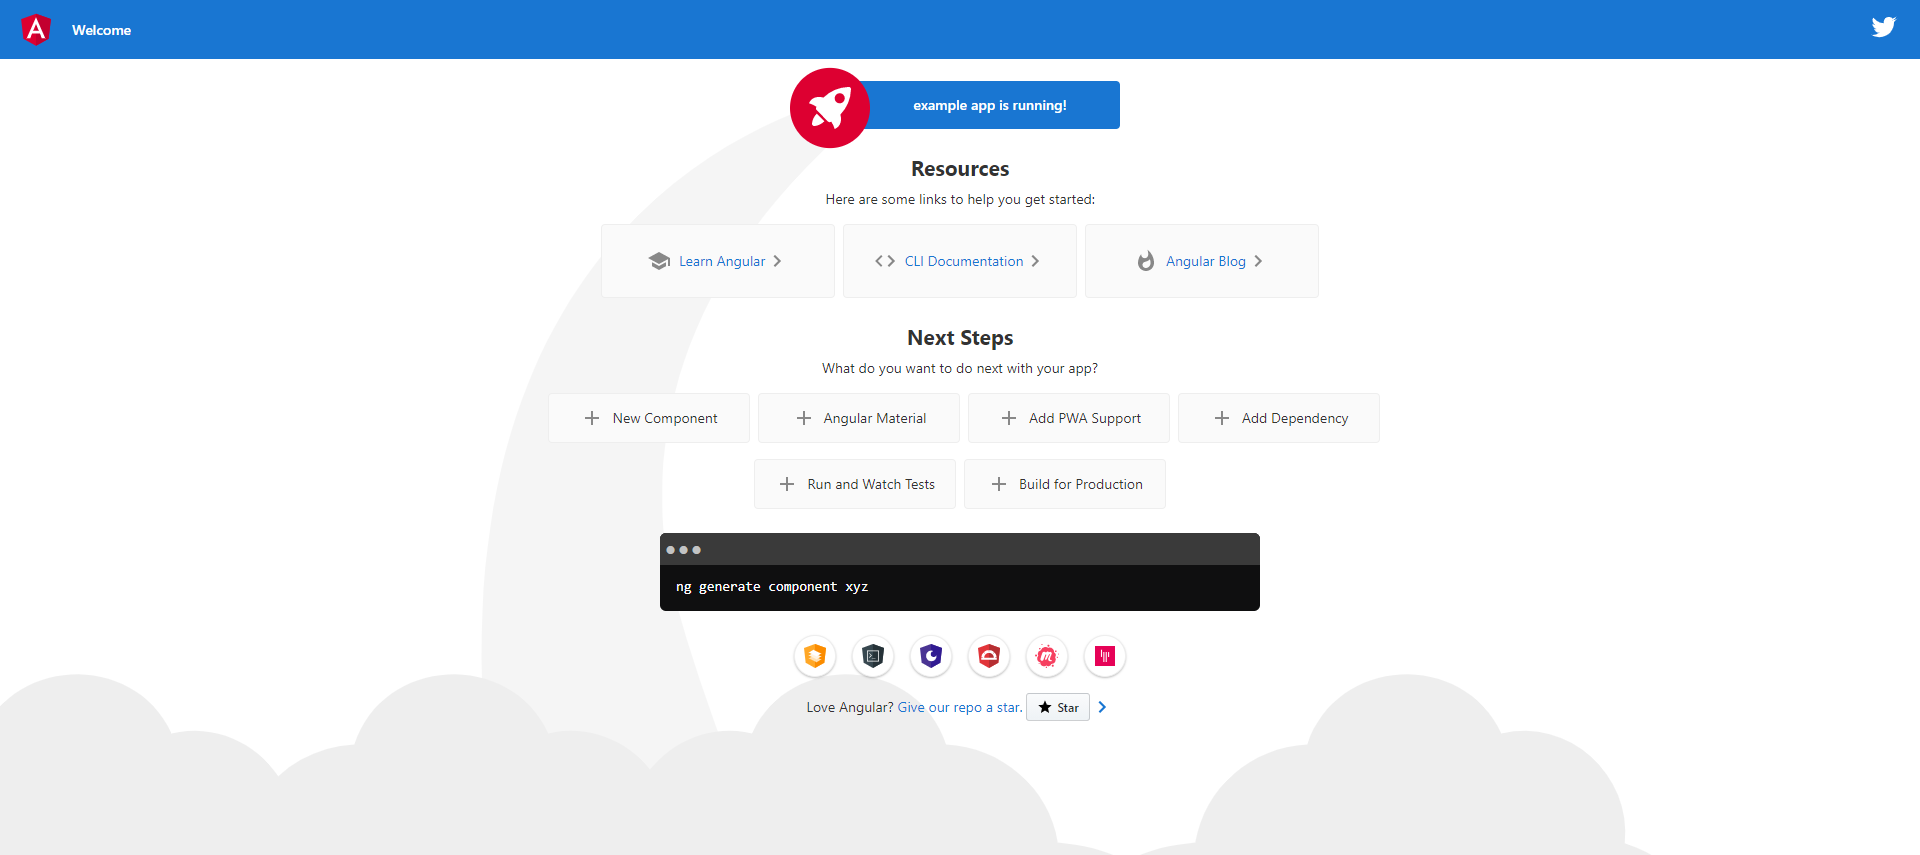
http://localhost:4200 にアクセスします。
確認が出来たら一度サーバを停止します。
ターミナルでCtrl + Cを押します。
yを入力してサーバを停止します。
: Compiled successfully.
バッチ ジョブを終了しますか (Y/N)? y
Angular MaterialとFlexLayoutインストール
画面を作成する前にUIフレームワークであるAngular Materialとレイアウト用にflex-layoutをインストールします。
Angular Material
まずはAngular Materialからインストールします。
以下のコマンドを入力して実行します。
ng add @angular/material
しばらくすると以下のような質問をされるのでそのままエンターを入力します。
? Choose a prebuilt theme name, or "custom" for a custom theme: (Use arrow keys)
> Indigo/Pink        [ Preview: https://material.angular.io?theme=indigo-pink ]
  Deep Purple/Amber  [ Preview: https://material.angular.io?theme=deeppurple-amber ]
  Pink/Blue Grey     [ Preview: https://material.angular.io?theme=pink-bluegrey ]
  Purple/Green       [ Preview: https://material.angular.io?theme=purple-green ]
  Custom
次の質問はyを入力します。
? Set up global Angular Material typography styles? (y/N) y
こちらもyを入力します。
? Set up browser animations for Angular Material? (Y/n) y
しばらく待つとインストールが完了します。
MaterialModuleの作成
プロジェクトで使用するAngular Materialのモジュールをまとめた、MaterialModuleを作成します。
以下のコマンドを入力します。
ng g m material
src/app/material/にmaterial.module.tsが作成されます。
以下のように編集します。
import { NgModule } from '@angular/core';
import { CommonModule } from '@angular/common';

import { BrowserAnimationsModule } from '@angular/platform-browser/animations';
import { MatCheckboxModule } from '@angular/material/checkbox';
import { MatButtonModule } from '@angular/material/button';
import { MatInputModule } from '@angular/material/input';
import { MatAutocompleteModule } from '@angular/material/autocomplete';
import { MatDatepickerModule } from '@angular/material/datepicker';
import { MatFormFieldModule } from '@angular/material/form-field';
import { MatRadioModule } from '@angular/material/radio';
import { MatSelectModule } from '@angular/material/select';
import { MatSliderModule } from '@angular/material/slider';
import { MatSlideToggleModule } from '@angular/material/slide-toggle';
import { MatMenuModule } from '@angular/material/menu';
import { MatSidenavModule } from '@angular/material/sidenav';
import { MatBadgeModule } from '@angular/material/badge';
import { MatToolbarModule } from '@angular/material/toolbar';
import { MatListModule } from '@angular/material/list';
import { MatGridListModule } from '@angular/material/grid-list';
import { MatCardModule } from '@angular/material/card';
import { MatStepperModule } from '@angular/material/stepper';
import { MatTabsModule } from '@angular/material/tabs';
import { MatExpansionModule } from '@angular/material/expansion';
import { MatButtonToggleModule } from '@angular/material/button-toggle';
import { MatChipsModule } from '@angular/material/chips';
import { MatIconModule } from '@angular/material/icon';
import { MatProgressSpinnerModule } from '@angular/material/progress-spinner';
import { MatProgressBarModule } from '@angular/material/progress-bar';
import { MatDialogModule } from '@angular/material/dialog';
import { MatTooltipModule } from '@angular/material/tooltip';
import { MatSnackBarModule } from '@angular/material/snack-bar';
import { MatTableModule } from '@angular/material/table';
import { MatSortModule } from '@angular/material/sort';
import { MatPaginatorModule } from '@angular/material/paginator';

@NgModule({
  declarations: [],
  imports: [
    CommonModule,
    BrowserAnimationsModule,
    MatCheckboxModule,
    MatCheckboxModule,
    MatButtonModule,
    MatInputModule,
    MatAutocompleteModule,
    MatDatepickerModule,
    MatFormFieldModule,
    MatRadioModule,
    MatSelectModule,
    MatSliderModule,
    MatSlideToggleModule,
    MatMenuModule,
    MatSidenavModule,
    MatBadgeModule,
    MatToolbarModule,
    MatListModule,
    MatGridListModule,
    MatCardModule,
    MatStepperModule,
    MatTabsModule,
    MatExpansionModule,
    MatButtonToggleModule,
    MatChipsModule,
    MatIconModule,
    MatProgressSpinnerModule,
    MatProgressBarModule,
    MatDialogModule,
    MatTooltipModule,
    MatSnackBarModule,
    MatTableModule,
    MatSortModule,
    MatPaginatorModule
  ],

  exports: [
    MatCheckboxModule,
    MatCheckboxModule,
    MatButtonModule,
    MatInputModule,
    MatAutocompleteModule,
    MatDatepickerModule,
    MatFormFieldModule,
    MatRadioModule,
    MatSelectModule,
    MatSliderModule,
    MatSlideToggleModule,
    MatMenuModule,
    MatSidenavModule,
    MatBadgeModule,
    MatToolbarModule,
    MatListModule,
    MatGridListModule,
    MatCardModule,
    MatStepperModule,
    MatTabsModule,
    MatExpansionModule,
    MatButtonToggleModule,
    MatChipsModule,
    MatIconModule,
    MatProgressSpinnerModule,
    MatProgressBarModule,
    MatDialogModule,
    MatTooltipModule,
    MatSnackBarModule,
    MatTableModule,
    MatSortModule,
    MatPaginatorModule
  ],
  providers: [
    MatDatepickerModule,
  ]
})
export class MaterialModule { }
作成したMaterialModuleをapp.module.tsに追加します。
import { BrowserModule } from '@angular/platform-browser';
import { NgModule } from '@angular/core';

import { AppRoutingModule } from './app-routing.module';
import { AppComponent } from './app.component';
import { BrowserAnimationsModule } from '@angular/platform-browser/animations';
import { MaterialModule } from './material/material.module'; // 追加

@NgModule({
  declarations: [
    AppComponent
  ],
  imports: [
    BrowserModule,
    AppRoutingModule,
    BrowserAnimationsModule,
    MaterialModule //追加
  ],
  providers: [],
  bootstrap: [AppComponent]
})
export class AppModule { }
これでAngular Materialが使用可能になりました。
次はFlexlayoutをインストールします。
FlexLayout
以下のコマンドを入力します。
npm install --save @angular/flex-layout
Flexlayoutをapp.module.tsに追加します。
import { BrowserModule } from '@angular/platform-browser';
import { NgModule } from '@angular/core';

import { AppRoutingModule } from './app-routing.module';
import { AppComponent } from './app.component';
import { BrowserAnimationsModule } from '@angular/platform-browser/animations';
import { MaterialModule } from './material/material.module';
import { FlexLayoutModule } from '@angular/flex-layout'; //追加

@NgModule({
  declarations: [
    AppComponent
  ],
  imports: [
    BrowserModule,
    AppRoutingModule,
    BrowserAnimationsModule,
    MaterialModule,
    FlexLayoutModule //追加
  ],
  providers: [],
  bootstrap: [AppComponent]
})
export class AppModule { }
これでFlexlayoutを使用する準備が出来ました。
画面作成
app.component.htmlの中身をすべて削除して以下のように記述します。
<div fxFlexFill fxLayout="column">
  <div fxFlex="none" class="header">
    header
  </div>
  <div fxFlex>
    <router-outlet></router-outlet>
  </div>
  <div fxFlex="none" class="footer">
    footer
  </div>
</div>
続いてスタイルを調整するためにscssを編集します。
/* You can add global styles to this file, and also import other style files */

html, body { height: 100%; }
body { margin: 0; font-family: Roboto, "Helvetica Neue", sans-serif; }

.header{
    height: 50px;
    background-color: lightgreen;
}

.footer{
    background-color: lightgreen;
    height: 30px;
    text-align: center;
}
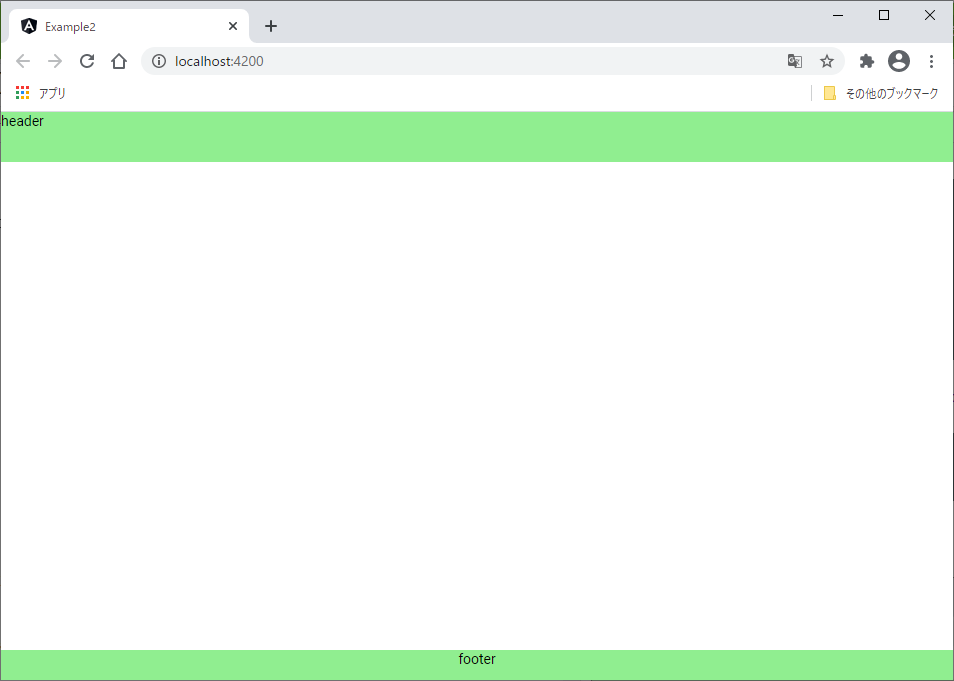
以下のコマンドでアプリケーションを起動し、http://localhost:4200/ にアクセスします。
npm start
確認が出来たらCtrl+Cでサーバを止めます。
コンポーネント作成
コンテンツ(router-outletに表示される部分)を作成していきます。
社員情報を表示するためのHomeコンポーネントを作成します。
ng g c home
作成されたことを確認します。
CREATE src/app/home/home.component.html (19 bytes)
CREATE src/app/home/home.component.spec.ts (614 bytes)
CREATE src/app/home/home.component.ts (268 bytes)
CREATE src/app/home/home.component.scss (0 bytes)
UPDATE src/app/app.module.ts (467 bytes)
ルーティング設定
http://localhost:4200/home にアクセスされたときにhome画面を表示するように設定します。
app-routing.module.tsを開き以下のように編集します。
import { NgModule } from '@angular/core';
import { Routes, RouterModule } from '@angular/router';
import { HomeComponent } from './home/home.component';// 追加


const routes: Routes = [
  {path: 'home', component: HomeComponent},// 追加
];

@NgModule({
  imports: [RouterModule.forRoot(routes)],
  exports: [RouterModule]
})
export class AppRoutingModule { }
サーバを起動します。
npm start
http://localhost:4200/home にアクセスすると、homeコンポーネントの内容が表示されます。
次回はhome画面に社員情報一覧を表示させます。


