ディップアドベントカレンダー 13日目 です
はじめに
5分で簡単fish shell導入編です。
shellで悩んでいる方はぜひ導入することをオススメします。

前提条件
- Mac OSであること
- X-Codeがインストールされていること
-
xcode-select --installコマンドを叩いてインストールされていること - brewがインストールされていること
- iTerm2を導入していること
始める
fish shell のインストール
$ brew install fish
ログインシェルの変更
$ sudo vi /etc/shells
/etc/shells
...
# 最後の行に以下を追加
/usr/local/bin/fish
$ chsh -s /usr/local/bin/fish
Fishermanのインストール
oh-my-fishより使いやすかったのでFishermanをインストール
$ curl -Lo ~/.config/fish/functions/fisher.fish --create-dirs https://git.io/fisher
設定ファイルの追加
$ touch ~/.config/fish/config.fish
テーマのインストール
Powerlineを使ったモダンなテーマ
$ fisher add oh-my-fish/theme-bobthefish
powerline/fontsのインストール
特殊な形に対応するためにpowerline/fontsをインストールする
$ git clone https://github.com/powerline/fonts.git
$ cd fonts
$ ./install.sh
# プロジェクトフォルダはもう不要のため削除
$ cd ../
$ rm -rf fonts
iterm2にDraculaのテーマをインポートする
$ git clone https://github.com/dracula/iterm.git
$ cd iterm
$ open ./iterm/Dracula.itermcolors
iTerm2にfontとテーマの設定を施す

Thema


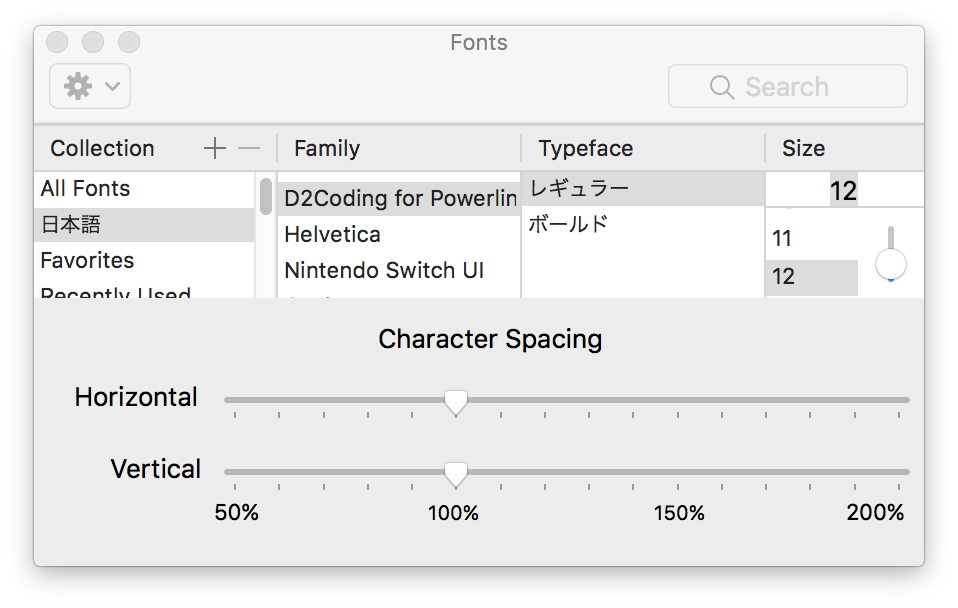
Fonts

iTerm2でfishを指定する
/usr/local/bin/fish

manページを元にありとあらゆるオートコンプリートを可能にする
$ fish_update_completions
最後に
とても見やすく気持ちの良いターミナルになりましたね。
fisher manでのプラグラインはとても豊富ですので
https://github.com/fisherman
こちらから探して見てください!
昨日の記事もぜひ見ていただけると幸いです!
昨日は【Atomのモダンな開発エディタ環境を構築】です!