概要
ReactでFirebaseを使用した簡単な認証の実装方法に関してまとめました。
あくまでも、実装の流れをメインとしており、各機能の詳しい説明等は省いております。
Firebaseのセットアップ
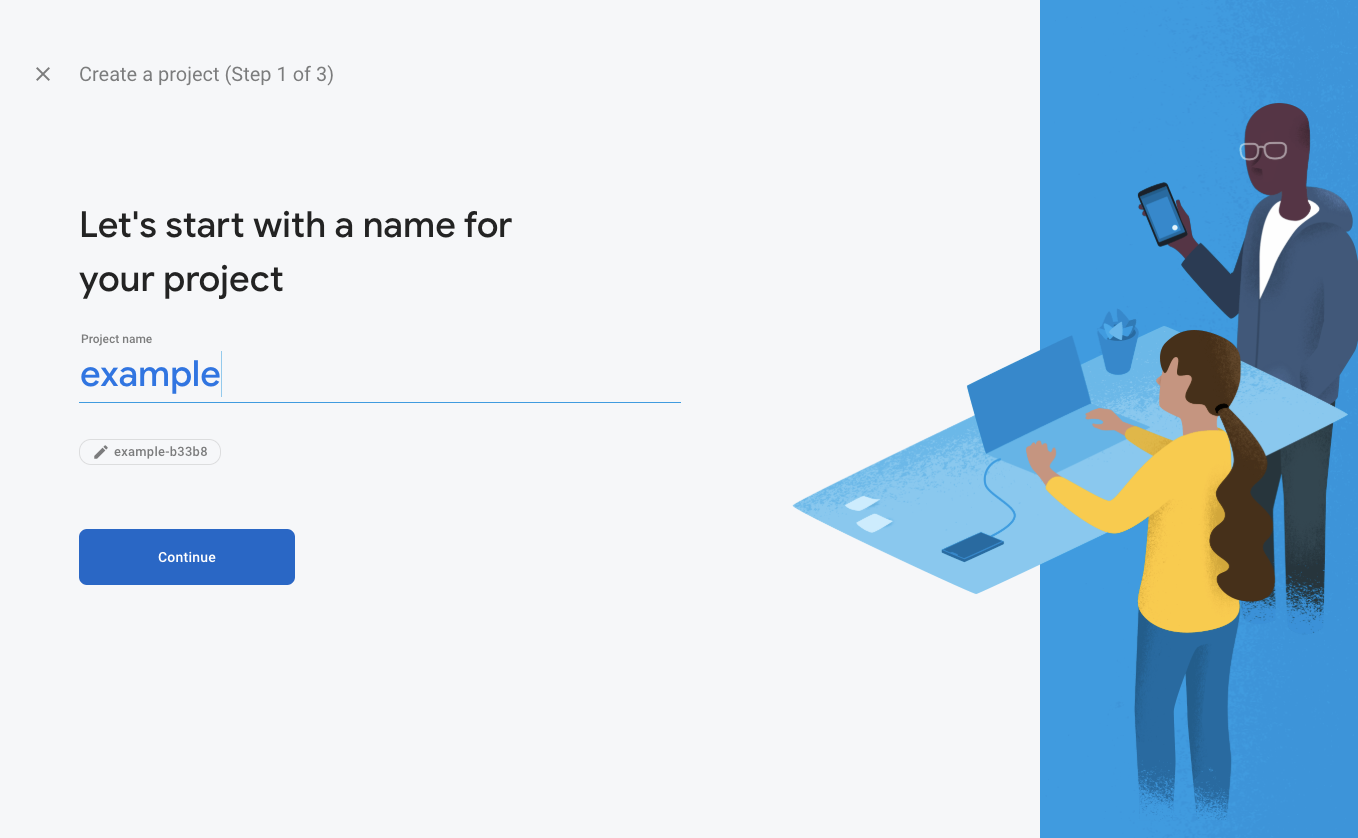
新しいプロジェクトの作成
まずはFirebaseのConsoleで新しいProjectの作成を行いましょう。
Authenticationの使用
Authenticationの画面にて、 SET UP SIGN-IN METHODをクリックしましょう。
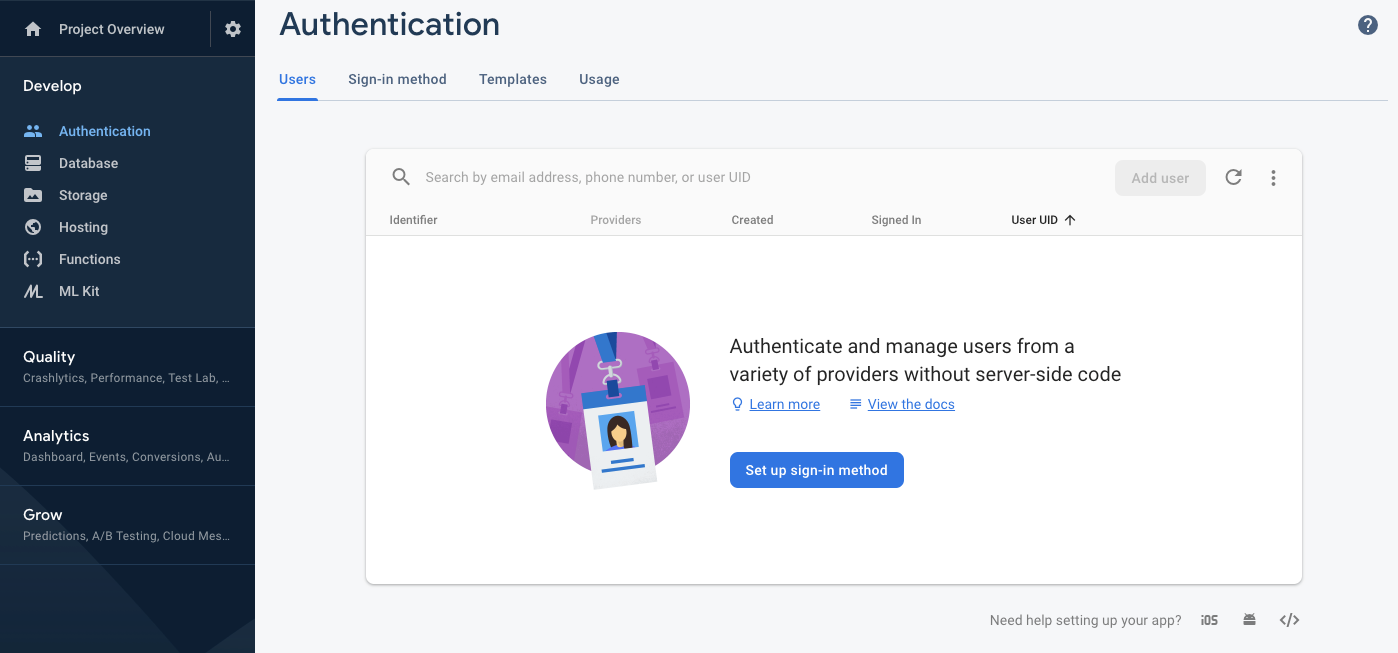
そして、何を使用して認証を行いたいのか選択しましょう。
本投稿でははEmailを使用して行うので、Email/Passwordを許可します。

credentialsの取得
左端にあるセッティングボタンから、project settingsを選択し、アプリのcredentialsを取得しましょう。
(project settingsの下の方にIOSかAndroidかWebのボタンがあるのでWebのボタンをクリックします。)

credentialsは下記のような形式で取得可能です。
apiKey: "your_key",
authDomain: "your_app_id.firebaseapp.com",
databaseURL: "https://your_app_id.firebaseio.com",
projectId: "your_app_id",
storageBucket: "your_storage_bucket",
messagingSenderId: "sender_id",
appId: "your_app_id"
Reactアプリケーションのセットアップ
create-react-appを使用して、アプリケーションを作成します。
$ create-react-app your-app-name
$ cd your-app-name
今回の実装で必要となる2つのパッケージをインストールします。
$ yarn add firebase react-router react-router-dom
ReactアプリをFirebaseと繋ぐ
先ほど取得したfirebase credentialsを下記の形式で.envに貼り付けましょう。
// .env
REACT_APP_FIREBASE_KEY="your_key"
REACT_APP_FIREBASE_DOMAIN="your_app_id.firebaseapp.com"
REACT_APP_FIREBASE_DATABASE="https://your_app_id.firebaseio.com"
REACT_APP_FIREBASE_PROJECT_ID="your_app_id"
REACT_APP_FIREBASE_STORAGE_BUCKET="your_storage_bucket"
REACT_APP_FIREBASE_SENDER_ID="sender_id"
新しくsrc/base.jsを作成し、下記のコードのようにすることで、与えられたcredentialsでfirebaseのインスタンスを作成します。
import * as firebase from "firebase/app";
import "firebase/auth";

export const app = firebase.initializeApp({
  apiKey: process.env.REACT_APP_FIREBASE_KEY,
  authDomain: process.env.REACT_APP_FIREBASE_DOMAIN,
  databaseURL: process.env.REACT_APP_FIREBASE_DATABASE,
  projectId: process.env.REACT_APP_FIREBASE_PROJECT_ID,
  storageBucket: process.env.REACT_APP_FIREBASE_STORAGE_BUCKET,
  messagingSenderId: process.env.REACT_APP_FIREBASE_SENDER_ID
});
Contextの設定
src/auth/AuthProviderを作成し、認証に必要なロジックをここに集約させます。
そして、集約した認証に必要な情報をコンポーネントツリー全体に渡すためにReactのContextを使用します。
- Reactの
Contexに関してはこちらで詳しい説明がされています。 - 下記コード内の
signInWithEmailAndPassword等はfirebaseから提供されている関数で公式ドキュメントで細かい動作等を確認頂けます。
import React, { useEffect, useState } from "react";
import { app } from "../base.js";

// contextの作成
export const AuthContext = React.createContext();

export const AuthProvider = ({ children }) => {
  const [currentUser, setCurrentUser] = useState(null);

  // ユーザーをログインさせる関数
  const login = async (email, password, history) => {
    try {
      await app.auth().signInWithEmailAndPassword(email, password);
      history.push("/");
    } catch (error) {
      alert(error);
    }
  };

  // 新しいユーザーを作成しログインさせる関数
  const signup = async (email, password, history) => {
    try {
      await app.auth().createUserWithEmailAndPassword(email, password);
      history.push("/");
    } catch (error) {
      alert(error);
    }
  };

  useEffect(() => {
    app.auth().onAuthStateChanged(setCurrentUser);
  }, []);

  return (
    // Contextを使用して認証に必要な情報をコンポーネントツリーに流し込む。
    <AuthContext.Provider
      value={{
        login: login,
        signup: signup,
        currentUser
      }}
    >
      {children}
    </AuthContext.Provider>
  );
};
Private Routeの作成
認証を許可されたユーザーのみがアクセスできるPrivate Routeを作成します。
新しくsrc/auth/PrivateRouteを作成し、下記のコードのように設定します。
AuthContextから渡されたcurrentUserがセットされていればアクセスを許可し、セットされていない(null)の場合はLoginページに移動されます。
import React, { useContext } from "react";
import { Route } from "react-router-dom";
import { AuthContext } from "./AuthProvider";
import Login from "./Login";

const PrivateRoute = ({ component: RouteComponent, ...options }) => {
  const { currentUser } = useContext(AuthContext);
  const Component = currentUser ? RouteComponent : Login;

  return <Route {...options} component={Component} />;
};

export default PrivateRoute;
ルーティングの設定
src/App.jsを開き、ルーティングを設定します。
この場合、HomeをPrivateRouteに設定しているので、Homeにアクセスするのにユーザーの認証を必要としています。
Home,Login,SignUpコンポーネントはこれから作成します。
import React from "react";
import { BrowserRouter as Router, Route } from "react-router-dom";
import PrivateRoute from "./auth/PrivateRoute";
import { AuthProvider } from "./auth/AuthProvider";
import Home from "./components/Home";
import Login from "./auth/Login";
import SignUp from "./auth/SignUp";

const App = () => {
 return (
   <AuthProvider>
     <Router>
       <div>
         <PrivateRoute exact path="/" component={Home} />
         <Route exact path="/login" component={Login} />
         <Route exact path="/signup" component={SignUp} />
       </div>
     </Router>
   </AuthProvider>
 );
};

export default App;
Home, Login and Signupコンポーネントの作成.
各コンポーネントを下記のように作成していきます。
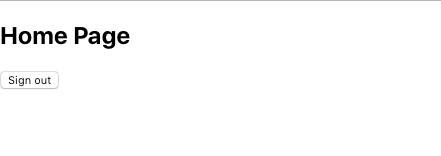
src/components/Home.jsx
import React from "react";
import { app } from "../base";

function Home(props) {
  return (
    <div>
      <h2>Home Page</h2>
      // ユーザーをログアウトさせる
      <button onClick={() => app.auth().signOut()}>Sign out</button>
    </div>
  );
}

export default Home;
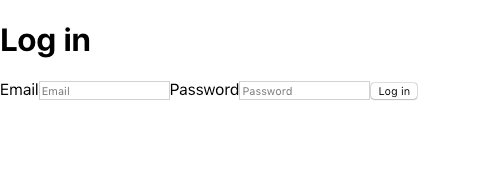
src/auth/Login.jsx
import React, { useContext } from "react";
import { withRouter } from "react-router";
import { AuthContext } from "./AuthProvider";

const Login = ({ history }) => {
  const { login } = useContext(AuthContext);

  // AuthContextからlogin関数を受け取る
  const handleSubmit = event => {
    event.preventDefault();
    const { email, password } = event.target.elements;
    login(email.value, password.value, history);
  };

  return (
    <div>
      <h1>Log in</h1>
      <form onSubmit={handleSubmit}>
        <label>
          Email
          <input name="email" type="email" placeholder="Email" />
        </label>
        <label>
          Password
          <input name="password" type="password" placeholder="Password" />
        </label>
        <button type="submit">Log in</button>
      </form>
    </div>
  );
};

export default withRouter(Login);
src/auth/Signup.jsx
import React, { useContext } from "react";
import { withRouter } from "react-router";
import { AuthContext } from "./AuthProvider";

const SignUp = ({ history }) => {
  const { signup } = useContext(AuthContext);
  // AuthContextからsignup関数を受け取る
  const handleSubmit = event => {
    event.preventDefault();
    const { email, password } = event.target.elements;
    signup(email.value, password.value, history);
  };

  return (
    <div>
      <h1>Sign up</h1>
      <form onSubmit={handleSubmit}>
        <label>
          Email
          <input name="email" type="email" placeholder="Email" />
        </label>
        <label>
          Password
          <input name="password" type="password" placeholder="Password" />
        </label>
        <button type="submit">Sign Up</button>
      </form>
    </div>
  );
};

export default withRouter(SignUp);
アプリケーションの動作確認
アプリケーションを立ち上げます。
$ yarn start
Home画面アクセスに認証が必要である事の確認
http://localhost:3000にアクセスしようとすると下記のようにLoginページに飛ばされる事を確認します。
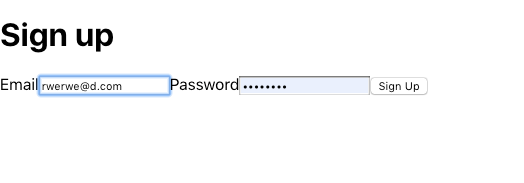
ユーザーが作成できる事の確認
http://localhost:3000/signupでemailとpasswordを入力し、Sing Upをクリックします。
自身のFirebaseコンソールで作成したユーザーが登録されている事を確認します。

作成したユーザーでログインできる事の確認
http://localhost:3000/loginで先ほど作成したユーザーの情報でログインし、Home画面にアクセスできる事を確認します。