はじめに
DJIドローンをQGroundControlで飛ばして遊んでみる内容です。
通常、QGroundControlでDJIドローンを接続できないですが、DJIドローンをMAVLinkプロトコルにラップしてQGroundControlで飛ばすことができます。
構成
DJIドローン⇒Androidタブレット⇒DJI SDK⇒MAVLink SDK⇒QGroundControl
環境
DJI Mavic Pro 2
HUAWEI MediaPad M5 lite(Android 9)]
DJI SDK 4.14
Ubuntu 18.04.5
QGroundControl 4.0.11
QGroundControlの設定
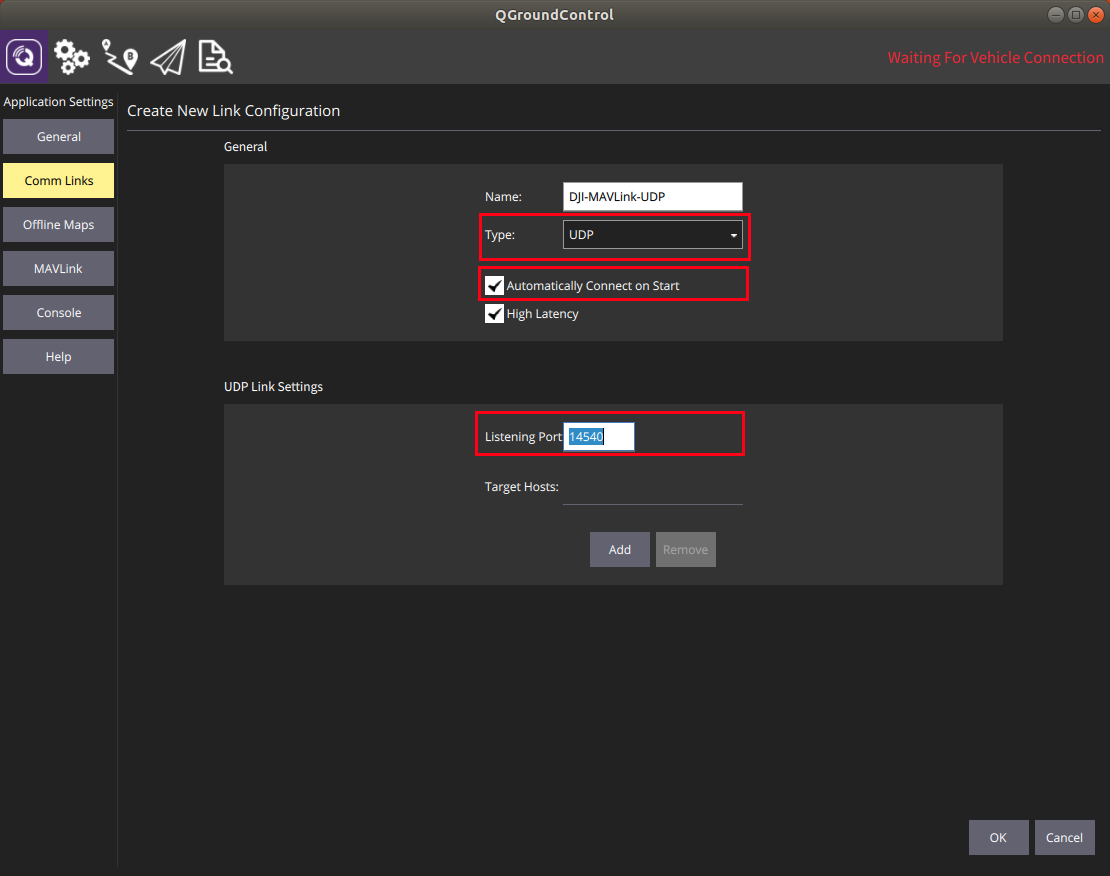
MAVLink受信の設定
QGroundControlでMAVLink受信するUDPポートを設定します。
Type: UDP
Automatically Connect on Start:ON
Listening Port: 14540
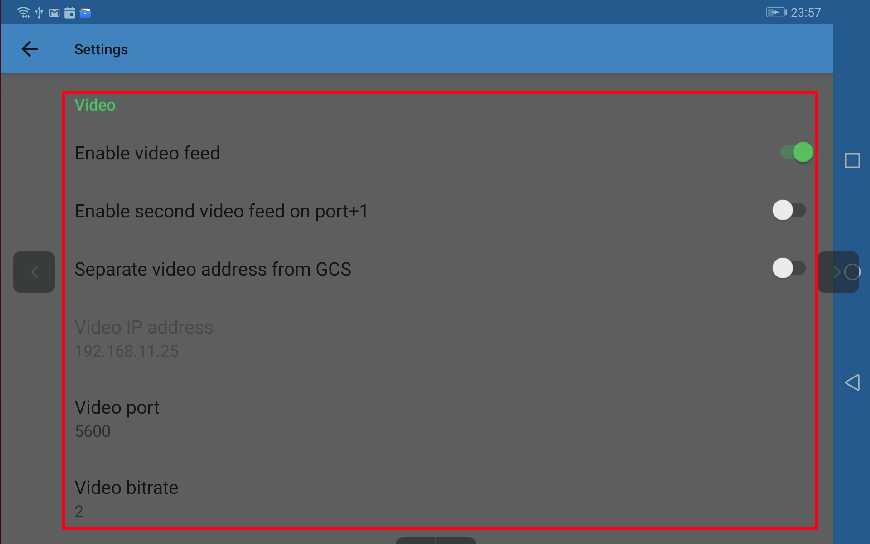
映像受信の設定
QGroundControlでDJIドローンカメラからの映像を受信するUDPポートを設定します。
Video Source: UDP h.264 Video Stream
UDP Port: 5600
Aspect Ratio: 1.777777(Default)

DJIドローンをMAVLinkプロトコルにラップ
DJIドローンをMAVLinkプロトコルにラップには、rosettadroneを使用します。
接続手順
- DJIドローンを電源ON
- DJIドローンのプロポを電源ON
- USBケーブルでプロポとAndroidタブレットを接続
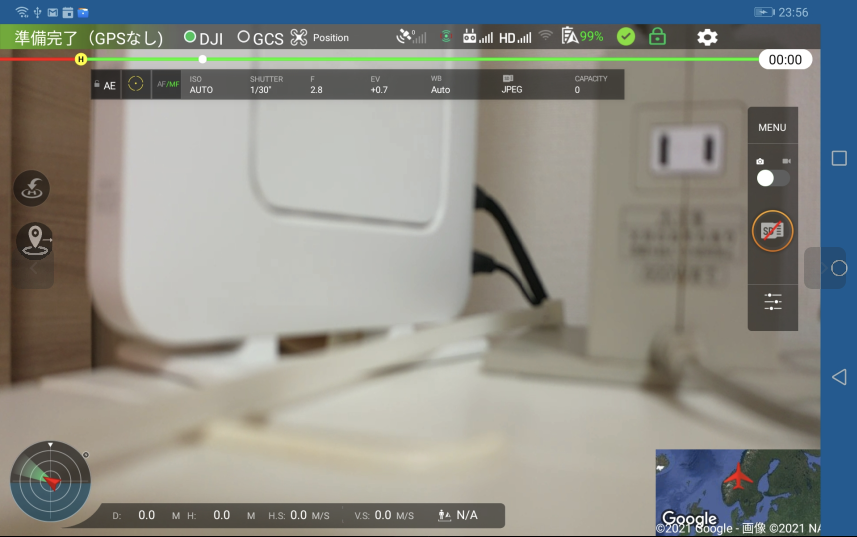
- Androidタブレットでrosettadroneを起動
- MAVLink送信先のIPとPort(14540)を設定
- 映像転送先のIPとPort(5600)を設定
- QGroundControlを起動
(Androidタブレットでrosettadroneを起動)
(MAVLink送信先のIPとPort(14540)を設定)

(映像転送先のIPとPort(5600)を設定)
- QGroundControlを起動
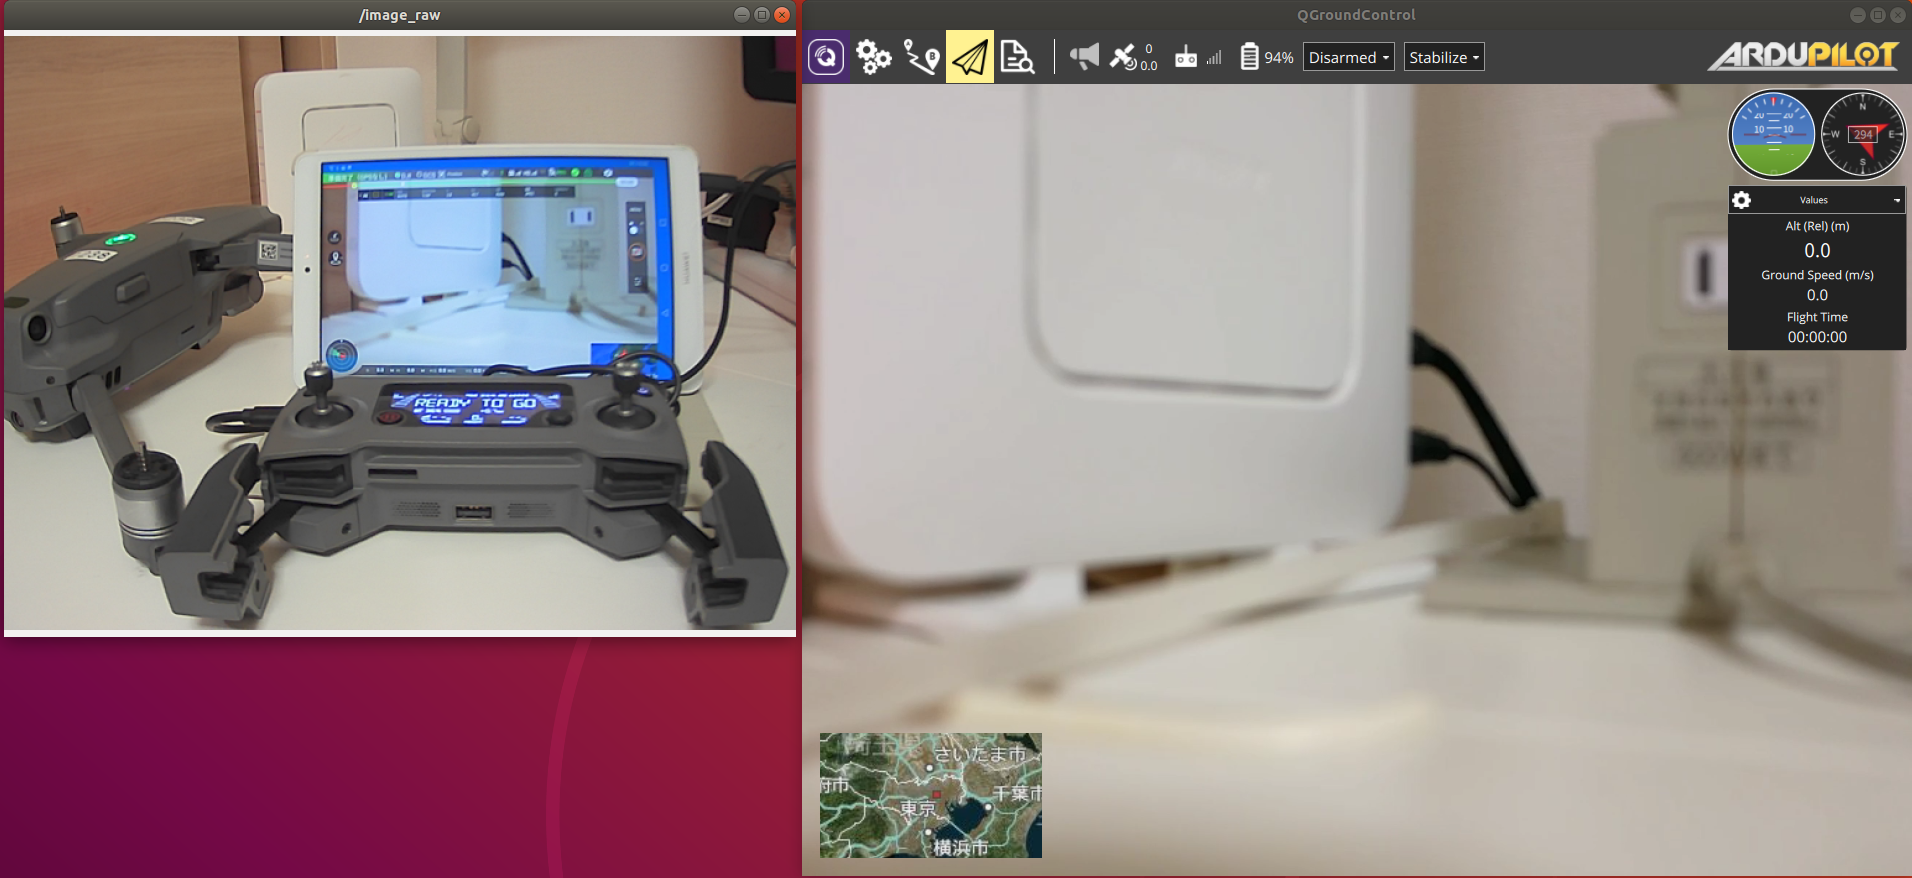
QGroundControlでDJIドローンからのMAVLinkテレメトリとカメラ映像を見ることができます。