Cloud Firestore
概要
Googleが運営するFirebaseというサービスの一つで、簡単にデータベースを管理できます。現時点(2019/03)ではベータ版となっています。自分でサーバーを用意せずに簡単に複数端末でデータを同期できます。
目標
ログイン認証も含めてJavaScriptでFirestoreを使えるようにすること。
この記事ではFirestoreの使い方というよりは始め方を解説していきます。
プロジェクトのセットアップ
Google Cloud Platformでプロジェクトを作成
- Google Cloud Platformにアクセスします。
- 「プロジェクトの選択」から「新しいプロジェクト」を選択します。
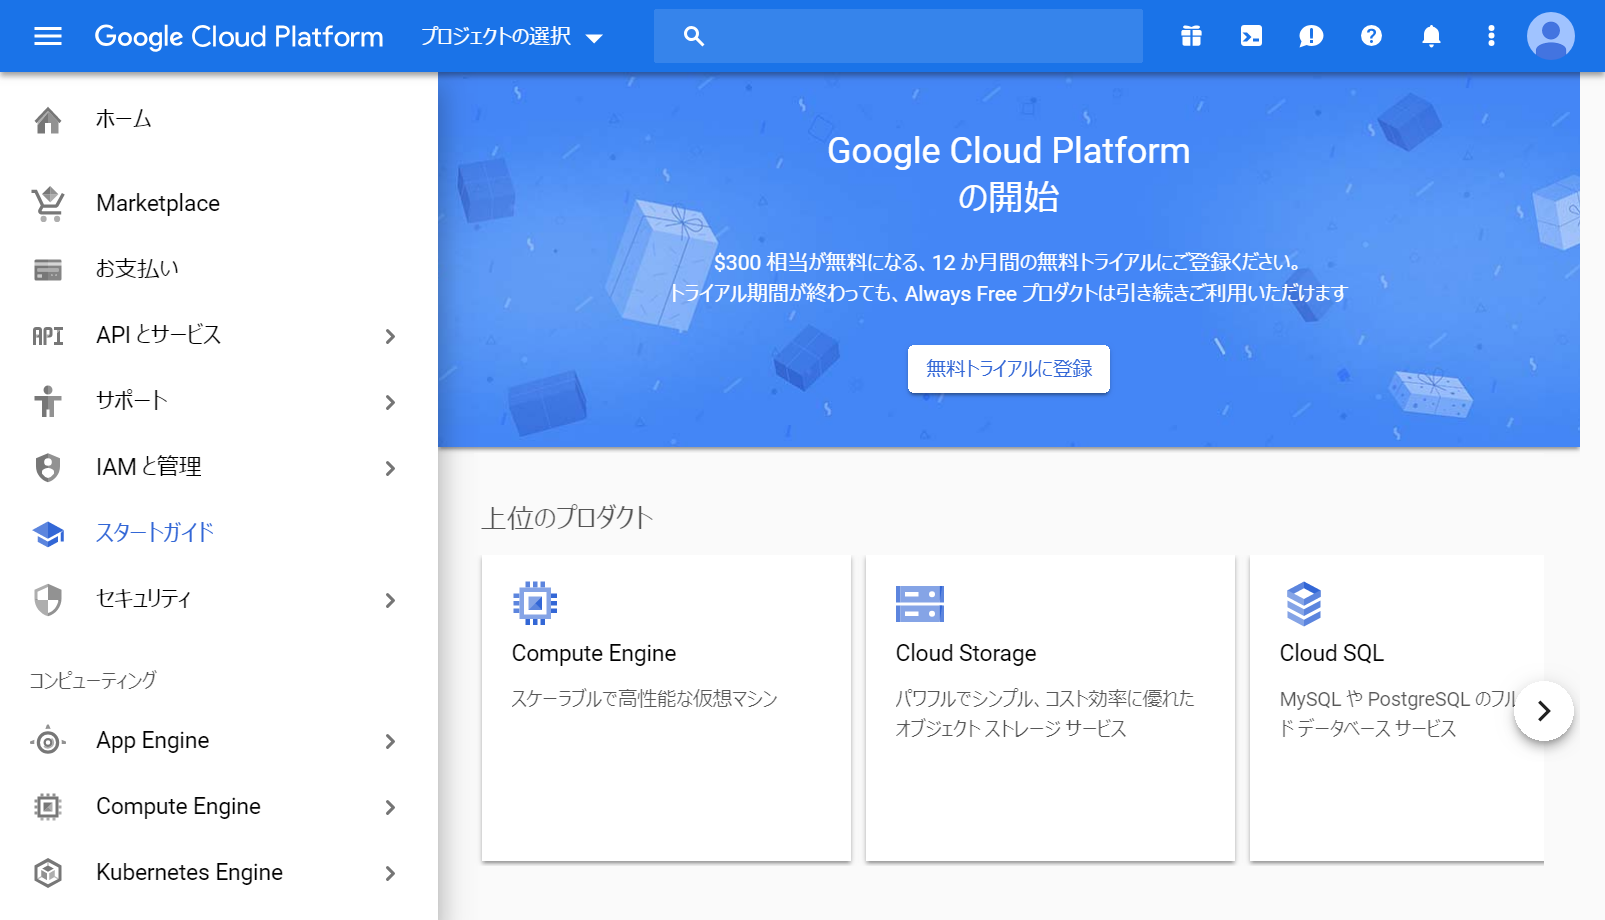
- プロジェクト名を入力しプロジェクトを作成します。
Firebaseの設定
-
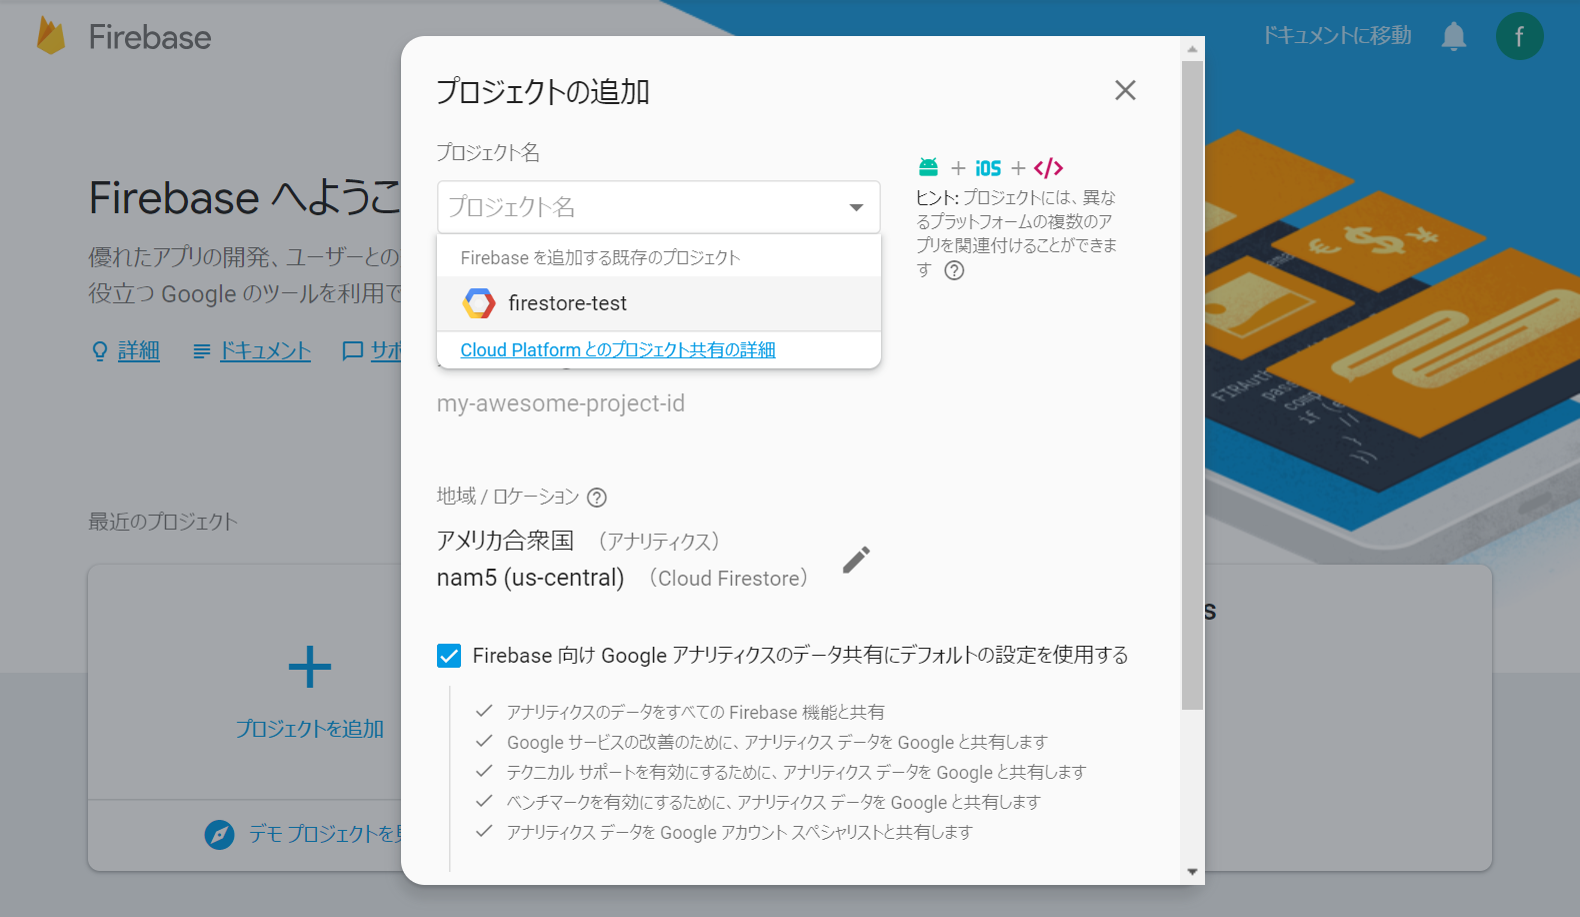
Firebaseにアクセスします。

- 「プロジェクトを追加」から先程作成したプロジェクトを選択し、規約に同意して追加します。
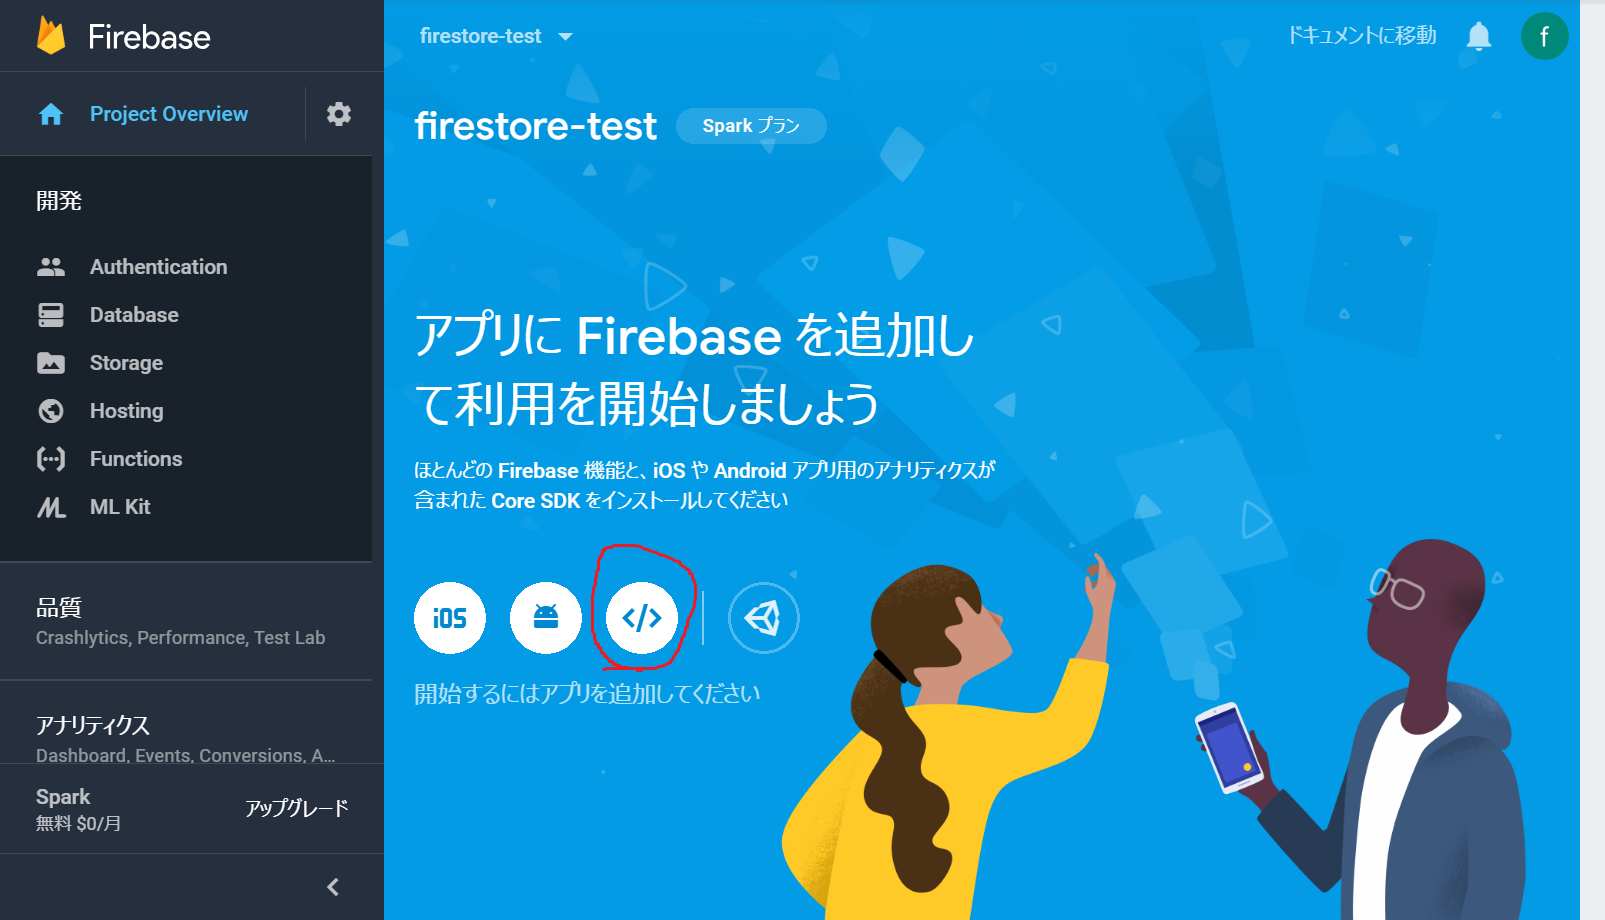
- JavaScriptにコードを追加します。指示通りの場所に貼り付けてください。
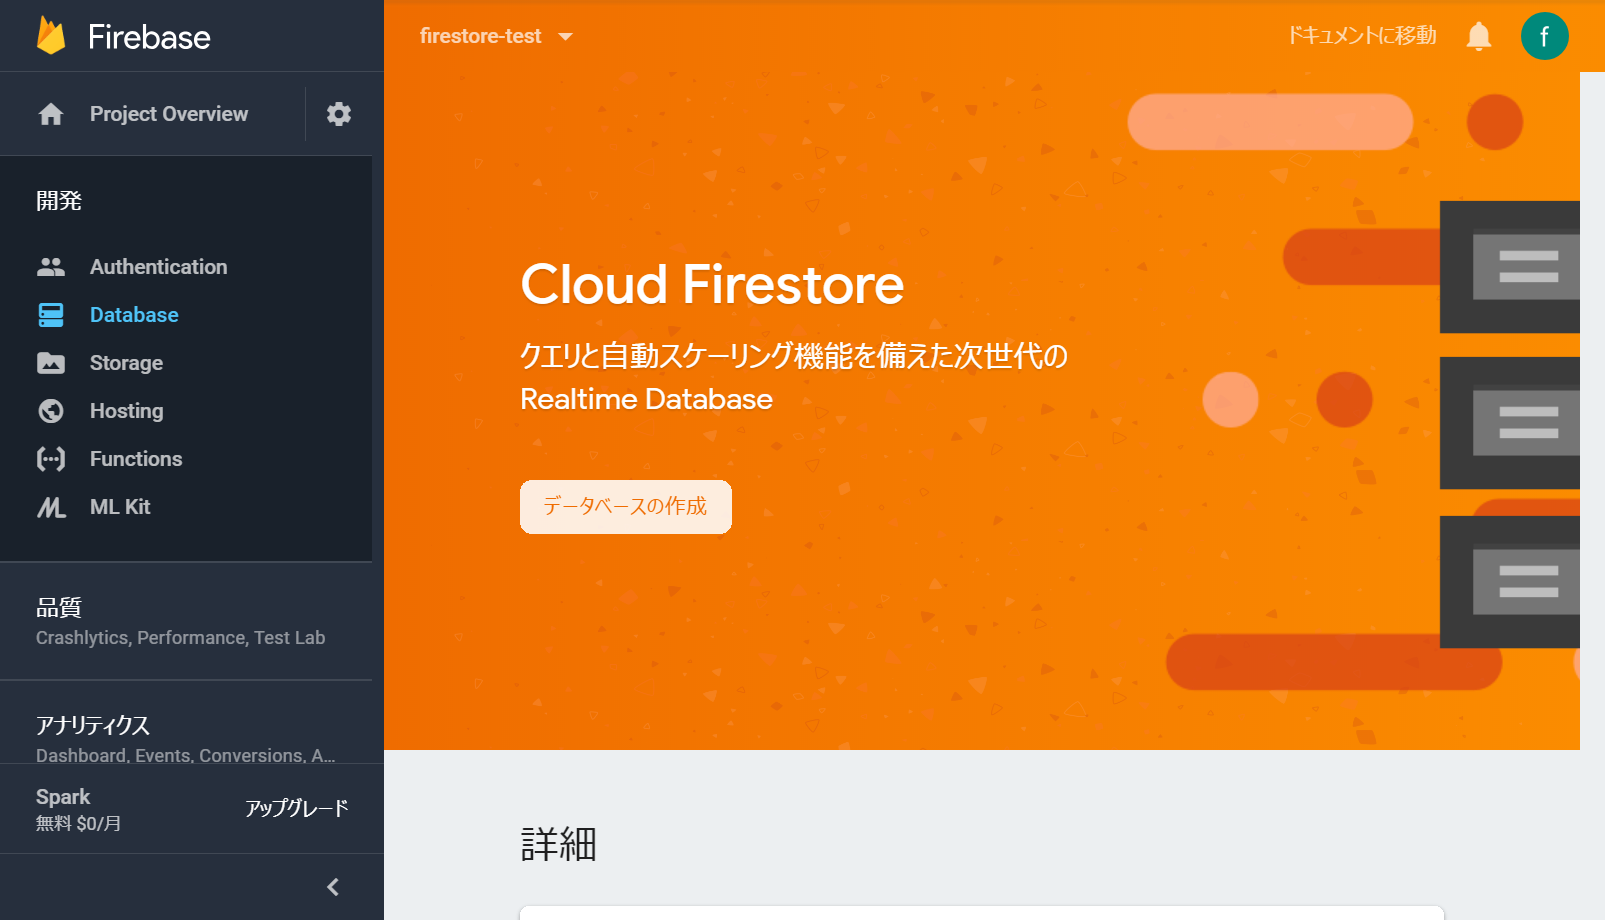
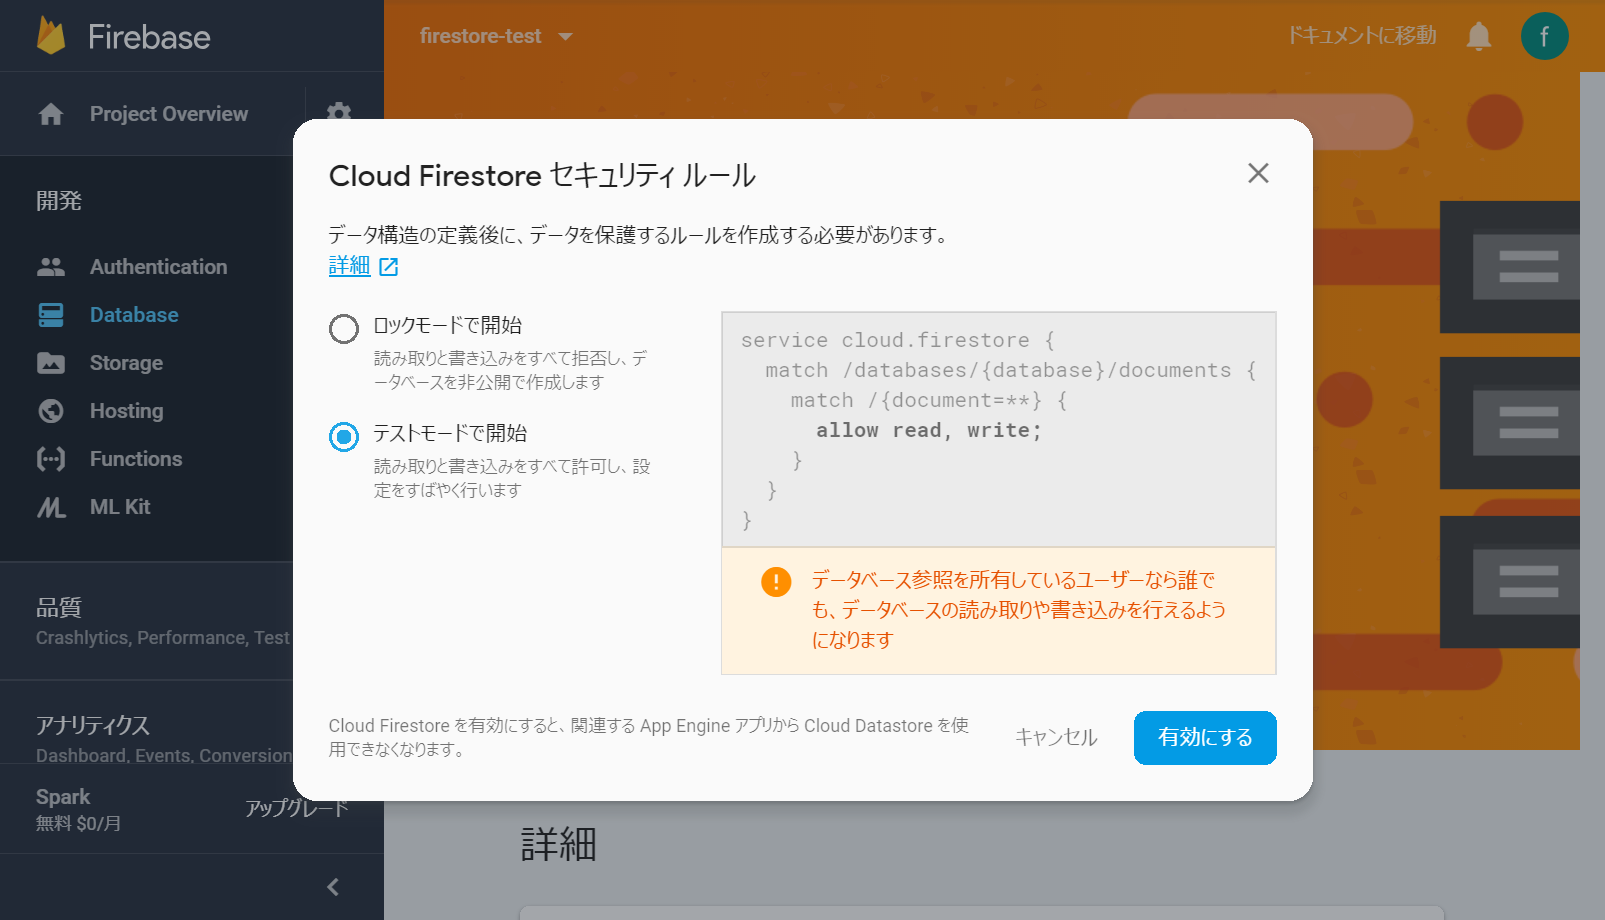
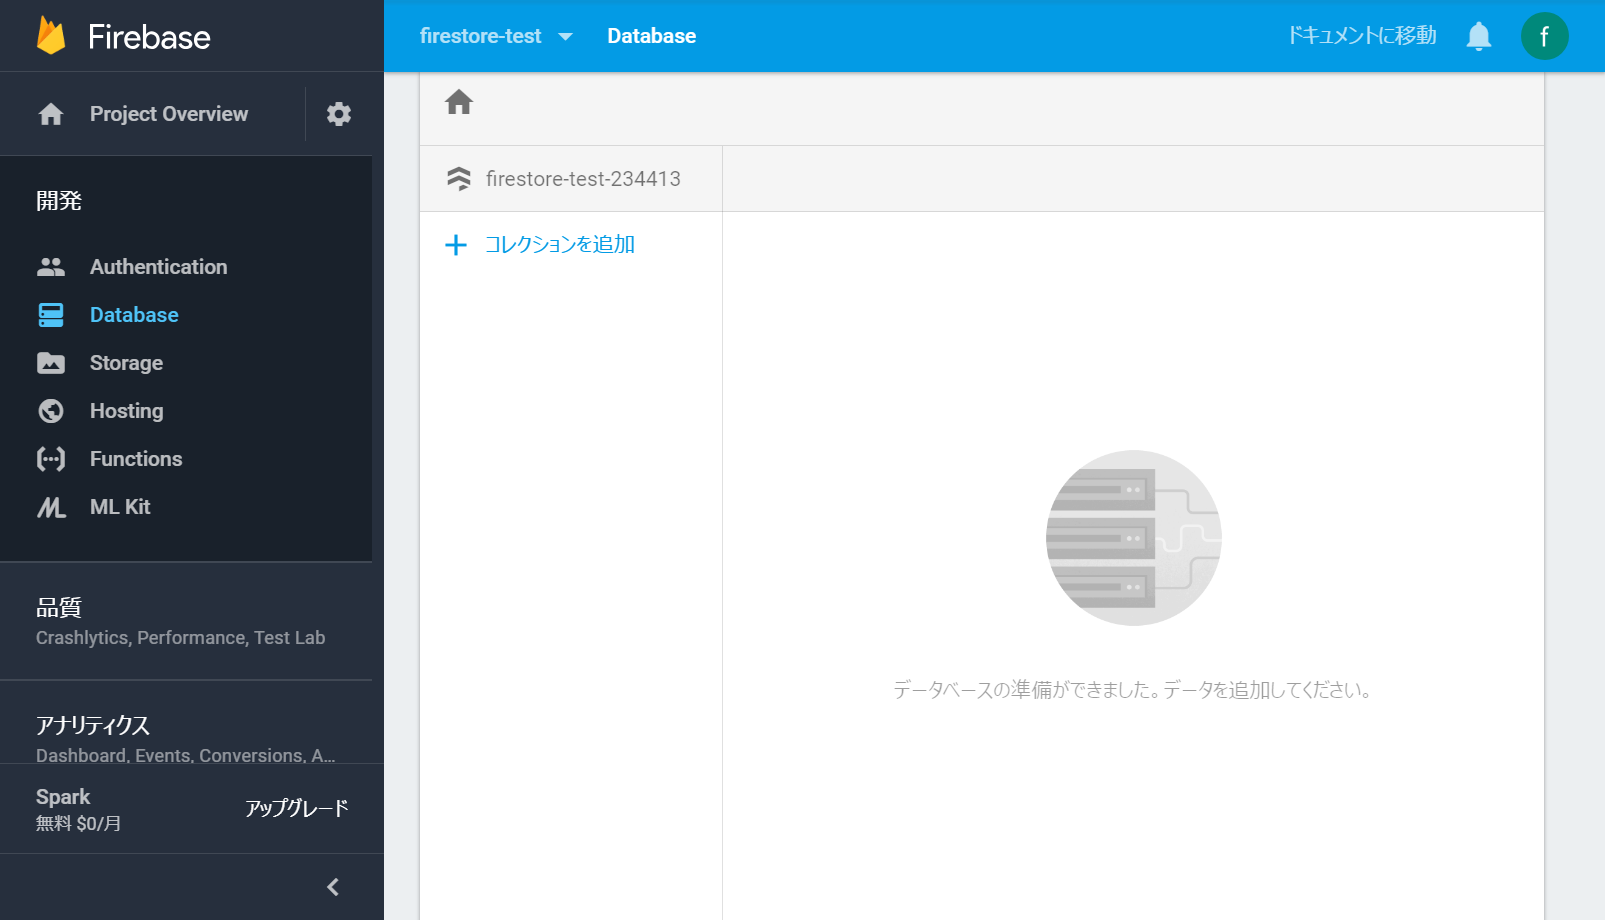
Cloud Firetoreの設定
Webページの公開
Firebaseを使ったウェブページ用のサーバーが用意してあるのでこれを使ってみます。Firestoreを使うだけなら、ここで公開する必要はありません。
firebase CLIの設定
1.以下のコマンドを管理者権限で実行します。
npm install -g npm
npm install -g firebase-tools
2.ログイン
firebase login
画面にそってログインします。
ローカルでホスティング
1.プログラムを置くディレクトリで次のコマンドを実行します。
cd C:\~\hoge
firebase init
Hostingを選択、公開するディレクトリはデフォルトのpublicのまま、それ以外はYを選択します。
publicの下に置いたファイルが公開されます
hoge\
 ┣ .firebase\
 ┣ public\
 ┃   ┗index.html
 ┣ .firebaserc
 ┣ .gitignore
 ┗ firebase.json
2.ローカルでWebサーバを起動します。
firebase serve
http://localhost:5000を開き、public\index.htmlが表示されればOKです。
デプロイ
サイトがある程度できてからデプロイします。
1.プロジェクトのIDを確認します。
firebase list
2.IDを指定してデプロイします。
firebase deploy --project <プロジェクトID>
表示された「Hosting URL」に先程のページが表示されればOKです。
JavaScriptでデータベースを使用
どのようにプログラムを書くかに関してはこの方の記事に分かりやすくまとまっています。
Firebase Cloud Firestoreの使い方
セキィリティの設定
あらかじめ用意された認証のUIを使います。今回はGoogleアカウントで認証をしてみます。
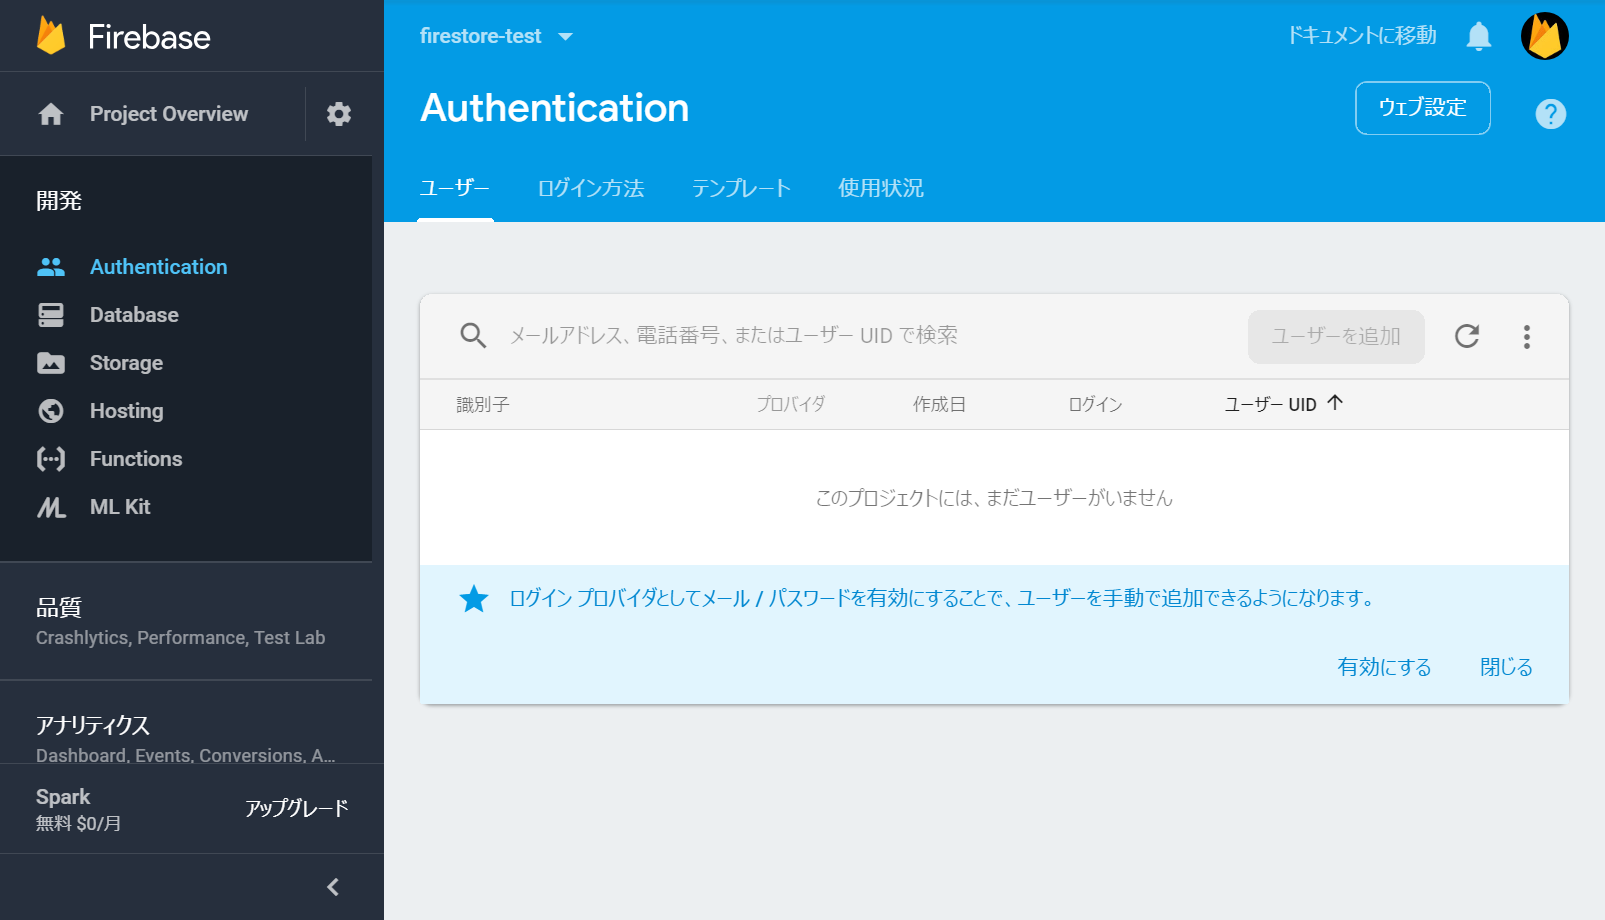
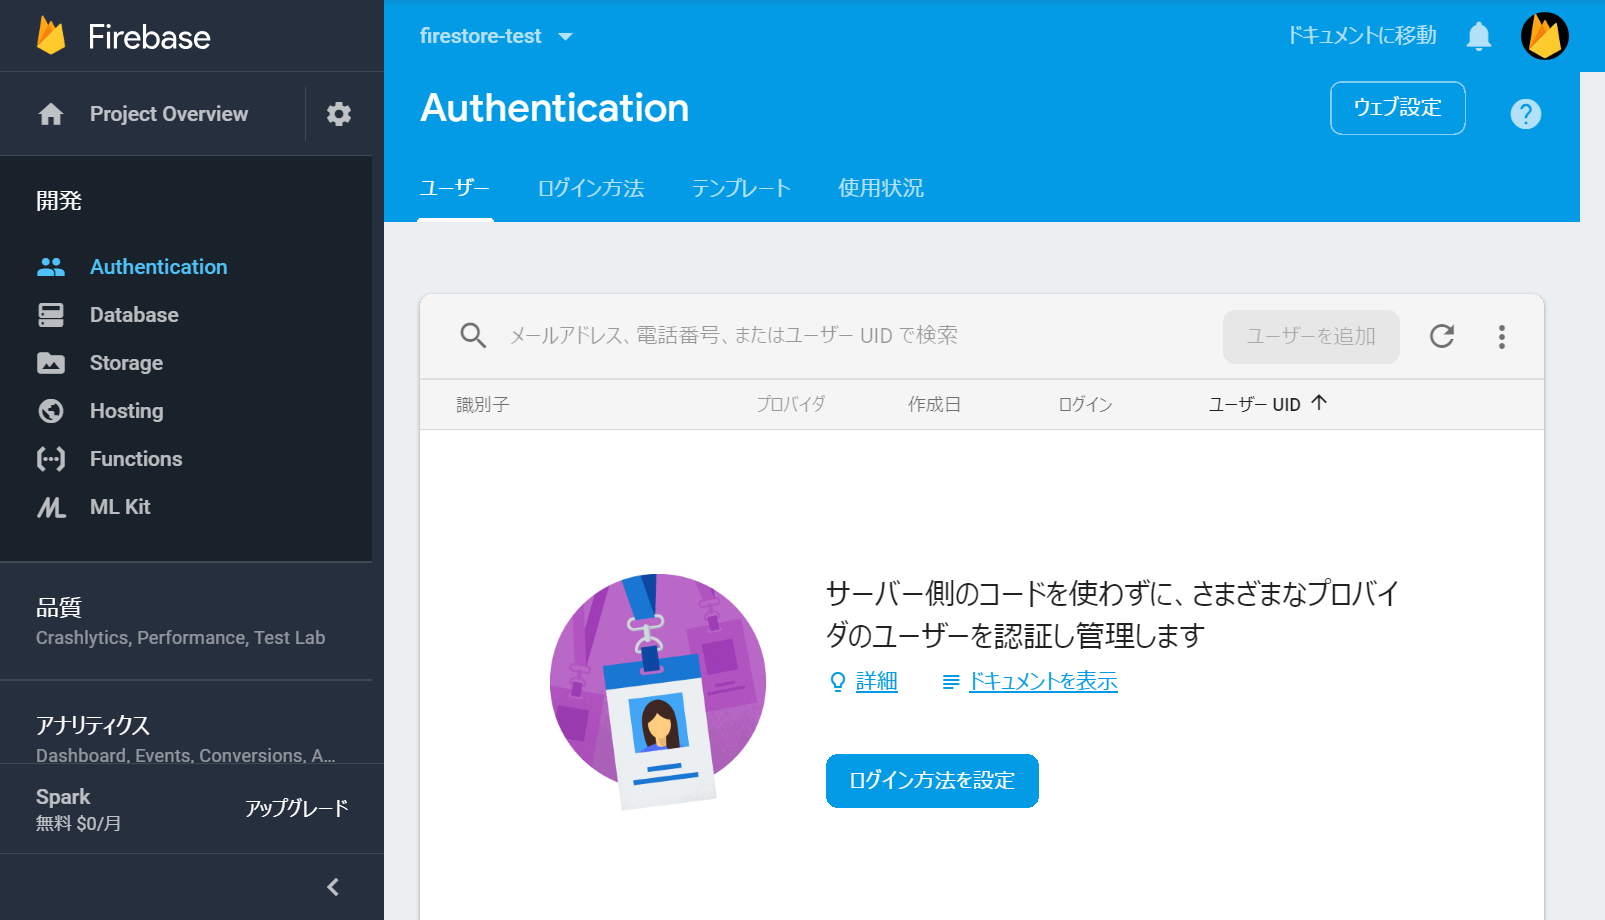
Authenticationの設定をする
1.左のメニューのAuthenticationをクリックします。
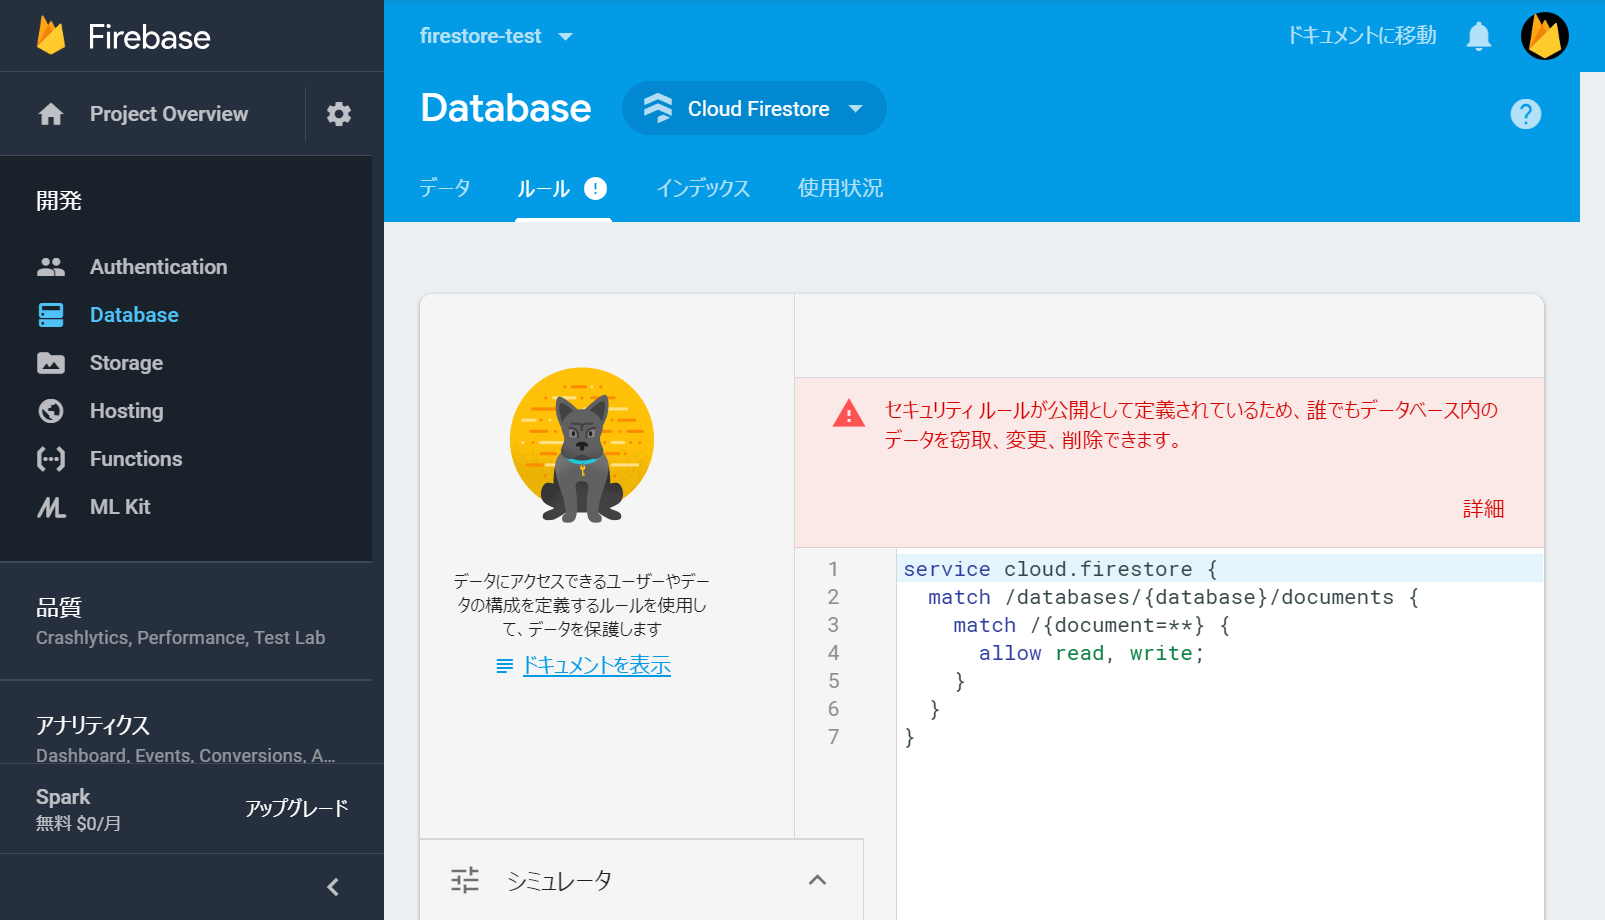
Firestoreのセキュリティールールの設定
- 誰でも読み書きできる
service cloud.firestore {
  match /databases/{database}/documents {
    match /{document=**} {
      allow read, write;
    }
  }
}
- ログインした人のみ書き込みできる
service cloud.firestore {
  match /databases/{database}/documents {
    match /{document=**} {
      allow read;
      allow write: if request.auth.uid != null;
    }
  }
}
- 特定の人のみ書き込みできる
service cloud.firestore {
  match /databases/{database}/documents {
    match /{document=**} {
      allow read;
      allow write: if request.auth.uid == "<uid>";
    }
  }
}
JavaScriptに認証用のコードを追加する
1.UIを読み込むためにコードを追加します。
<script src="https://www.gstatic.com/firebasejs/5.8.6/firebase.js"></script>
<script src="https://cdn.firebase.com/libs/firebaseui/3.5.2/firebaseui.js"></script>
<link type="text/css" rel="stylesheet" href="https://cdn.firebase.com/libs/firebaseui/3.5.2/firebaseui.css" />
<script>
	// Initialize Firebase
	var config = {
           hoge
	};
	firebase.initializeApp(config);
</script>
2.UIを表示するHTML要素を作っておきます。
<div id="firebaseui-auth-container"></div>
3.設定を書いて描画を開始します。
var ui = new firebaseui.auth.AuthUI(firebase.auth());
ui.start('#firebaseui-auth-container', {
	callbacks: {
		signInSuccessWithAuthResult: function (authResult, redirectUrl) {
			document.getElementById('firebaseui-auth-container').style.display = 'none';
			return true;
		},
	},
	credentialHelper: firebaseui.auth.CredentialHelper.NONE,
	signInOptions: [
		firebase.auth.GoogleAuthProvider.PROVIDER_ID,
	],
});
まとめると
<!DOCTYPE html>
<head>
	<meta charset="UTF-8">
	<title>Firestore-test</title>
	<script src="https://www.gstatic.com/firebasejs/5.8.6/firebase.js"></script>
	<script src="https://cdn.firebase.com/libs/firebaseui/3.5.2/firebaseui.js"></script>
	<link type="text/css" rel="stylesheet" href="https://cdn.firebase.com/libs/firebaseui/3.5.2/firebaseui.css" />
	<script>
		// Initialize Firebase
		var config = {
			hoge
		};
		firebase.initializeApp(config);
	</script>
</head>

<body onload>
	<div id="firebaseui-auth-container"></div>
	<script>
		var ui = new firebaseui.auth.AuthUI(firebase.auth());
		ui.start('#firebaseui-auth-container', {
			callbacks: {
				signInSuccessWithAuthResult: function (authResult, redirectUrl) {
					document.getElementById('firebaseui-auth-container').style.display = 'none';
					return true;
				},
			},
			credentialHelper: firebaseui.auth.CredentialHelper.NONE,
			signInOptions: [
				firebase.auth.GoogleAuthProvider.PROVIDER_ID,
			],
		});

		var db = firebase.firestore();
	</script>
</body>
</html>
