Herokuのフリープランは廃止されるようです。よってこの記事で紹介した方法は無料ではできなくなります。以下のFAQ参照。
https://help.heroku.com/RSBRUH58/removal-of-heroku-free-product-plans-faq
Heroku Postgresを接続先として、Integration BuilderのRelational Databaseへの接続機能を試してみる。
Heroku Postgres側のセットアップ(テーブル作成まで)についてはHeroku Postgresを使って外部DB機能を無料で試してみるのものを流用する。
環境
Personal Environment(Version 11.16.0 (Build 35766))
Service Studio(Version 11.53.7)
Prerequisitesによると、PostgreSQLへの接続にはPlatform Serverの11.15.0以降が必要とのこと。
今までIntegration Builderを使ったことがない環境では、How to set up Integration Builderの手順を踏んでおく。
手順
Integration Builderにログイン
Integration Builderにアクセス。
ITユーザーでログインする。
(ITユーザーは普段開発や運用で使っているアカウントのこと)
Connectionを作成する
ConnectionはOutSystems Platform側に存在し、接続先への接続設定を保持するもの。
後でIntegration Builderで作成するIntegration (これが接続用モジュールになる)に割り当てる。
My Integrationsページで操作する(違うページにいる場合、トップのIntegrationsタブをクリックする)。
右上のCreate integration ボタンをクリック。
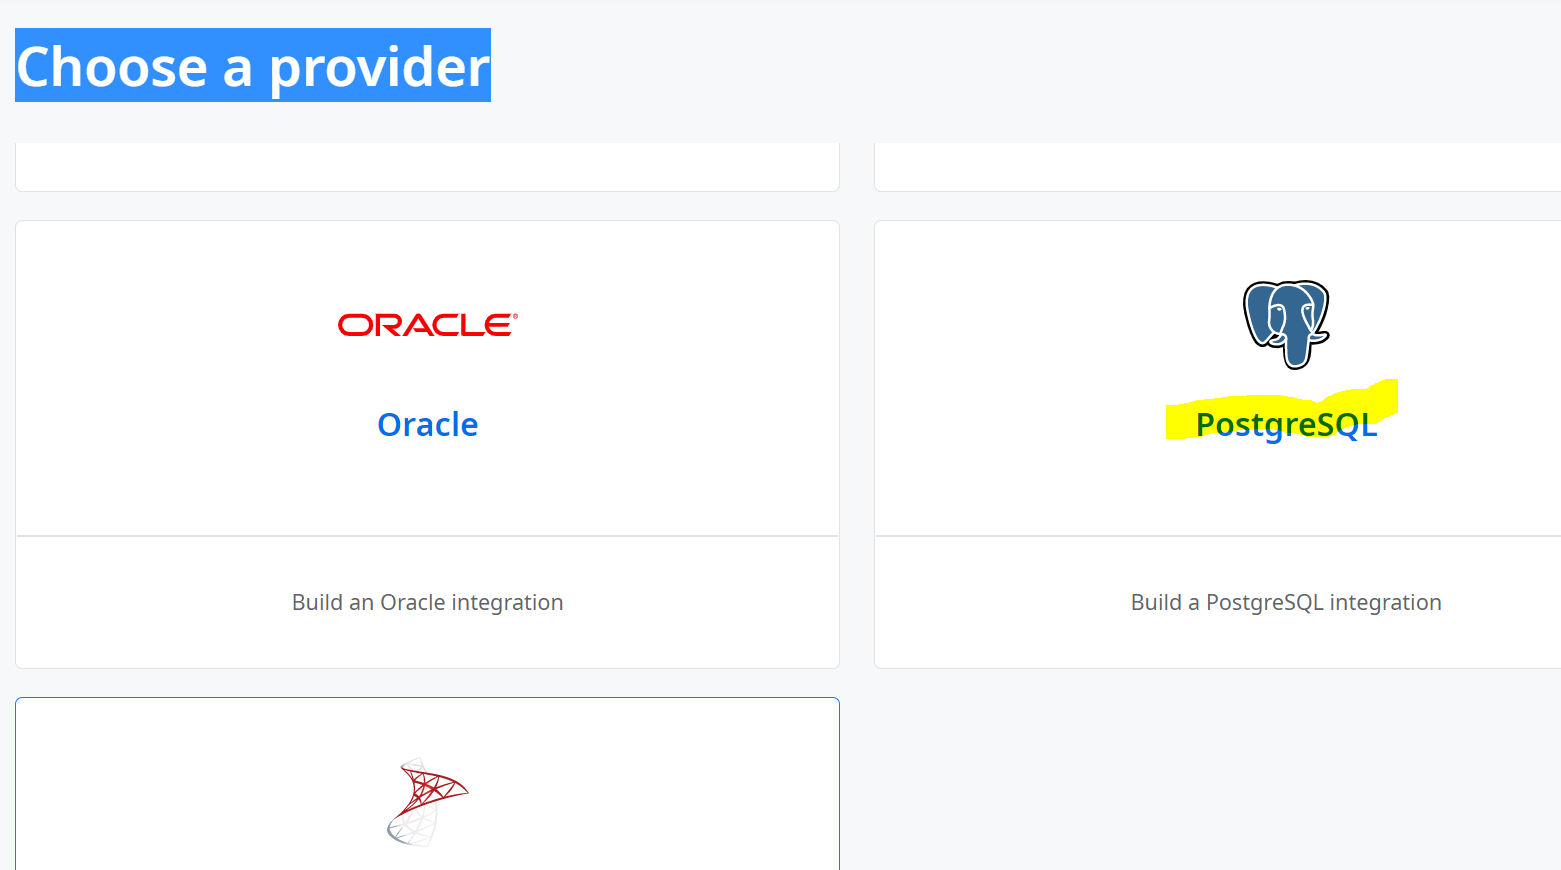
Choose a providerページで、PostgreSQLを選択。
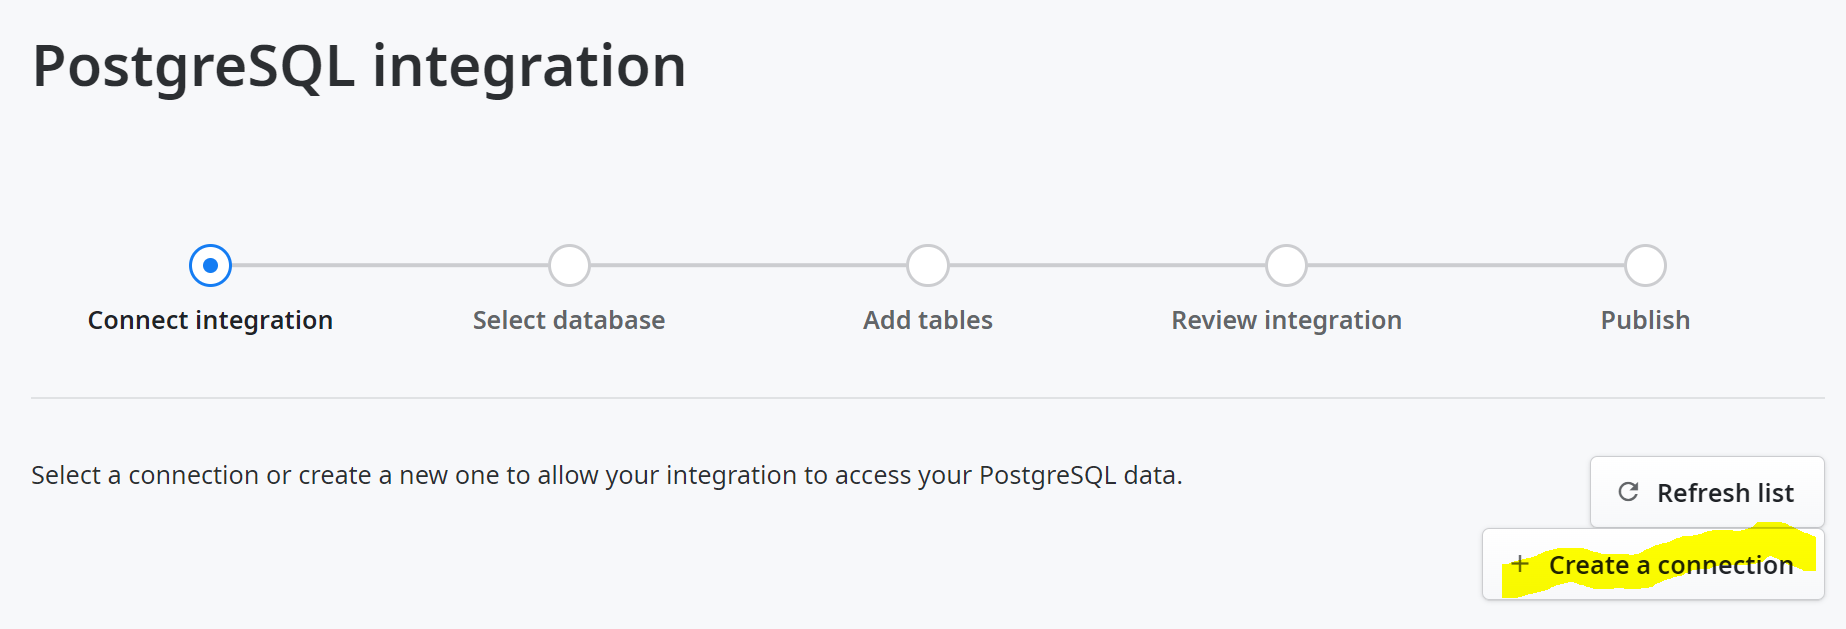
最初はConnectionがまだ無いはずなので、Create a connectionボタンをクリック。
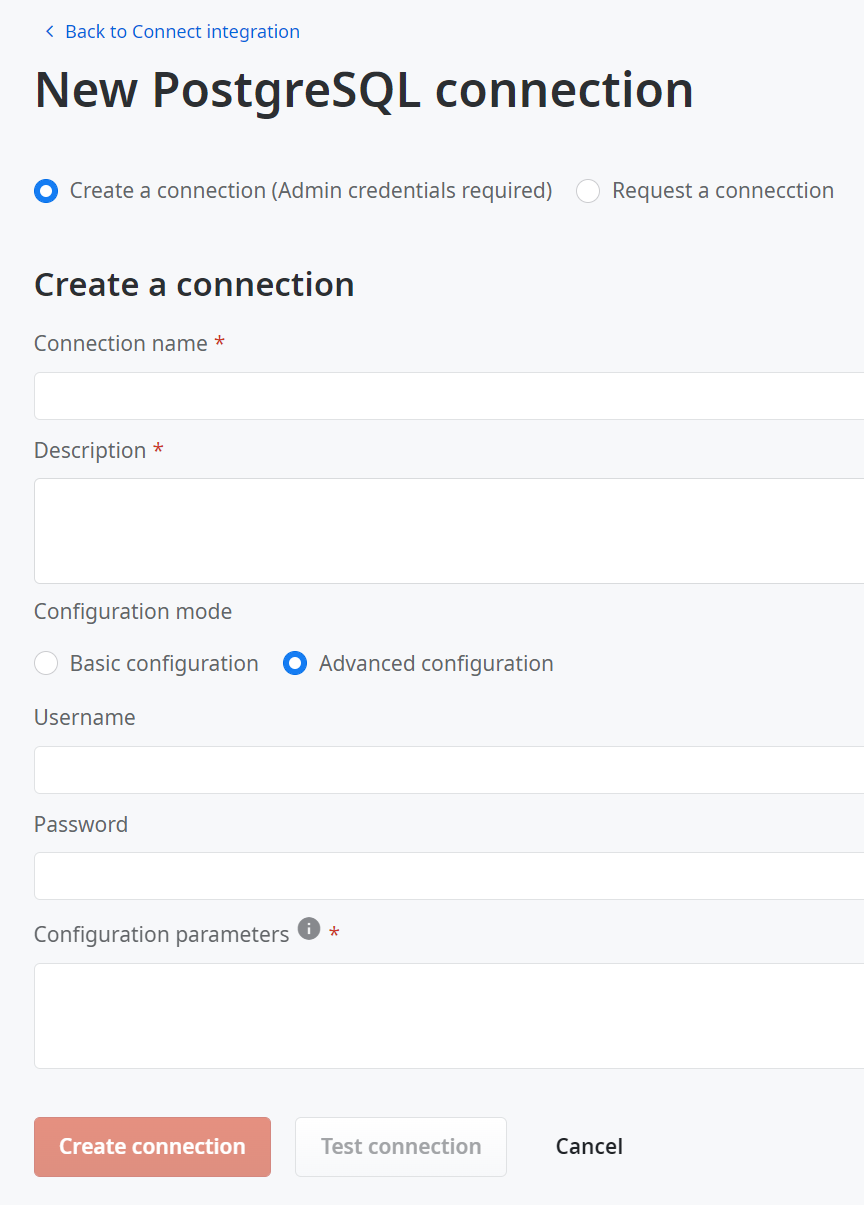
New PostgreSQL connection画面では、Configuration mode = Advanced Configurationにし、以下の設定を行う(Database Credentialsセクションと書いてある部分は、Heroku PostgresのDatabaseページ > Settingsタブ > Database Credentialsセクションからコピー)
- Connection name:そのままConnectionの名前(例:HerokuPostgresBuilder)
- Description:必須だから入力するけど、説明なので適当に(例:Heroku Postgresを使ったIntegration BuilderのRDB接続のテスト用。)
- Username:Database CredentialsセクションのUser
- Password:Database CredentialsセクションのPassword
- Configuration parameters(<>で囲んだ部分はDatabase Credentialsセクションの同名項目の値で置き換え):
- database=<Database>;Server=<Host>;port=<Port>;SSL Mode=Require;Trust Server Certificate=true
- database=<Database>;Server=<Host>;port=<Port>;SSL Mode=Require;Trust Server Certificate=true
Test Connectionボタンをクリックし、成功したら、Create connectionボタンをクリック。
Databaseを選択
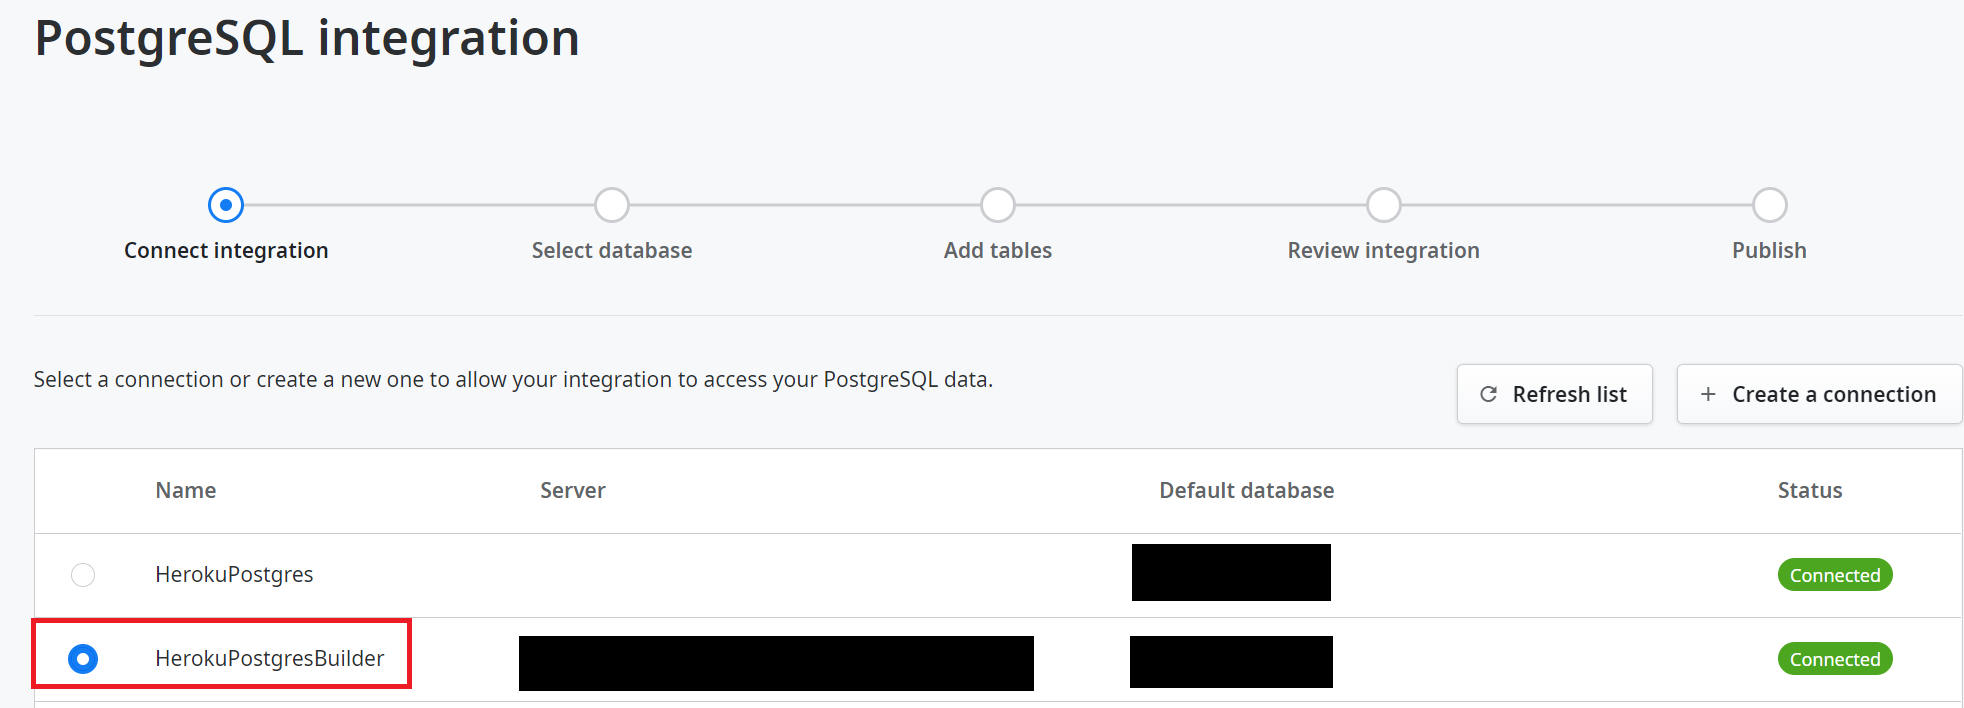
今作ったConnectionがテーブルに表示されるので、対象行左のラジオボタンを選択し、画面右下のNextボタンをクリック。
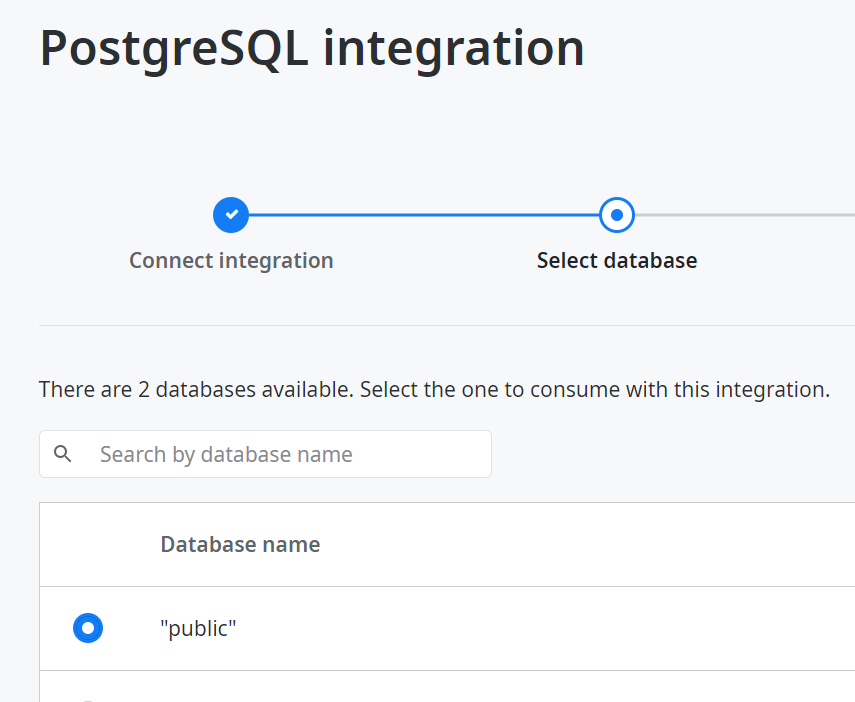
(Integration Builderが)Connectionを使って対象のPostgreSQLに接続し、Schemaを一覧表示する。今回はpublic Schemaにテーブルを配置してあるので、選択し、右下のNextボタンをクリック。
テーブルを選択してPublish
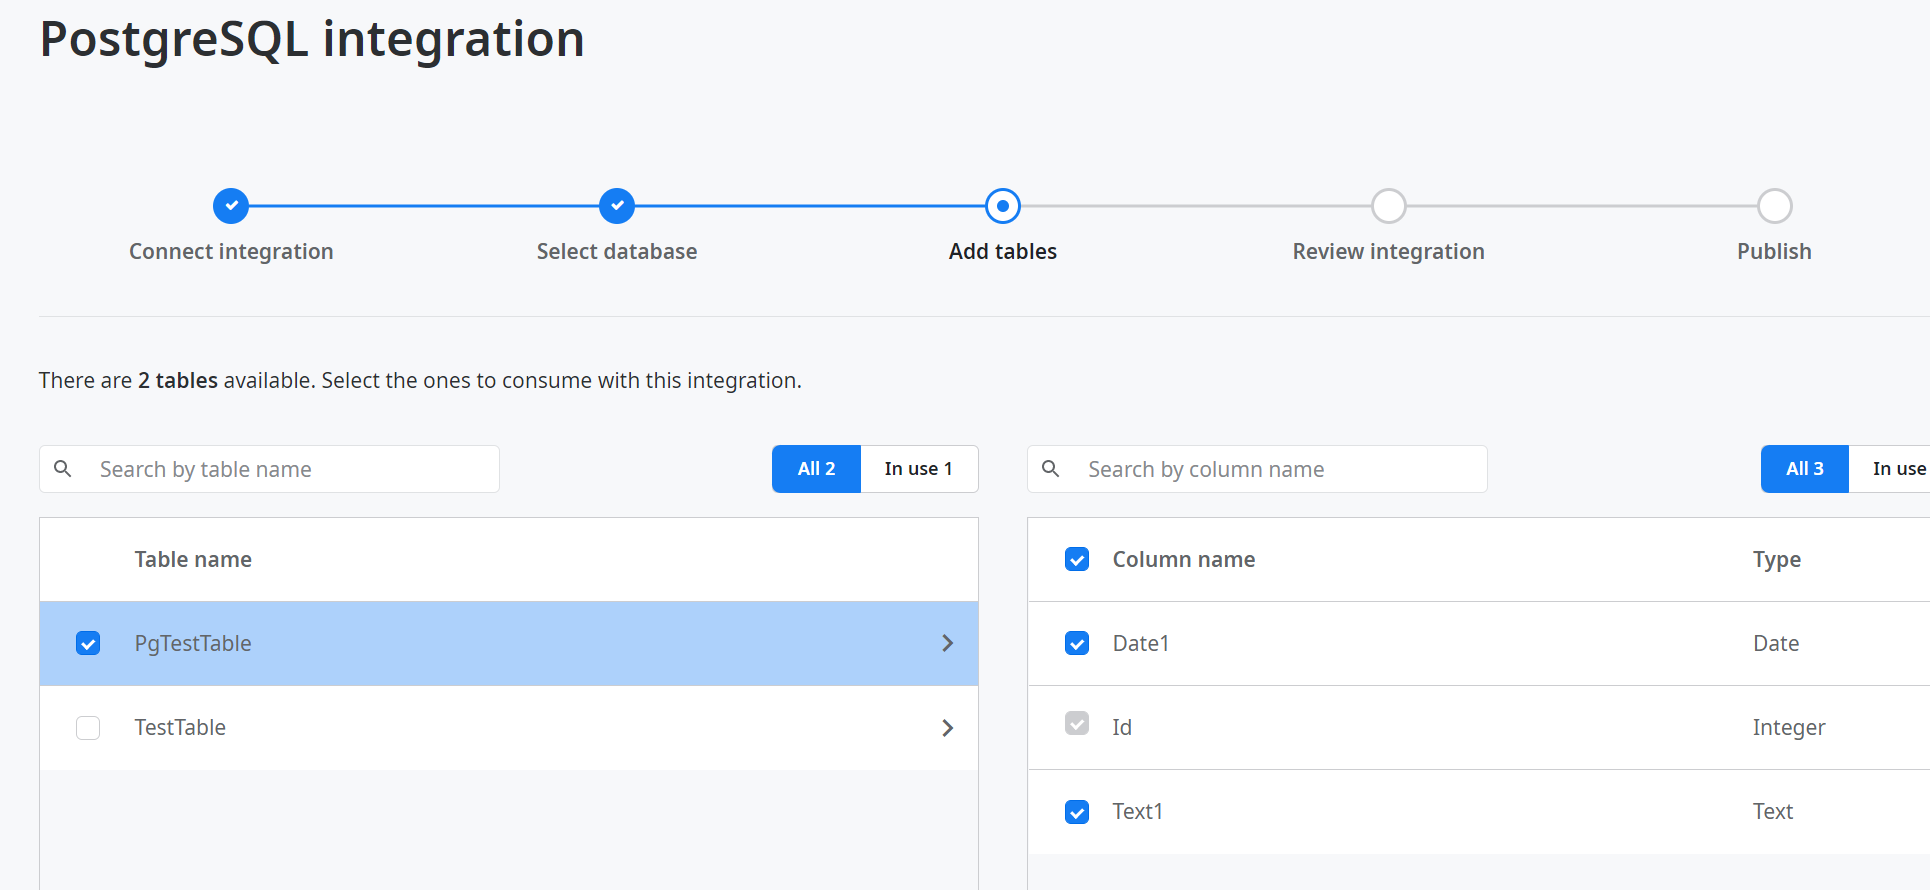
Schema内のテーブルが一覧表示されるので、取り込みたいテーブルを選択して、Nextボタンをクリック(画面右のリストでテーブルから取り込む列を選択できるが今回はしていない)。
Review integrationのステップでは設定を確認して(今回は省略)、右下のPublishボタンをクリック。
動作確認
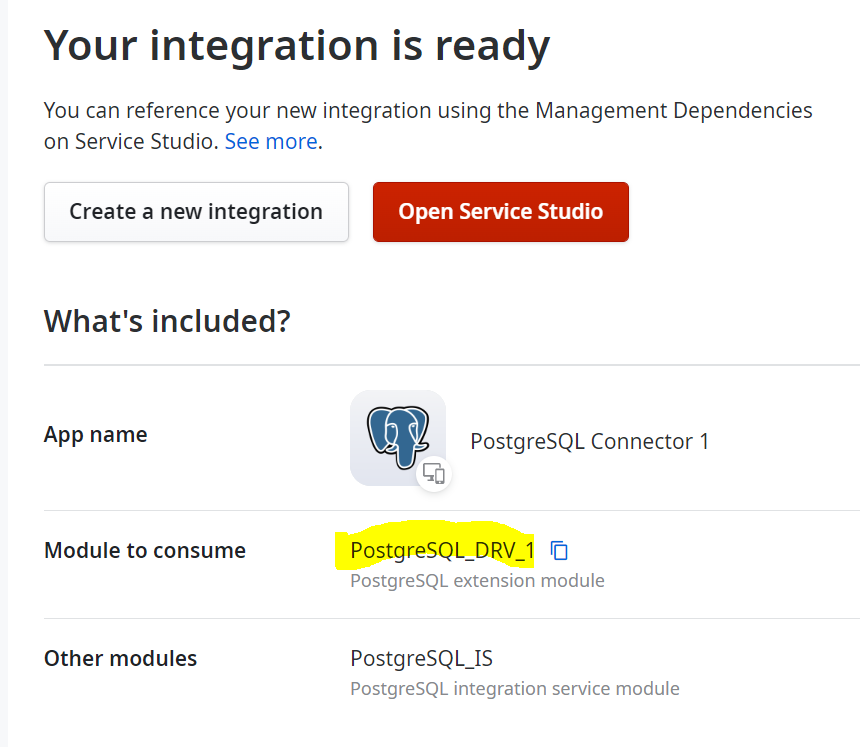
Publish完了後の画面。Integration Builderで作る他のIntegrationと違い、RDBに接続するときは、Consumer側からは「_DRV」モジュール(Extension)を参照するようだ。
Manage Dependenciesから参照を追加。
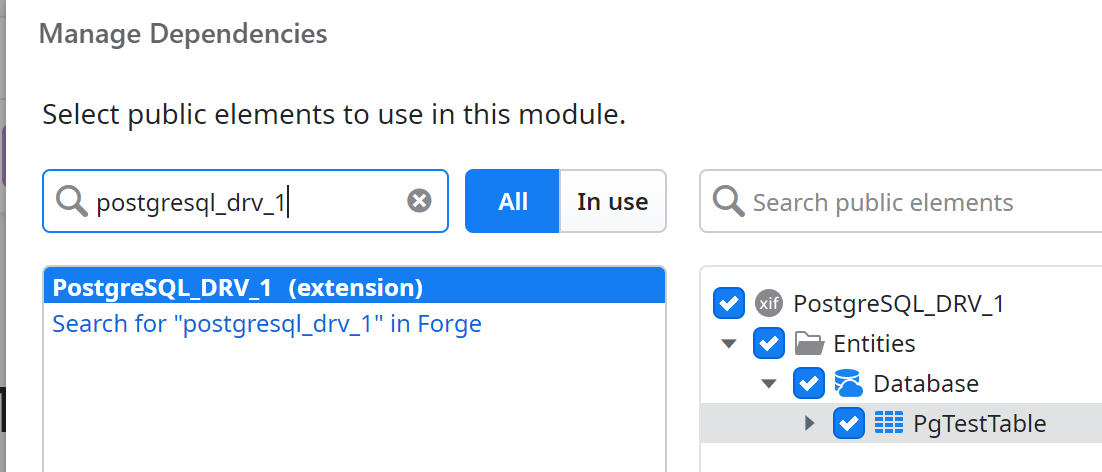
以降は、Integration Studioで作ったExtensionと同じ手順で動作確認できる。
Architectureについてのメモ
Architecture overviewの図によると、Integration BuilderからExternal System(接続先のシステム。今回の記事の場合は、外部のRDB)に対して線が伸びている。
これが通信であるとすると、特にオンプレミス環境におけるRDBでは問題だが、聞いたところによるとこれは間違いで、実際にはOutSystems Platformの環境 (Service Center) を経由した接続になるらしい。
Connection定義時の接続エラー
Integration Studio用の接続設定をコピーしてくると、以下のエラーが発生した。
Missing value for mandatory input 'Server'. (OS-INBL-GEN-50035)]
Integration Studio用の接続設定「database=<Database>;host=<Host>;port=<Port>;SSL Mode=Require;Trust Server Certificate=true」の「host=」の部分を「Server=」にすると動作するようになった。