今回は、プラグインに画像を使ってみたいと思います。
↑こちらの、「webpack.config.jsを作成する」の手前までそのまま進めて下さい。
webpack.config.jsを作成する
webpack.config.js
const path = require("path");
const KintonePlugin = require("@kintone/webpack-plugin-kintone-plugin");

module.exports = {
  mode: "development",
  entry: {
    desktop: "./src/js/desktop.js",
    mobile: "./src/js/mobile.js",
    config: "./src/js/config.js",
  },
  module: {
    rules: [
      {
        test: /\.(png|jpg|gif)$/,
        type: "asset/inline",
      },
    ],
  },
  output: {
    path: path.resolve(__dirname, "src", "js", "dist"),
    filename: "[name].js",
  },
  plugins: [
    new KintonePlugin({
      manifestJSONPath: "./src/manifest.json",
      privateKeyPath: "./private.ppk",
      pluginZipPath: "./dist/plugin.zip",
    }),
  ],
};
※webpack.config.jsには以下を追加しています。とりあえずpng,jpb,gifの画像をBASE64エンコードできます。
webpack5で登場した Asset Modulesのasset/inlineモジュール を使います。
  module: {
    rules: [
      {
        test: /\.(png|jpg|gif)$/,
        type: "asset/inline",
      },
    ],
  },
このあと、manifest.json編集、package.json編集も↓の通りに進めましょう。
画像を準備する
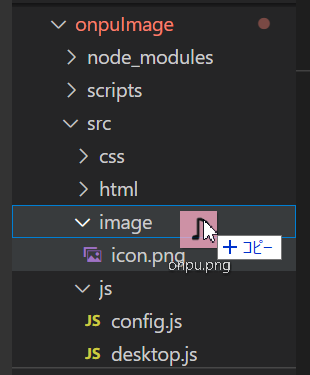
適当に画像を準備しました。ファイル名は onpu.png としました。
設定画面に画像を飾る
とりあえず、最初のサンプルコードを崩さないように画像だけ飾りましょう。
src/html/config.html の一番上に1行追加します。
config.html
<div id="sp"></div>
・・・省略・・・
src/js/config.js にコードを追加
config.js
import mainImage from "../image/onpu.png"; // onpu.pngを相対パスで指定
jQuery.noConflict();

(function ($, PLUGIN_ID) {
  "use strict";

  const sp = document.getElementById("sp"); // 追加
  const img = document.createElement("img"); // 追加
  img.src = mainImage; // 追加
  sp.appendChild(img); // 追加

  var $form = $(".js-submit-settings");
  ・・・・省略・・・・
プラグイン本体(PC)に画像を飾る
こちらも、とりあえず最初のサンプルコードを邪魔しないように画像を飾ってみましょう。
src/js/desktop.js にコードを追加する
desktop.js
import mainImage from "../image/onpu.png"; // onpu.imageを相対パスで指定
jQuery.noConflict();

(function ($, PLUGIN_ID) {
  "use strict";

  kintone.events.on("app.record.index.show", function () {
    var config = kintone.plugin.app.getConfig(PLUGIN_ID);
    var spaceElement = kintone.app.getHeaderSpaceElement();

    const img = document.createElement("img"); // 追加
    img.src = mainImage; // 追加
    spaceElement.appendChild(img); // 追加

    var fragment = document.createDocumentFragment();
    var headingEl = document.createElement("h3");
  ・・・・省略・・・・
ビルド&アップロード
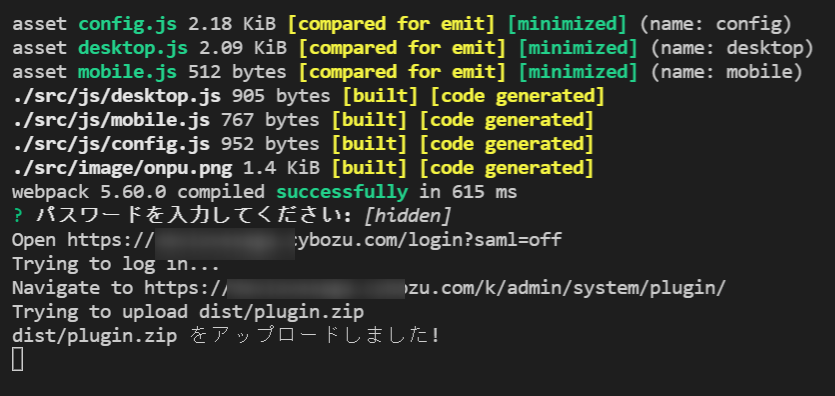
ここまでできたら、npm start しましょう。
npm start
こんな感じでアップロードされたら成功!
結果
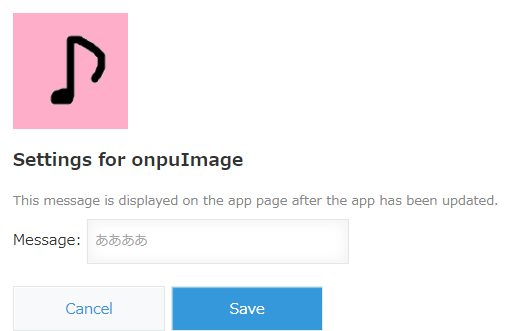
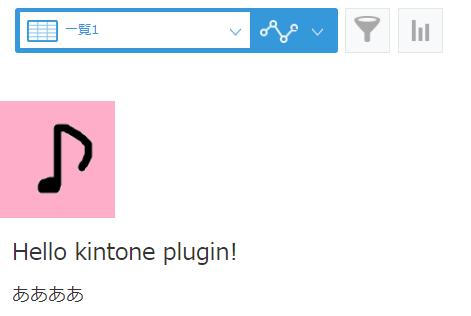
こんな感じに画像が飾られます。
| 設定画面 | 本体 |
|---|---|
 |
 |


