前回、前々回と、kintone REST API Clientを1件処理、複数件処理と試してきましたが、
今回は全件処理のサンプルです。
- 取得(getAllRecords)
- 追加(addAllRecords)
- 更新(updateAllRecords)
- 削除(deleteAllRecords)
※AllRecordsシリーズは2000件を1まとまりとして処理するためINSERTやUPDATE、DELETEではロールバックは2000件ごと実行できるようです。
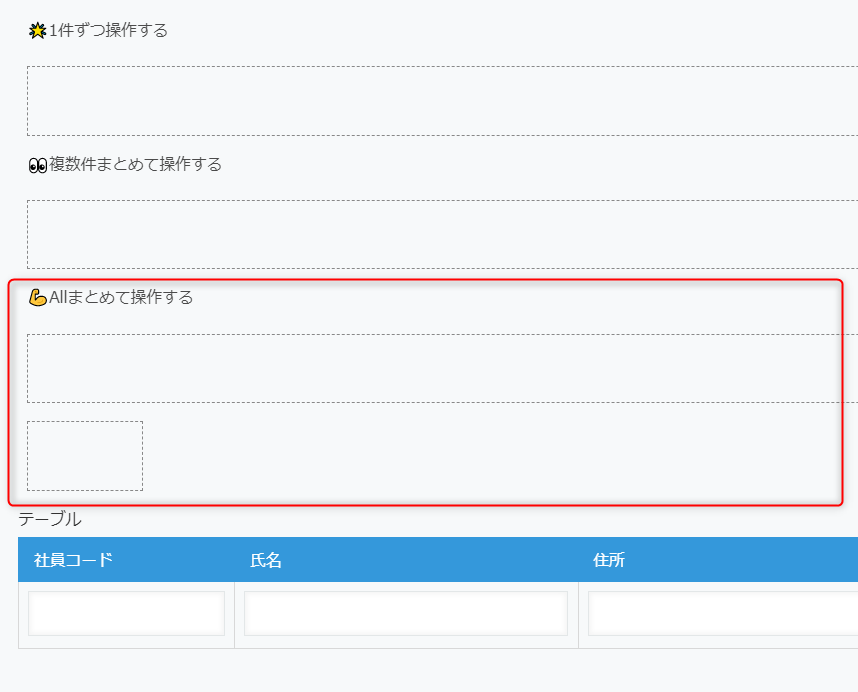
アプリの準備
前回のアプリ↓
に、スペースを2つ追加します。
お好みでラベルも追加しましょう。
| フィールド種類 | フィールドコード | 備考 |
|---|---|---|
| スペース | sp_all | ボタン設置するスペース |
| スペース | sp_textAll | テキストボックス設置するスペース |
JavaScript
前回までのコードに追記していきましょう。
別途名簿アプリ前々回参照を準備しておきます。
try-catchや処理成功or失敗後のメッセージ表示などは適宜追加してくださいね。
そのまま追記すると長くなるので分けたり・・・などもお好みで。
テキストボックスの設置
テキストボックスを設置しておきます。
const sp_textAll = kintone.app.record.getSpaceElement("sp_textAll");

const text_all = new Kuc.Text({
  placeholder: "レコードID(,区切り)",
});
sp_textAll.appendChild(text_all);
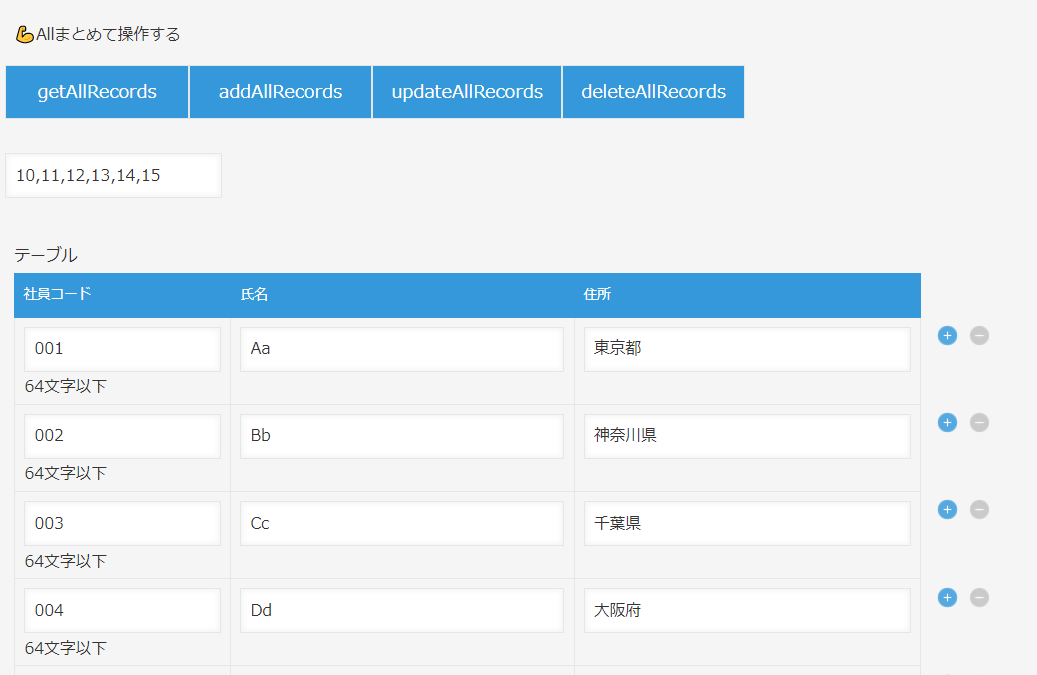
getAllRecords
レコード取得ついでにテキストボックスにレコード番号を入力するようにしましょう。
// ボタン設置スペース
const sp_all = kintone.app.record.getSpaceElement("sp_all");
// ボタン設置
const btn_getAllRecords = new Kuc.Button({
  text: "getAllRecords",
  type: "submit",
});
sp_all.appendChild(btn_getAllRecords);
// ボタンクリック
btn_getAllRecords.addEventListener("click", async (event) => {
  const client = new KintoneRestAPIClient();
  const res = await client.record.getAllRecords({ app: appId });
  const obj = kintone.app.record.get();
  const tblRecords = [];
  // 取得レコードのレコード番号
  const ids = [];
  res.forEach((r) => {
    ids.push(r.$id.value);
    tblRecords.push({
      id: null,
      value: {
        住所: {
          type: "SINGLE_LINE_TEXT",
          value: r.住所.value,
        },
        氏名: {
          type: "SINGLE_LINE_TEXT",
          value: r.氏名.value,
        },
        社員コード: {
          type: "SINGLE_LINE_TEXT",
          value: r.社員コード.value,
        },
      },
    });
  });
  // テキストボックスに取得レコード番号をカンマ区切りで入力する
  text_all.value = ids.join(",");
  obj.record.テーブル.value = tblRecords;
  kintone.app.record.set(obj);
});
addAllRecords
サブテーブルに入力したレコードを名簿アプリに追加します。
// ボタン設置
const btn_addAllRecords = new Kuc.Button({
  text: "addAllRecords",
  type: "submit",
});
sp_all.appendChild(btn_addAllRecords);

//ボタンクリック
btn_addAllRecords.addEventListener("click", async (event) => {
  const client = new KintoneRestAPIClient();
  const obj = kintone.app.record.get();

  const recs = [];
  obj.record.テーブル.value.forEach((r) => {
    recs.push({
      社員コード: {
        value: r.value.社員コード.value,
      },
      氏名: { value: r.value.氏名.value },
      住所: { value: r.value.住所.value },
    });
  });

  const res = await client.record.addAllRecords({
    app: appId,
    records: recs,
  });
});
updateAllRecords
サブテーブルの内容で名簿アプリを更新します。
const btn_updateAllRecords = new Kuc.Button({
  text: "updateAllRecords",
  type: "submit",
});
sp_all.appendChild(btn_updateAllRecords);

btn_updateAllRecords.addEventListener("click", async (event) => {
  const client = new KintoneRestAPIClient();
  const obj = kintone.app.record.get();

  const recs = [];

  obj.record.テーブル.value.forEach((r) => {
    recs.push({
      updateKey: { field: "社員コード", value: r.value.社員コード.value },
      record: {
        氏名: { value: r.value.氏名.value },
        住所: { value: r.value.住所.value },
      },
    });
  });

  const res = await client.record.updateAllRecords({
    app: appId,
    records: recs,
  });
});
deleteAllRecords
テキストボックスのカンマ区切りのレコード番号のレコードを一括削除します。
const btn_deleteAllRecords = new Kuc.Button({
  text: "deleteAllRecords",
  type: "submit",
});
sp_all.appendChild(btn_deleteAllRecords);

btn_deleteAllRecords.addEventListener("click", async (event) => {
  console.log(text_all.value);
  const client = new KintoneRestAPIClient();
  const recs = [];
  text_all.value.split(",").forEach((r) => {
    recs.push({ id: r });
  });
  const res = await client.record.deleteAllRecords({
    app: appId,
    records: recs,
  });
});
完成図&まとめ
getAllRecordsボタンでサブテーブルにレコードを取得して、あとは更新したり追加したり削除できます。
通常のAPIだと100件縛りを回避するために色々と工夫する必要がありますが、kintone REST API Clientだと特に考えずに操作できるので便利です。ぜひ使ってみてくださいね^0^
※ただし、サブテーブルの行数上限は5000行なのでそこは要注意です。