Zabbix で Oracle Database のリソース(SGAやPGAなど)監視できる Orabbix をインストールするまでの流れをまとめました。
本投稿は、前編として Zabbix をインストールするまでを記載します。
Zabbix公式マニュアル
日本Zabbixユーザー会
構成
- OSバージョン
- CentOS6.7 64bit
- ※SELinux無効しておく
- Zabbix 3.0
- Oracle Database 12.1.0.2 64bit
- PHP 5.6
- Apache 2.2
- MySQL 5.7
下準備
Apache自動起動設定
sudo chkconfig httpd on
sudo chkconfig httpd --list
PHP5.6インストール
# yumリポジトリインストール
sudo rpm -Uvh http://ftp.iij.ad.jp/pub/linux/fedora/epel/6/x86_64/epel-release-6-8.noarch.rpm
sudo rpm -Uvh http://rpms.famillecollet.com/enterprise/remi-release-6.rpm

# phpインストール
sudo yum install --enablerepo=remi --enablerepo=remi-php56 php php-ldap php-opcache php-devel php-mbstring php-mcrypt php-mysqlnd php-phpunit-PHPUnit php-pecl-xdebug php-pecl-xhprof php-bcmath php-gd

# PHPバージョン確認
php --version

# パッケージリスト確認
sudo yum list --enablerepo=remi --enablerepo=remi-php56 | grep php
# タイムゾーン設定
sudo vi /etc/php.ini

# コメントアウトを外し、以下へ修正
date.timezone = "Asia/Tokyo"
MySQL5.7インストール
# MySQL公式yumリポジトリインストール
sudo yum localinstall http://dev.mysql.com/get/mysql57-community-release-el6-7.noarch.rpm

# 詳細情報確認
yum info mysql-community-server

# MySQLインストール
sudo yum install mysql-community-server
# MySQL起動
sudo /etc/init.d/mysqld start

# 自動起動設定
sudo chkconfig mysqld on
sudo chkconfig mysqld --list
# MySQL root ユーザパスワード確認
# MySQLインストール時に root ユーザにランダムなパスワードが割り当てられている。
# そのため、以下の通り確認する。
sudo view /var/log/mysqld.log
# 次のように出力されている。(/password で検索)
A temporary password is generated for root@localhost: <パスワード>
# 初期化
mysql_secure_installation
MySQLは validate_password_policyの初期値はMEDIUMで、パスワード設定に必要な条件は、
最低 1 つの数値文字を含み、1 つの小文字および大文字を含み、1 つの特殊文字 (英数字以外) を
含む必要がある


[zabbix@ora190 ~]$ mysql_secure_installation

Securing the MySQL server deployment.

Enter password for user root:  <- 上記で確認した root のパスワードを入力

The existing password for the user account root has expired. Please set a new password.

New password: <- 新しいパスワード入力

Re-enter new password: <- もう一度新しいパスワード入力

The 'validate_password' plugin is installed on the server.
The subsequent steps will run with the existing configuration
of the plugin.
Using existing password for root.

Estimated strength of the password: 100
Change the password for root ? ((Press y|Y for Yes, any other key for No) : n  <- n を入力

 ... skipping.
By default, a MySQL installation has an anonymous user,
allowing anyone to log into MySQL without having to have
a user account created for them. This is intended only for
testing, and to make the installation go a bit smoother.
You should remove them before moving into a production
environment.

Remove anonymous users? (Press y|Y for Yes, any other key for No) : y  <- y を入力
Success.


Normally, root should only be allowed to connect from
'localhost'. This ensures that someone cannot guess at
the root password from the network.

Disallow root login remotely? (Press y|Y for Yes, any other key for No) : y  <- y を入力
Success.

By default, MySQL comes with a database named 'test' that
anyone can access. This is also intended only for testing,
and should be removed before moving into a production
environment.


Remove test database and access to it? (Press y|Y for Yes, any other key for No) : y  <- y を入力
 - Dropping test database...
Success.

 - Removing privileges on test database...
Success.

Reloading the privilege tables will ensure that all changes
made so far will take effect immediately.

Reload privilege tables now? (Press y|Y for Yes, any other key for No) : y  <- y を入力
Success.

All done!
# 文字コード設定
# 以下を /etc/my.cnf に追加する。
[client]
default-character-set = utf8

[mysqld]

init-connect='SET NAMES utf8'
skip-character-set-client-handshake
character-set-server = utf8
collation-server = utf8_general_ci

[mysql]
default-character-set = utf8
# MySQL 再起動
sudo /etc/init.d/mysqld restart
Zabbix インストール&セットアップ
Zabbix 3.0 インストール
# リポジトリインストール
sudo rpm -ihv http://repo.zabbix.com/zabbix/3.0/rhel/6/x86_64/zabbix-release-3.0-1.el6.noarch.rpm

# Zabbix サーバインストール
# 「zabbix-web-japanese」というパッケージは、グラフ表示内の日本語の文字化けを防ぐためにフォントの設定を行うパッケージ。
sudo yum install zabbix-server-mysql zabbix-web-mysql zabbix-web-japanese
Zabbix 3.0 リポジトリデータベースとユーザーの作成
# リポジトリデータベース接続
sudo mysql -uroot -p
Enter password:  <- MySQL の root ユーザのパスワードを入力(OSの root ユーザではない)
Welcome to the MySQL monitor.  Commands end with ; or \g.
Your MySQL connection id is 7
Server version: 5.7.19 MySQL Community Server (GPL)

Copyright (c) 2000, 2017, Oracle and/or its affiliates. All rights reserved.

Oracle is a registered trademark of Oracle Corporation and/or its
affiliates. Other names may be trademarks of their respective
owners.

Type 'help;' or '\h' for help. Type '\c' to clear the current input statement.

# リポジトリデータベース作成
mysql> create database zabbix character set utf8 collate utf8_bin;
Query OK, 1 row affected (0.14 sec)
# ユーザ作成
mysql> grant all on zabbix.* to zabbix@localhost identified by '<パスワード>';
# 初期データの作成
cd /usr/share/doc/zabbix-server-mysql-3.0.10/
zcat create.sql.gz | mysql -uroot -p zabbix
Enter password:  <- MySQL の root ユーザのパスワードを入力(OSの root ユーザではない)
Zabbix 3.0 サーバーの設定と起動
# Zabbix サーバの設定ファイルに、作成したユーザのパスワードを追記
sudo vi /etc/zabbix/zabbix_server.conf
/DBHost で検索し、コメントを外す。
# DBHost=localhost
↓
DBHost=localhost

/DBPassword で検索し、コメントを外す。
# DBPassword=
↓
DBPassword=<パスワード>

最終的には以下のような設定となる。
DBHost=localhost
DBName=zabbix
DBUser=root
DBPassword=<パスワード>
# Apache httpd の設定ファイルで、タイムゾーン(日本/東京)を指定
# 具体的には /etc/httpd/conf.d/zabbix.conf を設定がない場合は、httpd のパッケージに
# httpd22-example.conf または、httpd22-example.conf を Apache のバージョンに合わせて
# コピーする。
cd /usr/share/doc/zabbix-web-3.0.10/
sudo vi /etc/httpd/conf.d/zabbix.conf
/php_value で検索し、コメントを外す。
# php_value date.timezone Europe/Riga
↓
php_value date.timezone Asia/Tokyoa
Zabbix 起動
# Zabbix サーバ起動
sudo /etc/init.d/zabbix-server start

# httpd の再起動
sudo /etc/init.d/httpd restart

# Zabbix エージェント起動
sudo /etc/init.d/zabbix-agent start

# Zabbix エージェントの動作確認
zabbix_get -s 127.0.0.1 -k agent.version
# 各種、自動起動設定
sudo chkconfig zabbix-server on
sudo chkconfig zabbix-agent on
sudo chkconfig zabbix-server --list
sudo chkconfig zabbix-agent --list
Zabbix 3.0 GUI 設定
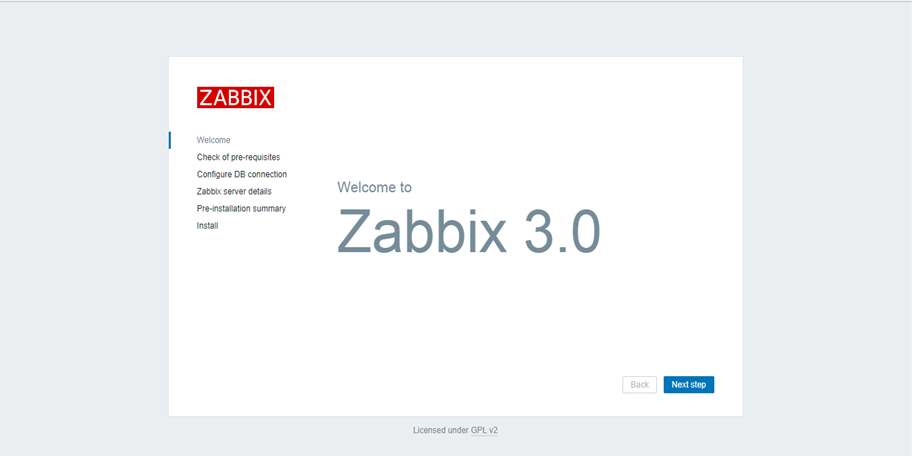
初期設定
Next Step を押下。
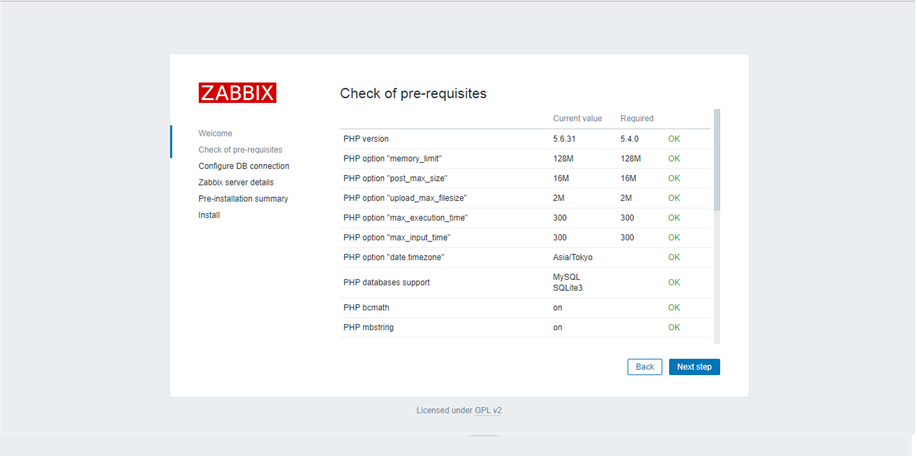
全て OK となっているか確認し、Next Step を押下。
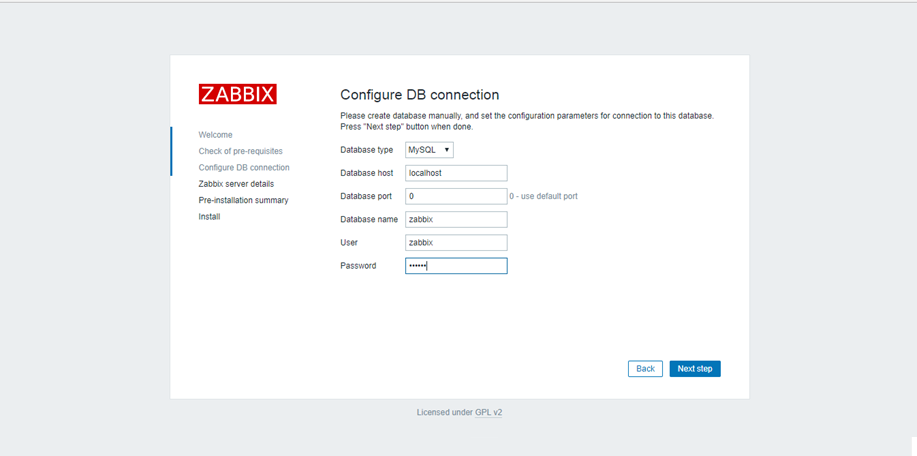
以下のように入力し、 Next Step を押下。
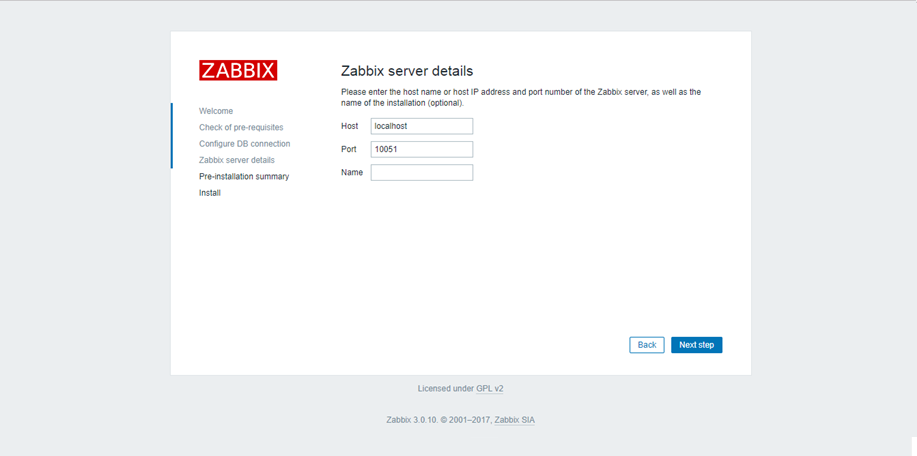
デフォルトのまま、 Next Step を押下。
サマリを確認し、よろしければ Next Step を押下。
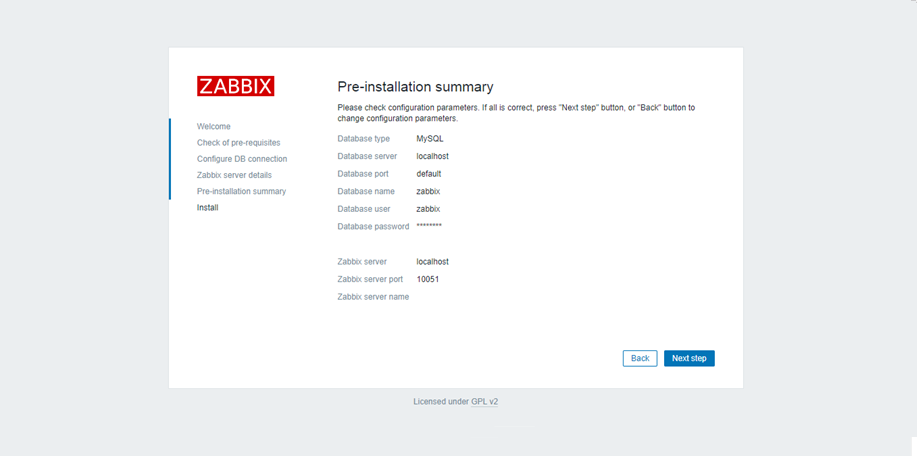
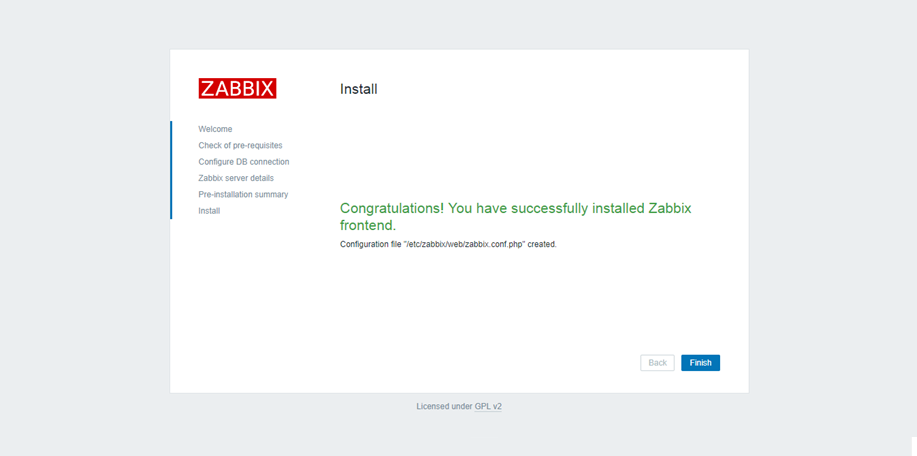
設定が完了すると、/etc/zabbix/web/zabbix.conf.php が作成される。Finish を押下。
# /etc/zabbix/web/zabbix.conf.php を確認。
[zabbix@ora190 ~]$ sudo cat /etc/zabbix/web/zabbix.conf.php
<?php
// Zabbix GUI configuration file.
global $DB;

$DB['TYPE']     = 'MYSQL';
$DB['SERVER']   = 'localhost';
$DB['PORT']     = '0';
$DB['DATABASE'] = 'zabbix';
$DB['USER']     = 'zabbix';
$DB['PASSWORD'] = '<パスワード>';

// Schema name. Used for IBM DB2 and PostgreSQL.
$DB['SCHEMA'] = '';

$ZBX_SERVER      = 'localhost';
$ZBX_SERVER_PORT = '10051';
$ZBX_SERVER_NAME = '';

$IMAGE_FORMAT_DEFAULT = IMAGE_FORMAT_PNG;
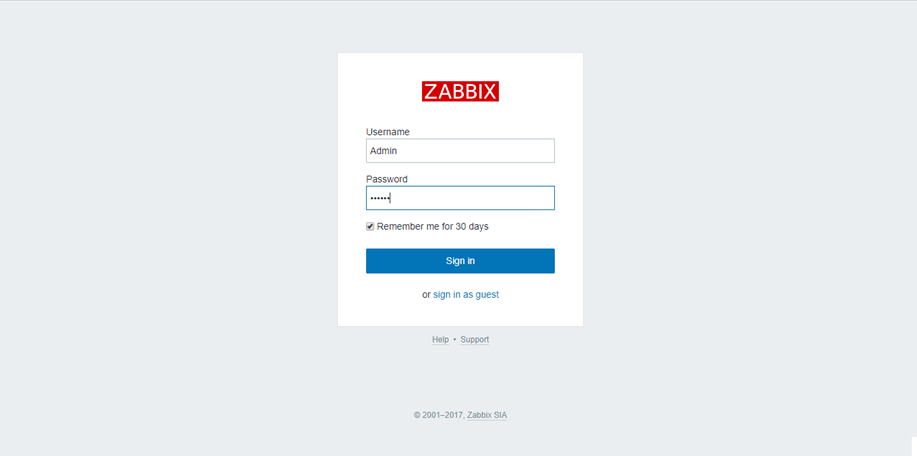
ログイン
初期設定である Admin/zabbix でログイン。
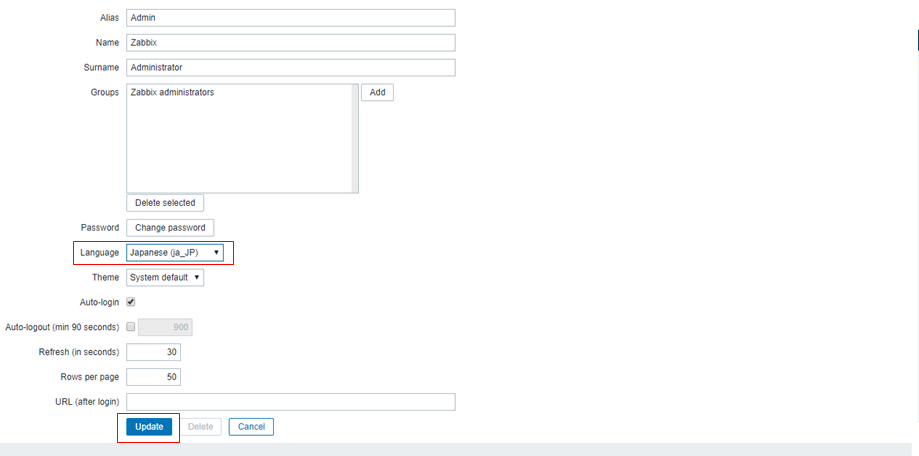
日本語化設定
Administration > Users > Admin を押下し、以下の画面へ遷移する。
その後、Languageを「Japanese(ja_JP」に変更し、Update を押下する。
Top に戻ると日本語に変わっている。
次回は後編です。
今回インストールした Zabbix 3.0 に Orabbix をインストールします。
ちなみに、Oracle Database 12.1.0.2 のインストール手順は割愛していますのであしからず。
後編は以下へ。
http://qiita.com/junya19862/items/06efefbcbf5cd21cbedf